
Zainab spotted these cooling on the counter last December and wouldn't leave the kitchen until I cut her a piece. That's basically how these Christmas Cherry Bars became a holiday fixture in our house — not because I planned it, but because a seven-year-old decided they were non-negotiable.
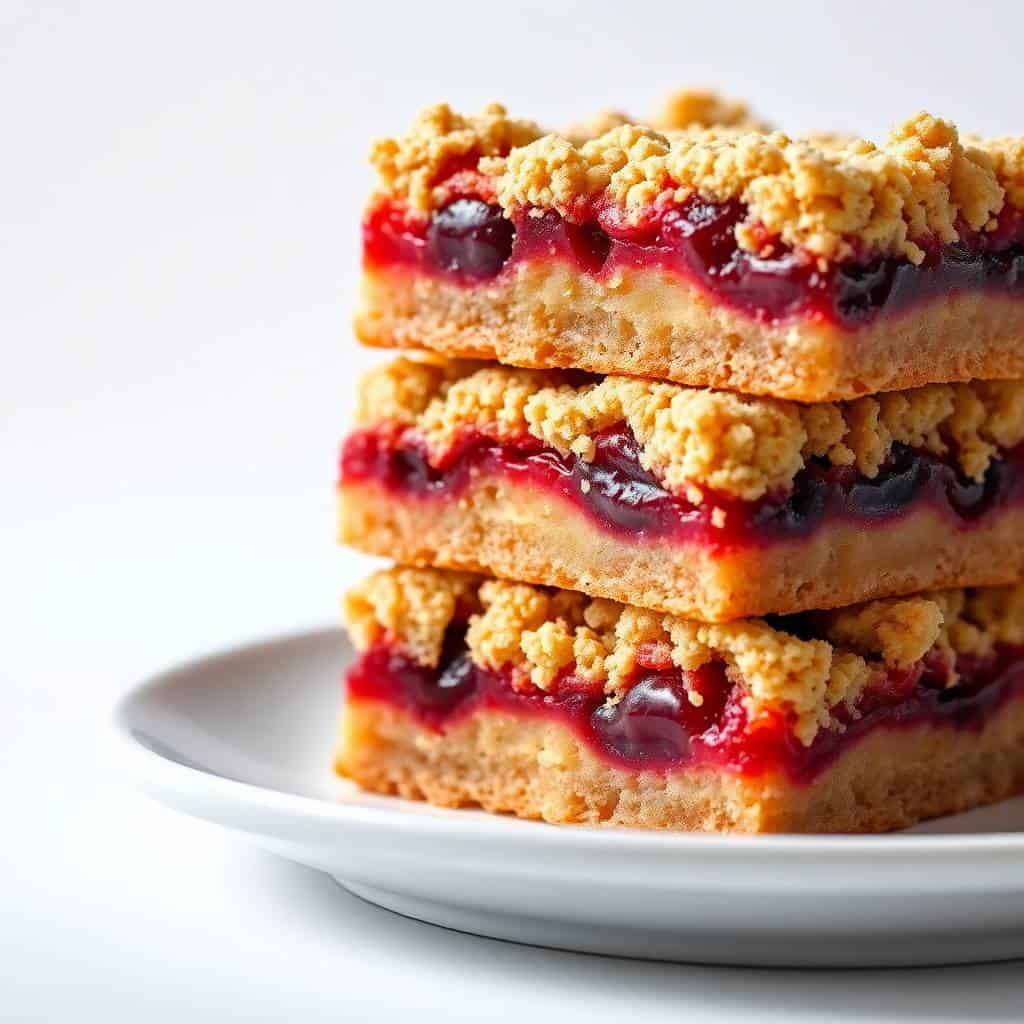
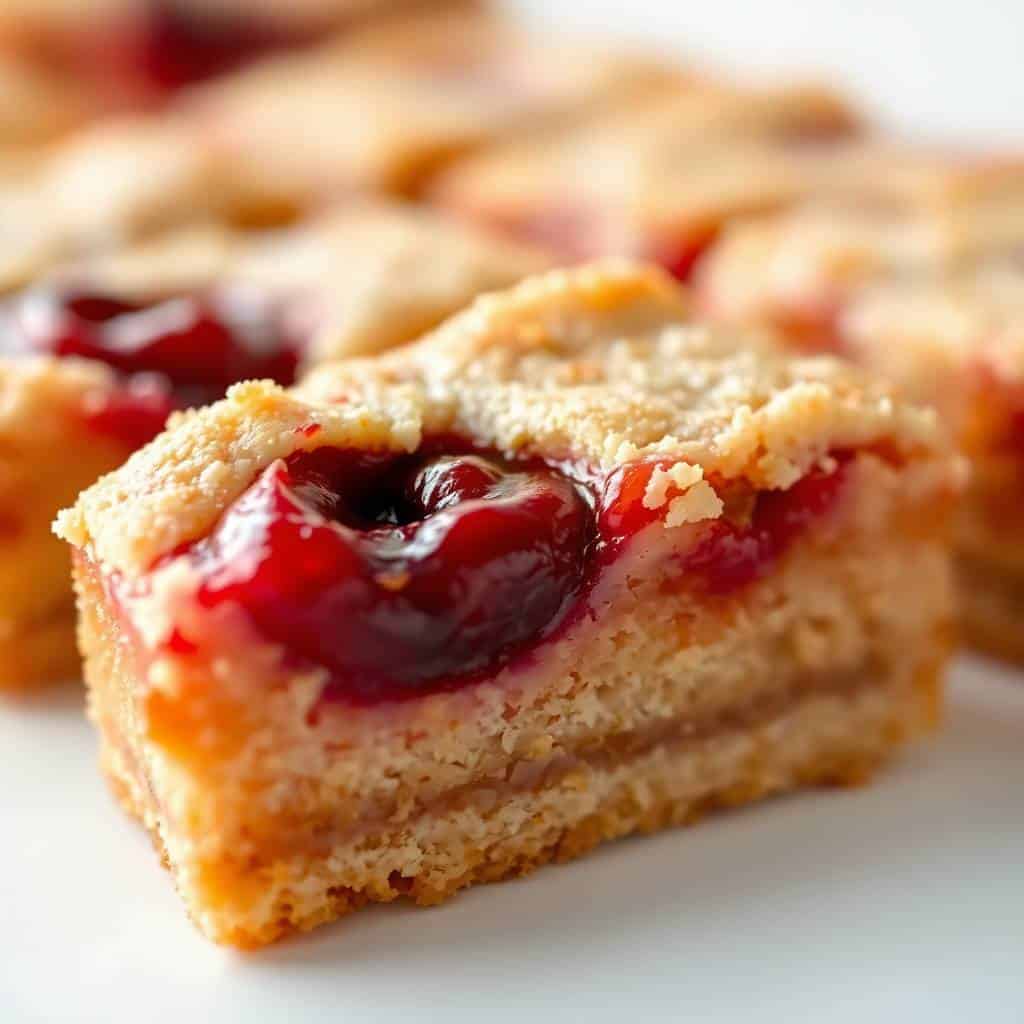
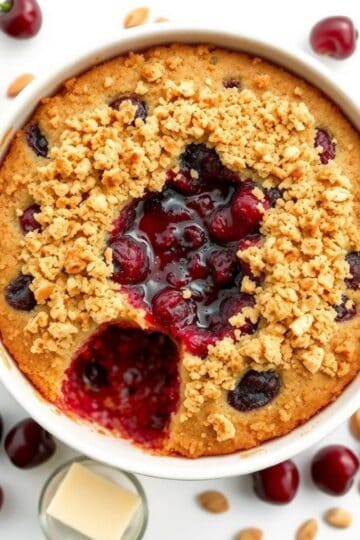
What I love about this recipe is that the batter does double duty — it's both the base and the topping. You spread most of it into the pan, spoon cherry pie filling over it, then drop spoonfuls of the remaining batter on top. It bakes into this soft, fruity, layered bar that looks like you put in way more effort than you actually did. The almond extract is the quiet secret here — it makes everything taste more intentional, more like something from a bakery window.
I make these every year in mid-December, usually alongside a batch of Raspberry Almond Shortbread Thumbprint Cookies for the holiday tray. The two together make for a pretty spread — red cherry, red raspberry, lots of buttery pastry. My husband eats both, my kids eat both, and I make a double batch because somehow a full sheet pan disappears by day two.
One practical thing to know going in: this recipe uses a 15x10-inch jelly roll pan, which is bigger than a standard 9x13. If you only have a 9x13, the bars will be thicker and will need a few extra minutes in the oven. Watch for a golden top and a clean toothpick — that's your signal, not the clock.
Why You'll Love This Recipe
- One batter, no rolling: There's no chilling dough or cutting shapes — you just make the batter, spread it, add filling, and drop spoonfuls on top. I don't own a stand mixer, so I cream the butter and sugar by hand with a wooden spoon, and it works completely fine. The whole thing is in the oven within 20 minutes of starting.
- That almond-cherry combination: The first time I made these I used only vanilla and they were good but a little flat. Adding almond extract changed everything — it gives the bars a warmth that pairs beautifully with tart cherry filling. If you've never baked with almond extract, this is a good recipe to start with because the amount is small and the effect is big.
- They actually travel well: I've packed these into a tin and driven them across town for a Christmas gathering and they arrived looking great. The glaze sets firm enough that the bars don't stick together if you layer them with parchment. That's more than I can say for most holiday cookies, which crumble in the car before I even park.
- Make them ahead without stress: I almost always bake these a day before I need them. The texture settles overnight and honestly improves — the base firms up slightly and the cherry filling soaks in just a little. I add the glaze the morning of, which takes about three minutes.
- The glaze is simple but it matters: Powdered sugar, a little milk, a splash of vanilla. It takes the bars from "baked good" to "holiday dessert" visually. I've also done a lemon glaze version and that's really good too — more on that in the Variations section below.
Ingredients
- 1 cup (2 sticks) unsalted butter, softened to room temperature
- 1¾ cups granulated sugar
- 4 large eggs
- 1 teaspoon vanilla extract
- 1 teaspoon almond extract (use ½ teaspoon if you want it more subtle)
- 3 cups all-purpose flour
- 1 teaspoon salt
- 2 cans (21 oz each) cherry pie filling (I use the Comstock brand from Walmart — works great)
- For the glaze:
- 1 cup powdered sugar
- 2–3 tablespoons milk (add gradually to reach drizzle consistency)
- ½ teaspoon vanilla extract
Directions
- Step 1: Preheat and prep your pan — Heat your oven to 350°F (175°C). Grease a 15x10-inch jelly roll pan and line it with parchment paper, leaving a little overhang on the sides. That overhang will let you lift the whole slab out cleanly once it cools.
- Step 2: Cream the butter and sugar — In a large bowl, beat the softened butter and granulated sugar together until light and fluffy — about 3 to 4 minutes by hand or 2 minutes with a hand mixer. Don't rush this step; proper creaming gives the bars a tender, slightly cakey texture rather than a dense one.
- Step 3: Add eggs and extracts — Add eggs one at a time, mixing well after each. Then add both the vanilla and almond extracts. The batter will look a little glossy and that's exactly right.
- Step 4: Mix in flour and salt — Add the flour and salt gradually, stirring until just combined. Stop when you don't see any dry flour — overmixing will make the bars tough. The batter will be thick, almost like a soft sugar cookie dough.
- Step 5: Assemble the layers — Spread two-thirds of the batter into your prepared pan in an even layer. It's thick and a little sticky, so wet your fingers or use the back of a spoon dipped in water to press it out. Spoon both cans of cherry pie filling evenly over the batter. Drop the remaining batter in small spoonfuls across the top — don't try to spread it, just dot it around. It will spread slightly as it bakes and that uneven, rustic top is exactly what you want.
- Step 6: Bake — Bake for 35 to 40 minutes, until the top is light golden and a toothpick inserted in a batter-heavy spot comes out clean. Let the bars cool completely in the pan before doing anything else — at least 1 hour. I know it's hard to wait, but cutting them warm means the cherry filling runs everywhere and the bars fall apart.
- Step 7: Glaze and slice — Whisk together powdered sugar, milk (start with 2 tablespoons), and vanilla until smooth. You want it thin enough to drizzle but not so thin it disappears. Drizzle over the cooled bars, let it set for 15 to 20 minutes, then slice into squares and serve.
Tips for Success
- Butter temperature really matters here: The batter needs properly softened butter — not melted, not cold from the fridge. Melted butter will make the bars greasy and flat. I leave butter out on the counter for about an hour before I start. If I forget, I cut it into small cubes and let it sit for 20 minutes — it softens faster that way.
- Don't skip the parchment: I skipped it once when I ran out and deeply regretted it. Cherry filling bakes onto the pan edges and makes the bars nearly impossible to remove cleanly. Parchment paper is a dollar at any grocery store and it makes the whole job so much easier. Use it every time.
- Cool completely before slicing: This is the tip I want to shout from the rooftops. Warm cherry bars look done but they're structurally a mess inside — the filling is still liquid and it will pour out when you cut. I've ruined a pan this way. Give it at least an hour at room temperature, or 30 minutes in the fridge if you're in a hurry.
- Use a sharp knife and wipe between cuts: Cherry filling is sticky and will drag if your knife isn't clean. I run a long sharp knife under hot water, dry it, make one cut, wipe it clean, and repeat. It's a small extra step that makes the bars look much neater, especially if you're putting them on a holiday tray.
- Add the glaze right before serving (or gifting): The glaze sets firm within about 20 minutes but can get slightly tacky again in a sealed container overnight. If I'm making these ahead, I bake and cool the bars without the glaze, then drizzle it the morning I plan to serve or pack them. Takes two minutes and they look freshly made.
Variations
- Lemon glaze instead of vanilla: Swap the vanilla in the glaze for 1 tablespoon fresh lemon juice. The slight tartness cuts through the sweetness of the cherry filling and makes the whole thing taste brighter. This is actually my favorite version when I'm serving adults — the kids always request the plain vanilla glaze, but the lemon one gets more compliments at gatherings.
- Raspberry or blueberry filling: Use raspberry or blueberry pie filling in place of cherry and the recipe works exactly the same. Raspberry makes these look a little more purple than red, which is still festive. My husband actually prefers the blueberry version. If you want to stay in the red-and-green Christmas palette though, cherry is the one.
- Add chopped nuts to the topping: Scatter ½ cup of chopped pecans or slivered almonds over the top batter before baking. The nuts toast in the oven and add a nice crunch against the soft cherry filling. If you're putting these in a gift box, nuts can be an issue for allergies — good to mention or keep a plain batch separate.
- Stronger almond flavor: If you love the cherry-almond combination (and once you try it, you will), increase the almond extract from 1 teaspoon to 1½ teaspoons. It gives the bars a marzipan-adjacent flavor that pairs really well with cherry. This is not traditional — it's my own preference — but it gets asked about every time I bring these somewhere.
- Holiday sprinkles on the glaze: Before the glaze sets, scatter red and green nonpareils or sanding sugar over the top. It takes about ten seconds and makes the bars look like something from a Christmas bakery counter. Zainab handles this step in our house and takes it very seriously.
Serving and Storage
Serving
These bars work on a holiday cookie tray alongside something like Italian Nut Roll Cookies — the contrast of textures is really nice. They're also great with a warm drink; I serve them at Christmas brunches with coffee or alongside a Santa's Hat Shirley Temple for the kids. Cut them into squares for a tray, or rectangles if you're stacking them in a gift tin. Either way, slice them at room temperature, not cold — the batter base is much easier to cut when it hasn't been chilled.
Storage
Store in an airtight container at room temperature for up to 3 days. If your kitchen runs warm, refrigerate them — they'll keep well for up to 5 days in the fridge. To freeze: layer the sliced bars between sheets of parchment paper in a freezer-safe container and freeze for up to 2 months. I'd recommend glazing them after thawing rather than before freezing, since the glaze can look a little patchy once frozen and thawed. Thaw overnight in the fridge or at room temperature for about an hour.

Frequently Asked Questions
Can I use homemade cherry filling instead of canned?
Yes, homemade works great. Use about 4 cups of filling total to replace the two cans. Just make sure it's thick enough — if it's too runny, it'll seep into the batter and make the base soggy. A well-thickened homemade filling with cornstarch gives you a cleaner result and a fresher cherry flavor.
Can I freeze these bars?
Absolutely. Slice the cooled bars, layer them between parchment paper in a freezer-safe container, and freeze for up to 2 months. I suggest freezing without the glaze and adding it fresh after thawing — takes two minutes and they look much better that way. Thaw overnight in the fridge or at room temperature for an hour before serving.
What if I don't have a 15x10-inch pan?
A standard 9x13-inch pan works — your bars will just be thicker. Plan to add about 5 to 8 extra minutes of bake time and test with a toothpick rather than relying on the timer. The top should be golden and a toothpick inserted in a batter spot (not a cherry spot) should come out clean.
Can I leave out the almond extract?
Yes, you can use all vanilla extract if you don't have almond or if someone in your household has a tree nut sensitivity. The bars are still good without it. That said, almond extract is what makes these taste distinctly holiday-ish to me — it's worth picking up a small bottle if you can. It's inexpensive and lasts a long time.
How do I stop the bottom from going soggy?
Two things help: first, make sure the bottom batter layer is spread thick enough to form a real base before adding the filling. Second, and this is the big one — let the bars cool completely before cutting. Cutting warm means the filling is still liquid and it saturates the base. Give them a full hour at room temperature minimum. Once fully cooled and set, the bottom stays firm.
Let's Wrap This Up
These bars have been on my December baking list for a few years now and I don't see them leaving anytime soon. They're one of those recipes that looks more involved than it actually is, which makes them satisfying to bring somewhere — people assume you worked harder than you did. The batter is simple, the assembly is quick, and the result is genuinely festive without requiring any special skills or equipment.
If you're building a holiday dessert tray this year, these pair really well with something chocolatey — I often make a batch of Christmas Fudge with Chocolate and Candy Cane the same weekend and the two together cover the whole table beautifully. Different textures, different flavors, both unmistakably Christmas.
I'll say again: don't skip the almond extract, don't cut them warm, and don't forget the parchment paper. Those three things are the difference between bars that photograph beautifully and bars that end up as a crumbly mess you eat with a spoon from the pan. (I've done the spoon version. It's still delicious. But the tray version is better.) 🍒✨
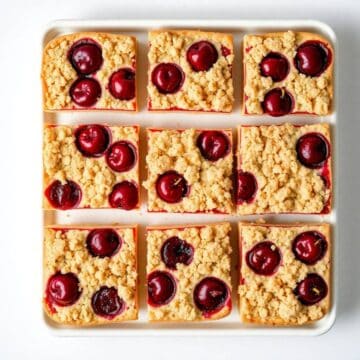
CHRISTMAS CHERRY BARS
Ingredients
- 1 cup unsalted butter softened
- 2 cups granulated sugar
- 4 large eggs
- 1 teaspoon vanilla extract
- 3 cups all-purpose flour
- 1 teaspoon salt
- 2 cans 21 oz each cherry pie filling
- ½ teaspoon almond extract optional
- Powdered sugar for dusting optional
Instructions
Preheat Oven:
- Preheat your oven to 350°F (175°C). Grease and flour a 15x10-inch baking pan.
Make the Batter:
- In a large bowl, cream the butter and sugar until light and fluffy. Beat in the eggs one at a time, then add vanilla (and almond extract, if using). Gradually mix in flour and salt.
Assemble Bars:
- Spread ⅔ of the batter into the prepared pan. Spoon cherry pie filling evenly over the batter. Drop the remaining batter by spoonfuls over the top.
Bake:
- Bake for 35–40 minutes or until the top is lightly golden. Cool completely in the pan.
Serve:
- Once cooled, dust with powdered sugar if desired. Cut into bars and serve.
Notes
Bake and cool the bars completely, then store them in an airtight container at room temperature for up to 3 days. Customizing the Flavor:
Swap cherry filling with blueberry or raspberry for a twist. Add a drizzle of icing for an extra festive touch. Serving Suggestions:
Serve on holiday platters, at cookie exchanges, or with coffee for a cozy winter dessert. Allergy-Friendly Options:
To make dairy-free, substitute butter with plant-based alternative. Storage Tips:
Keep leftover bars in a sealed container. For longer storage, freeze in layers with parchment paper for up to 2 months.
If you're in holiday baking mode, here are a few more recipes worth making this December:
- Raspberry Almond Shortbread Thumbprint Cookies — great on the same tray as these bars
- Christmas Fudge with Chocolate and Candy Cane — no-bake, makes a beautiful gift
- Italian Nut Roll Cookies — a little more work but worth every minute
- Puff Pastry Pecan Pie Bites — for when you want something a little more grown-up


Comments
No Comments