
My kids could smell the caramel from their bedroom. That's how I knew this recipe was working — Zainab wandered into the kitchen mid-bake and stood there asking if it was done yet, every three minutes, until I finally pulled the pan out of the oven.
These salted caramel butter bars are basically a shortbread cookie that decided to be more ambitious. The dough does double duty — you press half of it into the pan as the base, then crumble the rest on top over a layer of melted caramel. The result is this gooey, sandy, salty-sweet thing that holds together when chilled but still feels soft when you bite into it. The salt on top is not optional, by the way. It's what makes the caramel taste like caramel instead of just sugar.
I make these whenever I need a dessert that looks impressive but doesn't require me to do anything difficult. They show up at school events, Eid gatherings, and occasionally on a Tuesday night because someone asked nicely. If you like the idea of a rich, buttery bar with a gooey middle, you might also enjoy my Lucknow Style Shahi Tukra — it hits that same indulgent sweet spot from a completely different direction.
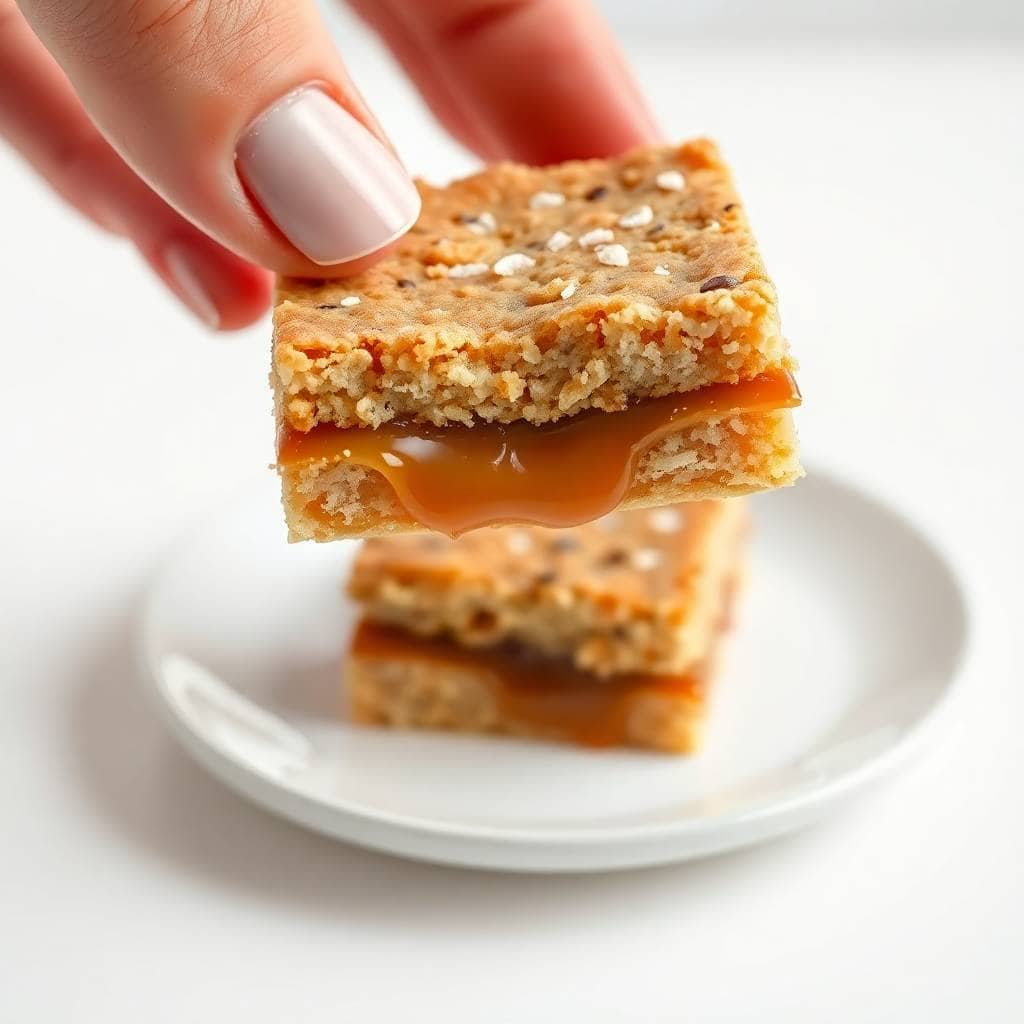
One thing I want to set expectations on: you cannot rush the cooling step. I tried once. The bars collapsed into a caramel puddle the moment I cut them. Chill them fully — at least an hour in the fridge — and they slice cleanly. I know that's annoying when you want one right now, but it's genuinely the difference between a bar and a mess.
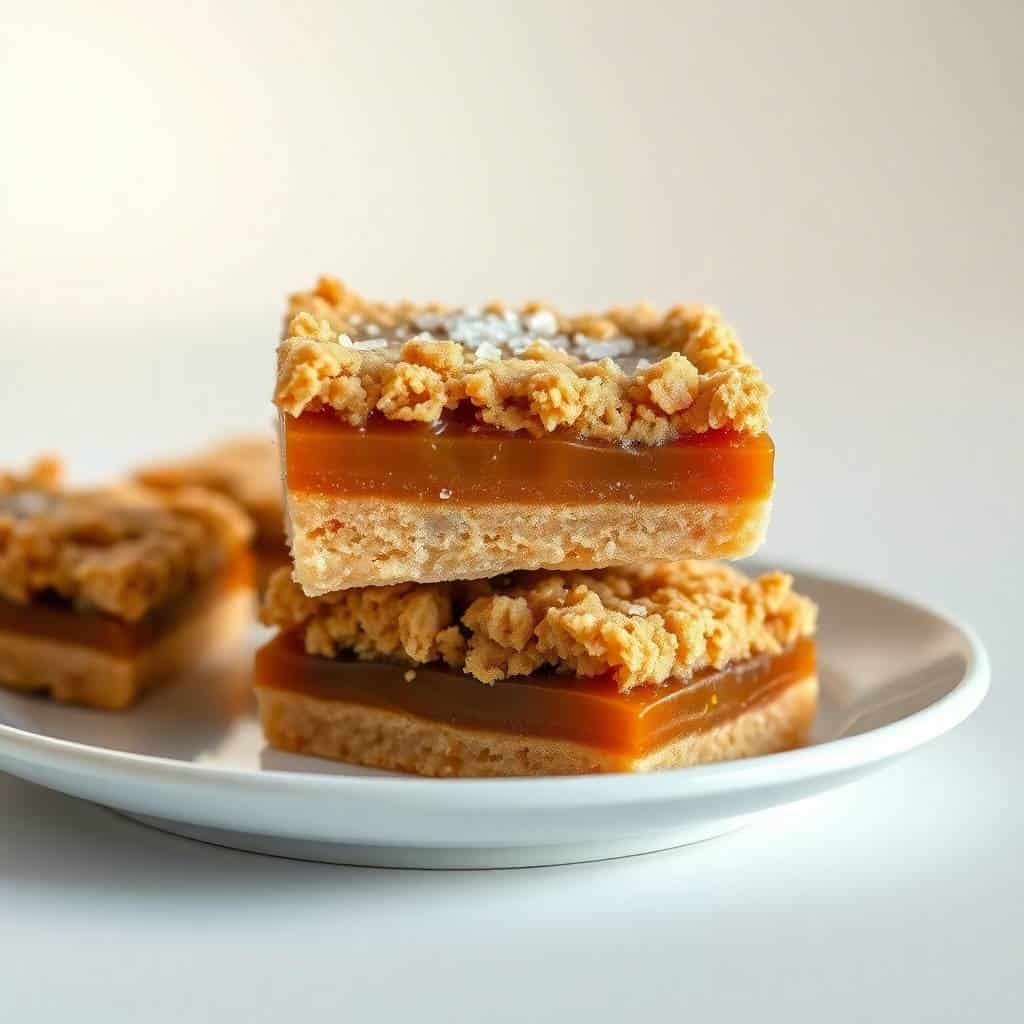
Why You'll Love This Recipe
- One dough, two jobs: The same simple shortbread dough forms both the base and the crumble topping, which means less work and fewer bowls. I like recipes that pull double duty like this. You mix it once, divide it, and you're done with the dough part in about ten minutes.
- No electric mixer required: I don't use a stand mixer for this. A wooden spoon and some patience is all you need — the butter softens enough that it blends into the sugar easily by hand. This is genuinely a one-bowl recipe if you want it to be.
- The caramel layer is forgiving: Melting bagged caramels with a splash of heavy cream is hard to mess up. You stir over low heat until smooth, pour it over the crust, and that's it. No candy thermometer, no tempering, no drama. I use the Kraft caramel bits from Walmart — they melt fast and smooth every time.
- They get better overnight: I've made these the morning of an event and also the night before, and the night-before version is noticeably better. The layers set up, the flavors come together, and the bars slice without falling apart. Make-ahead desserts are honestly my favorite kind.
- Freezer-friendly: I always make a double batch because a single 8x8 pan disappears in one sitting at my house. Wrap individual bars in plastic wrap, put them in a zip-top bag, and freeze. Pull one out whenever you need something sweet — they thaw in about 20 minutes on the counter.
Ingredients
- 1 cup unsalted butter, softened to room temperature
- ⅔ cup powdered sugar
- 2 cups all-purpose flour
- 1 teaspoon vanilla extract
- ½ teaspoon salt
- 1 bag (11 oz) soft caramels, unwrapped (or caramel bits — I use Kraft)
- ¼ cup heavy cream
- ½ teaspoon sea salt flakes, for topping (Maldon works great, or any flaky sea salt)
Directions
- Preheat and prep your pan: Heat your oven to 350°F (175°C). Line an 8x8-inch baking pan with parchment paper, leaving some overhang on the sides — you'll use this to lift the bars out cleanly later. No parchment means a real struggle when you try to cut them, so don't skip it.
- Make the shortbread dough: In a large bowl, beat the softened butter and powdered sugar together until smooth and a little fluffy. Add the vanilla, then mix in the flour and salt gradually until a soft dough comes together. It'll look crumbly at first — keep mixing and it will come together. If your butter was cold, this will take more elbow grease. Let it sit out 20 minutes if you forgot to soften it.
- Press in the base and pre-bake: Press roughly half the dough (about two-thirds if you want a thicker base, which I prefer) into the bottom of the pan in an even layer. Bake for 15 minutes until the edges just start to turn lightly golden. Pull it out and let it sit for 5 minutes before adding the caramel.
- Make the caramel filling: While the crust pre-bakes, unwrap your caramels and combine them with the heavy cream in a small saucepan over medium-low heat. Stir constantly until fully melted and smooth — this takes about 5 minutes. Don't walk away; caramel can burn fast once it gets moving. Pour it evenly over the warm crust.
- Add the crumble top and bake: Crumble the remaining dough over the caramel layer in rough, uneven pieces — you want variety in the crumble texture, not a flat uniform layer. Return the pan to the oven and bake for another 20 minutes until the top is golden. The caramel will be bubbling at the edges, which is exactly right.
- Cool, salt, and chill: Let the bars cool completely at room temperature first — about 30 minutes — then sprinkle generously with sea salt flakes and transfer to the fridge for at least 1 hour before cutting. Use a sharp knife and wipe it clean between cuts for tidy squares.
Tips for Success
- Butter temperature matters more than you think: I learned this the hard way — I tried to rush it once and used butter that was still cold from the fridge. The dough never came together properly, it stayed crumbly, and the base layer cracked while baking. Leave it out for at least 30 minutes. If you forgot, microwave it in 5-second bursts until it gives a little when you press it but isn't melted.
- Don't overbake the top layer: The crumble should be golden — not brown. Once it starts to look done, it's done. Overbaking makes the shortbread layer sandy and dry instead of that soft, melt-in-your-mouth texture you want. Check it at 18 minutes the first time you make this.
- Use heavy cream, not milk: I tried substituting half-and-half once because I was out of cream. The caramel came out thinner and didn't set as firmly. Heavy cream gives you that thick, fudgy caramel layer that stays put when you slice. It's worth having on hand for this one.
- Add the sea salt after cooling, not before: I used to sprinkle the salt right after the bars came out of the oven. It dissolved into the surface and disappeared. Sprinkling it after the bars cool means it sits on top visibly, gives you that crunchy salty bite, and actually looks pretty too. Flaky Maldon salt is my go-to here — you can find it at most grocery stores or Costco.
- Chill before cutting — always: I know I mentioned this already but I'm saying it again because it matters. Room temperature bars are soft and gooey, which is great for eating but terrible for slicing. An hour in the fridge firms the caramel enough that you get clean edges. If you're serving them warm, cut them while cold and then let them come to room temperature on the plate.
Variations
- Chocolate caramel version: Scatter a handful of mini chocolate chips over the caramel layer before adding the crumble top. They melt into the caramel as it bakes and make the whole thing taste like a Twix bar in the best possible way. Saad basically demanded I make this version permanently after the first time I tried it.
- Toasted pecan crumble: Mix ½ cup of roughly chopped toasted pecans into the crumble topping before scattering it over the caramel. The nuts add a crunch that cuts through the richness of the caramel layer. Walnuts work too if that's what you have.
- Brown butter dough: Brown your butter first before letting it cool and resolidify, then use it in the dough as normal. It adds a nutty, slightly toffee-like depth to the shortbread that pairs incredibly well with the caramel. It takes an extra 10 minutes but if you've never tried brown butter in baking, this recipe is a good place to start.
- Espresso shortbread: Add ½ teaspoon of instant espresso powder to the dough. You won't taste coffee exactly — it just deepens the flavor and makes the caramel taste more complex. This is my version for when I'm serving these to adults at a dinner party rather than to my kids after school.
- Gluten-free swap: A 1:1 gluten-free all-purpose flour blend (Bob's Red Mill or King Arthur both work well) substitutes directly here with no other adjustments needed. The texture is slightly more crumbly, but it still holds together once chilled. I've made this for a friend with gluten sensitivity and it went down just as well as the original.
Serving and Storage
Serving
These are good straight from the fridge, and they're also good slightly warm — just microwave an individual bar for about 10 seconds and the caramel gets gooey again. I usually serve them at room temperature because that's when the shortbread texture is at its softest. A scoop of vanilla ice cream on top turns them into a full dessert if you're feeding people after dinner. For a dinner menu idea that works well before this dessert, my Best Sloppy Joe Recipe is a crowd-friendly main that's easy to throw together on the same evening.
Storage
Store in an airtight container in the fridge for up to 5 days. Layer them between pieces of parchment if you're stacking them so they don't stick together. For freezing, wrap each bar individually in plastic wrap and put them in a zip-top freezer bag — they keep well for up to 3 months. Thaw at room temperature for 20–30 minutes or overnight in the fridge.
Frequently Asked Questions
Can I use homemade caramel instead of store-bought caramels?
Yes, but make sure it's thick enough to hold its shape — a runny caramel sauce will soak into the crust and make the bars soggy. If your homemade caramel is sauce-consistency, cook it down a little longer until it coats the back of a spoon thickly. Let it cool slightly before pouring so it doesn't melt the base layer.
Do these bars need to be refrigerated?
Yes, I'd recommend it. At room temperature they're fine for a few hours while serving, but the caramel softens and the bars get harder to cut cleanly. Refrigerating them keeps the layers firm and extends the shelf life to about 5 days. Pull them out 15 minutes before serving if you want them a little softer.
Can I make these in a 9x13 pan instead?
Yes — double the full recipe if you're using a 9x13. The layers will be similar in thickness to the 8x8 version, which is what you want. Add about 5 extra minutes to the final bake time and watch for that golden color on top rather than going strictly by the clock.
What's the best way to get clean slices?
Chill the bars for at least an hour in the fridge before cutting — this is the most important step. Use a sharp chef's knife (not a serrated one) and wipe the blade clean with a damp cloth between each cut. Pressing straight down rather than dragging the knife also helps keep the layers intact.
Can I freeze salted caramel butter bars?
Absolutely. Wrap each bar individually in plastic wrap, then store them in a zip-top freezer bag. They keep well for up to 3 months. I usually freeze them already cut so I can pull out one or two at a time instead of defrosting the whole batch. They thaw at room temperature in about 20–30 minutes.
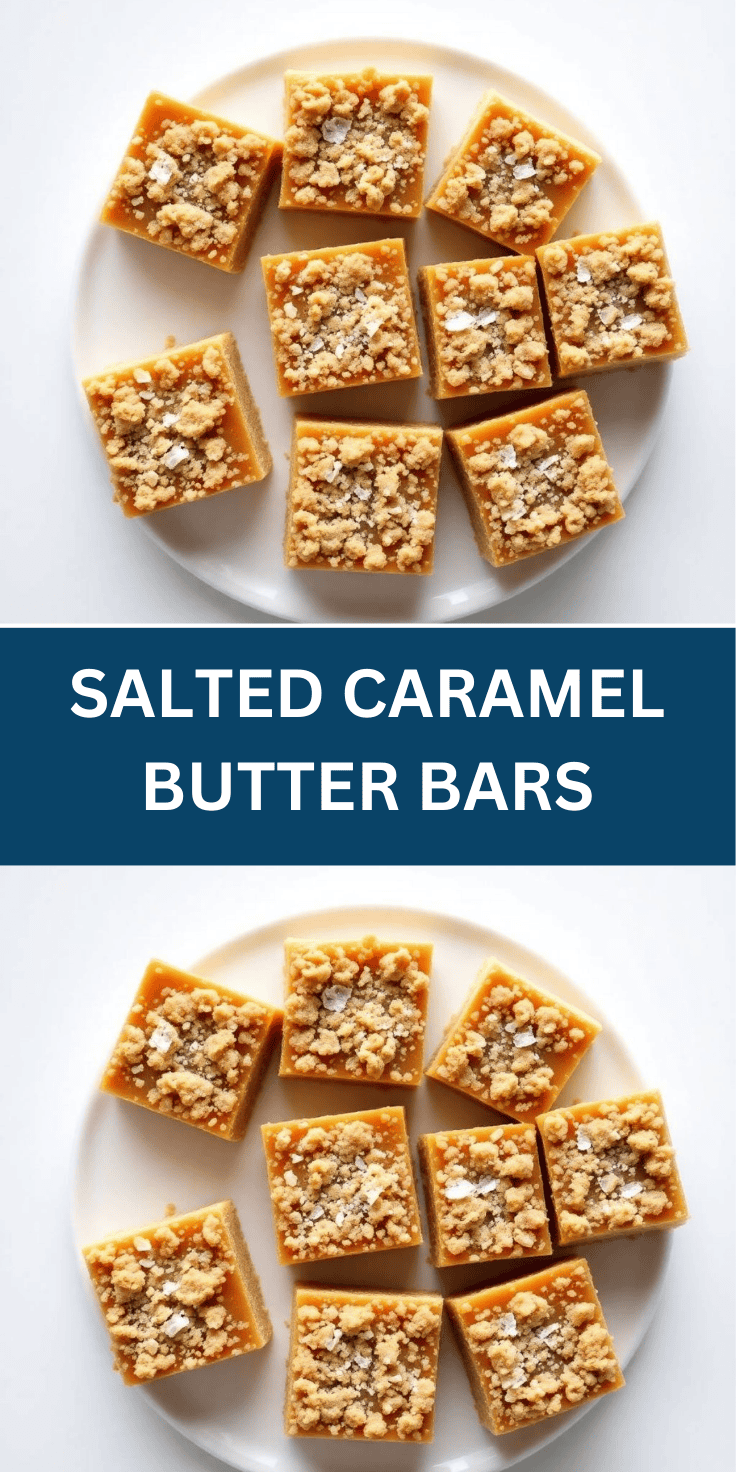
SALTED CARAMEL BUTTER BARS
Ingredients
- 1 cup unsalted butter softened
- ⅔ cup powdered sugar
- 2 cups all-purpose flour
- 1 teaspoon vanilla extract
- ½ teaspoon salt
- 1 bag 11 oz soft caramels, unwrapped
- ¼ cup heavy cream
- ½ teaspoon sea salt flakes for topping
Instructions
- Preheat oven to 350°F (175°C) and line an 8x8-inch baking dish with parchment paper.
- In a bowl, beat butter and powdered sugar until fluffy. Add flour, vanilla, and salt. Mix until a soft dough forms.
- Press half the dough into the baking dish. Bake for 15 minutes.
- Melt caramels with heavy cream in the microwave or on the stove until smooth. Pour over the baked crust.
- Crumble remaining dough over caramel layer. Return to oven and bake for 20 minutes until golden.
- Cool completely. Sprinkle with sea salt before cutting into bars.
Notes
- Make Ahead: Prepare and refrigerate up to 3 days in advance. Bars can also be frozen for up to 2 months.
- Customizing the Flavor: Try adding a sprinkle of chopped nuts or chocolate chips for extra texture.
- Serving Suggestions: Serve slightly warm for an extra gooey bite or pair with vanilla ice cream.
- Allergy-Friendly Options: Use gluten-free flour blend and dairy-free caramel if needed.
- Storage Tips: Store in an airtight container at room temperature for up to 4 days or refrigerate for longer freshness.
These bars have become one of those recipes I come back to over and over because they reliably work and reliably disappear. I've brought them to Eid parties, packed them into lunch boxes, and eaten one standing at the kitchen counter at midnight. They hold up across all those situations, which is more than I can say for a lot of desserts.
What I keep coming back to is how much the salt matters. Without it, these are good. With a proper pinch of flaky sea salt scattered on top after cooling, they taste like something from a bakery counter — that contrast between the salty crunch on top and the gooey caramel underneath is what makes them stick in your memory. Don't be shy with it.
If you're planning a dinner where you want dessert taken care of in advance, this is the recipe to reach for. Make them the night before, chill overnight, and they're ready to slice and serve the next day with zero effort. Pair them with something like my Christmas Tree Pizza for a fun, low-stress family dinner night — the kids get excited about both.
I hope these become a regular in your kitchen the way they've become one in mine. Zainab still asks for them at least once a month, which is basically her highest form of approval. 🍯✨
If you liked this recipe, here are a few more from my kitchen you might enjoy:
- Lucknow Style Shahi Tukra — a rich, syrupy South Asian dessert worth knowing
- Best Sloppy Joe Recipe — a reliably easy weeknight dinner
- Christmas Tree Pizza — a fun, kid-friendly dinner the whole table gets excited about
- Honey Garlic Butter Corn — a quick side that punches way above its weight





Comments
No Comments