
My dog Bruno has been the unofficial taste-tester in this house for three years, and I can tell you with full confidence that he has strong opinions about treats. He sniffs, he evaluates, and he either inhales it in one second or drops it on the floor and walks away. These parsley mint treats? He does not drop them on the floor.
I started making these because Bruno's breath was getting genuinely difficult to be around — and I didn't love the ingredient lists on the commercial dental treats at Walmart. Most of them have a dozen things I couldn't pronounce. This recipe uses oat flour, fresh herbs, an egg, and coconut oil. That's it. The parsley and mint do the heavy lifting on breath freshening, and the texture of the baked treat gives his teeth something to work against.
Saad thinks it's hilarious that I bake for the dog with the same baking trays I use for his cookies. Fair point. But the kids actually love helping with these — we use small bone-shaped cutters we picked up for a couple of dollars, and the whole thing takes maybe 40 minutes start to finish. I usually make a double batch on Sunday and freeze half of them so we always have some on hand. If you're looking for something simple to bake this weekend, I've got thumbprint cookies with icing for the humans and these for the dog — everyone in this house is covered.
One thing I'll say upfront: these are not a replacement for actual dental care. Bruno still sees the vet, and I still (try to) brush his teeth, which he tolerates with deep resignation. These treats support that routine — they're not a substitute for it. But as a daily snack that also happens to freshen his breath, they've become a regular part of how I care for him.
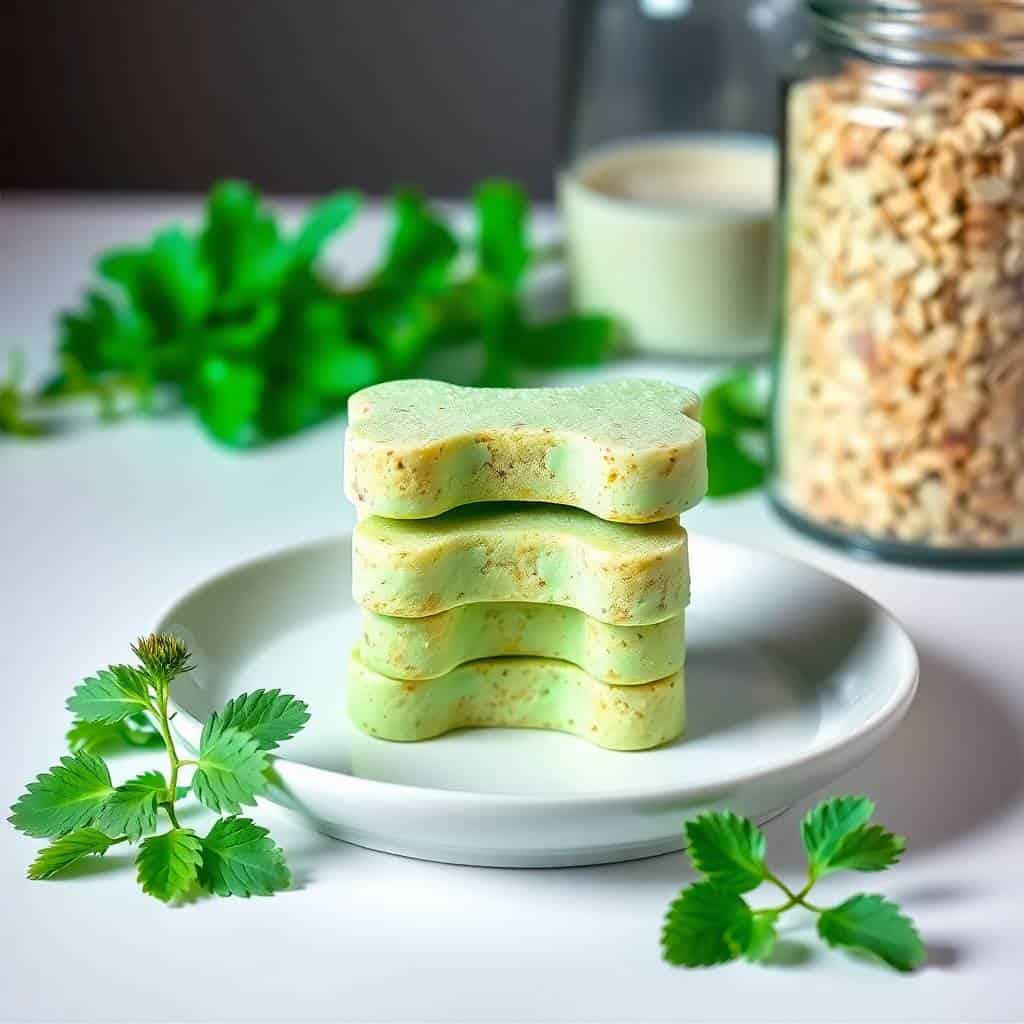
Why You'll Love This Recipe
- You know exactly what's in it: The commercial dental treats I used to buy had ingredient lists that went on forever — corn syrup derivatives, artificial flavors, things I'd never heard of. This recipe has six ingredients, all of which I keep in my kitchen anyway. Oat flour, fresh herbs, an egg, coconut oil, and a bit of water. That's genuinely it. There's something really satisfying about knowing every single thing your dog is eating.
- The breath improvement is real: I noticed a difference within the first week of giving Bruno one treat a day. Parsley is a natural deodorizer — it works on dogs the same way it works when you chew it after a garlicky meal. Mint adds to that. It's not a miracle, but it genuinely makes close-up dog snuggles more pleasant, and in this house that matters.
- Freezes beautifully: I make a double batch every few weeks and freeze most of them in a zip-lock bag. They thaw in about ten minutes at room temperature, or I just pull one out the night before. This means I'm not baking constantly but Bruno still gets fresh treats regularly. The texture holds up really well after freezing — they come out just as firm as the day I baked them.
- Cheaper than store-bought dental treats: The dental chews I used to pick up at PetSmart were running me about $15 for a small bag. A batch of these costs almost nothing — oat flour is cheap, fresh herbs are cheap, and everything else is already in my pantry. Over a month, the savings actually add up.
- Easy to adapt for dogs with sensitivities: If your dog has a grain sensitivity, swap the oat flour for coconut flour or brown rice flour — both work. If they're not a fan of mint (some dogs aren't), you can lean heavier on the parsley and reduce the mint. The base recipe is flexible enough that you can adjust it without the whole thing falling apart.
Ingredients
- 1 ½ cups whole wheat flour (or oat flour for a gluten-free option)
- ½ cup rolled oats
- 1 tablespoon dried parsley (or 3 tablespoons fresh, finely chopped)
- 1 tablespoon dried mint (or 3 tablespoons fresh, finely chopped)
- ¼ cup grated carrot or apple (optional, but Bruno loves the carrot version)
- 1 egg
- ⅓ cup water (add a little more if your dough is too dry)
- 2 tablespoons coconut oil, melted
Directions
- Preheat your oven: Set it to 325°F (160°C) and line a baking sheet with parchment paper. A regular sheet pan from any store works perfectly here — nothing fancy needed.
- Mix the dry ingredients: Combine the flour, rolled oats, parsley, and mint in a large bowl and stir to distribute everything evenly. If you're using fresh herbs, chop them as finely as you can — larger pieces don't distribute as well through the dough.
- Add the wet ingredients: Add the egg, melted coconut oil, and grated carrot or apple if you're using it. Stir everything together. It'll look crumbly at first — that's normal. Start adding the water one tablespoon at a time and mix until you get a dough that holds together when you press it. You may not need all the water, or you might need a splash more depending on your flour.
- Roll and cut: Place the dough between two sheets of parchment paper and roll it out to about ¼ inch thickness. Cut into shapes using cookie cutters or just a sharp knife into small squares. Keep them small — about the size of a large grape for a medium dog, smaller if you have a small breed.
- Bake: Place the cut treats on your prepared baking sheet and bake for 20–25 minutes, until the edges are lightly golden and the treats feel firm when you press them. They'll crisp up further as they cool, so don't overbake.
- Cool completely before serving: This part matters — I made the mistake of giving Bruno a warm one the first time, and he burned his tongue a little. Let them cool fully on the tray before transferring to a container or offering one to your dog.
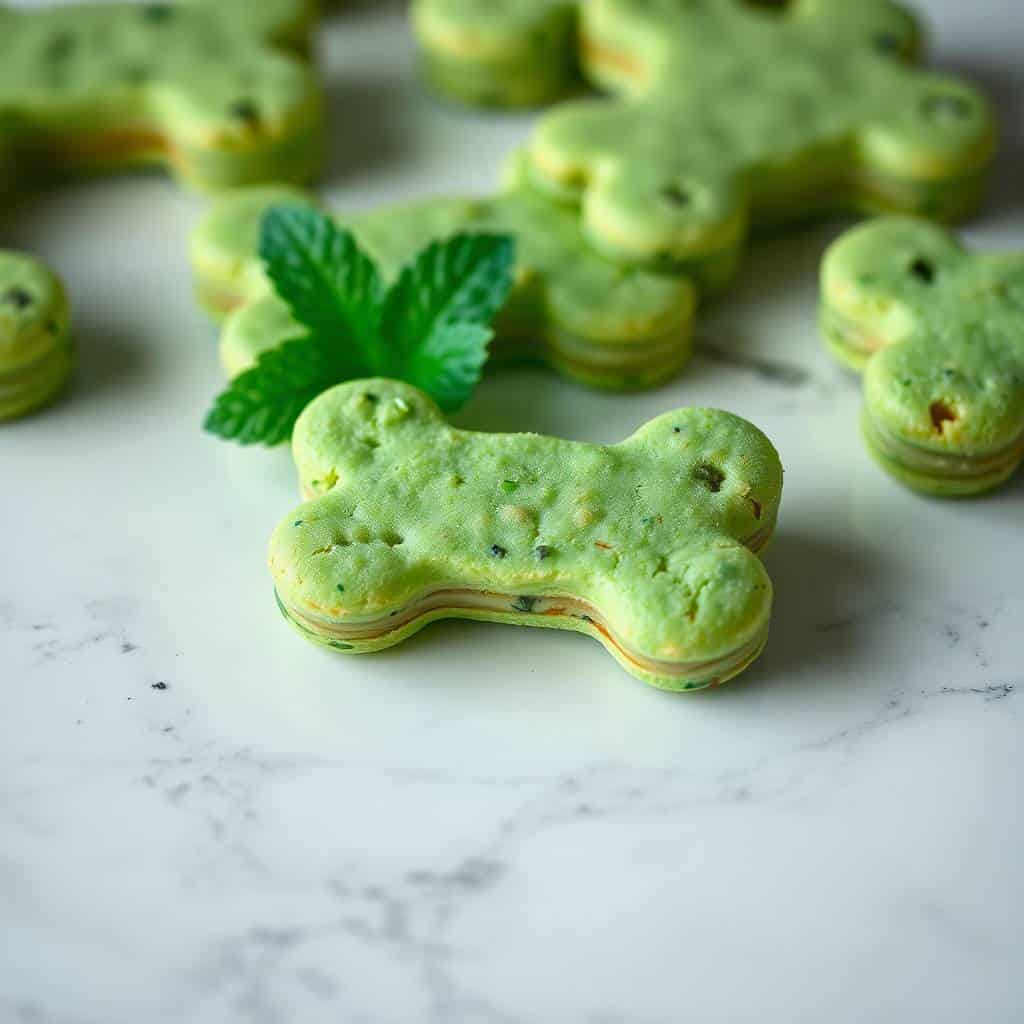
Tips for Success
- Add water slowly: The dough texture is everything with these. Too dry and the treats crumble when you cut them. Too wet and they don't firm up properly in the oven. I add the water one tablespoon at a time, mixing between each addition. You want a dough that you can press together without it sticking to your hands — similar to shortcrust pastry if you've made that before.
- Don't skip the parchment paper: The first time I made these I just greased the pan and several treats stuck to the bottom and broke apart when I tried to lift them. Parchment paper is the move. If you want even easier cleanup and perfectly uniform shapes, silicone molds work great too — I use cheap ones I picked up for a few dollars.
- Let them cool on the tray, not on a rack: The residual heat from the baking sheet continues to dry out the treats after you pull them from the oven, which makes them firmer. I used to transfer mine straight to a cooling rack and they stayed a bit softer than I wanted. Leaving them on the pan for 10–15 minutes before moving them made a real difference.
- Fresh herbs over dried when possible: Dried herbs work fine — I use them when I don't have fresh — but the flavor and the breath-freshening effect is noticeably stronger with fresh parsley and mint. If your grocery store carries fresh herbs in the produce section (most Walmarts and Krogers do), it's worth using them. Just chop everything very finely so it distributes evenly through the dough.
- Label the container clearly: This sounds silly but I once had my neighbor reach into what she thought was a cookie container at my house. These look genuinely like small cookies. A piece of masking tape that says "dog treats" on the container saves everyone an unpleasant surprise.
Variations
- Add grated carrot or apple: This is my favorite version. The carrot adds a natural sweetness that Bruno is obsessed with, plus it gives the dough a little more moisture so it rolls out more easily. Just use ¼ cup of finely grated carrot or peeled apple. Make sure to remove the apple seeds — they're not safe for dogs in larger quantities.
- Replace water with bone broth: Low-sodium bone broth instead of plain water makes these noticeably more appealing to dogs — the smell alone will have them hovering around the kitchen while they bake. Just make sure it's unseasoned and genuinely low-sodium. The Swanson low-sodium chicken broth from most grocery stores works, or you can use homemade.
- Add a pinch of turmeric: A small pinch — and I mean small, about ⅛ teaspoon — adds anti-inflammatory properties and turns the treats a pleasant golden color. I wouldn't add more than that; turmeric is potent and can upset a dog's stomach in large amounts. But a tiny bit is perfectly fine and makes the treats look quite beautiful.
- Swap in canned pumpkin: Replace 2 tablespoons of the water with plain canned pumpkin (not pumpkin pie filling — just pure pumpkin). It adds fiber, which is good for digestion, and a flavor that most dogs find irresistible. It also makes the dough slightly easier to work with.
- Grain-free version: If your dog has a sensitivity to wheat or oats, substitute with coconut flour or brown rice flour. Note that coconut flour absorbs liquid differently — you'll likely need to reduce it to about 1 cup and add a bit more water to get the right dough consistency. It takes a little adjusting but it does work.
Serving and Storage
Serving
I give Bruno one or two of these a day, usually after his morning walk. For a medium-sized dog, one treat a day is a reasonable starting point — adjust based on your dog's size and what else they're eating. Always have fresh water available when you're giving treats. If you have a tiny dog, cut the treats into halves or use a smaller cutter when shaping the dough so the portions are appropriate.
Storage
Store in an airtight container in the fridge for up to one week. Because these don't have preservatives, they do go soft faster than commercial treats if left at room temperature, so the fridge is genuinely the better option. For longer storage, freeze them in a single layer on a sheet pan first, then transfer to a zip-lock freezer bag — they'll keep for up to three months. Pull out however many you need the night before, or let them thaw on the counter for about 10 minutes.

Frequently Asked Questions
Are parsley and mint actually safe for dogs?
Yes, in the amounts used in this recipe they're both safe. Parsley is commonly recommended for freshening dog breath and supporting digestion. Mint is also fine in small quantities. The important thing is to stick to the amounts listed — large quantities of certain herbs can cause issues, but one or two treats a day with a tablespoon of dried herbs spread across the whole batch is well within a safe range. If your dog has existing health conditions, it's always worth a quick check with your vet.
Can I use dried herbs instead of fresh?
You can, and I do when I don't have fresh on hand. The rule of thumb is to use about a third of the amount — so if the recipe calls for 3 tablespoons of fresh parsley, use 1 tablespoon of dried. The WPRM recipe card at the bottom of this post is already written using dried herbs, which is why the quantities look smaller there. Either version works; fresh just gives a stronger result.
Can I make these grain-free?
Yes. Swap the whole wheat flour for coconut flour or brown rice flour. If you use coconut flour, reduce the amount slightly — it's much more absorbent than regular flour — and add water a little at a time until you get a workable dough. Brown rice flour is a more straightforward 1:1 substitute. Both versions bake up well; the texture might be slightly different but the treats hold together fine.
How often should I give these to my dog?
One to two treats a day is what I do with Bruno, who's a medium-sized dog. For a smaller dog, one smaller treat is enough. For a large dog, two is fine. These aren't a meal replacement — they're a supplement to their regular diet and dental routine. If your dog has specific dietary needs or health issues, your vet is the best person to ask about appropriate portions.
Do these replace brushing my dog's teeth?
No, and I want to be upfront about that. These support oral hygiene — the chewing action helps, and the herbs help with breath — but they don't do what a toothbrush does. I still brush Bruno's teeth a few times a week (he tolerates it about as well as you'd expect), and he still has his annual vet dental check. These treats are a good daily addition to that routine, not a replacement for it.
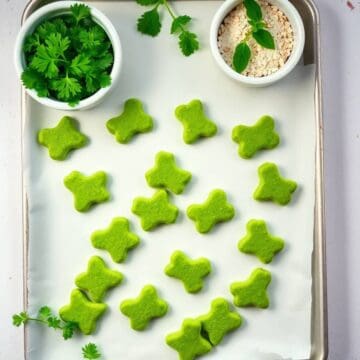
PARSLEY & MINT TEETH CLEANER TREATS
Ingredients
- 1 ½ cups whole wheat flour or oat flour for gluten-free
- ½ cup rolled oats
- 1 tablespoon dried parsley
- 1 tablespoon dried mint
- ¼ cup grated carrot or apple optional
- 1 egg
- ⅓ cup water
- 2 tablespoons coconut oil melted
Instructions
- Preheat oven to 325°F (160°C).
- Mix dry ingredients in a large bowl.
- Stir in grated carrot/apple, egg, water, and coconut oil until dough forms.
- Roll out dough and cut into shapes using cookie cutters.
- Bake for 20–25 minutes or until firm and lightly golden.
- Cool completely before serving or storing.
Notes
- Make Ahead: Store in an airtight container for up to 1 week, or freeze for up to 2 months.
- Customizing the Flavor: Add a bit of cinnamon or turmeric for extra benefits.
- Serving Suggestions: Use as a reward after brushing or as a daily fresh-breath snack.
- Allergy-Friendly Options: Use oat or rice flour for a grain-free version.
- Storage Tips: Store in a cool, dry place; freeze for longer shelf life.
I don't usually think of myself as someone who bakes for their dog with the same intentionality I bring to baking for my family — but honestly, these treats have become part of my regular Sunday routine. A batch takes less time than most of the cookies I make for the kids, and the payoff is real: Bruno's breath has genuinely improved, and he gets genuinely excited when he sees the baking tray come out.
What I appreciate most about this recipe is how easy it is to adjust. Some weeks I add the grated carrot. Other weeks I use bone broth instead of water when I have leftover broth from making my chicken and barley stew. The base stays the same and the variations keep it from feeling repetitive. For a dog treat, it's a surprisingly flexible recipe.
If you make these, let the treats cool completely before you give your dog one — I know it's tempting to skip that step, but warm treats are softer and don't give your dog the same chewing resistance that makes them useful for teeth. The full cool-down is worth the wait. Bruno disagrees with me on this, but I'm the one holding the treats so my opinion wins.
These are a small thing, but they're a good small thing — a few minutes of effort that genuinely makes Bruno happier and makes being close to him more enjoyable for everyone in this house. I hope your dog approves of them as much as he does. 🐾🌿
If you're on a baking roll this weekend, here are some recipes for the humans in your house too:
- Thumbprint Cookies with Icing (Buttery, Colourful Holiday Treats)
- Mini Cinnamon Roll Cheesecakes (Two Desserts in One Bite)
- Chocolate Croissant Cookies
- Chicken and Barley Stew Recipe
- Fried Cabbage with Bacon, Onion, and Garlic (20-Minute Side Dish)





Comments
No Comments