
These Lazy Girl Pecan Pie Bars are everything you love about traditional pecan pie—without the hassle of making a pie crust. If you're short on time but still want something decadent and delightful, this recipe is for you.
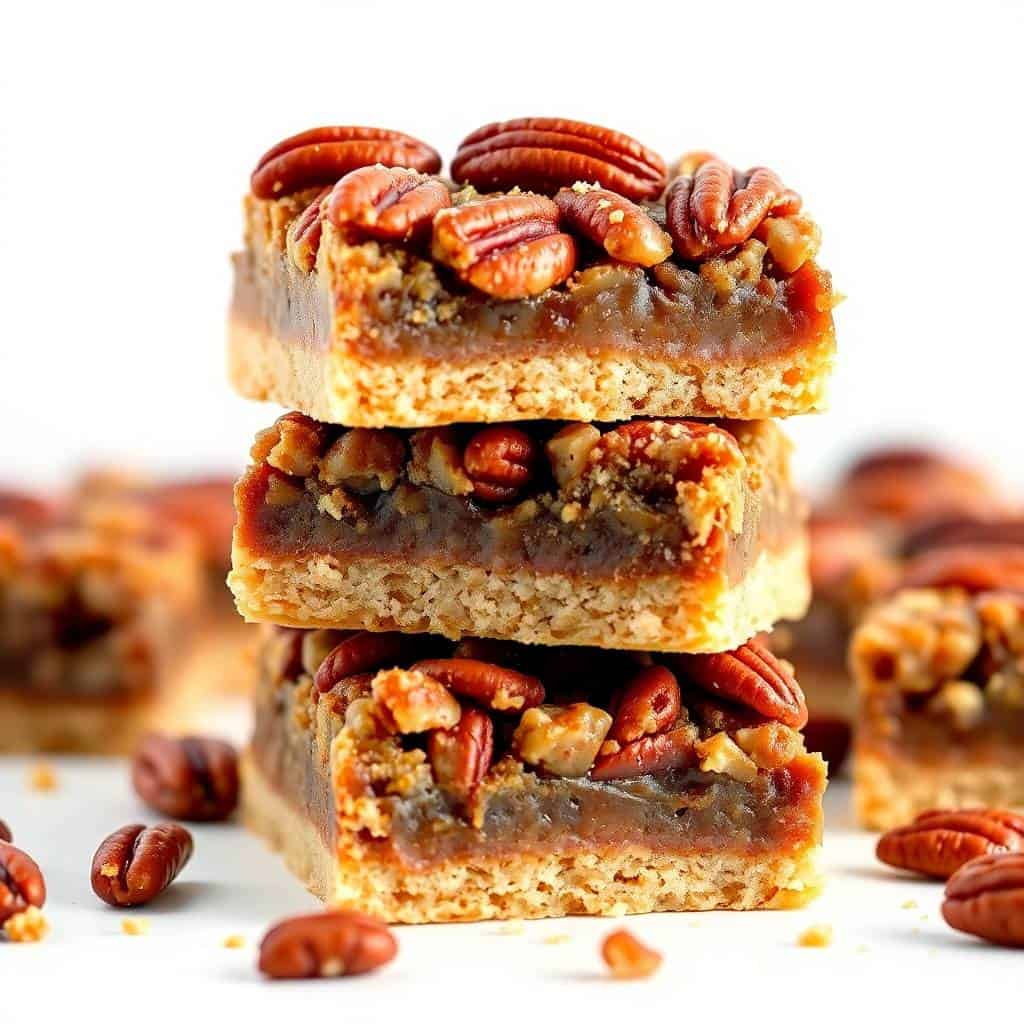
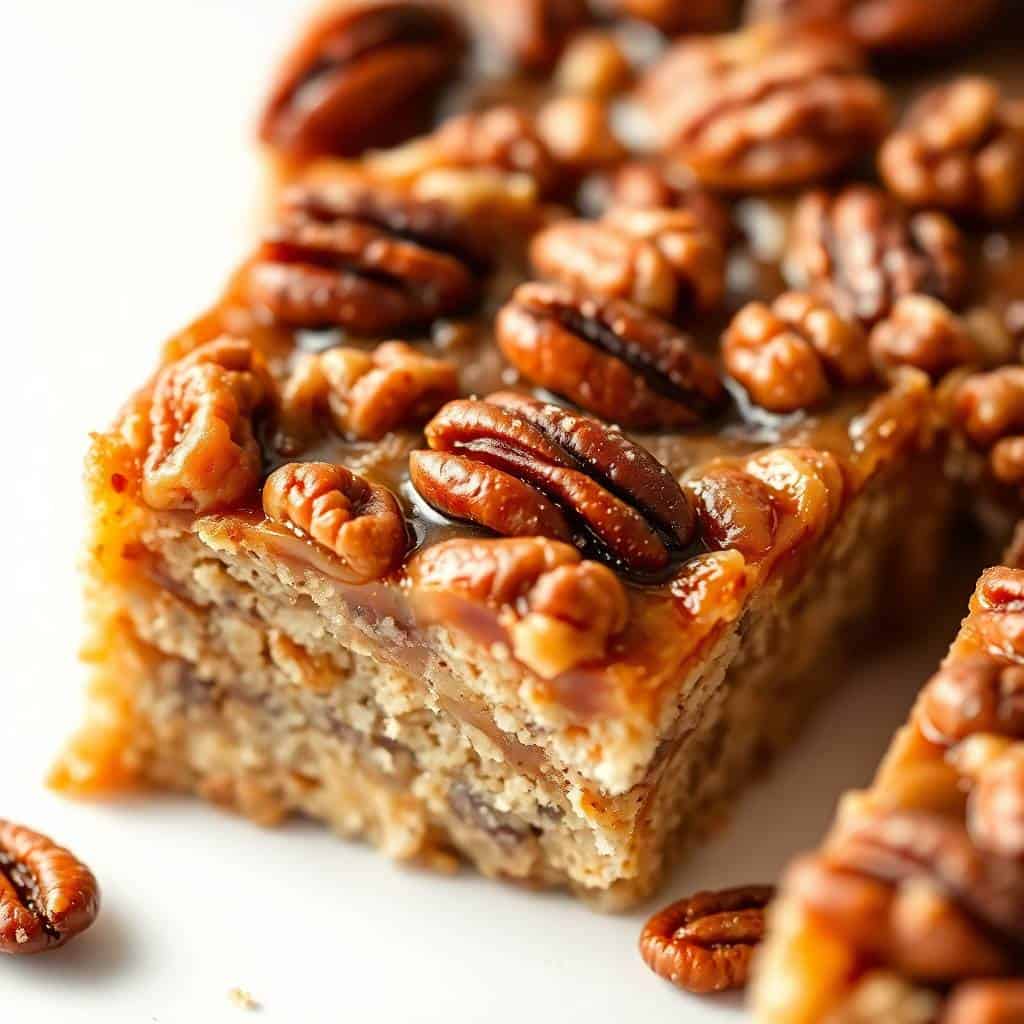
Each bite has a soft, buttery base with a gooey, nutty pecan topping that caramelizes beautifully in the oven. The texture is rich but not overwhelming, making it ideal for parties, potlucks, or casual sweet cravings at home.
You'll love how these bars combine everyday ingredients with minimal effort. No rolling or pre-baking is involved, and everything bakes in one pan. It's the perfect treat when you want homemade comfort in the kitchen.
Whether you're new to baking or just looking for a fuss-free dessert that impresses you, lazy girl pecan pie bars always delivers. These bars will become a favorite with their sweet crunch, golden edges, and melt-in-your-mouth texture.
It's the ultimate shortcut dessert that tastes just as amazing. It's simple, quick, and irresistibly good. So, let's get baking and make your dessert dreams come true with this quick and comforting recipe!
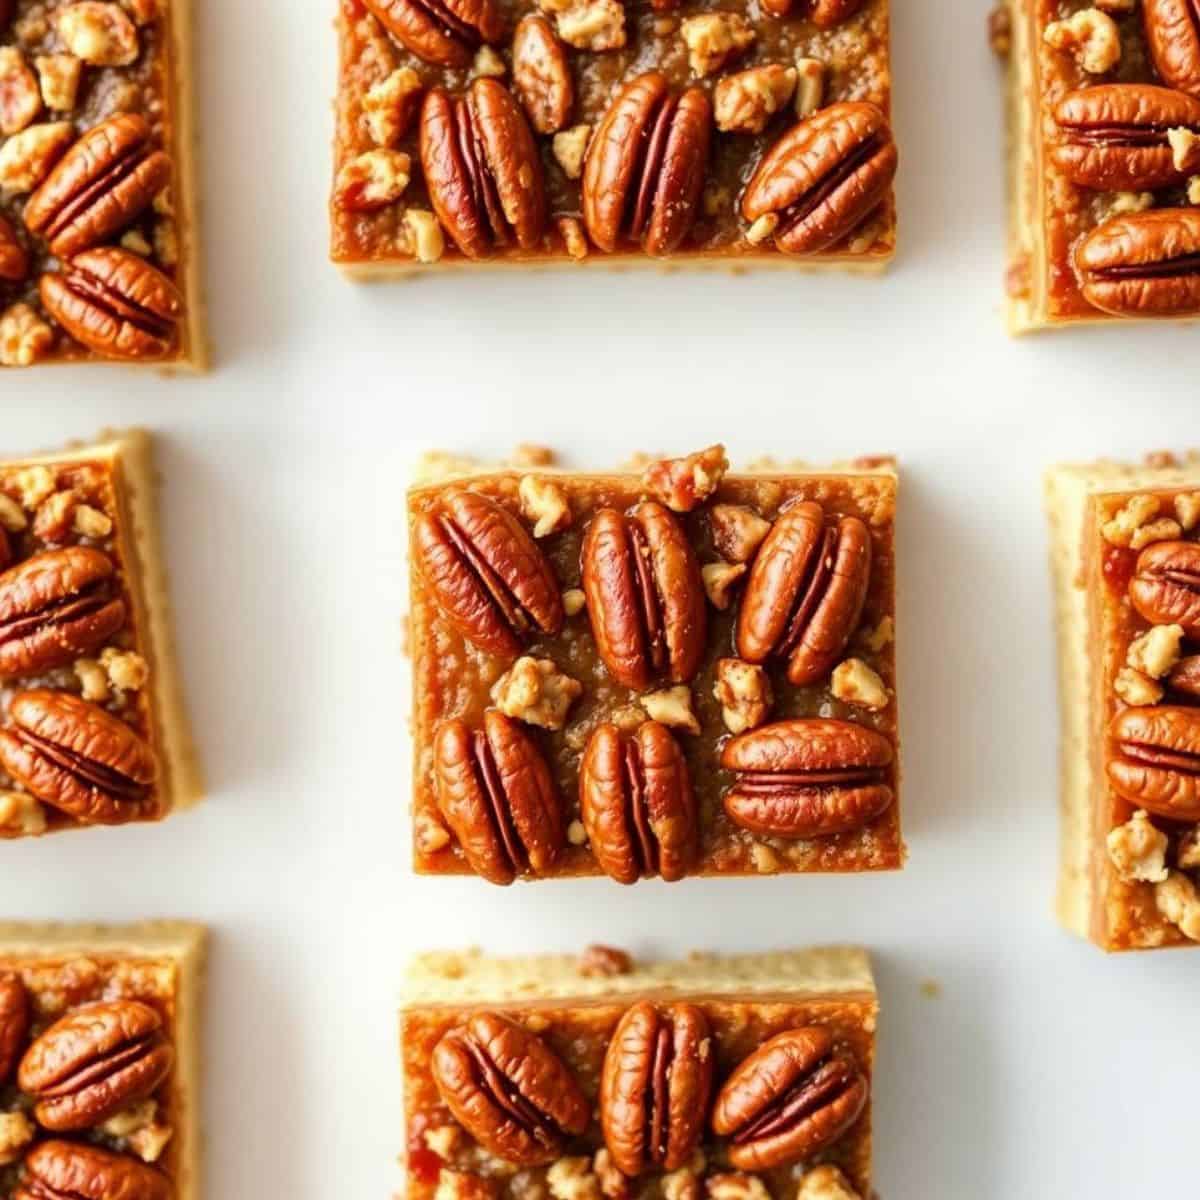
WHY YOU WILL LOVE THIS RECIPE
- Super Easy Prep: This recipe needs no rolling or advanced baking skills—just simple steps for a delicious result every time.
- Incredible Texture: You get a soft base and gooey pecan topping with just the right crunch in every single bite.
- Classic Flavour: All the richness of pecan pie is packed into these bars, perfect for nostalgic holidays or everyday treats.
- Time Saver: They take half the time to make a full pie, and they have all the same delicious flavors.
- Perfect for Sharing: These bars are easy to slice and serve, making them great for parties, potlucks, or family gatherings.
- Minimal Cleanup: One bowl, one pan, no mixer needed—just quick mixing, and into the oven it goes.
- Make-Ahead Friendly: You can make these bars a day ahead, and they’ll still taste freshly baked the next day.
INGREDIENTS
- 1 cup all-purpose flour
- ½ cup unsalted butter, melted
- ¼ cup powdered sugar
- ¾ cup corn syrup
- ½ cup brown sugar, packed
- 2 large eggs
- 1 teaspoon vanilla extract
- 1 ½ cups chopped pecans
- ¼ teaspoon salt
DIRECTIONS
- Step No.1: Preheat and prep pan
Preheat your oven to 350°F (175°C). Line an 8x8-inch baking pan with parchment paper or lightly grease it.
- Step No.2: Make the crust
Mix the flour, melted butter, and powdered sugar in a bowl until combined. Press this mixture evenly into the prepared pan to form the base.
- Step No.3: Bake the crust
Bake the crust for 15 minutes until it looks slightly golden around the edges. Let it cool slightly while preparing the filling.
- Step No.4: Prepare the pecan topping
Whisk together corn syrup, brown sugar, eggs, vanilla, and salt until smooth. Stir in chopped pecans until evenly mixed.
- Step No.5: Add topping and bake
Pour the pecan mixture over the warm crust and spread it evenly. Bake for 30–35 minutes until the filling is set.
- Step No.6: Cool and slice
Let the bars cool completely in the pan. Then, using the parchment, lift them out, slice them into squares, and serve.
TIPS FOR SUCCESS
- Line Your Pan: Use parchment paper to lift the bars out easily and avoid sticky cleanup later.
- Cool Completely: Let the bars cool fully before slicing to ensure clean edges and gooey filling that holds together.
- Use Fresh Pecans: Fresh, quality pecans give the best flavor—avoid old nuts, which can taste stale or bitter.
- Don't Overbake: The filling should be just set—not hard. Overbaking makes them tough instead of chewy and gooey.
- Even Layering: Spread the pecan topping evenly so each bar has a perfect nutty finish.
- Cut with a Sharp Knife: For clean slices, use a sharp knife and wipe it between cuts for a neater presentation.
- Room Temp Ingredients: Using room temperature eggs and butter helps the filling mix smoothly without clumping.
VARIATIONS
- Chocolate Twist: Add ½ cup chocolate chips to the filling for an extra rich and indulgent pecan pie bar experience.
- Maple Syrup Swap: Substitute maple syrup for corn syrup for a deeper, earthy sweetness with a hint of fall flavor.
- Coconut Crunch: Sprinkle ¼ cup shredded coconut on top for a toasted, tropical note that pairs well with pecans.
- gluten-free diet Option: Use a 1:1 gluten-free flour blend in the crust for a tasty gluten-free dessert bar.
- Mini Bars: Bake in a mini muffin tin for bite-sized treats—perfect for dessert trays or portion control.
- Spiced Up: Add a pinch of cinnamon or nutmeg to the filling for a warm, festive flavor twist.
- Honey Lovers: Try replacing half the corn syrup with honey for a floral undertone and naturally sweetened richness.
SERVING AND STORAGE
Serving
Serve at room temperature with a dollop of whipped cream or a scoop of vanilla ice cream for an irresistible treat.
Storage
Store in an airtight container at room temperature for 3 days or refrigerate for up to one week for longer freshness.
FAQ
Yes, but chopped pecans distribute better and make slicing easier. Whole pecans can be used as a decorative topping.
Absolutely! Wrap them tightly and freeze for up to 2 months. Thaw in the fridge overnight before serving.
Yes, double the ingredients and use a 9x13-inch pan. Add a few extra minutes to the baking time as needed.
You can use maple syrup or honey, though it may slightly alter the flavor and texture of the filling.
Not necessarily. You can store them at room temp for a few days, but refrigeration helps extend their shelf life.
These Lazy Girl Pecan Pie Bars are proof that you don’t need to spend hours in the kitchen to make a dessert that’s decadent, beautiful, and delicious.
The buttery shortbread base and sticky, crunchy pecan topping come together in one easy bake that’s practically foolproof.
Even if you’re a beginner, this recipe is designed to give perfect results every time.
It’s a go-to when you’re short on time but still want something truly homemade and comforting.
All the nostalgic flavours of pecan pie—without the extra work or stress.
They’re a hit at family gatherings, bake sales, or whenever you're just craving something sweet and nutty.
Best of all, they slice neatly, store beautifully, and taste just as good (if not better!) the next day.

LAZY GIRL PECAN PIE BARS
Ingredients
Crust:
- 1 cup all-purpose flour
- ¼ cup granulated sugar
- ½ cup unsalted butter melted
Filling:
- 2 large eggs
- 1 cup brown sugar
- 2 tablespoons all-purpose flour
- ½ teaspoon vanilla extract
- 1½ cups chopped pecans
- Pinch of salt
Instructions
- Prepare the Crust: Preheat oven to 350°F (175°C). Mix flour, sugar, and melted butter. Press into a greased 8x8-inch baking dish. Bake for 15 minutes.
- Make the Filling: Whisk eggs, brown sugar, flour, vanilla, and salt. Stir in pecans.
- Assemble and Bake: Pour filling over hot crust. Bake an additional 20–22 minutes or until set.
- Cool and Slice: Let cool completely before cutting into bars.
Notes
- Make Ahead: These bars store well for 4–5 days in the fridge. Great for preparing ahead for parties or holidays.
- Customizing the Flavor: Add a splash of maple syrup or bourbon to the filling for a unique twist.
- Serving Suggestions: Serve warm with a scoop of vanilla ice cream or a drizzle of caramel sauce.
- Allergy-Friendly Tips: Use gluten-free flour for a GF version and vegan butter + flax eggs for a plant-based option.
- Storage Tips: Store in an airtight container at room temperature or refrigerate for longer freshness.





Comments
No Comments