
Saad asked for these three weeks in a row before I finally sat down and wrote out the exact amounts. I'd been making them from memory — a handful of this, a spoonful of that — and they kept coming out slightly different every time. The week I measured everything and wrote it down, they came out exactly right, and that's the version I'm sharing here.
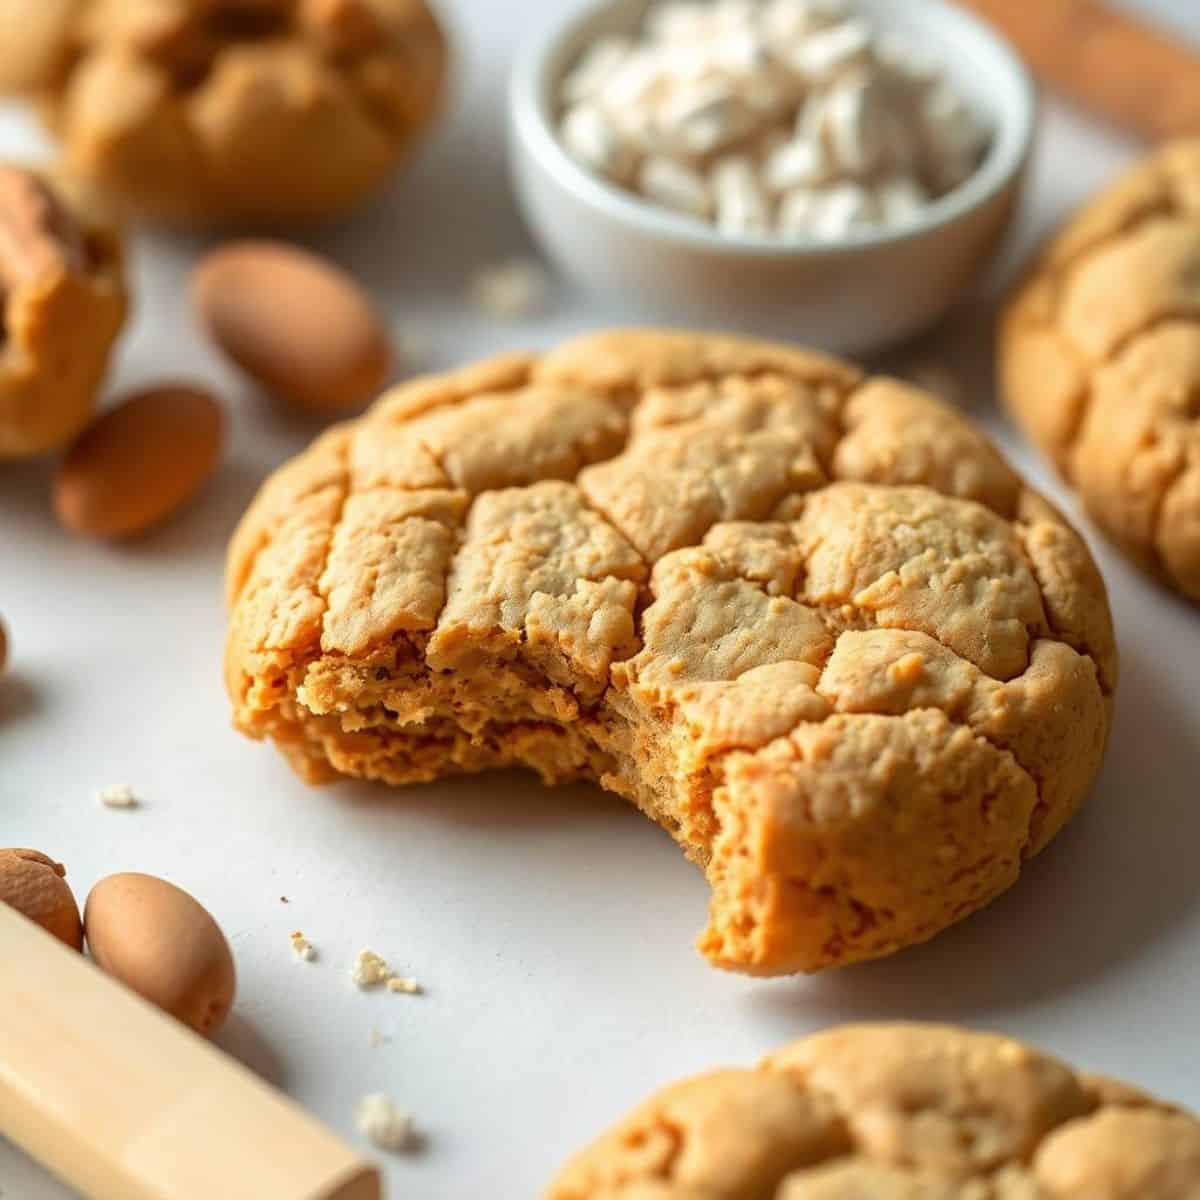
What I like about this recipe is that it's genuinely five ingredients. No flour, no butter, no complicated steps. Just peanut butter, sugar, an egg, vanilla, and baking soda — and you get a real cookie. Not a health food impersonation of a cookie. An actual soft, slightly chewy, tastes-like-peanut-butter cookie with that classic crosshatch on top. I was skeptical the first time I made a flourless version; I expected something dense and weird. It wasn't. It was better than I expected.
I make these mostly for the kids, but my husband sneaks them too. Saad likes them warm, straight off the cooling rack before they've fully set. Zainab is more patient — she waits until they're completely cool and eats them with a glass of cold milk. Either way works. These are the kind of cookies that disappear the same day I make them, which is why I usually double the batch.
One thing to know going in: these cookies look underdone when you pull them from the oven. That's fine — it's correct. The centers will still look soft and the edges will barely be golden. Don't keep baking them until they look done in the middle or you'll end up with something dry and crumbly. Pull them out, leave them on the pan for five minutes, and trust the process. If you're in the mood for something a little more indulgent after these, my peppermint red velvet blossom cookies are worth a look too.
Why You'll Love This Recipe
- Only five ingredients: I don't mean "five main ingredients plus ten pantry staples." I mean five things total — peanut butter, sugar, egg, vanilla, baking soda. That's it. I've made these on weeknights when I had nothing else in the house and they still worked. No flour to run out of, no butter to forget to soften.
- Naturally gluten-free: Because there's no flour in the dough, these are gluten-free without any substitutions or special ingredients. I didn't set out to make a gluten-free cookie — it just worked out that way. If you have friends or family who avoid gluten, these are an easy option that doesn't taste like a compromise.
- Soft and chewy when done right: The texture on these is genuinely good — soft in the center, slightly firm around the edges, and they hold together well. The key is not overbaking them, which I'll get into more in the tips section. When you nail the timing, the inside stays a little fudgy and the outside has just enough structure.
- Easy to customize: The base dough is neutral enough that you can add things without the whole recipe falling apart. Chocolate chips, chopped peanuts, a sprinkle of flaky sea salt on top — I've tried all of these and they all work. The chocolate chip version is Saad's favorite variation, if that helps you decide.
- Fast from start to finish: The dough takes about five minutes to mix. There's no chilling required unless you want thicker cookies. Bake time is 10 to 12 minutes. You can realistically have warm cookies on the table in under 25 minutes, which makes these a good option when you want something homemade but don't have hours to spend in the kitchen.
Ingredients
- 1 cup unsalted creamy peanut butter (Jif or Skippy work well — avoid natural peanut butter if this is your first time making these)
- 1 cup granulated sugar
- 1 large egg
- 1 teaspoon vanilla extract
- ½ teaspoon baking soda
- ¼ teaspoon salt (skip this if your peanut butter is already salted)
Directions
- Preheat the oven: Set your oven to 350°F (175°C) and line a baking sheet with parchment paper. Parchment matters here — these cookies have no flour so they can stick to an unlined pan. A regular sheet pan from any store works fine.
- Mix the dough: In a large bowl, combine the peanut butter, sugar, egg, vanilla extract, baking soda, and salt. Stir with a wooden spoon until everything is smooth and fully combined. The dough will be thick and a little sticky — that's normal. Don't worry if it doesn't look like typical cookie dough; it won't.
- Scoop and roll: Scoop about 1 tablespoon of dough and roll it into a ball between your palms. Place the balls on the prepared baking sheet about 2 inches apart — they spread a little but not a lot. I usually get around 20 cookies from one batch.
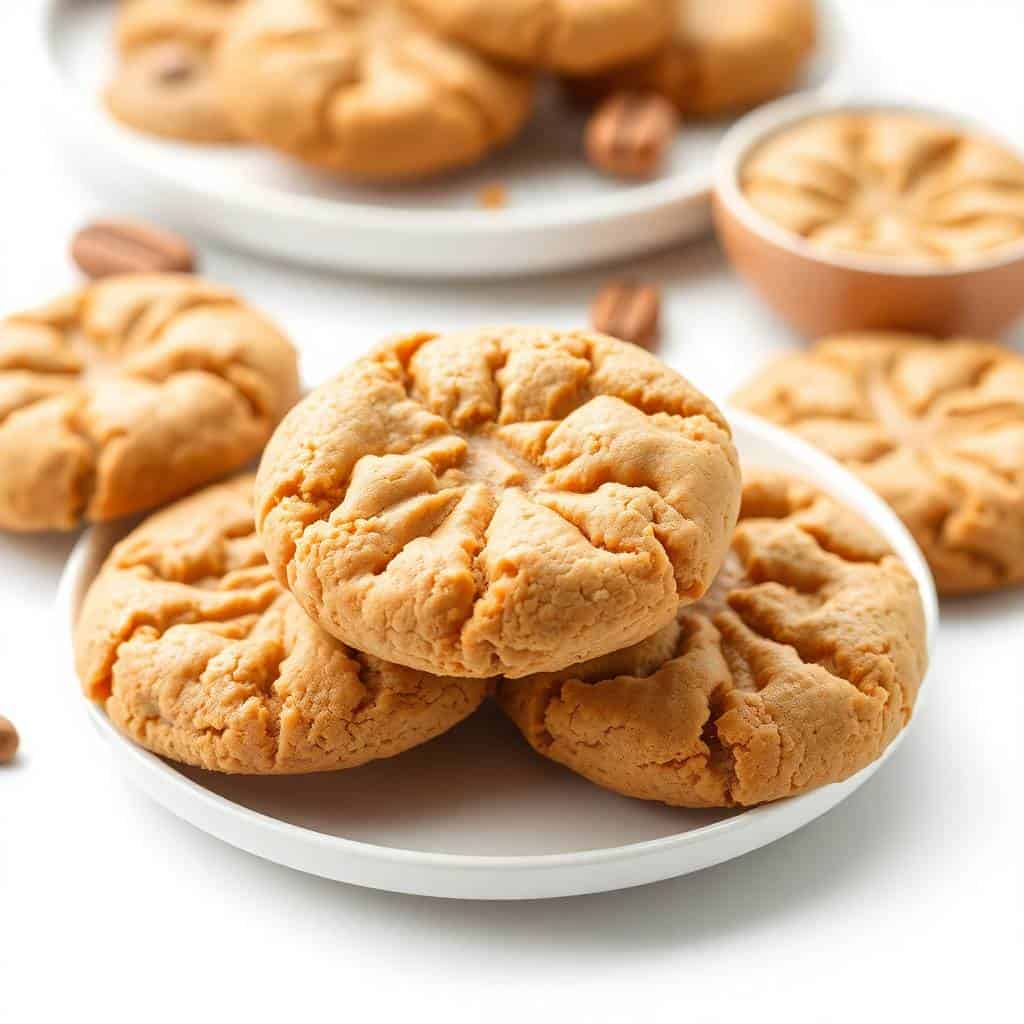
- Press the crosshatch: Take a fork and press it gently into the top of each dough ball to flatten it slightly. Then rotate the fork 90 degrees and press again to create the classic crisscross pattern. This flattens the cookie so it bakes evenly and gives it that signature look. Don't press too hard — you just want it about half the original height.
- Bake: Bake for 10 to 12 minutes, until the edges are just barely golden and the centers still look soft. I usually pull mine at 10 minutes. They will look underdone — that's correct. Leave them on the baking sheet for 5 full minutes before moving them, otherwise they'll fall apart. They firm up as they cool.
- Cool and serve: After 5 minutes on the pan, transfer cookies to a wire rack to finish cooling. Eat them warm or fully cooled — both are good. Warm they're soft and a little gooey in the center; fully cooled they're chewier with more structure.
Tips for Success
- Use conventional peanut butter, not natural: I learned this the hard way. The first time I used natural peanut butter (the kind where the oil separates), the dough was too loose and the cookies spread flat and greasy. Conventional peanut butter — Jif, Skippy, whatever's at Walmart or Aldi — has a stabilized texture that holds up in this dough. Once you understand how the recipe works, you can experiment with natural, but start with conventional.
- Room temperature peanut butter mixes much easier: If your peanut butter has been in the fridge or is very stiff, it'll be hard to get a smooth dough. Leave it out for 15 minutes before mixing, or give the jar a quick 10-second microwave warm-up. Cold, stiff peanut butter leaves lumps in the dough that don't bake out evenly.
- Don't overbake — they firm up off the oven: These cookies have no flour to give them structure while they're hot, so they'll feel almost too soft when you first pull them out. That's intentional. The residual heat from the pan finishes cooking the centers. If you wait until the middle looks fully set in the oven, the edges will be dry and the whole cookie crumbles when you pick it up.
- Chill the dough if you want thicker cookies: This is optional, but if you want cookies that hold their shape more and stay slightly thicker, refrigerate the dough for 30 minutes before rolling and baking. I don't always do this — on busy days I go straight from mixing to baking — but on days when I want the cookies to look a little more uniform and neat, the chill helps.
- Use damp hands for rolling: The dough is sticky, and if you try to roll the balls with dry hands, the dough sticks to your palms and makes a mess. Lightly damp hands solve this completely. I just run my palms under cold water and shake off the excess before rolling. Takes five seconds and saves a lot of frustration.
Variations
- Peanut butter chocolate chip: Fold ½ cup to 1 cup of chocolate chips into the dough before scooping. Semi-sweet chips work best here — milk chocolate can make them overly sweet. This is the version Saad always requests. I usually do ½ cup because I like the peanut butter flavor to still come through, but if your family loves chocolate, go with the full cup.
- Crunchy peanut butter version: Swap the creamy peanut butter for crunchy and you get little bits of peanut throughout the cookie. The texture is different — slightly less smooth in the center — but it's a good different. My husband prefers this version. It also works well with a sprinkle of chopped roasted peanuts pressed on top before baking.
- PB&J thumbprint cookies: Instead of pressing the crosshatch, use your thumb to make an indentation in the center of each dough ball. Fill it with about ½ teaspoon of strawberry jam or grape jelly before baking. The jam caramelizes slightly and sets into the cookie. This is a fun one to make with kids — Zainab likes helping with the thumbprint part.
- Salted top: If your peanut butter is unsalted, add the ¼ teaspoon salt to the dough AND press a small pinch of flaky sea salt on top of each cookie right before baking. The contrast between the sweet cookie and the flaky salt on top is really good. Maldon flakes if you have them, but any coarse salt works.
- Peanut butter banana: Add ½ of a very ripe mashed banana to the dough. It makes the cookies a little softer and adds a subtle banana flavor underneath the peanut butter. The texture is slightly different — more tender, less chewy — but the flavor combination works well. This also means you're using slightly less sugar in effect since ripe bananas are sweet.
Serving and Storage
Serving
These are good warm and fully cooled, but I'd say they hit their best texture about 20 minutes out of the oven — still slightly warm, centers just set, edges with a little chew to them. Serve them with cold milk, which is the classic pairing, or alongside coffee or tea if you're eating them as an afternoon snack rather than a dessert. If you're putting out a cookie tray, these hold up well next to cake pops or other bite-sized sweets — they don't crumble or fall apart when piled together.
Storage
Store completely cooled cookies in an airtight container at room temperature. They keep well for up to 5 days, though in my house they never last that long. If you want to freeze them, let them cool completely first, then layer them in a freezer-safe container or zip-top bag with parchment paper between layers. They freeze well for up to 3 months. Thaw at room temperature for about 20 minutes, or give them 10 seconds in the microwave if you want them slightly warm again. You can also freeze the raw dough balls before baking — just add 2 extra minutes to the bake time straight from frozen.
Frequently Asked Questions
Can I use natural peanut butter in this recipe?
You can, but I'd recommend starting with conventional (Jif, Skippy, or similar) until you know how the recipe behaves. Natural peanut butter is thinner and oilier, which can make the dough too loose and cause the cookies to spread flat. If you want to use natural peanut butter, stir it very well first so the oil is fully incorporated, and consider chilling the dough for 30 minutes before baking to help it hold its shape.
Can I make these without eggs?
Yes. The egg acts as a binder here, and you can replace it with a flax egg — mix 1 tablespoon of ground flaxseed with 2½ tablespoons of water and let it sit for 5 minutes until gel-like. You can also use ¼ cup of unsweetened applesauce. Both work, though the texture will be slightly softer and less chewy than with a real egg. The flax egg version holds together a little better than the applesauce version in my experience.
Why did my cookies come out crumbly and dry?
Almost always overbaking. These cookies have no flour to hold them together when they're hot, so if you bake them until the centers look fully set in the oven, they'll be dry and fall apart when you pick them up. Pull them at 10 to 12 minutes when the edges are just golden and the centers still look underdone. They firm up on the pan as they cool. The other possible cause is using too much peanut butter — measure by spooning into the cup and leveling off, not by pressing it in.
Can I make the dough ahead of time?
Yes, and it actually works well. Mix the dough, roll it into balls, and refrigerate them on a tray for up to 3 days before baking. Or freeze the raw dough balls for up to 3 months — place them on a sheet pan to freeze solid first, then transfer to a bag. Bake straight from frozen at 350°F, adding about 2 extra minutes to the bake time. I do this when I want fresh cookies quickly without the mixing step.
Can I reduce the sugar in this recipe?
The sugar does more than sweeten here — it also helps with the structure and spread of the cookie since there's no flour. I've tried cutting it to ¾ cup and the cookies came out slightly denser and less chewy. It still worked, just a different texture. I wouldn't go below ¾ cup or the cookies won't hold together properly. If you're watching sweetness, the salted top variation (flaky sea salt before baking) makes the cookies taste less sweet without actually reducing sugar.
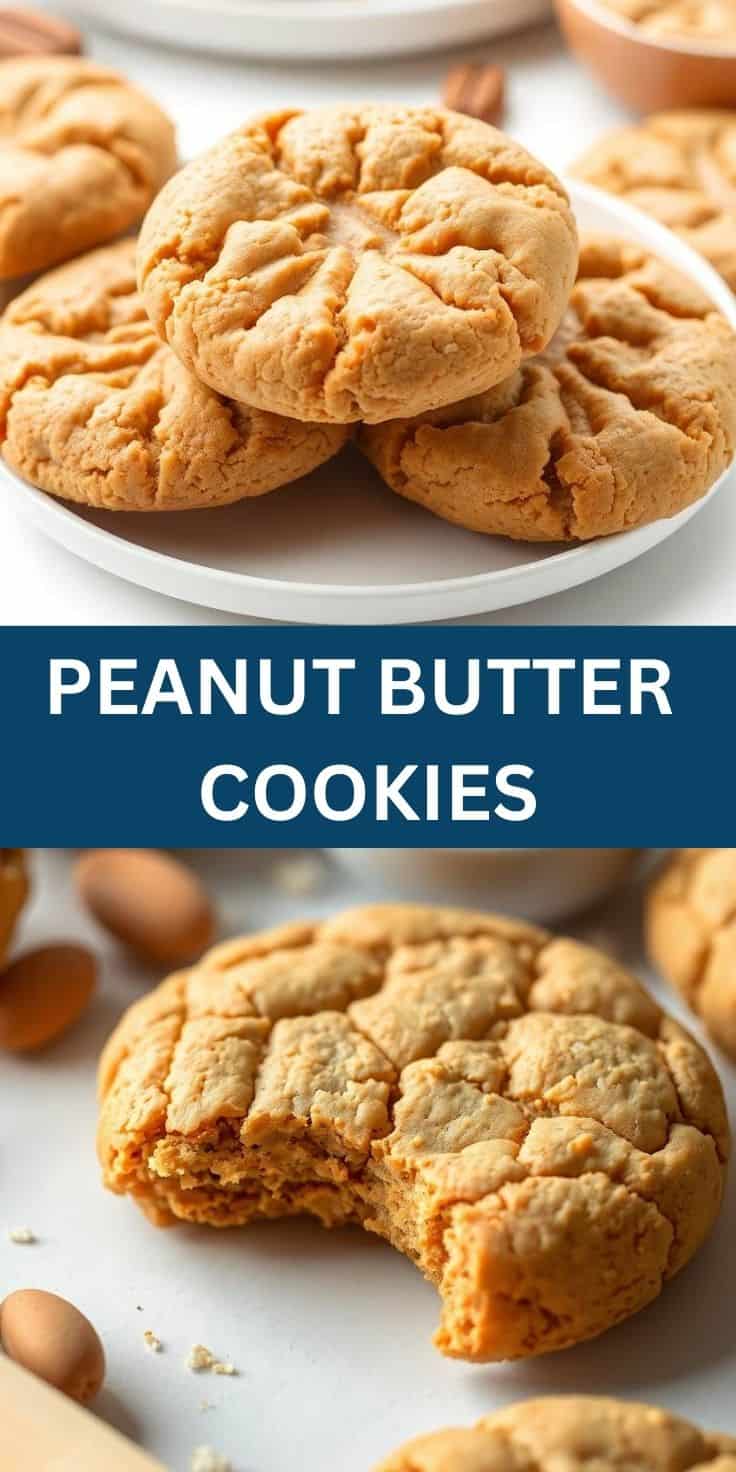

PEANUT BUTTER COOKIES
Ingredients
- 1 cup unsalted peanut butter
- 1 cup granulated sugar
- 1 large egg
- 1 teaspoon vanilla extract
- ½ teaspoon baking soda
- ¼ teaspoon salt
Instructions
- Preheat the oven: Preheat your oven to 350°F (175°C). Line a baking sheet with parchment paper or a silicone baking mat.
Mix the dough:
- In a large bowl, combine the peanut butter, granulated sugar, egg, vanilla extract, baking soda, and salt. Stir until well combined and smooth. The dough should be thick and slightly sticky.
Shape the cookies:
- Scoop about 1 tablespoon of dough and roll it into a ball. Place it on the prepared baking sheet, spacing about 2 inches apart.
- Use a fork to press a crisscross pattern into each cookie, pressing down gently.
Bake the cookies:
- Bake in the preheated oven for 10-12 minutes, or until the edges are lightly golden. The centers should still be soft.
- Remove from the oven and let the cookies cool on the baking sheet for 5 minutes before transferring to a wire rack to cool completely.
Serve:
- Enjoy the cookies warm or at room temperature with a glass of milk or your favorite beverage.
Notes
- You can add chocolate chips, chopped peanuts, or drizzle melted chocolate on top for extra flavor and texture.
- For a softer cookie, slightly underbake them by 1-2 minutes.
- These cookies can be stored in an airtight container at room temperature for up to 5 days. They also freeze well for up to 3 months.
These peanut butter cookies are one of those recipes I keep coming back to because the effort-to-result ratio is genuinely hard to beat. Five ingredients, 25 minutes, and you have cookies that taste like you actually tried. The crosshatch pattern sounds like a small thing but it does real work — it flattens the cookie evenly and gives the edges that slightly crisp texture while the center stays soft.
I know this recipe isn't anything new — peanut butter cookies have been around forever — but this particular version with no flour is one I keep choosing over more complicated recipes. It's the one I make when I realize at 8pm that I promised the kids something sweet and have almost nothing in the pantry. Peanut butter and sugar are almost always on hand. The rest is easy.
If you're on a cookie baking run, check out my peppermint red velvet blossom cookies for something with a little more drama, or the 6-minute microwave caramels for when you want something chewy and candy-like without turning on the oven. Both come together quickly and both go over well with kids and adults alike.
If you make these, I hope they disappear as fast as they do in my house. 🥜🍪
If you liked this recipe, you might like these too:





Comments
No Comments