
My husband doesn't usually get excited about side dishes — except for this one. The first time I made this cheesy hash brown casserole, he went back for thirds and then asked me why I hadn't been making it our whole marriage. I didn't have a good answer.
What makes this work is pretty simple: frozen hash browns, a good amount of cheddar, sour cream, and a can of cream of chicken soup. I know some people balk at the canned soup, but it gives you this silky, savory base that holds everything together. I've tried making it from scratch with a white sauce and honestly? The canned version tastes better for this particular dish. I'm not above shortcuts when the shortcuts work.
I make this most often for weekend brunches — it goes beautifully alongside eggs and sausage — but I've also served it as a dinner side next to roasted chicken and nobody complained. If you're looking for a breakfast casserole that skews more egg-forward, my Spinach Florentine Breakfast Casserole is worth a look too. But this one is pure cheesy potato comfort, and there's a time and place for that.
One thing to know going in: the cornflake topping is optional on paper, but I really do recommend it. The contrast between the crunchy top and the creamy center underneath is what makes this feel like more than just a potato bake. I skipped it once when I was out of cornflakes and the dish felt flat. Panko works just as well if that's what you have.
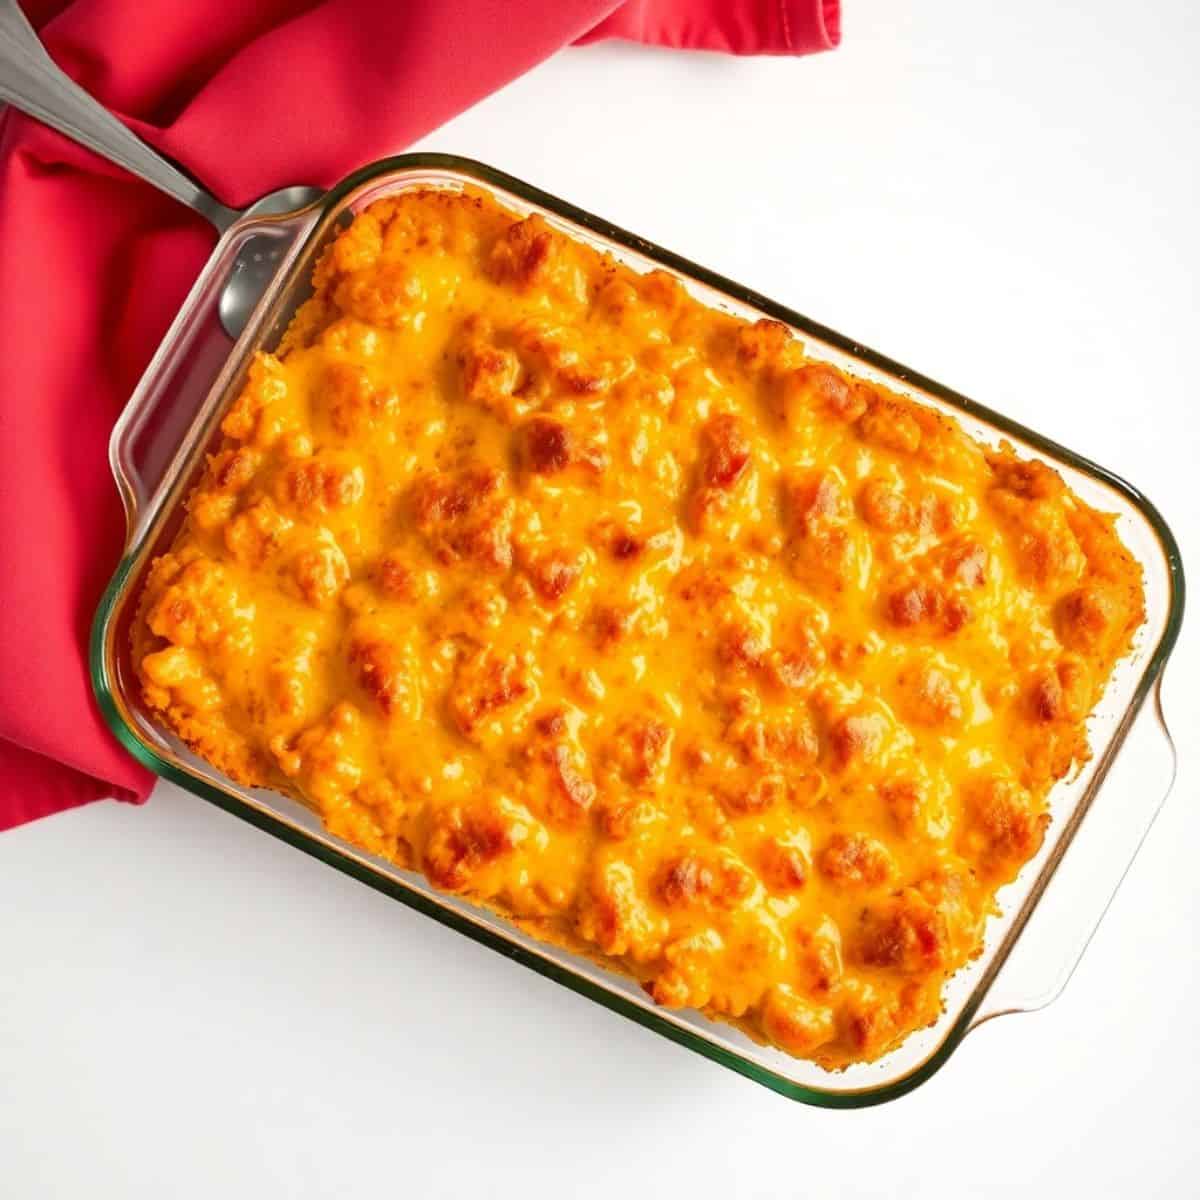
Why You'll Love This Recipe
- It comes together fast: The mixing takes maybe 10 minutes, then the oven does everything else. There's no layering, no pre-cooking, no complicated technique. I can throw this together while I'm doing other things in the morning and have it ready in time for a late brunch.
- The texture is genuinely satisfying: The inside stays creamy and soft while the top crisps up into something almost chip-like. I've made casseroles that go one way or the other, but not both at once. The cornflake topping is what makes the difference here — don't skip it.
- You can assemble it the night before: This is the real reason I make it for guests. I put the whole thing together after dinner, cover it with foil, and refrigerate it. The next morning I pull it out, let it sit on the counter for 20 minutes, then bake. No morning stress.
- It feeds a crowd from cheap ingredients: A 30 oz bag of frozen hash browns from Walmart or Costco, a can of soup, some sour cream, and shredded cheese. That's most of your grocery list. I make a double batch for bigger gatherings because a single 9x13 disappears faster than you'd expect.
- It's easy to customize: I've added crumbled bacon, chopped green onions, diced ham — whatever needs to be used up. The base recipe is forgiving enough to handle additions without falling apart. Zainab likes hers with extra cheese on top. My husband adds hot sauce at the table.
Ingredients
- 1 (30 oz) bag frozen hash browns, thawed
- 1 can (10.5 oz) cream of chicken soup
- 1 cup sour cream (full-fat works best)
- ½ cup (1 stick) melted butter
- 1 teaspoon garlic powder
- ½ teaspoon salt
- ½ teaspoon black pepper
- 2 cups shredded cheddar cheese
- ½ cup grated Parmesan cheese
- 1 cup crushed cornflakes or panko breadcrumbs (optional, for topping)
- 2 tablespoons melted butter (for topping)
Directions
- Preheat the oven: Set your oven to 375°F (190°C) and grease a 9x13-inch baking dish with butter or cooking spray. I use a regular glass baking dish — nothing fancy required.
- Mix the base: In a large bowl, combine the cream of chicken soup, sour cream, melted butter, garlic powder, salt, and pepper. Stir until smooth before adding anything else. Getting this base well-mixed first means the seasoning distributes evenly through every bite.
- Add the hash browns and cheese: Fold in the thawed hash browns, shredded cheddar, and Parmesan. Stir until everything is fully coated. The mixture will look thick — that's exactly right.
- Transfer to the baking dish: Spread the mixture evenly into your prepared dish and press it down gently with the back of a spoon so there are no air pockets. You want an even layer so it bakes uniformly.
- Add the topping: Mix the crushed cornflakes or panko with the 2 tablespoons of melted butter in a small bowl, then sprinkle it in an even layer over the top of the casserole. This is what gives you that golden crunch.
- Bake: Bake uncovered for 40 to 45 minutes, until the top is deep golden brown and the edges are bubbling. Let it cool for at least 5 to 10 minutes before serving — it slices much more cleanly once it's had a moment to set.
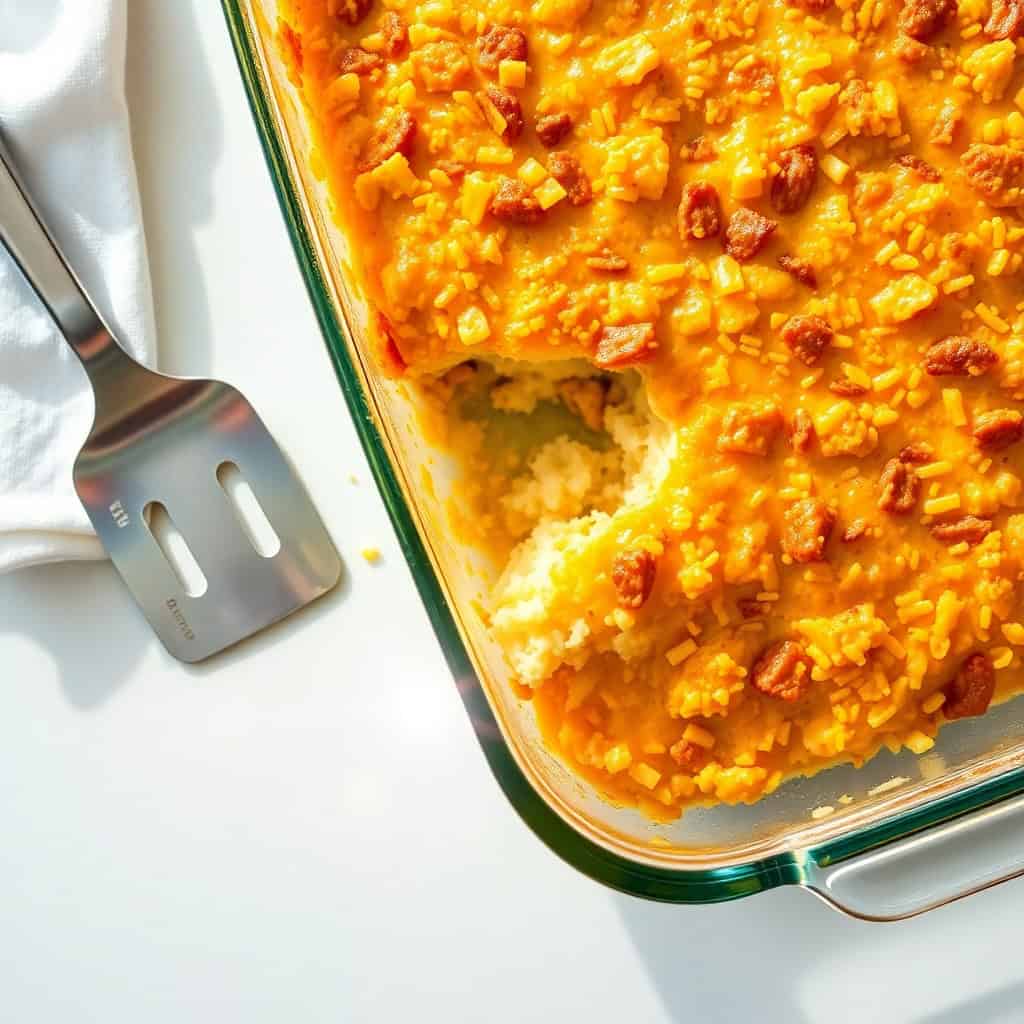
Tips for Success
- Thaw your hash browns completely — and dry them: This was my biggest mistake the first time I made this. I didn't press the thawed hash browns dry and the casserole came out watery in the middle. Now I either spread them on a clean kitchen towel and pat them down, or I thaw them in the fridge overnight and squeeze out any excess liquid before mixing. Five minutes of effort makes a real difference in the final texture.
- Use full-fat sour cream: I've made this with reduced-fat sour cream when that was all I had, and the result was noticeably less creamy — almost a bit grainy after baking. Full-fat gives you that smooth, rich texture that makes this dish what it is. It's not a health food anyway, so don't cut corners on the sour cream.
- Don't skip the resting time: I know it's tempting to serve it straight from the oven, especially when the kitchen smells like that. But 5 to 10 minutes of resting lets the casserole firm up slightly, which means it comes out in clean portions instead of a sloppy scoop. Worth the wait.
- If making ahead, hold the topping: If you're assembling the night before, don't add the cornflake or panko topping until right before you bake. It will go soggy overnight in the fridge. I keep the topping mixture in a small zip-lock bag in the fridge and just sprinkle it on in the morning.
- Shred your own cheese if you can: Pre-shredded cheese from a bag is coated in starch to prevent clumping, which can make the sauce a little less smooth. I usually buy a block of sharp cheddar and shred it myself — it melts better and the flavor is noticeably sharper. That said, if a bag of pre-shredded is what you have, it still works fine. I've done it in a pinch.
Variations
- Bacon and green onion: Add ½ cup of cooked, crumbled bacon and 3 sliced green onions into the mix before baking. This is probably the most popular version at my house — my husband requests it specifically. The smoky salt from the bacon plays really well against the creamy potato base.
- Vegetarian swap: Replace the cream of chicken soup with cream of mushroom soup. It gives the base a slightly earthier flavor that works well with the cheese. This is also a good option if you're serving guests and aren't sure about dietary restrictions — cream of mushroom is easier to find in most stores including Aldi and Trader Joe's.
- Spicy version: Stir in a small can of diced green chiles or 1 finely chopped jalapeño. This isn't traditional for this kind of casserole, but it's become a version I make when it's just us at home. The heat cuts through the richness nicely. If you like spice, also try my jalapeño poppers as a side.
- Gluten-free: The casserole itself is naturally gluten-free as long as your cream of chicken soup is gluten-free (check the label — some brands are, some aren't). For the topping, use crushed gluten-free cornflakes or just skip it and go with extra cheese on top instead.
- Garlic herb version: Add ½ teaspoon of dried thyme and a pinch of smoked paprika to the base mixture. It gives the casserole a slightly more savory, herby edge that makes it feel less like a breakfast dish and more like a proper dinner side. I serve this version alongside roasted chicken.
Serving and Storage
Serving
This casserole is at its best straight from the oven — the top is crispy and the center is molten-creamy. I serve it for brunch alongside scrambled eggs and sausage links, but it holds its own as a dinner side too. If you want a full spread, it goes nicely next to something like my Rotel Dip as a starter for a casual gathering. For brunch parties I set it out with a bowl of sour cream and some sliced green onions for people to add at the table.
Storage
Leftovers keep well in an airtight container in the fridge for up to 3 days. Reheat individual portions in the microwave, but if you want the top to crisp back up, pop it in a 350°F oven for about 10 minutes uncovered. To freeze: you can freeze it before baking (wrap the whole dish tightly in foil and freeze for up to 2 months — thaw overnight in the fridge before baking). I don't love freezing it after baking because the texture of the potatoes gets a bit mushy, but it's fine if you don't mind that.

Frequently Asked Questions
Can I use fresh hash browns instead of frozen?
Yes, fresh hash browns work — but you need to squeeze out as much moisture as possible first. Grate the potatoes, then wrap them in a clean kitchen towel and wring hard. Excess water is the enemy of a creamy casserole. Frozen hash browns are actually easier here because most of the moisture has already been removed during processing, which is why I call for those.
Can I assemble this casserole the night before?
Yes, and I actually recommend it. Mix everything together, spread it in the baking dish, cover tightly with foil, and refrigerate overnight. The next morning, let it sit out for about 20 minutes to take the chill off, then add your cornflake topping right before it goes in the oven. Don't add the topping the night before or it will go soggy.
How long do leftovers keep?
Up to 3 days in the fridge in an airtight container. Reheat in the oven at 350°F for best results — it takes about 10 to 15 minutes and brings the top back to crispy. The microwave works in a pinch but the topping goes soft.
Can I freeze this casserole?
Freeze it before baking for the best results. Assemble everything (without the topping), wrap the dish tightly in foil, and freeze for up to 2 months. Thaw overnight in the fridge, add the topping fresh, and bake as directed. I don't recommend freezing after it's already been baked — the potato texture suffers.
What can I use instead of cream of chicken soup?
Cream of mushroom soup is the easiest swap and works really well — it makes the casserole vegetarian too. You could also use cream of celery. If you want to skip canned soup entirely, a simple homemade white sauce (2 tablespoons butter, 2 tablespoons flour, 1 cup chicken broth, ½ cup milk, cooked until thickened) will do the job, though the flavor is a bit more subtle.
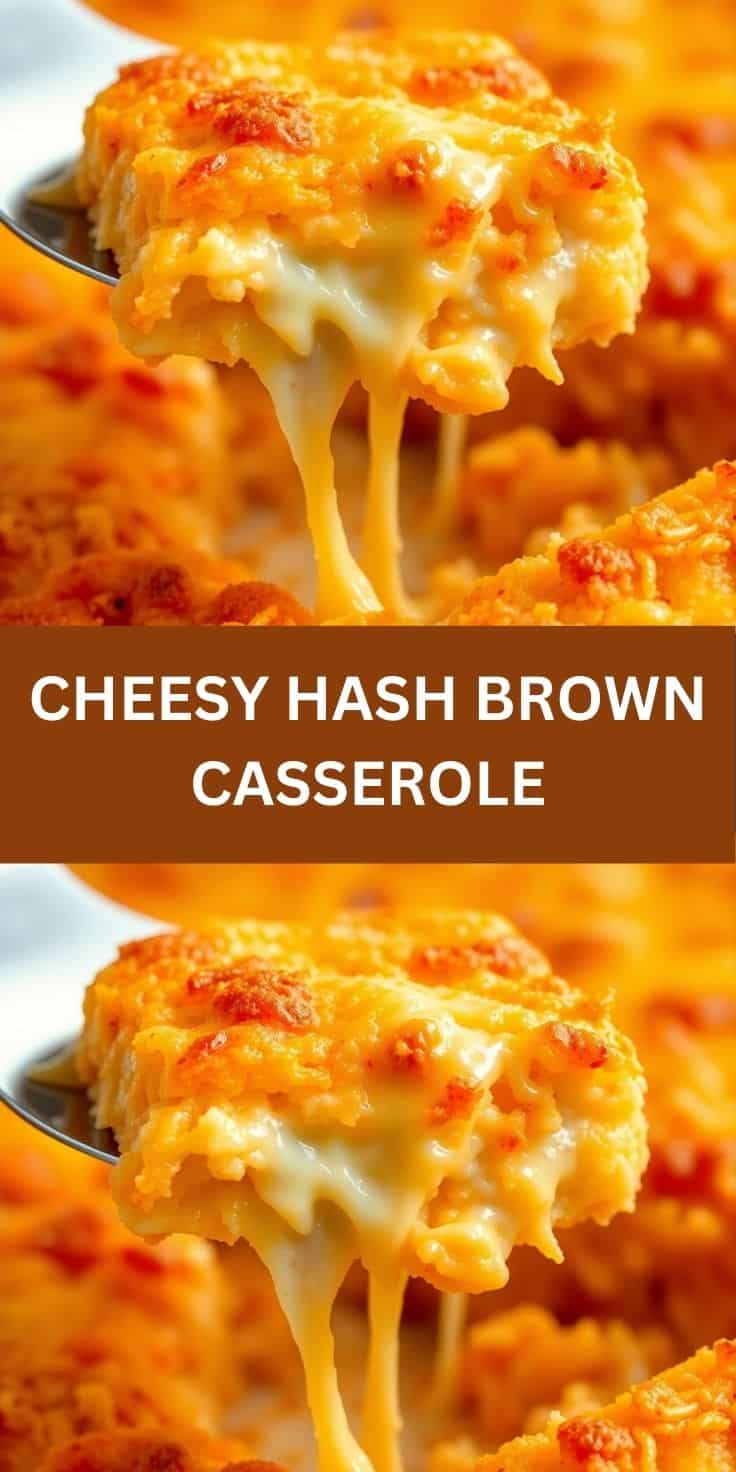
This casserole has become one of those recipes I genuinely look forward to making. It requires almost no skill, the ingredient list is short and cheap, and the result is something that actually makes people happy at the table — not just fed. My husband asks for it specifically now when we have people over for brunch, which tells me everything I need to know about how it lands with a crowd.
The make-ahead aspect is what sealed it for me. I used to find big brunch gatherings stressful because everything needs to happen at once. Having this already assembled in the fridge the night before takes a real thing off my plate in the morning. I just pull it out, add the topping, and bake while I focus on everything else.
If you're planning a bigger spread, I'd pair this with my Spinach Florentine Breakfast Casserole for a brunch table that covers both the egg side and the potato side. The two together feed a group without either dish repeating the other. Between the two, you'll have a table that looks like you spent the whole morning cooking — when really most of it was done the night before. That's the kind of cooking I can get behind. 🥔🧀✨
CHEESY HASH BROWN CASSEROLE
Ingredients
- 1 30 oz bag frozen hash browns, thawed
- 1 can 10.5 oz cream of chicken soup
- 1 cup sour cream
- ½ cup melted butter
- 1 teaspoon garlic powder
- ½ teaspoon salt
- ½ teaspoon black pepper
- 2 cups shredded cheddar cheese
- ½ cup grated Parmesan cheese
- 1 cup crushed cornflakes or panko breadcrumbs optional for topping
- 2 tablespoons melted butter for topping
Instructions
- Step 1: Preheat Oven – Preheat oven to 375°F (190°C) and grease a 9x13-inch baking dish.
- Step 2: Mix Ingredients – In a large bowl, combine cream of chicken soup, sour cream, melted butter, garlic powder, salt, and pepper. Stir in hash browns, cheddar, and Parmesan cheese.
- Step 3: Assemble Casserole – Spread the mixture evenly in the prepared baking dish.
- Step 4: Add Topping – If using, mix crushed cornflakes or breadcrumbs with melted butter and sprinkle on top.
- Step 5: Bake & Serve – Bake uncovered for 40-45 minutes until golden brown and bubbly. Let cool slightly before serving.
Notes
- Make Ahead: Assemble up to a day in advance and refrigerate before baking.
- Customizing the Flavor: Add cooked bacon, diced ham, or green onions for extra flavor.
- Serving Suggestions: Pairs well with eggs, sausage, or fresh fruit for breakfast.
- Allergy-Friendly Options: Use cream of mushroom soup for a vegetarian version.
- Storage Tips: Store leftovers in an airtight container in the fridge for up to 3 days or freeze for up to 2 months.
If this casserole is the kind of thing your family goes for, here are a few more recipes from my kitchen worth bookmarking:
- Spinach Florentine Breakfast Casserole — egg-forward and perfect alongside this for a full brunch spread
- Rotel Dip with Cream Cheese (Ready in 15 Minutes Flat) — a quick cheesy starter that goes with almost anything
- Jalapeño Poppers — if you want something with a little heat on the side
- Pepperoni Pizza Rolls — for when the kids are in charge of the snack request
- Chicken and Dumplings with Fluffy Drop Dumplings (One-Pot Comfort) — another one-dish meal for when you need something hearty and hands-off





Comments
No Comments