
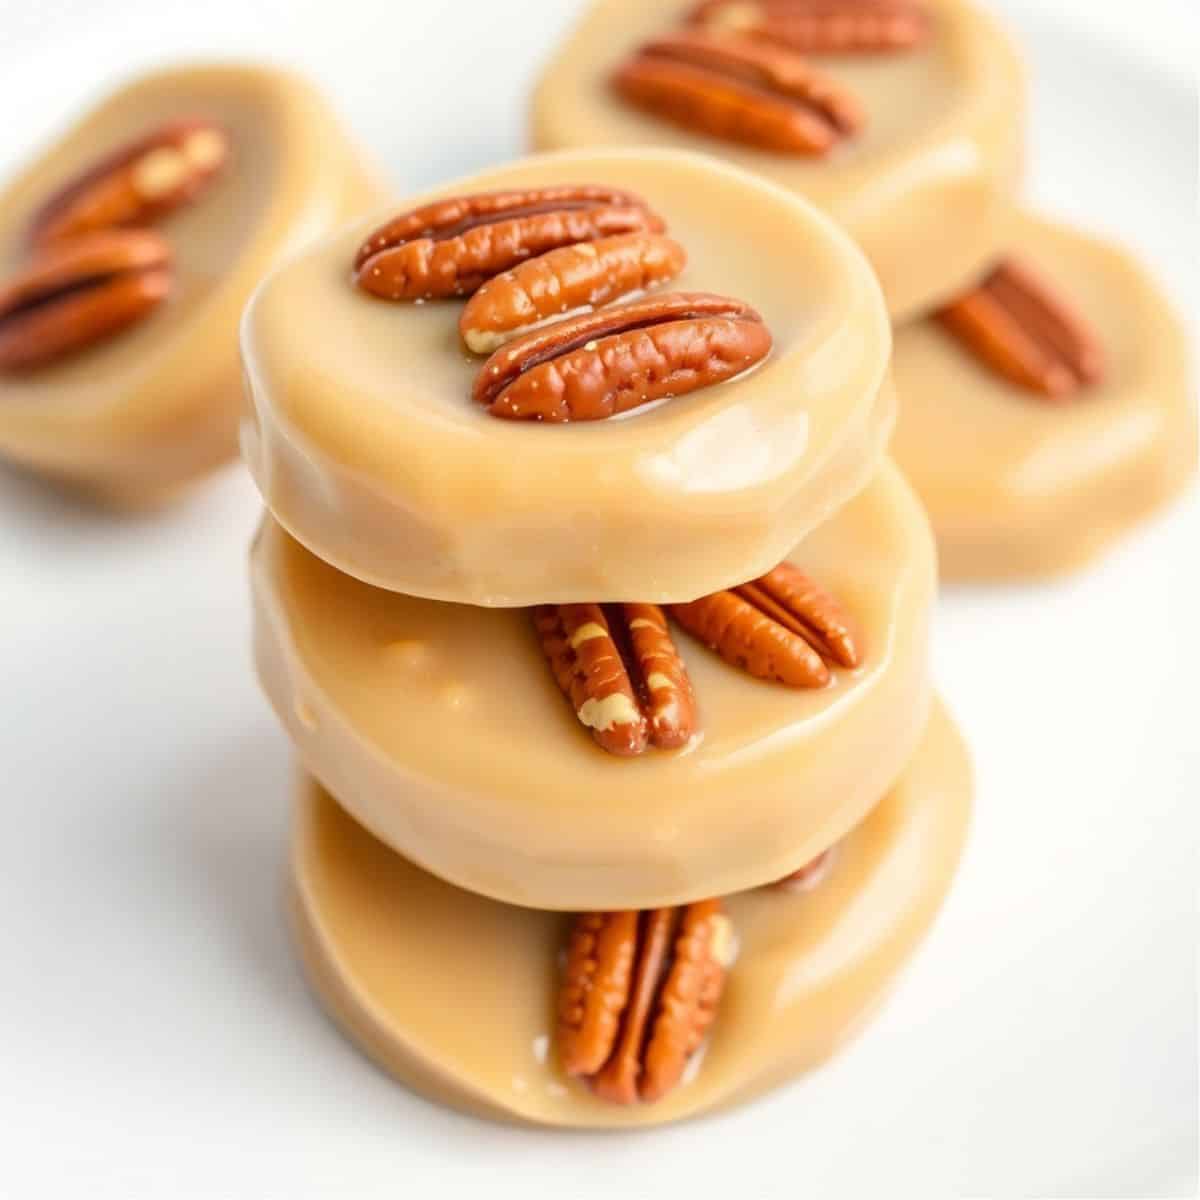
Candy made me nervous for years. I'd read about soft-ball stages and candy thermometers and think — that's not for me, I'm a cook, not a confectioner. Then last December I found myself staring at a pound of pecans I'd bought from Costco and decided to just try it. These pralines were the result, and I've made them four times since.
What I didn't realize until I actually made them is that pralines are forgiving in a way most candy isn't. You don't need a thermometer. You don't need a fancy copper pot. You need a heavy saucepan, a wooden spoon, and about 20 minutes of standing at the stove stirring. The sugar, brown sugar, and cream cook down into something almost toffee-like, and then you pull it off the heat, stir in the butter and pecans, and spoon it out fast before it sets. That's it.
My husband has a serious weakness for anything caramel-flavored, so these disappeared fast. Zainab was suspicious at first — she called them "weird fudge" — but she ate three before I stopped counting. I make a double batch now because a single batch is gone before I can even think about gifting any. If you're making these for holiday boxes or as a gift alongside something like my Grinch Cake Mix Cookies, I'd seriously recommend doubling the recipe.
One honest note: these are not authentic New Orleans pralines made by someone who grew up making them. This is my version — a home cook's version — and I'm not going to pretend otherwise. What I can tell you is that the texture is creamy, the flavor is deep and buttery, and they work every time I make them. The tips in this post are things I actually figured out through trial and error, not things I read in a cookbook.
Why You'll Love This Recipe
- No thermometer needed: I know most praline recipes tell you to cook to exactly 235°F and that you absolutely need a candy thermometer. I don't own one and these still turn out right. The trick is watching the texture of the bubbling mixture — when it thickens and looks almost like a slow lava, you're there. I'll walk you through what to look for in the directions.
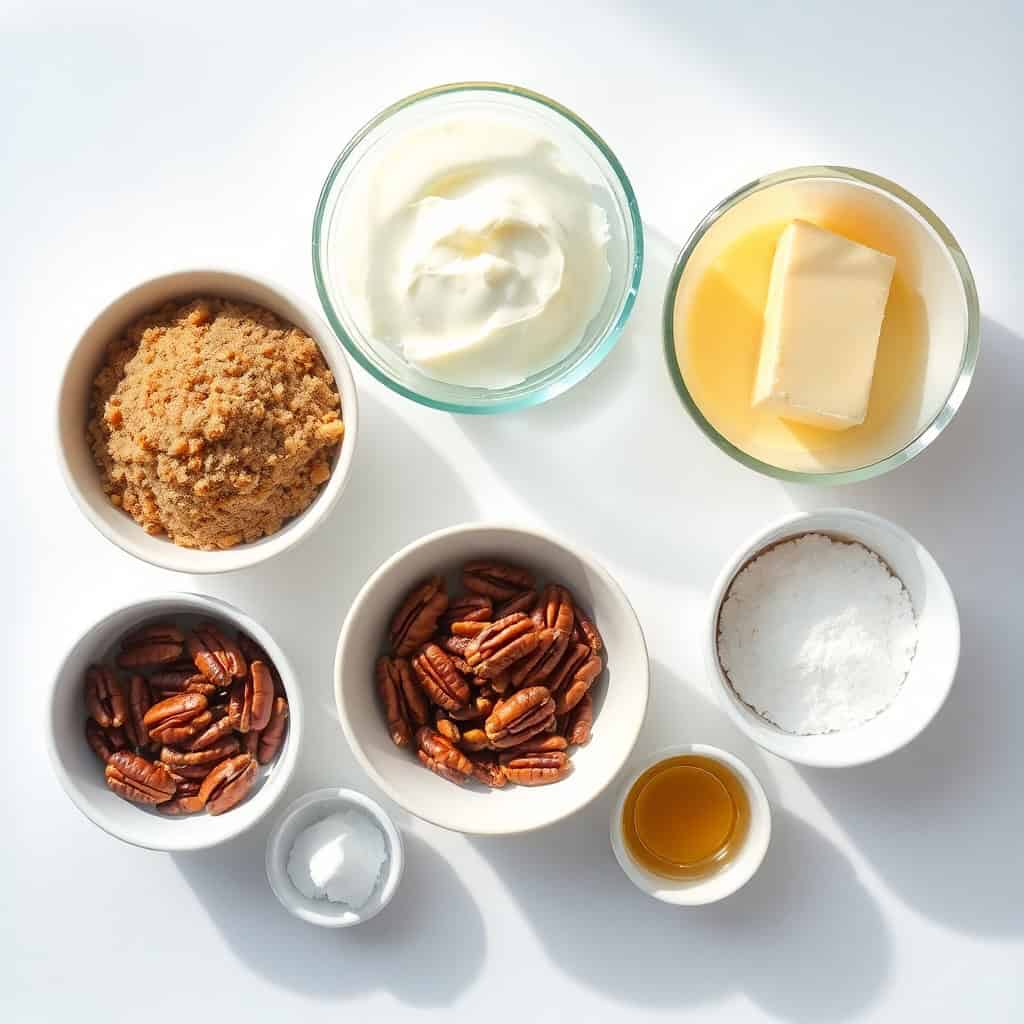
- Real ingredients, nothing obscure: Brown sugar, granulated sugar, heavy cream, butter, pecans, vanilla. Everything on this list is available at any Walmart, Aldi, or regular grocery store. No specialty shops, no ordering online. I had all of it in my pantry already.
- They set up fast and package beautifully: Once you spoon them out, they firm up at room temperature in about 30 minutes. No refrigeration needed. Stack them in a tin with some parchment between the layers and they're ready to gift. I brought a batch to a dinner party and was asked three times for the recipe before dessert was over.
- The flavor is genuinely special: Two kinds of sugar plus cream plus butter creates something that's deeper than regular caramel. The toasted pecans add a crunch that cuts through the sweetness. It's the kind of candy where you eat one and then immediately wonder if you can eat a second one without anyone noticing.
- Great for holiday gifting alongside other treats: These pair really well with something salty or savory in a gift box — I like putting them next to my Sweet and Salty Holiday Snack Mix when I'm putting together holiday bags. The contrast of flavors makes both things taste better.
Ingredients
- 1 cup granulated sugar
- 1 cup brown sugar, packed
- ½ cup heavy cream (whole milk can work in a pinch but the texture won't be as rich)
- 4 tablespoons unsalted butter
- 1 teaspoon vanilla extract
- 1 ½ cups pecan halves, toasted
- ¼ teaspoon salt
Directions
- Step 1: Prep your baking sheet — Line a baking sheet with parchment paper or a silicone mat and set it near the stove before you start cooking. You need this ready before the praline mixture is done — there's no time to fumble with parchment once the candy is off the heat.
- Step 2: Cook the sugar mixture — In a large, heavy-bottomed saucepan over medium heat, combine the granulated sugar, brown sugar, and heavy cream. Stir constantly with a wooden spoon until the sugars fully dissolve. A thin, light-colored saucepan will give you hot spots — use the heaviest pan you have.
- Step 3: Bring to a gentle boil and thicken — Increase the heat slightly and let the mixture come to a gentle boil, stirring often. Cook for about 5 minutes until it thickens noticeably and the bubbles look slow and heavy. If you drop a tiny bit into a glass of cold water and it forms a soft, pliable ball, you're at the right stage. Don't walk away during this step.
- Step 4: Add butter, pecans, vanilla, and salt — Pull the pan off the heat immediately and stir in the butter, toasted pecans, vanilla extract, and salt. Keep stirring until the butter is completely melted and everything is combined. Work with some urgency here — the mixture is starting to cool and will firm up quickly.
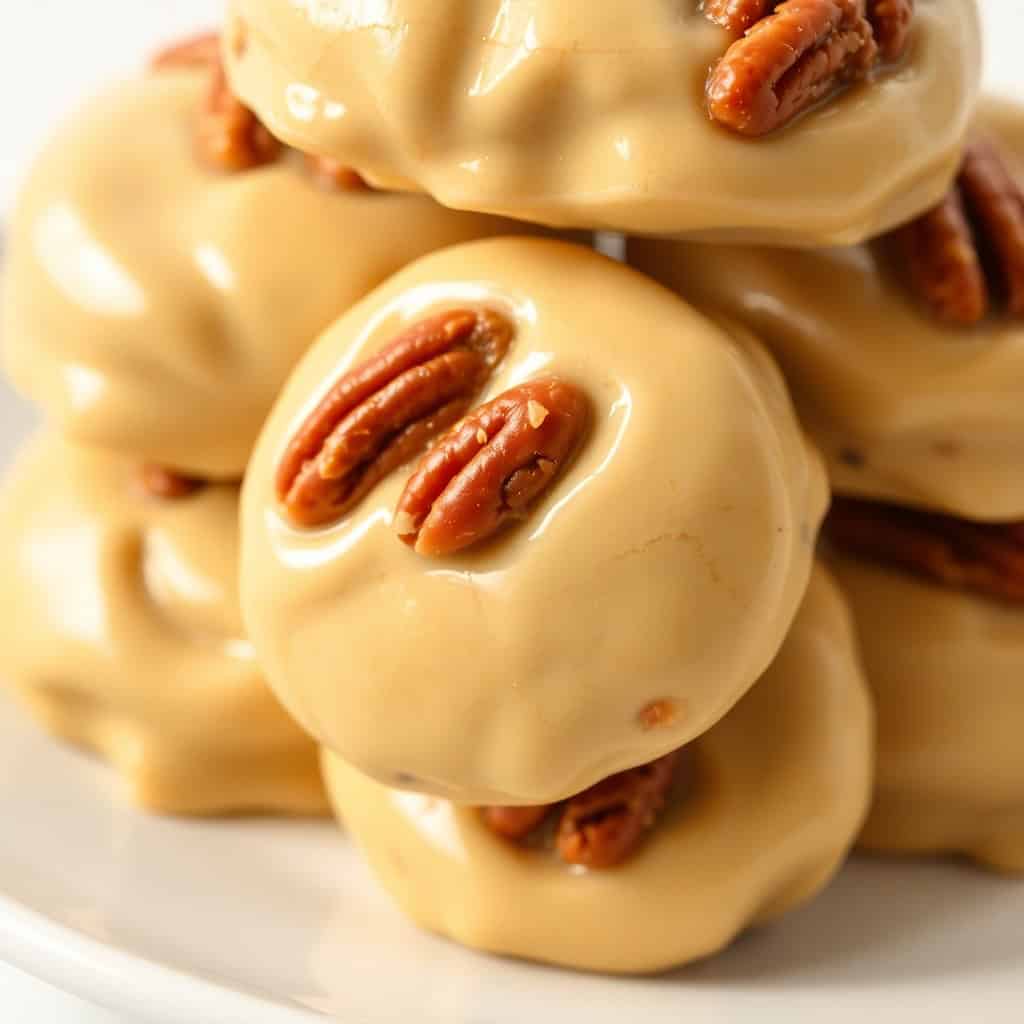
- Step 5: Spoon onto the baking sheet — Using a large spoon or a cookie scoop, drop spoonfuls of the mixture onto the prepared baking sheet. Work fast. The pralines don't need to be perfect circles — they'll spread slightly as they settle and that's fine. Mine are always a little rustic-looking and that's part of their charm.
- Step 6: Cool and set — Leave the pralines at room temperature for at least 30 minutes before touching them. I know it's hard. They need the full time to firm up properly. If your kitchen is very warm or humid, move the baking sheet somewhere cooler to help them set.
Tips for Success
- Toast the pecans before you start: This is not optional in my kitchen. Raw pecans taste fine but toasted pecans taste like a completely different thing — nuttier, deeper, slightly more complex. Spread them on a dry skillet over medium heat for 3-4 minutes, stirring constantly, until fragrant. Let them cool before adding to the hot mixture or they'll keep cooking and get bitter.
- Use a heavy-bottomed saucepan: The first time I made pralines I used a thin stainless pan and the sugar scorched along the bottom before the rest of the mixture had properly cooked. A heavy-bottomed pan — cast iron, enameled, or a good thick stainless — distributes heat evenly and gives you more control. It's worth pulling out your best pan for this.
- Don't stir excessively once the pecans go in: This is counterintuitive because you've been stirring the whole time. But once you add the pecans and butter off the heat, stir just enough to combine everything. Over-stirring at this stage can cause the sugar to crystallize and the pralines come out grainy instead of smooth and creamy. Mix until the butter melts, then stop.
- Work fast when spooning: I set up a little assembly line before I start — baking sheet already lined, spoon right next to the stove, nothing in my way. The mixture sets up faster than you'd expect. On my second batch I stopped to take a photo and the last third of the mixture had already hardened in the pan. Now my phone goes face-down until the pralines are all on the sheet.
- Avoid making these on a very humid day: I learned this the hard way in summer — pralines absorb moisture from the air and can turn sticky or soft instead of firm. If your kitchen is humid, run the air conditioning while they cool, or move them to the driest room in the house. Winter is genuinely the best time of year to make candy, which works out since these are a holiday staple anyway.
Variations
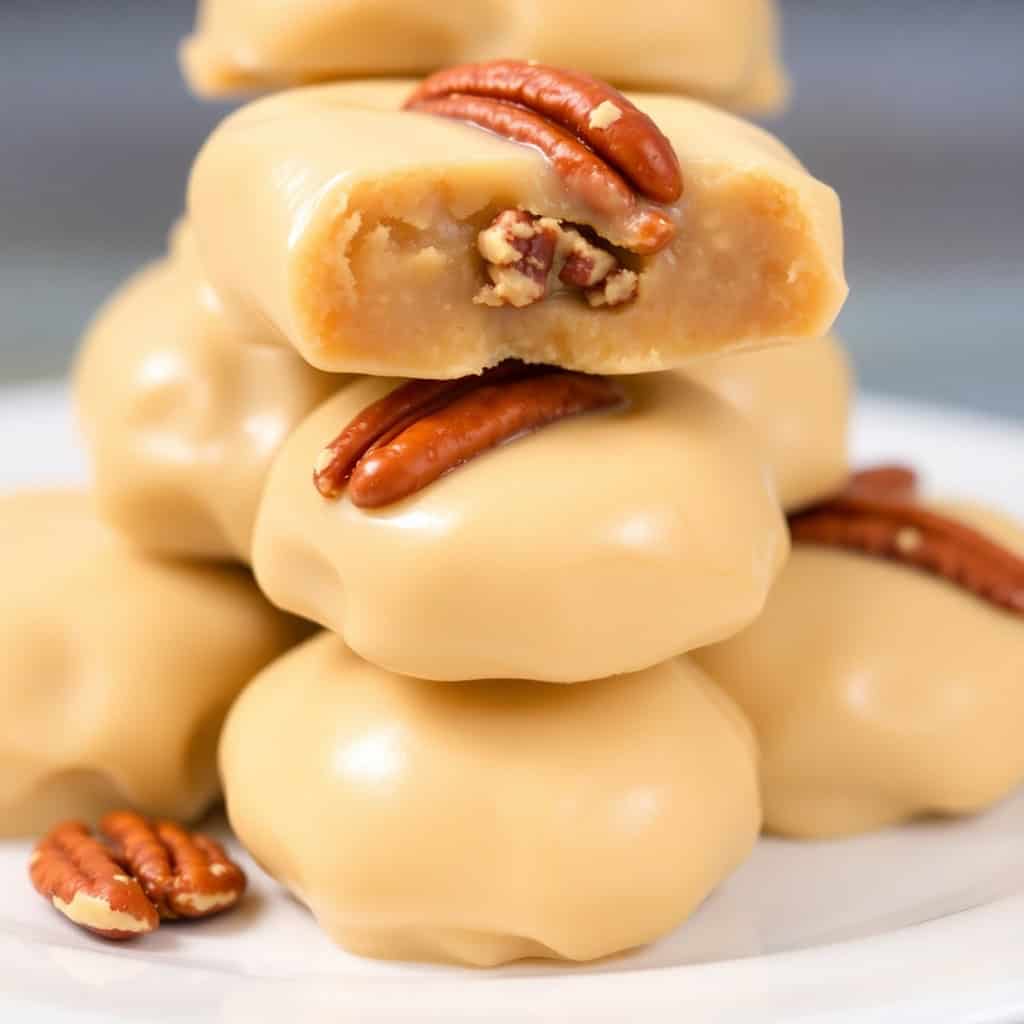
- Salted pralines: Sprinkle a small pinch of flaky sea salt on top of each praline right after spooning, before they set. This is my favorite version by a wide margin. The salt cuts the sweetness and makes the caramel flavor pop. My husband asks for these specifically now whenever I make a batch.
- Spiced pralines: Add ½ teaspoon of cinnamon and a tiny pinch of cayenne to the sugar mixture while it's cooking. The cinnamon makes them feel very festive and the cayenne gives the faintest warmth at the end — nothing spicy, just interesting. I made these for Eid one year and they went fast.
- Maple pralines: Swap the vanilla extract for maple extract — use the same amount. The flavor shifts from classic Southern caramel to something almost like a maple candy. It's a really nice change if you're making multiple batches for a gift box and want some variety.
- Chocolate drizzle: Once the pralines are fully set and firm, melt about ¼ cup of dark chocolate chips (30 seconds in the microwave, stir, repeat) and drizzle over the top with a spoon. Let the chocolate set before storing. This takes a humble praline into dessert-box territory.
- Dairy-free version: Use coconut cream instead of heavy cream and a good dairy-free butter like Miyoko's or Country Crock Plant Butter. The coconut adds a very faint tropical note that actually works surprisingly well with the pecans. I haven't tried this myself but several readers have told me it works.
Serving and Storage
Serving
Pralines are good on their own with a cup of coffee or tea — the bitterness of the coffee is a natural foil for how sweet these are. I've also crumbled them over vanilla ice cream, which Zainab now considers a legitimate dessert option. They work well on a holiday dessert table next to something lighter, like a fruit tart, so the richness doesn't become overwhelming. If you're building a holiday spread, they pair nicely alongside my Chocolate Croissant Breakfast Bake for a morning treat situation.
Storage
Store pralines in an airtight container at room temperature for up to one week. Put a small piece of parchment paper between layers so they don't stick together. Keep them away from direct sunlight or heat — a warm spot in the kitchen will make them soft and sticky. If you're in a humid climate, a tin with a tight lid works better than a regular plastic container. For longer storage, freeze them in a single layer first, then transfer to a zip-lock bag with parchment between layers — they'll keep for up to two months in the freezer. Thaw at room temperature for about 20 minutes before eating.

Frequently Asked Questions
Why are my pralines too soft and won't firm up?
The mixture probably didn't cook long enough before you pulled it off the heat. The sugar needs to reach the soft-ball stage — when a drop in cold water forms a pliable ball you can squish between your fingers. If your pralines are still soft after 45 minutes of cooling, they likely needed another minute or two on the stove. Humidity can also cause softness, so try making them on a drier day.
Why did my pralines turn out grainy instead of smooth?
Graininess is almost always caused by over-stirring after you add the pecans and butter. Once you take the pan off the heat, stir just until the butter melts and everything is combined — then stop. Stirring too aggressively at this stage encourages sugar crystals to form, and you get a sandy texture instead of that creamy melt-in-your-mouth result. It's still edible, just not the texture you're going for.
Can I use milk instead of heavy cream?
Whole milk will work in a pinch but the pralines will be less rich and might not set up as firmly. I've tried it with 2% milk once when I ran out of cream and the texture was noticeably thinner — they were edible but more like a soft fudge than a proper praline. If you have half-and-half, that's a better substitute than regular milk.
Can I freeze pralines?
Yes, pralines freeze really well. Let them set completely first, then layer them in a freezer-safe container with parchment paper between each layer so they don't stick together. They'll keep for up to two months. Thaw at room temperature for 15-20 minutes — don't microwave them. I often make a batch in November and pull them out through December as I need them for gifts.
What if my mixture hardens in the pan before I finish spooning?
This happened to me on my second batch — I got distracted and half the mixture set up in the pan. You can try returning the pan to low heat and stirring gently for 30-60 seconds to loosen it back up, then work even faster. Going forward, have everything completely prepped before you start cooking: sheet lined, spoon ready, nothing in your way. It makes a real difference.
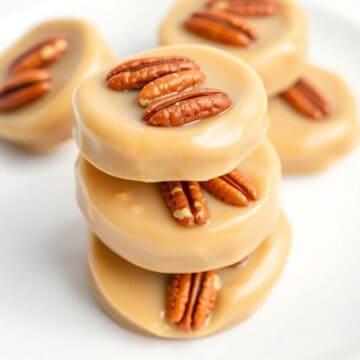
VANILLA PECAN PRALINES
Ingredients
- 1 cup granulated sugar
- 1 cup brown sugar packed
- ½ cup heavy cream
- 4 tablespoons unsalted butter
- 1 teaspoon vanilla extract
- 1 ½ cups toasted pecans
- ¼ teaspoon salt
Instructions
- Step 1: Prepare a Baking Sheet – Line a baking sheet with parchment paper or a silicone mat.
- Step 2: Cook the Mixture – In a saucepan, combine granulated sugar, brown sugar, and heavy cream over medium heat. Stir until sugar dissolves.
- Step 3: Add Butter and Pecans – Stir in butter and pecans, then continue cooking until the mixture reaches 235-240°F (soft ball stage).
- Step 4: Add Vanilla and Cool Slightly – Remove from heat, stir in vanilla and salt, then let cool for 2 minutes.
- Step 5: Drop onto Baking Sheet – Spoon small mounds onto the prepared baking sheet. Let cool until firm.
Notes
- Make Ahead: Store in an airtight container for up to 1 week.
- Customizing the Flavor: Add a dash of cinnamon or a pinch of sea salt for extra depth.
- Serving Suggestions: Enjoy with coffee or crumble over ice cream.
- Allergy-Friendly Options: Use dairy-free butter and coconut cream for a dairy-free version.
- Storage Tips: Keep in a cool, dry place to prevent them from becoming sticky.
These pralines have become one of those recipes I reach for every time I need something impressive that doesn't take all day. Twenty minutes of active cooking, 30 minutes of cooling, and you have something that genuinely looks and tastes like you put in serious effort. I make them every December without fail now, and I've started making a batch in early November just to test the recipe again — that's my excuse anyway.
What I like most about them is that they travel well and hold up for days, which makes them genuinely useful during the holidays when you need something you can make ahead. I'll put a note on the tin with the flavor variation I used that batch — salted, spiced, maple — so whoever gets them knows what they're eating. Small detail, but it makes the gift feel more intentional.
If you're building out a holiday dessert spread or a gift box this year, these pralines belong in it. And if you're looking for more ideas to round out the table, my Sweet and Salty Holiday Snack Mix is always on my counter this time of year — it comes together even faster than these pralines do. Happy candy-making. 🍬✨
If you liked this recipe, here are a few more you might want to try:
- Sweet and Salty Holiday Snack Mix — great for gifting alongside pralines
- Grinch Cake Mix Cookies — festive, easy, and kids love making them
- Chocolate Croissant Breakfast Bake — rich, make-ahead, and feels like a treat
- Minty Elixir — a refreshing drink to balance all this sweetness





Comments
No Comments