
Saad asked for these three weeks in a row before I finally wrote down the recipe. That's how I knew I had something worth keeping. He'd come home from school, walk straight past the fruit bowl, and go directly to whatever tin I had sitting on the counter — and if it had these cookies in it, that tin was empty by dinner.
What makes these work is the ratio. Enough peanut butter that you actually taste it, but not so much that the dough falls apart when you try to wrap it around the caramel. I tried the recipe twice before I got the sealing right — first batch had caramel leaking all over the parchment paper, which is annoying to clean but honestly still tasted fine. Second batch I chilled the dough for 20 minutes first and the whole process became much easier to handle.
I make these when I want something that feels a little more special than a regular cookie but I don't want to spend two hours in the kitchen. The whole thing takes about 35 minutes start to finish, including bake time. My husband likes them slightly warm, Saad likes them at room temperature, and I've caught Zainab eating one cold straight from the fridge the next morning. All three versions are good, honestly.
One thing to know before you start: use soft caramel candies. Werther's Soft Caramels or Kraft Caramels from any Walmart or Kroger work perfectly. Don't try to use hard caramels — they won't melt through the dough the way you want, and you'll end up with a hard little nugget in the middle instead of a gooey center. If you love baking with simple pantry ingredients, my No-Bake Brownie Bites with Medjool Dates are another one I keep coming back to on busy weeks.
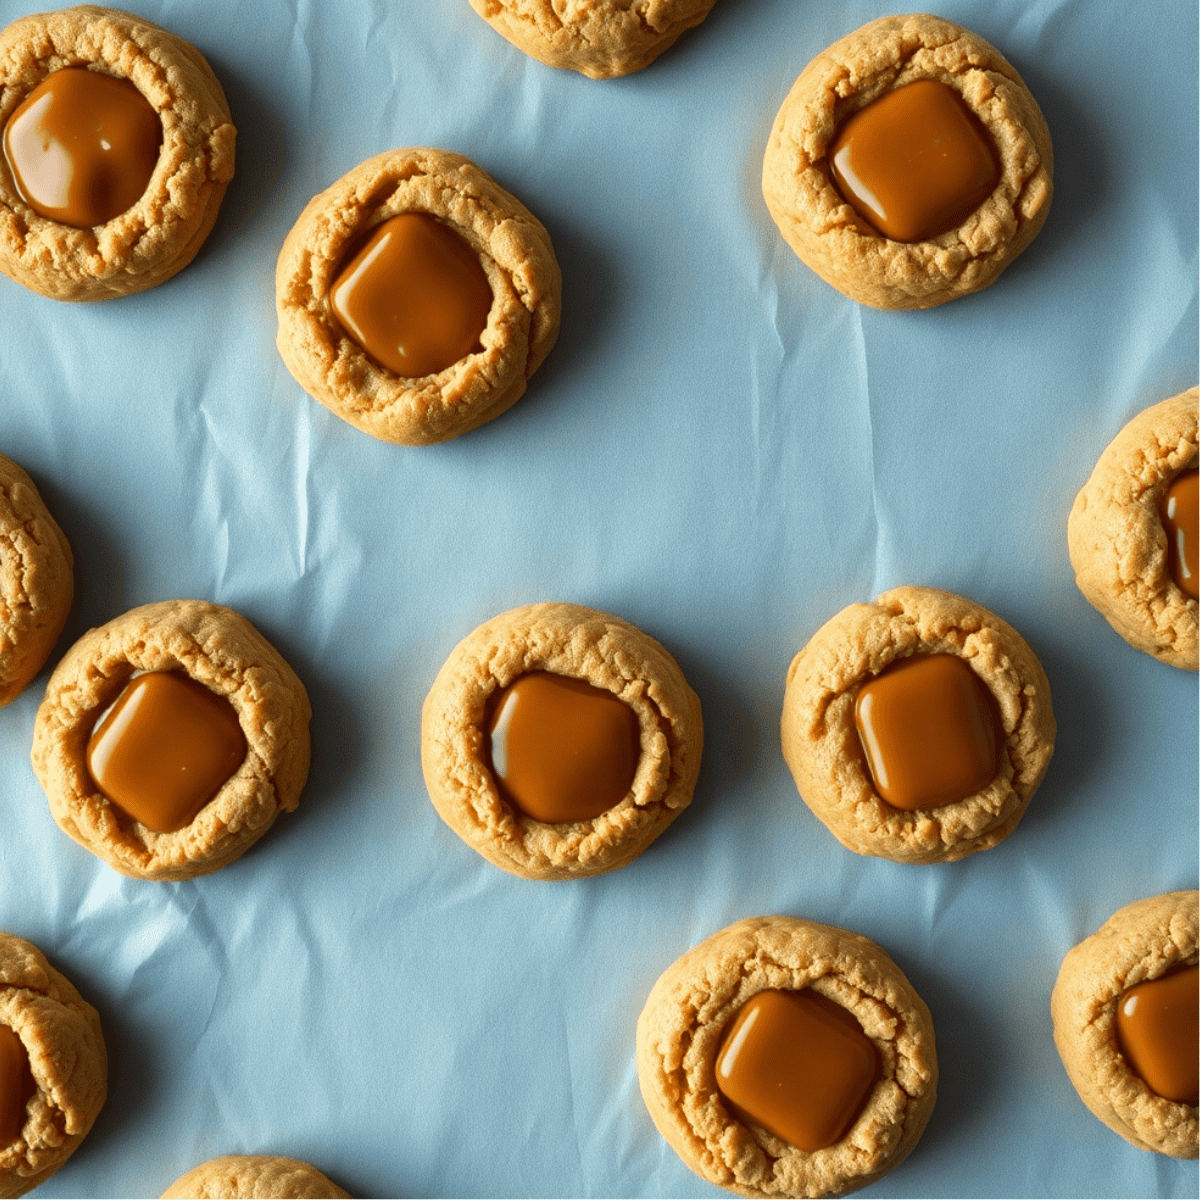
Why You'll Love This Recipe
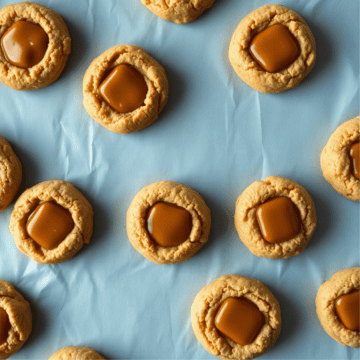
- That caramel center is genuinely gooey: I've made plenty of stuffed cookies where the filling disappears or turns hard, but these hold onto that soft caramel core even after they cool down. If you eat them within 30 minutes of coming out of the oven, the caramel is still molten in the middle. Even the next day they stay soft and a little chewy in the center, not dry like a lot of peanut butter cookies get.
- One bowl for the dough, done in 35 minutes: There's no chilling required as long as your butter isn't too warm. I cream everything together in one large bowl with a hand mixer (or just a wooden spoon if you have patience), mix in the dry ingredients, and shape. No special equipment, no resting time unless your kitchen is very warm.
- The sugar coating gives them a nice little crunch on the outside: Rolling the dough balls in granulated sugar before baking gives the outside a slight crispness that contrasts really well with the soft inside. It's a small step but it makes a difference — I've made them without it and they're good, but they're better with it.
- Sea salt on top takes them somewhere interesting: I added a pinch of flaky sea salt the third time I made these and it changed the whole thing. The salt cuts through the sweetness and makes the peanut butter flavor come forward more. It's completely optional but I haven't skipped it since.
- They travel well: I've brought these to school events and to a friend's house and they hold up fine in a tin. Unlike some stuffed cookies that get sad and deflated, these keep their shape. Stack them between pieces of parchment paper if you're transporting them so the sugar coating doesn't stick.
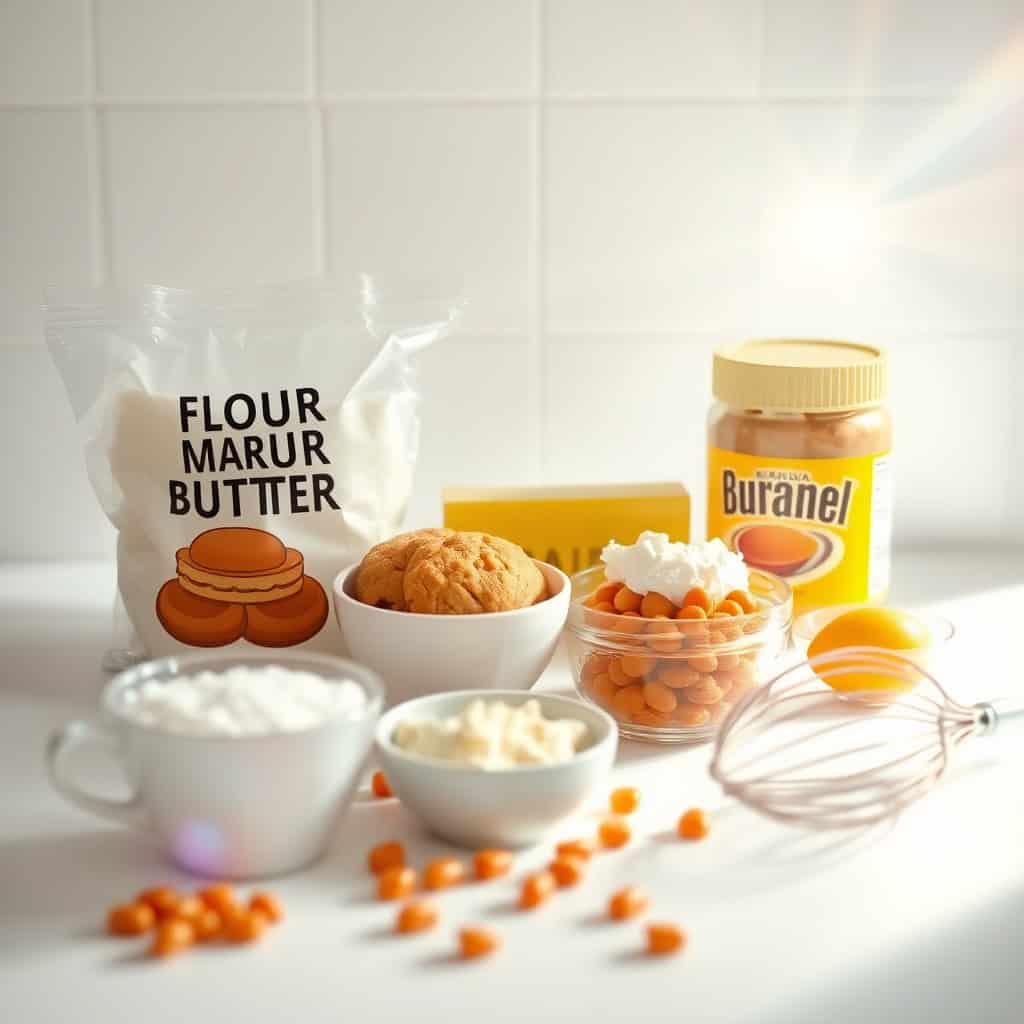
Ingredients
- ½ cup unsalted butter, softened
- ½ cup creamy peanut butter
- ¾ cup packed brown sugar
- ¼ cup granulated sugar
- 1 large egg
- 1 teaspoon vanilla extract
- 1¼ cups all-purpose flour
- ½ teaspoon baking soda
- ¼ teaspoon salt
- 24 soft caramel candies, unwrapped (Werther's Soft Caramels or Kraft Caramels work great)
- 1 tablespoon milk (only if the dough feels too stiff)
- Coarse sea salt, for sprinkling on top (optional but recommended)
- ¼ cup granulated sugar, for rolling
Directions
- Preheat the oven: Set your oven to 350°F (175°C) and line a baking sheet with parchment paper. I always use parchment here — caramel leaks happen even when you seal the dough well, and parchment saves you from scrubbing the pan.
- Mix the wet ingredients: In a large bowl, beat the softened butter, peanut butter, brown sugar, and granulated sugar together until creamy and smooth. Add the egg and vanilla extract and mix again until everything is fully combined. I do this with a hand mixer on medium speed for about 2 minutes, but a wooden spoon works too — just put some effort in.
- Add the dry ingredients: In a separate bowl, whisk together the flour, baking soda, and salt. Add the dry mixture to the wet ingredients gradually, stirring until just combined. Don't overmix — once you don't see dry flour anymore, stop. If the dough feels very stiff and crumbly, add the tablespoon of milk and mix again.
- Shape and stuff the cookies: Scoop about 1 tablespoon of dough and roll it into a ball. Flatten it slightly in your palm, place one caramel candy in the center, and wrap the dough up around it, pinching the edges closed firmly. Roll it back into a smooth ball. The seal matters — press it closed well so the caramel stays inside during baking.
- Roll in sugar: Roll each dough ball in the ¼ cup of granulated sugar until fully coated, then place on the prepared baking sheet about 2 inches apart. They spread a little, so don't crowd them.
- Bake: Bake for 10 to 12 minutes, until the edges look set and very lightly golden. The centers will still look slightly underdone — that's exactly right. They firm up as they cool, and the caramel inside stays gooey rather than turning into a hard lump.
- Cool and finish: Let the cookies sit on the baking sheet for 5 minutes before moving them to a wire rack. Sprinkle with coarse sea salt while they're still warm so the salt sticks. Eat at least one warm. It's research.
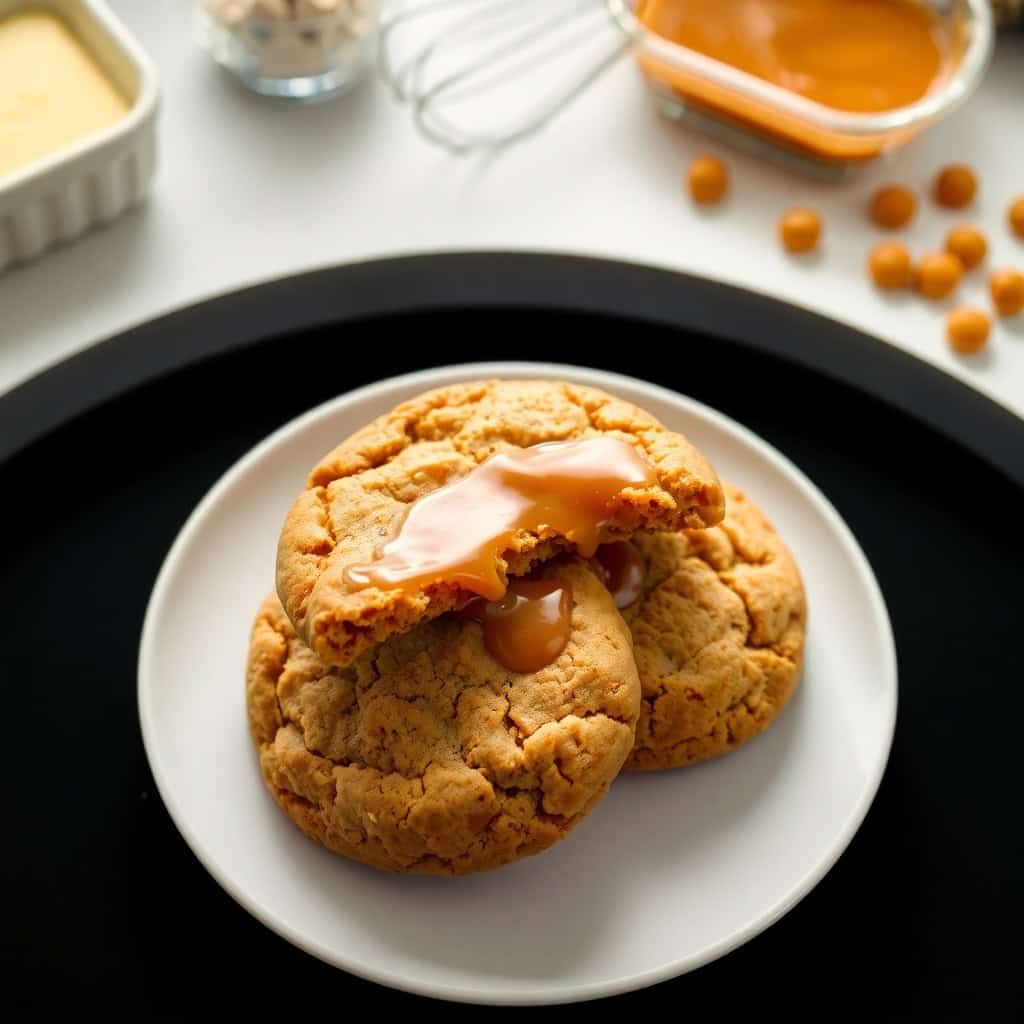
Tips for Success
- Soft butter makes a real difference: I pulled cold butter out of the fridge once and tried to rush it by cutting it into pieces. The dough was lumpy and didn't cream properly with the sugar. Let your butter sit out for at least 30 minutes before you start, or set it near the warm oven for 10 minutes. It should leave an indent when you press it but not be greasy or melted.
- Seal the caramel properly — really seal it: My first batch had caramel puddles all over the parchment because I was lazy about closing the dough. Pinch the seam firmly, then roll the ball in your palms a few times to smooth it out. If you can see the caramel through a thin spot in the dough, patch it with a little extra dough before rolling in sugar. It takes an extra 10 seconds per cookie and it's worth it.
- Chill the dough if your kitchen is warm: In summer, or if your butter got a little too soft, the dough can be sticky and hard to shape. Put the whole bowl in the fridge for 20 to 30 minutes and it becomes much easier to work with. The cookies also spread less in the oven when the dough is cool.
- Pull them out when they still look slightly underdone: The edges should be just set and barely golden. The centers will look puffy and soft — that's correct. They continue cooking on the hot pan after you take them out of the oven. Every time I've waited for the centers to look done in the oven, the cookies came out dry. 10 to 11 minutes is usually my sweet spot.
- If your caramels are firm, microwave them briefly: Some Kraft Caramels can be a bit stiff, especially in colder weather. Microwave them for 5 seconds — not more — and they soften up enough to be easy to work with without getting sticky and melty in your hands.
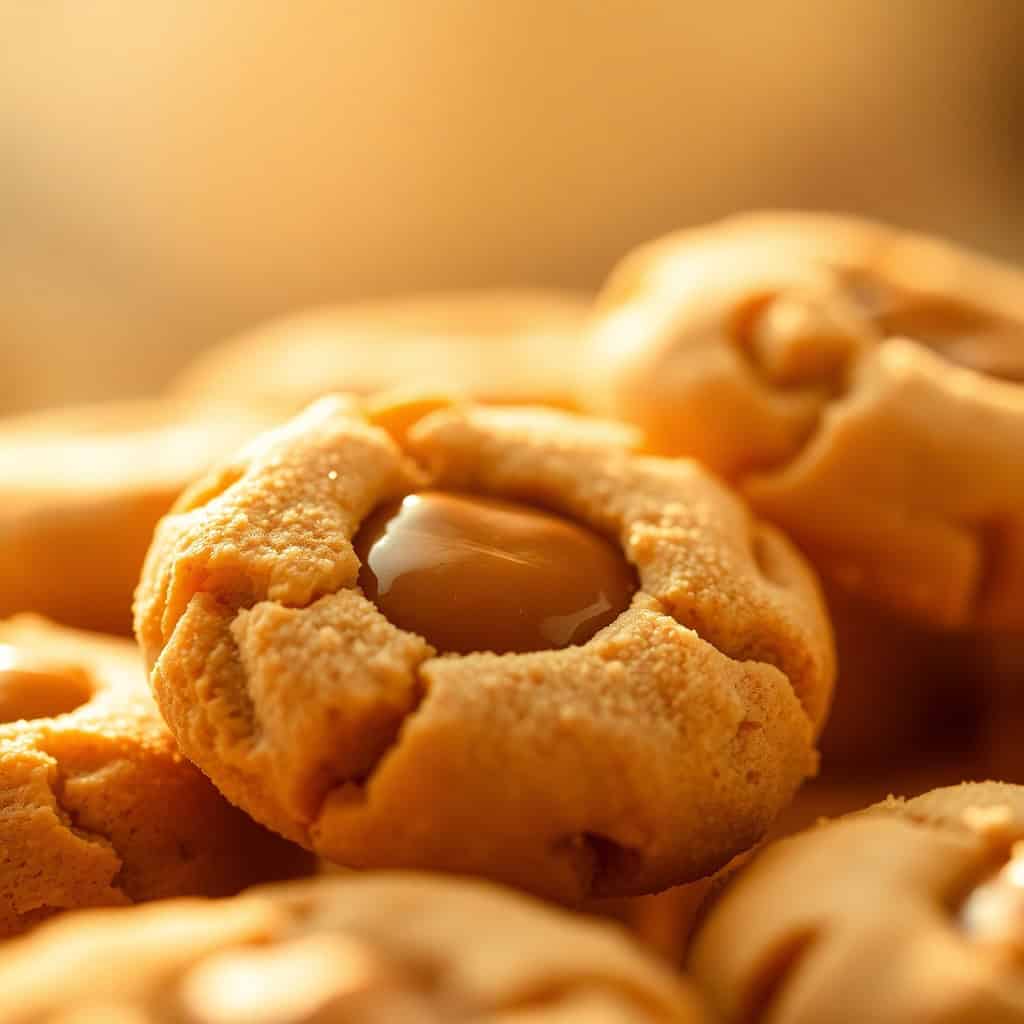
Variations
- Chocolate drizzle: Melt about ¼ cup of semi-sweet chocolate chips in the microwave in 30-second bursts, stir until smooth, and drizzle over the cooled cookies with a spoon. I do this when I'm bringing them somewhere and want them to look a little more finished. My Chocolate Dipped Brownie Hearts use a similar technique if you want more chocolate-covered baked goods in your life.
- Crunchy peanut butter version: Swap the creamy peanut butter for crunchy and you get little bits of peanut throughout the dough. My husband actually prefers this version — he says the texture is more interesting. The dough might be slightly stiffer so add the tablespoon of milk if needed.
- Cinnamon sugar coating: Instead of rolling in plain granulated sugar, mix 2 tablespoons of sugar with ½ teaspoon of cinnamon and use that instead. It adds a warm spiced edge that works really well against the sweet caramel center. This is a good variation for fall baking.
- Stuffed with chocolate instead: Replace each caramel candy with a small square of milk or dark chocolate — about the size of one Ghirardelli square broken in half. It becomes more of a peanut butter chocolate cookie, which is a different kind of good. I've done half the batch caramel, half chocolate before when I couldn't decide.
- Salted caramel candies: If you can find salted caramel candies (Werther's makes them), use those instead of regular caramels and skip the sea salt on top. The salt is already built into the filling. It's a slightly more subtle version of the sweet-salty thing.
Serving and Storage
Serving
These are best eaten warm, within about 20 minutes of coming out of the oven, when the caramel center is still fully molten. After that they cool to a chewy, slightly gooey center which is still genuinely good — just different. I serve them as-is, but they're also nice alongside a glass of cold milk or a strong cup of tea. If you have leftovers and want that fresh-from-the-oven feel again, microwave a single cookie for 10 seconds and it gets the caramel soft again.
Storage
Store in an airtight container at room temperature for up to 5 days. I put a piece of parchment or wax paper between layers so they don't stick together. They also freeze well — place them in a single layer on a sheet pan to freeze solid first, then transfer to a zip-lock freezer bag. They'll keep in the freezer for up to 3 months. Thaw at room temperature for about 30 minutes, or microwave from frozen for 20 to 25 seconds.

Frequently Asked Questions
Can I use crunchy peanut butter instead of creamy?
Yes, and it's actually a nice change. Crunchy peanut butter adds small bits of peanut throughout the dough that give the cookies a little more texture. The dough might be slightly stiffer than with creamy, so if it feels too thick to shape easily, mix in a tablespoon of milk to loosen it up.
How do I keep the caramel from leaking out during baking?
Press the dough firmly around the caramel and pinch the seam closed, then roll it in your palms to smooth out any thin spots. If you can see the caramel through the dough, patch it before rolling in sugar. Chilling the dough for 20 minutes before shaping also helps — cold dough holds its shape better in the oven and gives the caramel less chance to escape.
Can I make the dough ahead of time?
Yes. You can store the unshaped dough in the fridge for up to 2 days, tightly covered. You can also freeze shaped dough balls (without the sugar coating) for up to 3 months — roll them in sugar right before baking and add 1 to 2 minutes to the bake time. I do this when I want fresh cookies without starting from scratch.
What type of caramel candies work best?
Soft, chewy caramels are what you want — Werther's Soft Caramels and Kraft Caramels are both easy to find at Walmart, Target, or most grocery stores. Don't use hard caramels or caramel sauce from a jar. Hard caramels don't melt through the cookie the way you want, and caramel sauce is too wet and will make the dough soggy.
Why did my cookies come out flat?
Usually this happens when the butter was too warm or melted rather than just softened. Melted butter causes the cookies to spread too fast in the oven before they set. If your dough feels very soft or greasy before baking, put it in the fridge for 20 to 30 minutes. Baking on a cold sheet pan rather than a warm one from a previous batch also helps them hold their shape.
PEANUT BUTTER CARAMEL COOKIES
Ingredients
- ½ cup unsalted butter softened
- ½ cup creamy peanut butter
- ¾ cup brown sugar packed
- ¼ cup granulated sugar
- 1 egg
- 1 teaspoon vanilla extract
- 1 ¼ cups all-purpose flour
- ½ teaspoon baking soda
- ¼ teaspoon salt
- 24 soft caramel candies such as Werther’s or Kraft, unwrapped
- 1 tablespoon milk if needed for soft dough
- Coarse sea salt optional, for garnish
Instructions
Step No.1: Preheat Oven
- Preheat oven to 350°F (175°C). Line a baking sheet with parchment paper.
Step No.2: Mix Wet Ingredients
- In a large bowl, beat butter, peanut butter, brown sugar, and granulated sugar until creamy. Add egg and vanilla and mix well.
Step No.3: Combine Dry Ingredients
- In a separate bowl, whisk together flour, baking soda, and salt. Gradually add to the wet mixture and stir until combined. If dough is too thick, add 1 tablespoon milk.
Step No.4: Shape the Dough
- Roll 1 tablespoon of dough into a ball, flatten slightly, and place one caramel candy in the center. Wrap dough around the caramel and roll into a smooth ball.
Step No.5: Bake the Cookies
- Place cookies 2 inches apart on the baking sheet. Bake for 10-12 minutes, or until edges are set and slightly golden.
Step No.6: Cool and Enjoy
- Let cookies cool on the baking sheet for 5 minutes before transferring to a wire rack. Sprinkle with coarse sea salt, if desired.
Notes
- For Extra Soft Cookies: Do not overbake—cookies will continue to set as they cool.
- Stuffing Tip: If caramel candies are hard, microwave them for 5 seconds before stuffing into the dough.
- Storage: Store in an airtight container for up to 5 days or freeze for up to 3 months.
- Chocolate Drizzle: Drizzle melted chocolate over cooled cookies for extra indulgence.
- Crunchy Peanut Butter: Swap creamy peanut butter for crunchy to add texture.
- Salted Caramel Version: Use salted caramel candies for a sweet-salty flavor boost.
These cookies have become one of those things I just keep in rotation. They're not complicated, they don't require anything special, and they consistently make people in my house stop what they're doing and come to the kitchen. That combination of soft peanut butter cookie and molten caramel center is genuinely hard to walk past without eating one.
The biggest lesson I learned across the three batches it took me to get these right: don't overbake them and don't skip the sea salt. Those two things make the difference





Comments
No Comments