
Burger night in our house used to mean the same thing every time: a slice of cheddar, some ketchup, maybe a sad tomato ring if I was feeling ambitious. Then one summer I made a batch of bacon jam on a whim — just to use up some leftover strips — and my husband ate three burgers in one sitting. That was the moment I realized the topping is half the burger, and I'd been coasting on autopilot for years.
A great burger topping does a few things: it adds contrast (something creamy against something crispy), it introduces a flavor the patty can't provide on its own, and it holds together without sliding off after the first bite. That last one matters more than people give it credit for. I've tested a lot of these combinations over a lot of burger nights, and the ones that made the final cut here all pass that test. If you're already exploring burger recipes worth building on, having a solid topping game changes everything.
This list covers a lot of ground — there's a kimchi slaw that leans into Korean flavors, a roasted garlic whipped goat cheese that sounds fancy but comes together in ten minutes, a mango habanero salsa for when you want heat with fruit sweetness, and a blue cheese walnut butter compound that melts straight into the patty. Some of these work on beef, some are better on chicken or turkey, and a few are genuinely good enough to eat on toast. If you're building out a full spread, you might also want to check out my homemade condiments roundup — several of these toppings pair well with what's over there.
Here are the fifteen toppings I keep coming back to — pick one, or pile on three. No judgment in this kitchen.
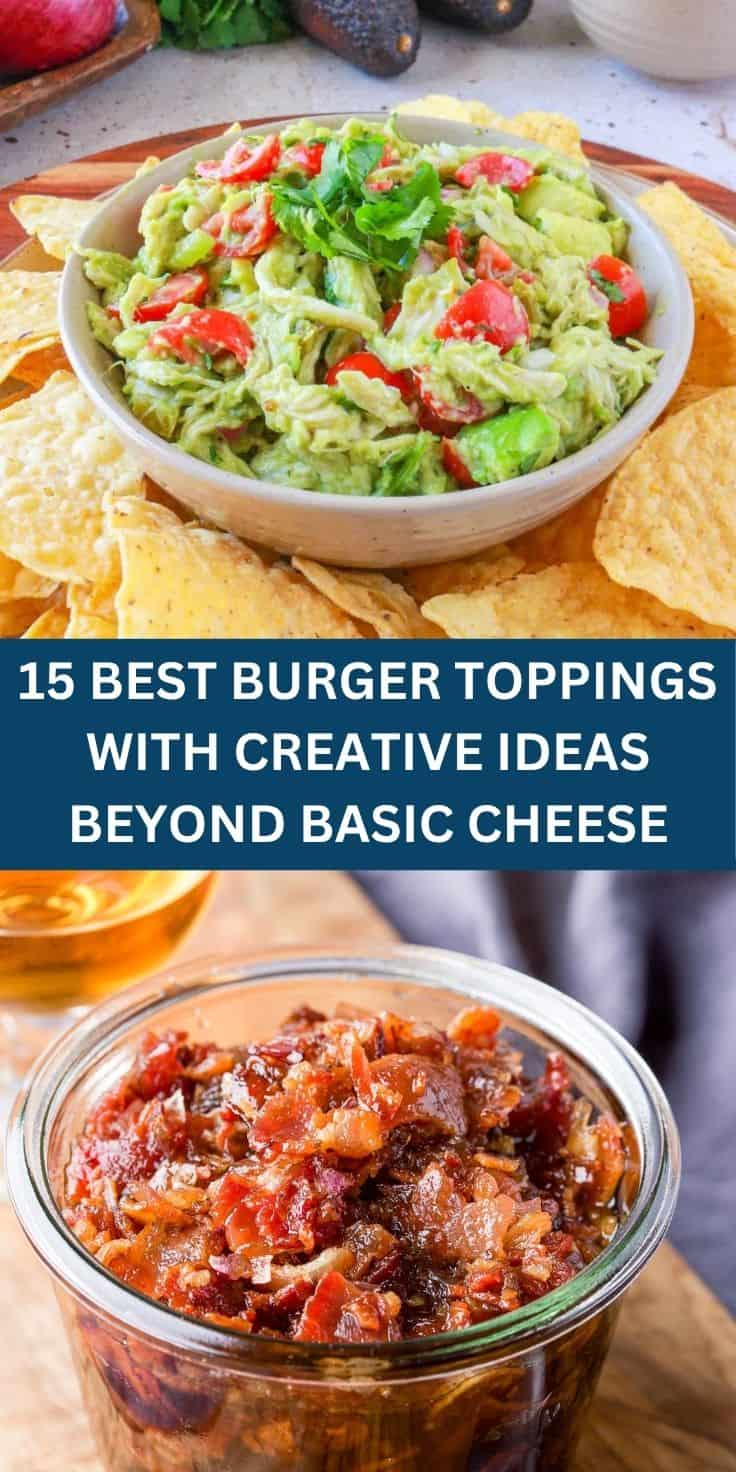
15 Creative Burger Toppings Worth Making
15. Caramelized Onion and Gruyere Jam

Caramelizing onions is one of those things I had to learn patience for — the first few times I rushed them and ended up with soft-but-pale onions that had none of that deep, jammy sweetness you're actually after. Low heat, a wide pan, and about 40 minutes is what it really takes. Combined with nutty, melty Gruyere stirred right in, this becomes a spreadable topping that makes even a basic ground beef patty taste like something you'd order at a sit-down restaurant. It's rich, it's savory, and a little goes a long way.
Ingredients
- 3 large yellow onions, thinly sliced
- 2 tablespoons unsalted butter
- 1 tablespoon olive oil
- 1 teaspoon brown sugar
- ½ teaspoon kosher salt
- 1 tablespoon balsamic vinegar
- ½ cup shredded Gruyere cheese
- ¼ teaspoon black pepper
Instructions
- Melt butter with benefits of olive oil in a wide, heavy skillet over medium-low heat. Add the sliced onions and salt, stirring to coat.
- Cook on low heat, stirring every 5–7 minutes, for 35–45 minutes until onions are deeply golden and jammy. Don't rush this — medium-low is the sweet spot.
- Stir in the brown sugar and balsamic vinegar during the last 5 minutes of cooking. Let it bubble and reduce for 2 minutes.
- Remove from heat and immediately stir in the shredded Gruyere. The residual heat will melt it into a creamy, spreadable jam consistency.
- Season with black pepper, taste for salt, and spread generously onto your burger bun while still warm.
14. Crispy Fried Shallot Rings with Aioli
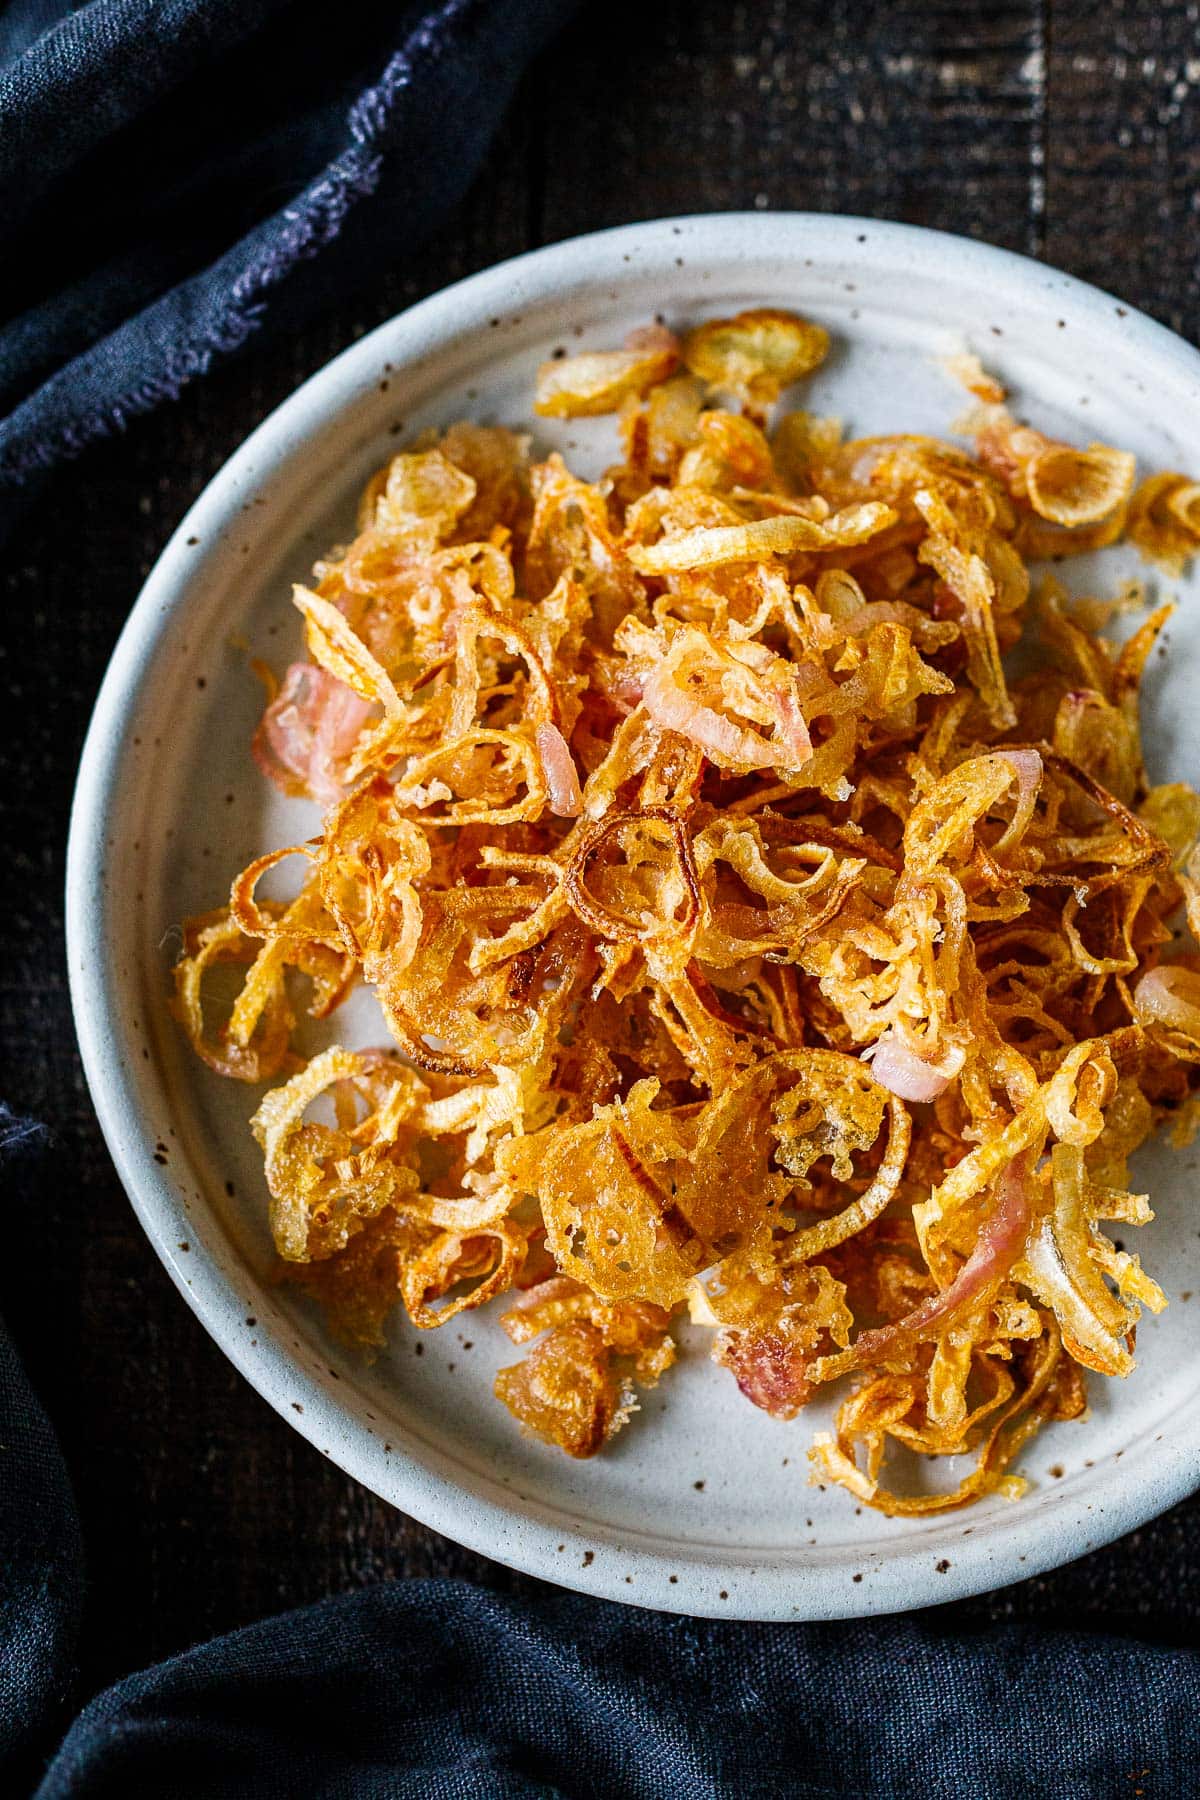
Shallots fry up more delicately than regular onion rings — thinner, crispier, with a slightly sweeter bite that doesn't overpower the burger underneath. Saad was skeptical when I put these on his burger instead of the usual onion rings, but he came back asking for more before I'd even sat down. The aioli alongside is just two-minute mayo with garlic and lemon, but it ties everything together. Soak the shallot rings in buttermilk first — it helps the flour coating stick and keeps them from turning greasy.
Ingredients
- 6 large shallots, sliced into ¼-inch rings
- 1 cup buttermilk (or 1 cup milk + 1 tablespoon white vinegar, let sit 5 minutes)
- ¾ cup all-purpose flour
- ¼ cup cornstarch
- 1 teaspoon garlic powder
- ½ teaspoon smoked paprika
- ½ teaspoon salt
- Vegetable oil, for frying
- ½ cup mayonnaise
- 2 garlic cloves, minced or grated
- 1 tablespoon lemon juice
- Salt and pepper to taste
Instructions
- Separate the shallot rings and soak them in buttermilk for at least 20 minutes. This tenderizes them slightly and helps the coating grip.
- Whisk together the flour, cornstarch, garlic powder, smoked paprika, and salt in a shallow bowl.
- Heat about 1½ inches of vegetable oil in a heavy skillet or saucepan to 350°F. A thermometer is helpful here — too cool and they'll be greasy, too hot and they'll burn before crisping.
- Lift shallot rings from the buttermilk, letting excess drip off, then dredge in the flour mixture. Shake off excess.
- Fry in batches for 2–3 minutes per side until golden and crisp. Drain on a paper towel-lined plate and salt immediately.
- Make the aioli by stirring together mayonnaise, grated garlic, and lemon juice. Season with salt and pepper. Serve alongside or drizzled directly over the burger.
13. Avocado Lime Smash with Pickled Jalapeños

Not quite guacamole, not quite sliced avocado — this is somewhere in between, and that's exactly what makes it work on a burger. You want it chunky enough to have texture but spreadable enough that it stays on the bun. The lime keeps it from browning too fast, and the pickled jalapeños (the kind from a jar, which you can find at any Walmart or Trader Joe's) add a tangy, vinegary heat that plain sliced avocado just doesn't give you. Use ripe but firm avocados — if they're too soft they'll turn into paste and disappear into the burger instead of adding anything.
Ingredients
- 2 ripe avocados
- 2 tablespoons fresh lime juice (about 1 lime)
- ¼ teaspoon garlic powder
- ¼ teaspoon cumin
- ½ teaspoon salt
- ¼ cup pickled jalapeño slices (from a jar), roughly chopped
- 2 tablespoons pickled jalapeño brine (from the jar)
- 2 tablespoons fresh cilantro, chopped (optional)
Instructions
- Halve and pit the avocados. Scoop the flesh into a bowl and add lime juice immediately — this slows browning.
- Use a fork to smash the avocado to your preferred texture. Chunky works better on burgers than completely smooth.
- Stir in garlic powder, cumin, salt, and the pickled jalapeño brine. Taste and adjust seasoning — the brine adds both heat and acid, so you may need less lime.
- Fold in the chopped pickled jalapeños and cilantro if using.
- Spread thickly onto the bottom bun just before assembling your burger. Don't spread it too far in advance or it will discolor, even with the lime.
12. Sun-Dried Tomato and Basil Pesto Spread
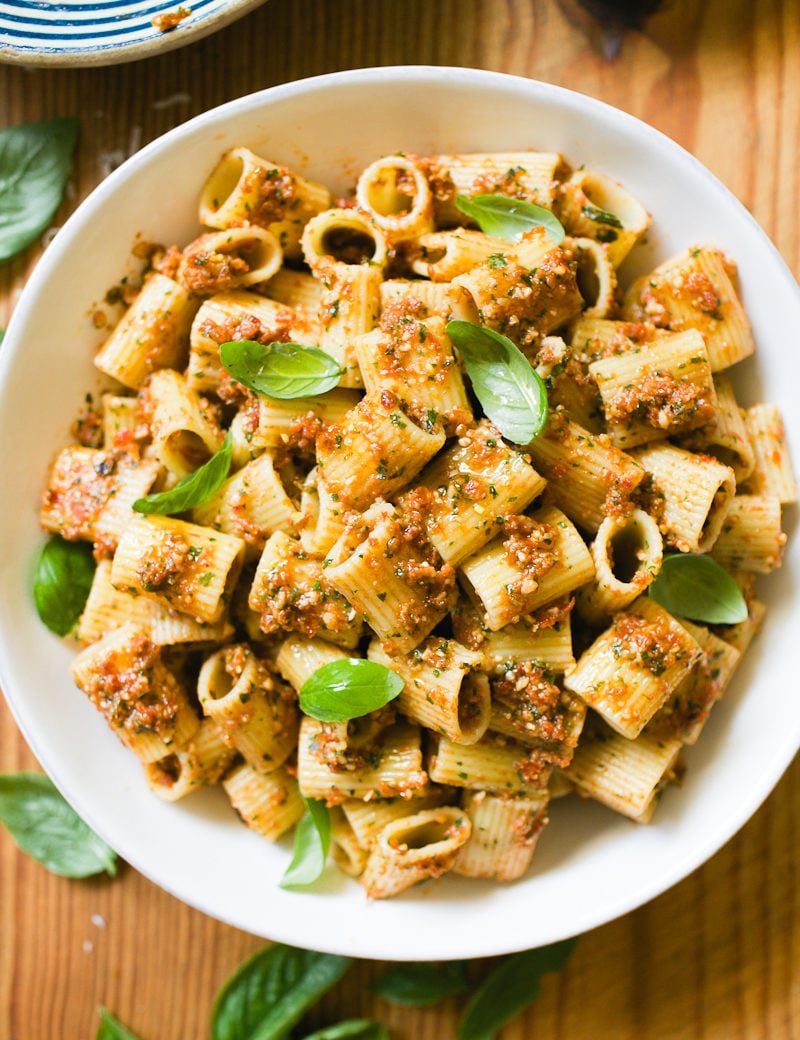
Sun-dried tomatoes have this concentrated, almost sweet-savory intensity that regular tomatoes can't match — and when you blend them with fresh basil, Parmesan, and a little olive oil, you get a spread that turns a burger into something much more interesting than it has any right to be. This isn't authentic Italian pesto, it's my version built around what I keep in my pantry — the oil-packed sun-dried tomatoes from Trader Joe's or Costco are what I use, and they're worth keeping on hand. Spread it on both the top and bottom bun, or use it as a sauce under the cheese while the patty is still on the heat so it melts everything together.
Ingredients
- ½ cup oil-packed sun-dried tomatoes, drained
- 1 cup fresh basil leaves, loosely packed
- ¼ cup grated Parmesan
- 2 garlic cloves
- 3 tablespoons olive oil (plus more as needed)
- 1 tablespoon pine nuts or walnuts (optional)
- 1 tablespoon lemon juice
- Salt and black pepper to taste
Instructions
- Add sun-dried tomatoes, basil, Parmesan, garlic, and nuts (if using) to a food processor. If you don't have a food processor, chop everything very finely by hand and stir together — it'll be chunkier but still good.
- Pulse several times to break everything down into a rough paste.
- With the processor running, drizzle in the olive oil until the spread reaches a thick, spreadable consistency. You may need a little more oil depending on how dry your sun-dried tomatoes are.
- Add lemon juice, then taste and season with salt and pepper. Sun-dried tomatoes and Parmesan are both salty, so go easy at first.
- Store in the fridge in a sealed jar for up to 5 days. Bring to room temperature before spreading so it's easier to work with.
11. Bacon Jam with Brown Sugar and Bourbon
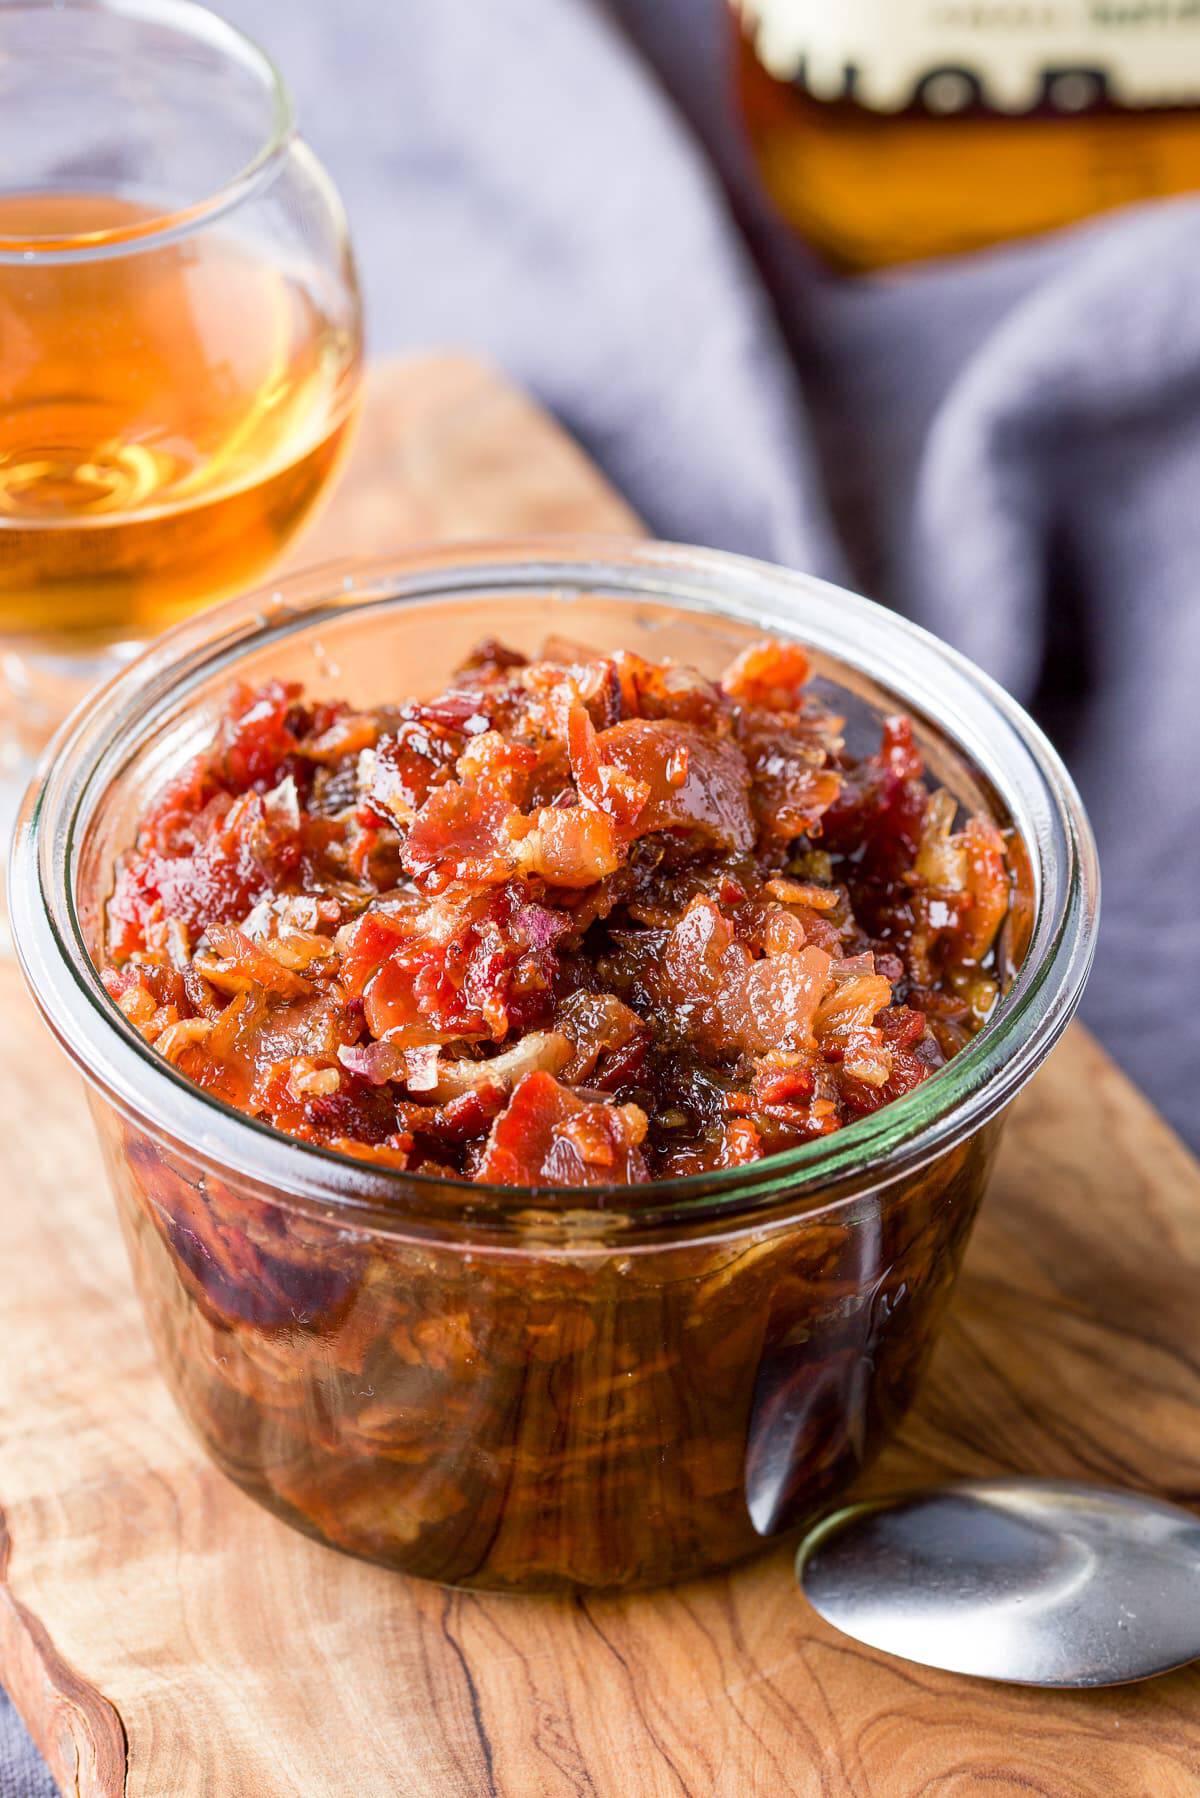
Bacon jam sounds like something from a fancy brunch menu, but it's genuinely straightforward to make and keeps in the fridge for two weeks — which means I make a big batch and use it on burgers, sandwiches, and honestly on toast when no one is looking. The bourbon cooks down completely so the alcohol is gone, leaving behind a deep, slightly smoky sweetness that balances the salt of the bacon. Don't skip the apple cider vinegar at the end — it cuts through all that richness and keeps the jam from tasting one-dimensional. I make a double batch because it disappears faster than I expect every single time.
Ingredients
- 1 lb thick-cut bacon, cut into ½-inch pieces
- 1 medium yellow onion, finely diced
- 3 garlic cloves, minced
- ¼ cup brown sugar, packed
- 3 tablespoons bourbon (or substitute strong brewed coffee)
- 2 tablespoons apple cider vinegar
- 2 tablespoons pure maple syrup
- 1 teaspoon smoked paprika
- ½ teaspoon black pepper
Instructions
- Cook the bacon pieces in a large skillet over medium heat, stirring occasionally, until the fat has rendered and the bacon is browned but not fully crisp. Remove bacon with a slotted spoon and set aside. Drain off all but about 1 tablespoon of the fat.
- In the same pan, cook the diced onion over medium-low heat for 10 minutes until softened and translucent. Add the garlic and cook another 2 minutes.
- Add the brown sugar, bourbon, maple syrup, smoked paprika, and black pepper. Stir to combine and bring to a simmer.
- Return the bacon to the pan. Reduce heat to low and cook uncovered, stirring occasionally, for 20–25 minutes until the liquid reduces and the mixture becomes thick and jammy.
- Stir in the apple cider vinegar in the last 2 minutes of cooking. Let it bubble briefly, then remove from heat.
- Pulse the jam 3–4 times in a food processor if you prefer a smoother texture, or leave it chunky. Store in a sealed jar in the fridge for up to 2 weeks.
10. Roasted Garlic Whipped Goat Cheese Spread
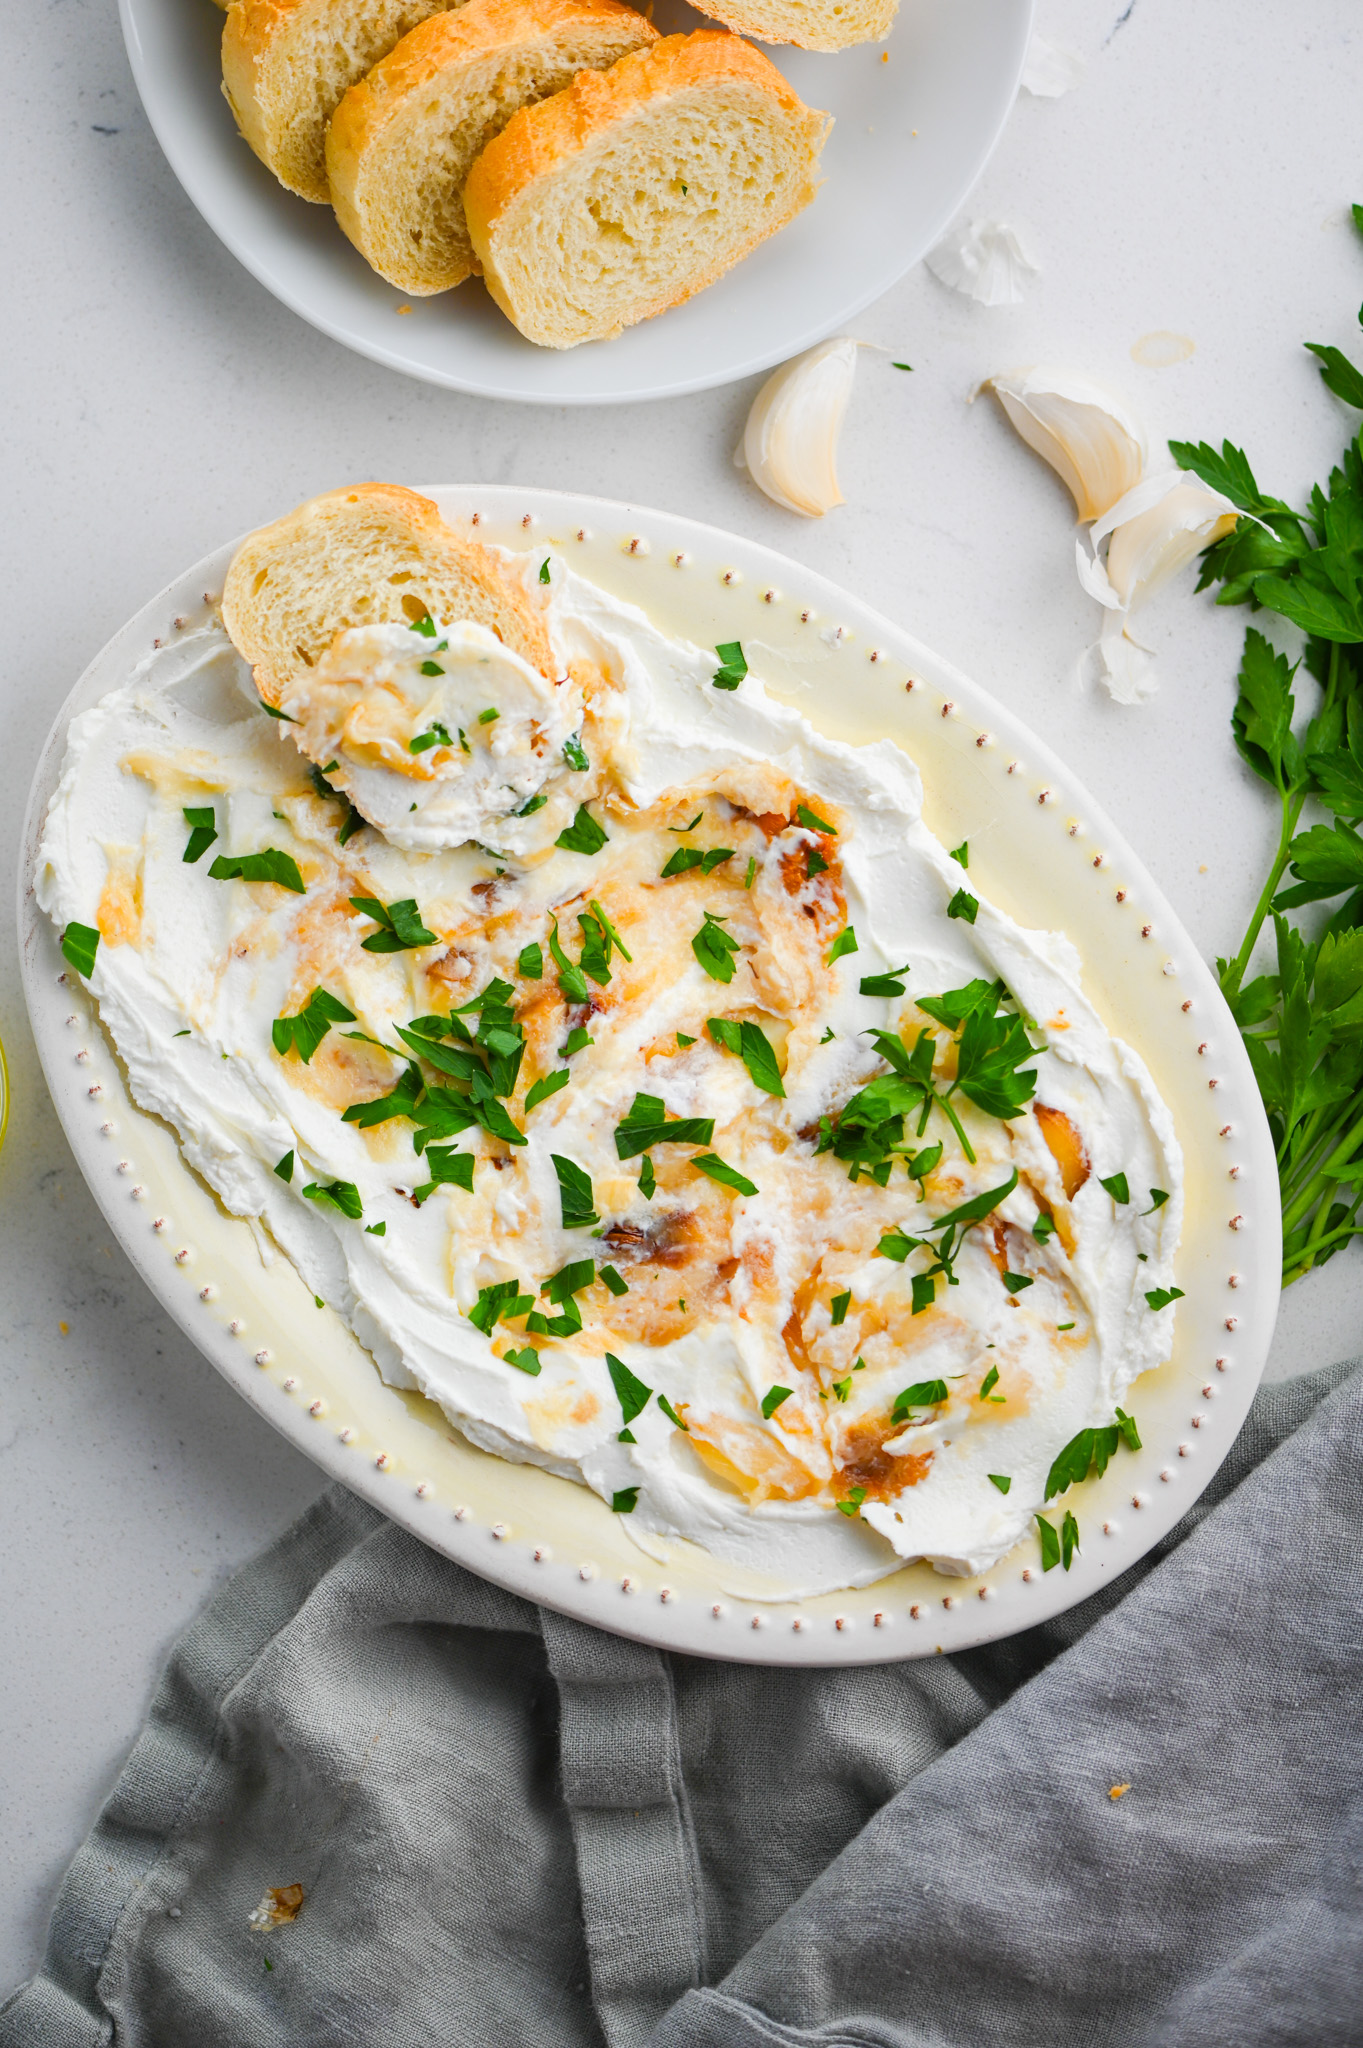
Raw goat cheese straight from the log is tangy and a little sharp — but roast a whole head of garlic alongside it and whip the two together, and something genuinely special happens. The garlic goes buttery and sweet in the oven, and it mellows the goat cheese out into something creamy and spreadable with just enough tang left to be interesting. I learned the hard way that cold goat cheese doesn't whip — it just crumbles and stays lumpy. Let it sit out for at least 15 minutes before you start, and it'll come together smoothly with just a fork or a hand mixer.
Ingredients
- 1 whole head of garlic
- 1 teaspoon olive oil (for roasting the garlic)
- 8 oz plain goat cheese, at room temperature
- 2 tablespoons cream cheese, softened
- 1 tablespoon olive oil
- 1 tablespoon fresh lemon juice
- 1 teaspoon fresh thyme leaves (or ½ teaspoon dried)
- Salt and black pepper to taste
Instructions
- Preheat your oven to 400°F. Slice the top ¼ off the head of garlic to expose the cloves. Drizzle with 1 teaspoon olive oil, wrap in foil, and roast for 40–45 minutes until the cloves are golden and completely soft when pressed.
- Let the garlic cool enough to handle, then squeeze the roasted cloves out of their skins into a small bowl. Mash into a smooth paste with a fork.
- In a medium bowl, combine the room-temperature goat cheese, softened cream cheese, and roasted garlic paste.
- Add the tablespoon of olive oil, lemon juice, and thyme. Beat with a hand mixer on medium for 1–2 minutes until light and fluffy. If you don't have a hand mixer, a fork and some effort works — it just won't be quite as airy.
- Taste and season with salt and pepper. Spread thickly on toasted burger buns just before assembling.
9. Kimchi Slaw with Sesame Ginger Dressing
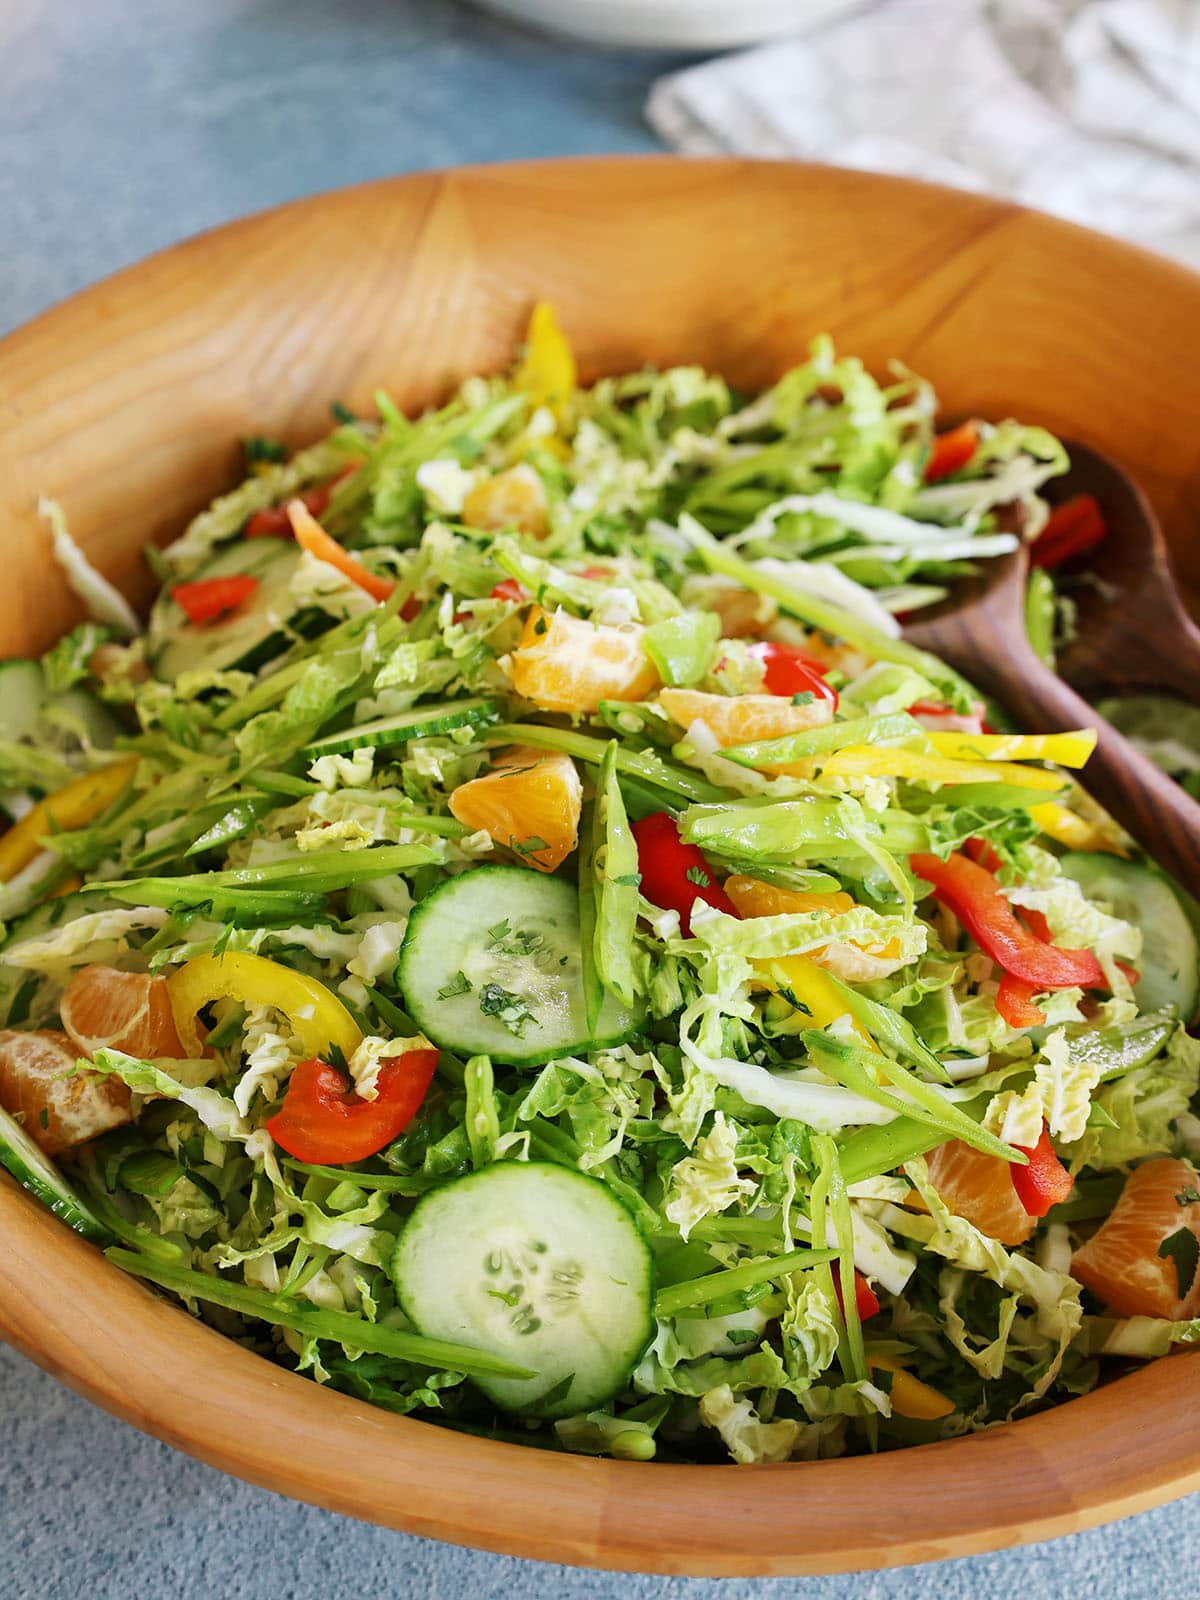
My husband was doubtful the first time I put kimchi on his burger — he's adventurous about food but this felt like a stretch to him. Two bites in, he asked me to make it the same way the following week. The fermented funk of the kimchi, cut with crisp cabbage and a punchy sesame-ginger dressing, gives you acid, crunch, and heat all at once — which is basically everything a great burger topping needs to do. Roughly chop the kimchi before mixing it into the slaw so it distributes evenly and doesn't fall out in one dramatic clump when you bite into the burger.
Ingredients
- 1 cup store-bought kimchi, roughly chopped (find it at Trader Joe's, Whole Foods, or the international aisle at larger Walmarts)
- 1½ cups green cabbage, finely shredded
- 1 medium carrot, julienned or grated
- 2 green onions, thinly sliced
- 2 tablespoons sesame oil
- 1 tablespoon rice vinegar
- 1 tablespoon soy sauce
- 1 teaspoon fresh ginger, grated
- 1 teaspoon honey
- 1 teaspoon toasted sesame seeds
Instructions
- Combine the chopped kimchi, shredded cabbage, carrot, and green onions in a medium bowl.
- In a small bowl, whisk together the sesame oil, rice vinegar, soy sauce, grated ginger, and honey until the honey dissolves.
- Pour the dressing over the slaw and toss well to combine. Let it sit for at least 10 minutes before using — the cabbage softens slightly and the flavors come together.
- Taste and adjust — more rice vinegar if you want it sharper, more honey if you want it a touch sweeter.
- Pile onto burgers just before serving so the slaw stays crisp. Scatter sesame seeds over the top.
8. Honey Sriracha Candied Jalapeño Slices
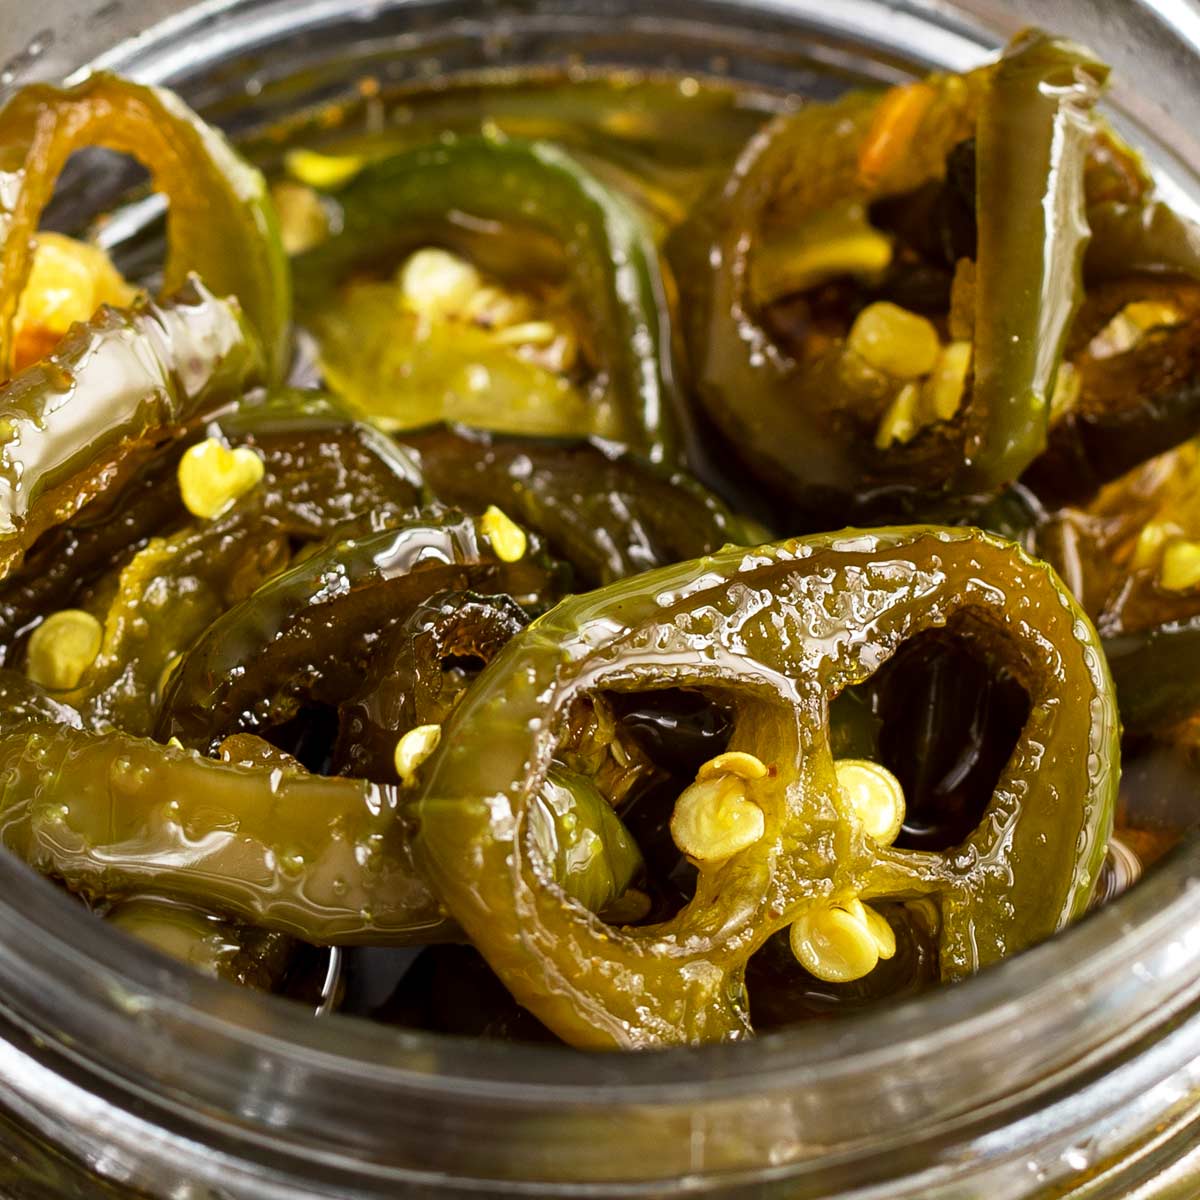
Candied jalapeños — sometimes called "cowboy candy" — have been around forever, but adding Sriracha and honey to the brine tips them from just-sweet-and-spicy into something with real complexity. They're sticky, glossy, and they pack a slow-building heat that sneaks up on you rather than hitting you immediately. On a burger they work especially well with anything creamy — goat cheese, aioli, even plain mayo — because the fat in those spreads tempers the heat just enough. Make a jar ahead of time and keep it in the fridge; they get better after a day or two as the flavor develops.
Ingredients
- 6–8 fresh jalapeños, sliced into ¼-inch rounds (about 1½ cups)
- ½ cup apple cider vinegar
- ¾ cup granulated sugar
- 2 tablespoons honey
- 1 tablespoon Sriracha
- ¼ teaspoon garlic powder
- ¼ teaspoon turmeric benefits (for color — optional but nice)
- Pinch of salt
Instructions
- Combine the apple cider vinegar, sugar, honey, Sriracha, garlic powder, turmeric, and salt in a small saucepan over medium heat. Stir until the sugar dissolves and the mixture comes to a simmer.
- Add the jalapeño slices and stir to coat. Let them simmer in the brine for 4–5 minutes, stirring occasionally, until the jalapeños turn a slightly duller green and soften just slightly at the edges while keeping some texture.
- Use a slotted spoon to transfer the jalapeño slices to a clean jar. Continue simmering the brine for another 3–4 minutes until it thickens slightly into a syrup.
- Pour the hot syrup over the jalapeños in the jar. Let the jar cool to room temperature uncovered, then seal and refrigerate.
- They're usable after a few hours but noticeably better after 24 hours. Lay 4–6 slices directly on a burger patty in the last minute of cooking so the syrup caramelizes slightly from the heat.
7. Fried Green Tomatoes with Remoulade Sauce

Fried green tomatoes on a burger sound like a lot, but once you try it, regular tomato slices feel like a downgrade. The coating stays crisp long enough to survive assembly, and the tang from the unripe tomato cuts right through fatty beef. I served these at a backyard cookout last summer and had three people ask me what was on the burger before they even tasted the patty. The remoulade sauce doubles as a dipping situation if you have extra tomato slices — and you should fry extra, because they disappear fast.
Ingredients
- 2 medium green tomatoes, sliced ¼ inch thick
- ½ cup all-purpose flour
- 2 eggs, beaten
- ¾ cup fine cornmeal
- ½ teaspoon garlic powder
- ½ teaspoon smoked paprika
- ½ teaspoon salt
- ¼ teaspoon black pepper
- Vegetable oil for frying (about ½ cup)
- ⅓ cup mayonnaise
- 1 tablespoon Dijon mustard
- 1 tablespoon prepared horseradish
- 1 teaspoon hot sauce (Crystal or Tabasco)
- 1 teaspoon lemon juice
- 1 teaspoon capers, finely chopped
Instructions
- Make the remoulade first: whisk together mayonnaise, Dijon, horseradish, hot sauce, lemon juice, and capers in a small bowl. Refrigerate until needed — it gets better as it sits.
- Set up a dredging station: flour in one shallow dish, beaten eggs in a second, and cornmeal mixed with garlic powder, smoked paprika, salt, and pepper in a third.
- Pat tomato slices dry with a paper towel. Dredge each slice in flour, shake off excess, dip in egg, then press firmly into the seasoned cornmeal.
- Heat about ¼ inch of vegetable oil in a heavy skillet over medium-high heat until shimmering. Fry tomato slices in batches for 2–3 minutes per side until deep golden. Don't crowd the pan or the coating steams instead of crisps.
- Transfer to a wire rack (not paper towels — paper towels trap steam and soften the coating). Season with a pinch of salt immediately.
- Spread remoulade on the bottom bun, stack a fried tomato slice, add your patty, and go.
6. Smoked Paprika Chipotle Caramelized Mushrooms

Most caramelized mushroom recipes produce something wet and a little sad — they steam in their own moisture and never actually get that deep, jammy texture you want. The trick I finally figured out is high heat, a wide pan, and patience — no stirring for the first few minutes so the mushrooms actually brown instead of sweat. Adding smoked paprika and a spoonful of chipotle in adobo at the end turns these into something genuinely smoky and a little spicy. My husband piles these on everything — burgers, eggs, toast — so I usually make a double batch and keep them in the fridge for three days.
Ingredients
- 8 oz cremini mushrooms, sliced ¼ inch thick
- 2 tablespoons butter
- 1 tablespoon olive oil
- 3 garlic cloves, minced
- 1 teaspoon smoked paprika
- 1 chipotle pepper in adobo sauce, finely minced (plus 1 teaspoon of the adobo sauce)
- 1 teaspoon Worcestershire sauce
- Salt and black pepper to taste
- 1 tablespoon fresh thyme leaves (or ½ teaspoon dried)
Instructions
- Heat butter and olive oil together in a wide skillet over high heat until the butter stops foaming.
- Add mushrooms in a single layer. Do not stir. Let them cook undisturbed for 3–4 minutes until the undersides are deeply browned. Stirring too soon releases moisture and you lose the sear.
- Stir once, then cook another 2–3 minutes until most of the liquid has evaporated and mushrooms look jammy and dark.
- Reduce heat to medium. Add garlic and thyme, stir for 30 seconds.
- Add smoked paprika, minced chipotle, adobo sauce, and Worcestershire. Stir to coat everything. Cook 1 more minute. Taste and adjust salt.
- Pile onto burgers straight from the pan. These are best hot, but they reheat well in a skillet with a tiny splash of water.
5. Fresh Mango Habanero Salsa

Growing up in Pakistan, putting fruit on a burger wasn't something that crossed my mind. Now I make this mango habanero salsa regularly, especially in summer when mangoes are cheap at Walmart or Costco and the grill is already going. The heat from the habanero and the sweetness from ripe mango create something that genuinely wakes up a plain beef patty. Go easy on the habanero the first time — those things are serious. Half a pepper is enough for most people. Zainab skips the habanero entirely and still loves the mango version on her chicken burgers.
Ingredients
- 1 large ripe mango, diced small (about 1½ cups)
- ½ habanero pepper, seeds removed, finely minced (use gloves)
- ¼ red onion, finely diced
- 1 small jalapeño, seeded and minced (optional, for extra heat)
- 2 tablespoons fresh cilantro, chopped
- Juice of 1 lime
- ½ teaspoon salt
- ¼ teaspoon sugar (only if your mango isn't very sweet)
Instructions
- Combine diced mango, red onion, habanero, and jalapeño (if using) in a bowl.
- Add cilantro, lime juice, salt, and sugar if needed. Stir gently — you want the mango to stay in distinct pieces, not turn into mush.
- Taste. Adjust lime and salt. If it's too spicy, add a little more mango to balance.
- Let it sit for at least 10 minutes before using so the flavors come together. It gets better after 20–30 minutes.
- Spoon directly onto burgers. It also works as a chip dip while you're waiting for the patties to cook — just put some out and watch it disappear.
4. Blue Cheese Walnut Butter Compound

A compound butter sounds fancy but it's genuinely one of the easiest things you can make — you just mix things into softened butter and roll it into a log. This blue cheese and walnut version melts into a hot burger patty the second it touches it, and the combination of sharp cheese, toasty nuts, and rich butter is something a slice of cold cheese from a bag simply cannot replicate. I keep a log of this in my freezer most of the time — slice off a disc straight from frozen and lay it on the patty right as it comes off the heat. It'll melt by the time you've assembled everything.
Ingredients
- 4 tablespoons (½ stick) unsalted butter, softened to room temperature
- 3 tablespoons crumbled blue cheese (Gorgonzola works great too)
- 2 tablespoons walnuts, toasted and finely chopped
- 1 teaspoon fresh thyme leaves
- ½ teaspoon black pepper
- ¼ teaspoon garlic powder
- Pinch of salt (taste before adding — blue cheese is already salty)
Instructions
- Toast the walnuts in a dry skillet over medium heat for 3–4 minutes, stirring occasionally, until fragrant and lightly browned. Let them cool completely before chopping.
- Combine softened butter, blue cheese, walnuts, thyme, black pepper, and garlic powder in a bowl. Mix with a fork until everything is evenly distributed. Taste and add a pinch of salt only if needed.
- Scoop the mixture onto a piece of plastic wrap. Shape roughly into a log, then roll the plastic wrap around it and twist the ends tight. Refrigerate for at least 1 hour to firm up, or freeze for up to 1 month.
- To use: slice a ½-inch disc and place directly on a hot burger patty the moment it comes off the heat. The residual heat does all the work.
3. Crispy Prosciutto with Fig Balsamic Glaze

Prosciutto crisped up in a dry skillet turns into something closer to a delicate chip than deli meat — it shatters when you bite through it and adds a saltiness that's more elegant than bacon, honestly. Paired with a fig balsamic glaze, this topping leans into sweet-savory territory in a way that works surprisingly well on a beef burger. Trader Joe's carries fig jam year-round and most major grocery stores stock it near the cheese section. The glaze takes about four minutes to make and you'll want to put it on other things after this — it's good on a cheese board, on grilled chicken, on basically everything.
Ingredients
- 4 slices prosciutto di Parma
- 3 tablespoons fig jam (Trader Joe's or Bonne Maman are easy to find)
- 2 tablespoons balsamic vinegar
- 1 teaspoon honey
- ¼ teaspoon black pepper
- Fresh arugula, for serving (optional but recommended)
Instructions
- Lay prosciutto slices flat in a cold, dry skillet. Turn heat to medium. As the pan heats up, the fat will render and the slices will begin to crisp. Cook 2–3 minutes per side until the prosciutto is deep red and rigid. Watch carefully — it goes from perfect to burnt quickly. Transfer to a paper towel.
- In the same skillet (wipe out any excess fat with a paper towel), combine fig jam, balsamic vinegar, honey, and black pepper over medium-low heat. Stir constantly for 2–3 minutes until the mixture thickens to a syrupy glaze. Pull it off the heat — it thickens more as it cools.
- Assemble the burger: spread a thin layer of the fig balsamic glaze on the top bun, add a handful of arugula, then lay crispy prosciutto over the patty. The contrast of the crunchy prosciutto, peppery arugula, and sweet-tart glaze against the beef is the whole point here.
2. Dill Pickle Brined Coleslaw

Regular coleslaw on a burger can turn soggy fast and make the whole thing slide around. Using pickle brine in place of part of the vinegar in the dressing solves two problems at once — it adds that tangy, briny punch that plain coleslaw lacks, and it keeps the slaw from weeping as much because the salt has already started drawing out moisture during the brine step. I use the leftover brine from a jar of Vlasic kosher dills, which I always have in the fridge. Saad asked me what made this slaw "taste like pickles but also not pickles" — that's exactly the right way to describe it.
Ingredients
- 2 cups shredded green cabbage (about ¼ of a small head)
- ½ cup shredded purple cabbage
- 1 medium carrot, julienned or grated
- ¼ cup dill pickle brine (from a jar of dill pickles)
- 3 tablespoons mayonnaise
- 1 tablespoon apple cider vinegar
- 1 teaspoon sugar
- ½ teaspoon celery seed
- Salt and black pepper to taste
- 2 tablespoons fresh dill, chopped (or ½ teaspoon dried dill)
Instructions
- Combine shredded green cabbage, purple cabbage, and carrot in a large bowl. Pour the pickle brine over the top, toss to coat, and let it sit for 15 minutes. This starts drawing out moisture and seasoning the cabbage from the inside.
- Drain any liquid that has accumulated. Squeeze the cabbage mixture gently with your hands to remove excess moisture — this is what keeps your burger from getting soggy.
- In a small bowl, whisk together mayonnaise, apple cider vinegar, sugar, and celery seed until smooth.
- Pour the dressing over the drained cabbage mixture. Add fresh dill and toss well. Taste and adjust salt, pepper, and sugar.
- Refrigerate for at least 20 minutes before using. It holds up on a burger for a good 10–15 minutes without turning everything into a puddle, which is more than most slaws manage.
1. Roasted Red Pepper and Harissa Mayo
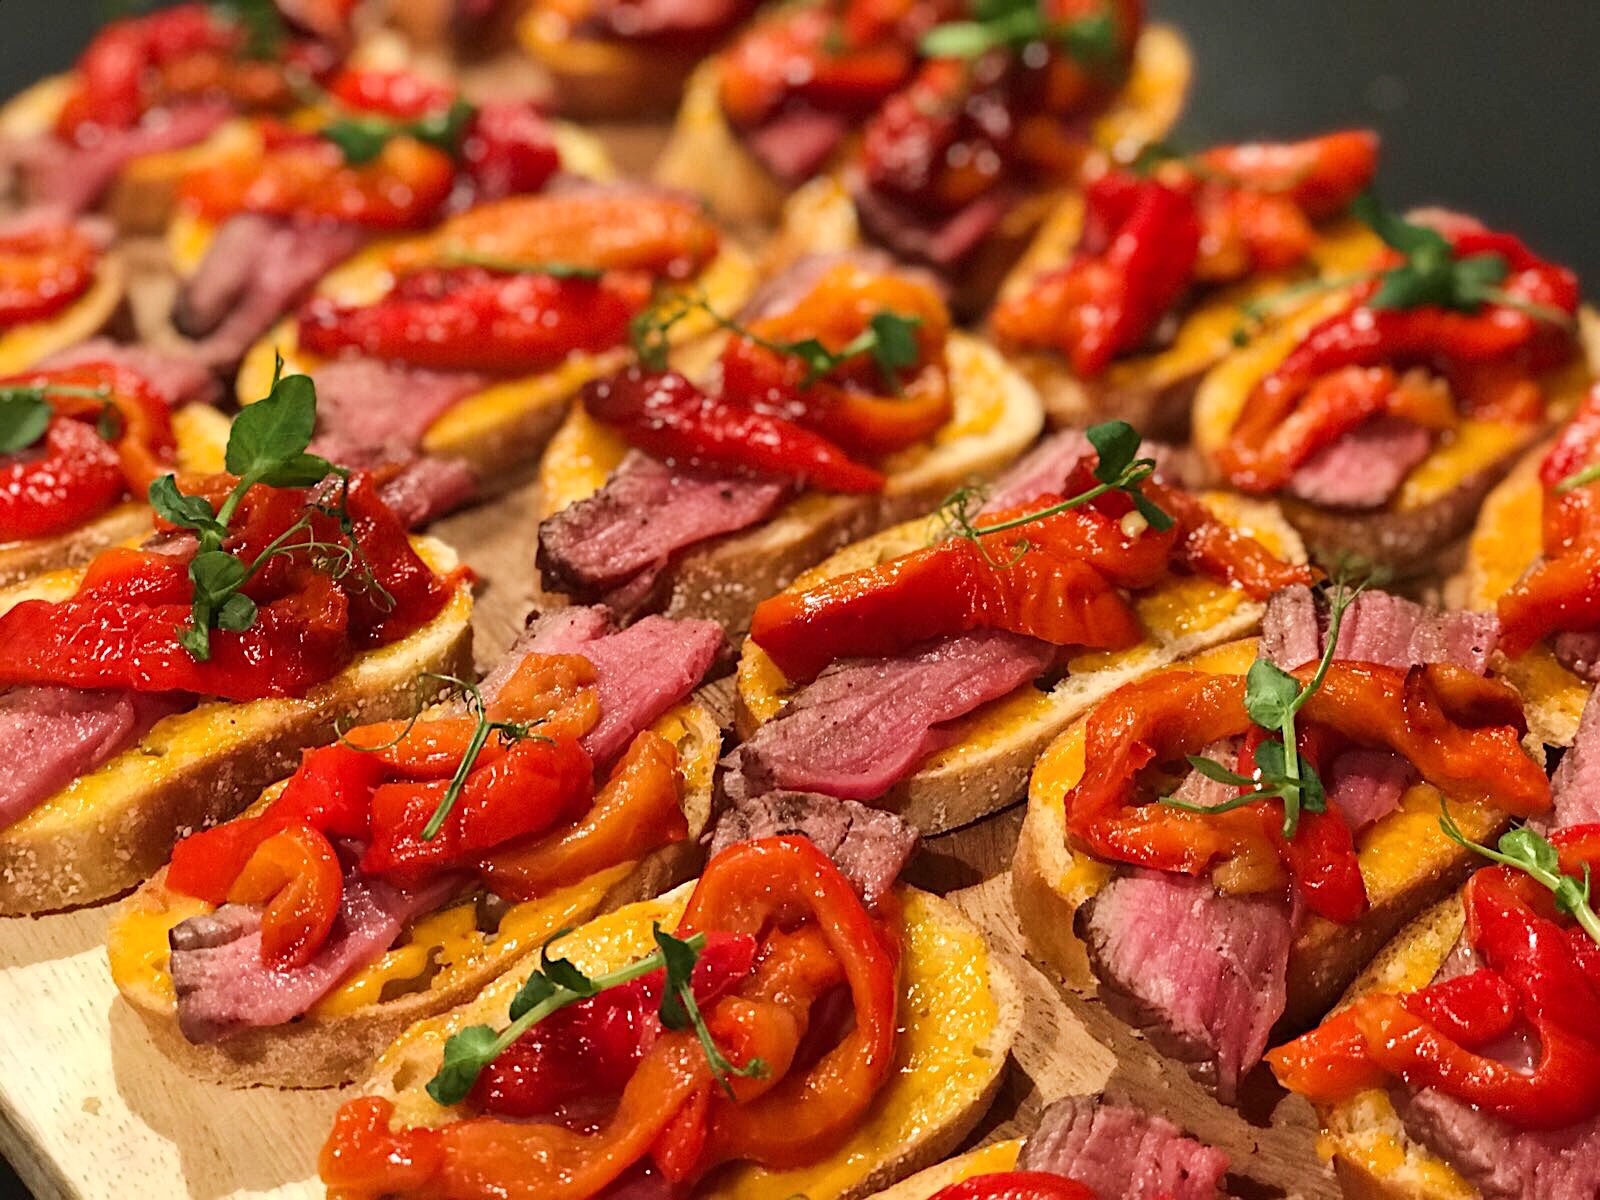
Harissa is a North African chili paste that's become genuinely easy to find — Trader Joe's has it, most Whole Foods carry it, and you can order it on Amazon if you can't find it locally. Mixed with roasted red peppers and mayonnaise, it becomes a smoky, slightly spicy, deeply savory spread that does more for a burger than any amount of plain ketchup ever could. This is my number one burger condiment at this point — it's the thing I make when I want the whole burger to feel intentional rather than thrown together. If harissa is too spicy for your crowd, use half the amount and add a little smoked paprika to keep that smoky depth without the heat.
Ingredients
- ½ cup mayonnaise (Duke's or Hellmann's)
- 2 tablespoons harissa paste (Mina brand or Trader Joe's)
- ¼ cup roasted red peppers from a jar, drained and patted dry
- 1 garlic clove, minced
- 1 teaspoon lemon juice
- ½ teaspoon smoked paprika
- Salt to taste
Instructions
- Pat the roasted red peppers very dry with paper towels. Any excess moisture will make the mayo runny. Finely chop them — you want small pieces that distribute through the mayo, not big chunks that slide out of the burger.
- Combine mayonnaise, harissa paste, chopped roasted red peppers, minced garlic, lemon juice, and smoked paprika in a bowl. Stir well until fully combined.
- Taste and adjust: more harissa for heat, more lemon for brightness, a pinch of salt if needed. The flavor sharpens after 10 minutes of resting so give it a moment before you decide it needs adjusting.
- Spread generously on both the top and bottom bun. This is a two-bun condiment — don't save it for just one side. It keeps in the fridge in a sealed container for up to one week.
These 15 burger toppings are the ones I keep coming back to — some classic, some a little unexpected, all worth making. The whole point of a great burger isn't just the patty. It's the layers on top that make it yours. Whether you're building a simple weeknight burger or going all-out for a weekend cookout, there's something in this list for every mood and every crowd.
My honest advice: don't try to pile all 15 onto one burger (I've tried it, it ends badly). Pick two or three that sound good together, taste as you go, and adjust. That's how I cook everything — and burgers are no different. Saad always goes for the caramelized onions no matter what else is on the table, and honestly, I get it.
If this list gave you a new idea or two, that's exactly what I was going for. Save the ones that catch your eye, try them one at a time, and let the burger situation in your kitchen get a little more interesting. 🍔🔥✨
Related Recipes
- Browse All Recipe Roundups on For Foodie Friends
- Easy Weeknight Dinner Recipes
- Grilling and Cookout Recipe Ideas
- Homemade Sauce and Condiment Recipes
- Side Dishes That Go with Burgers
Frequently Asked Questions
What are the most popular burger toppings beyond basic cheese?
caramelized onions, crispy bacon, avocado or guacamole, sautéed mushrooms, and fried eggs are the ones I see people go back to again and again. They each add something different — sweetness, richness, creaminess — without being complicated to make. Any of these will take a plain burger somewhere more interesting.
Can I prep burger toppings ahead of time?
Most of them yes. Caramelized onions, pickled jalapeños, burger sauce, and coleslaw all keep well in the fridge for 3 to 5 days. Fresh toppings like sliced avocado or tomato are best made right before you eat — avocado especially goes brown fast. I usually prep the saucy and cooked toppings a day ahead and slice the fresh stuff right before serving.
Which topping works best for a crowd or backyard cookout?
Set up a topping bar and let people build their own — that's the easiest move for a cookout. Put out caramelized onions, a simple burger sauce, pickles, crispy fried onions, and maybe a spicy option like jalapeños. Everyone gets what they want and you're not assembling 12 burgers yourself in the heat.
Are any of these toppings good for vegetarian or veggie burgers?
Almost all of them work just as well on a veggie patty. Caramelized onions, avocado, roasted peppers, pesto, and pickled toppings are all naturally vegetarian and they pair beautifully with bean or mushroom-based patties. If anything, a veggie burger benefits even more from bold toppings since the patty itself is milder in flavor.
How do I keep burger toppings from making the bun soggy?
Toast the bun — that's the single most important thing. A toasted bun creates a barrier against moisture. Also, layer wetter toppings like tomato and pickles in the middle of the stack rather than directly against the bread. I learned this the hard way after too many burgers that fell apart before I finished eating them.





Comments
No Comments