
I made these for Zainab's birthday party last year on a whim, and I genuinely didn't expect them to disappear as fast as they did. I had a star-shaped cookie cutter sitting in my drawer from some Christmas baking project, and I thought — why not? Turns out a quesadilla in star form is basically magic to a room full of seven-year-olds.
What I like about this recipe is how little effort it actually takes. You're not doing anything complicated — you're just cutting tortillas with a cookie cutter and cooking them in a skillet. The star shape does all the heavy lifting when it comes to presentation. I use regular shredded cheddar, sometimes leftover rotisserie chicken, sometimes just cheese and nothing else. Both versions work.
I've made these for birthday parties, Fourth of July cookouts, and random Tuesday afternoons when Zainab comes home from school and wants something warm and cheesy. They also pair really well alongside something sweet on the table — when I'm doing a spread, I'll sometimes put out Cherry Limeade Sparklers as the drink and these quesadillas as the snack, and the kids are genuinely thrilled.
One thing to know before you start: get a star cookie cutter that's at least 3 inches across. I tried this with a tiny 2-inch cutter the first time and it was nearly impossible to flip without the filling falling out. Bigger stars give you more surface area to work with, and they're easier to handle in the pan.
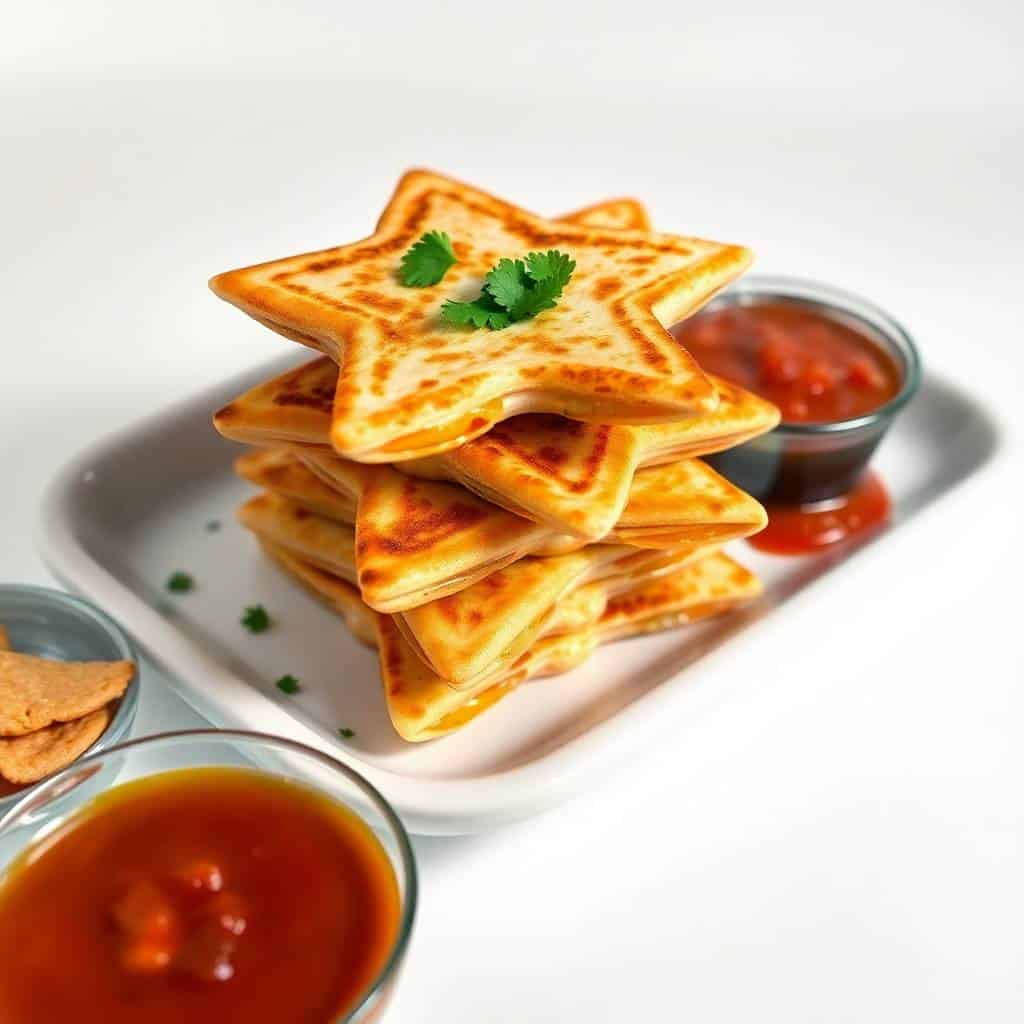
Why You'll Love This Recipe
- Takes under 20 minutes start to finish: I can cut the stars, cook a full batch, and have them on a plate before a cartoon episode ends. There's no marinating, no oven preheating, no waiting around. It's one skillet and a cookie cutter — that's the whole setup.
- Kids actually eat them: I know "kid-friendly" gets thrown around a lot, but I mean this sincerely — Zainab, who goes through phases of refusing food that isn't exactly what she pictured, will eat these without a single complaint. The shape genuinely matters to small kids. It's the same quesadilla they'd ignore in a triangle, and suddenly it's exciting.
- Works with whatever you have in the fridge: Leftover chicken? Goes in. Half a can of black beans? Goes in. Just cheese? Still great. I've made these a dozen different ways and the base recipe is forgiving enough that it never really fails. The cheese holds it all together.
- No fancy equipment needed: All you need is a star cookie cutter (around $5–$8 at any craft store or Walmart), a regular nonstick skillet, and a spatula. I use a flat spatula — nothing special. If your skillet is big enough, you can cook two or three stars at a time.
- Great for party spreads: I've put these out at birthday parties and game day tables and they're always the first thing gone. They're bite-sized enough to eat standing up, crispy enough that they don't go soggy sitting on a plate, and the dipping sauces make them feel more interactive.
Ingredients
- 6 small flour tortillas (6-inch size works well)
- 1 ½ cups shredded cheddar cheese
- ½ cup cooked chicken, shredded (optional — rotisserie works great here)
- ¼ cup black beans, rinsed and drained (optional)
- ¼ cup diced bell peppers (optional)
- Cooking spray or a little neutral oil for the pan
- Salsa, guacamole, or sour cream for serving
Directions
- Step 1: Cut your stars. Use a star-shaped cookie cutter (at least 3 inches wide) to cut stars from each tortilla. You'll get roughly 2–3 stars per tortilla depending on the size. You need 2 matching stars per quesadilla, so count as you go. Set the scraps aside — you can toast them in the same pan later as chips.
- Step 2: Heat the skillet. Place a nonstick skillet over medium heat and give it a light spray of cooking oil, or wipe the pan with a paper towel dipped in a little oil. You want just enough to help the tortilla crisp up without it frying in a pool of grease.
- Step 3: Assemble directly in the pan. Lay one star-shaped tortilla flat in the skillet. Sprinkle a thin layer of shredded cheddar over it — don't pile it on too thick or it'll ooze out everywhere. Add any fillings you're using (chicken, beans, peppers), then lay a second star on top and press down gently with a spatula.
- Step 4: Cook until golden. Let it cook for 2–3 minutes on the first side without moving it. You want to hear a gentle sizzle — if it's quiet, your pan isn't hot enough; if it's aggressively crackling, turn the heat down a notch. Flip carefully using a flat spatula and cook the second side for another 2 minutes until it's golden and the cheese is fully melted.
- Step 5: Rest briefly, then serve. Transfer to a plate and give it 1–2 minutes before you bite into it — the cheese is molten right out of the pan. Serve warm with salsa, guacamole, or sour cream on the side for dipping.
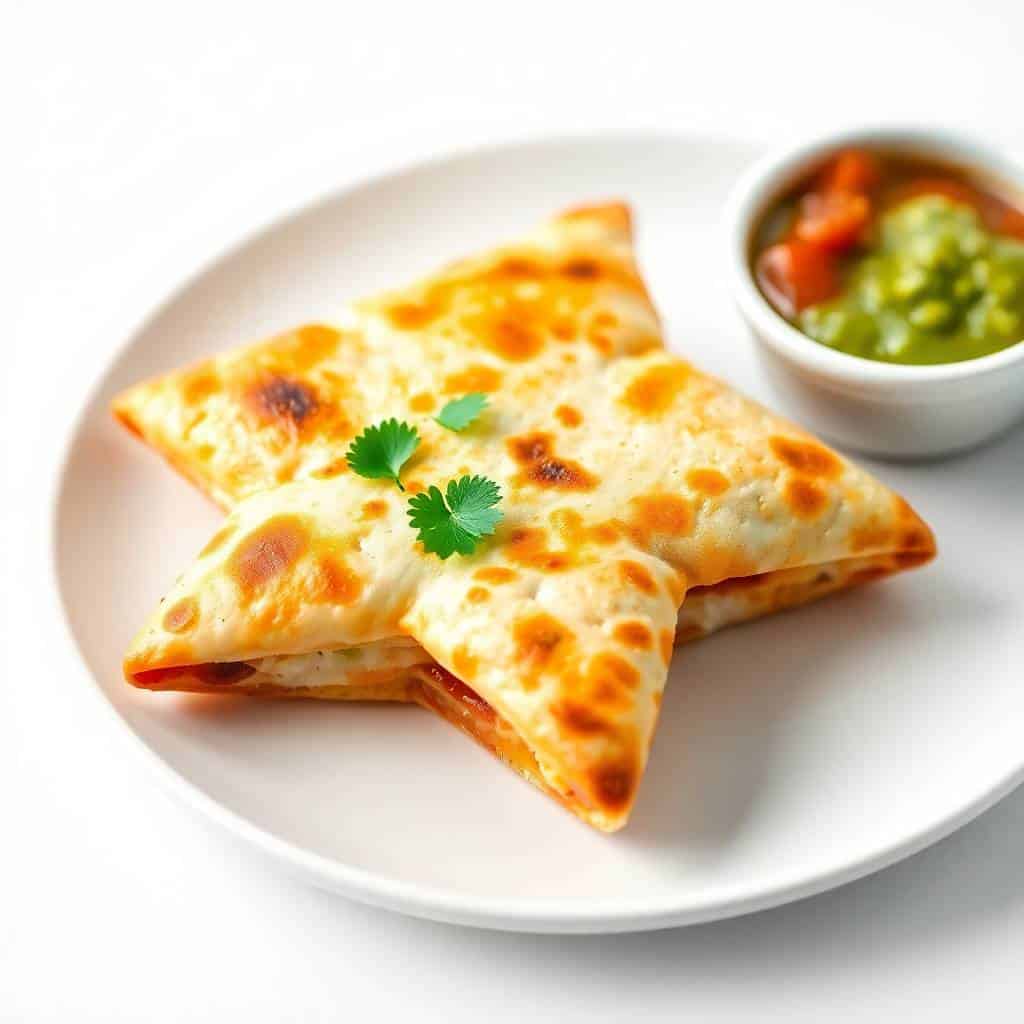
Tips for Success
- Don't overfill: This was my biggest mistake the first few times. I'd load in chicken, beans, peppers, and a mountain of cheese, and then the whole thing would fall apart when I tried to flip it. Keep the filling to a thin, even layer — less than you think you need. The cheese binds everything together as it melts, but only if there's not too much competing for space.
- Medium heat is non-negotiable: I've tried rushing these on high heat and the outside burns before the cheese even softens. Medium heat gives you that golden crust while the inside has time to melt properly. If your pan runs hot, go medium-low.
- Use a flat spatula and flip with confidence: Hesitating mid-flip is how the filling ends up on your stovetop. Slide the spatula all the way under the star, get it centered, and flip in one clean motion. Pressing down gently after flipping helps seal the edges and makes sure the cheese fuses both layers together.
- Prep your fillings ahead if you're making a big batch: For a party, I cook and shred my chicken the night before and keep it in the fridge. The morning of, I set everything up assembly-line style — stars cut, fillings in small bowls, pan ready. It makes the whole process much faster when you're cooking fifteen of these in a row.
- Reheat in a skillet, not the microwave: If you have leftovers (rare, but it happens), reheat them in a dry skillet on low heat for a minute or two per side. The microwave makes them rubbery and sad. Even a toaster oven works better than the microwave here.
Variations
- Pepper jack for a little heat: Swap the cheddar for pepper jack and suddenly these have a gentle kick that adults really like. I do half cheddar, half pepper jack when I'm making these for a mixed crowd — kids get cheese, grown-ups get a little spice. My husband loves this version.
- Vegetarian with black beans and corn: Skip the chicken and add ¼ cup each of black beans and frozen corn (thawed). It's filling, it holds together well, and it's a solid option if you've got vegetarians at the table. Add a pinch of cumin to the filling and it tastes like it took way more effort than it did.
- Whole wheat tortillas: I've made these with whole wheat flour tortillas and they work fine — they crisp up a bit more and have a slightly nuttier flavor. Good if you're trying to sneak in something more nutritious. Gluten-free tortillas also work, though they're a bit more fragile when you're cutting the star shapes, so handle them gently.
- Mini quesadilla pizzas: Spread a thin layer of salsa on one tortilla star before adding the cheese, skip the flip, and run it under the broiler for 2–3 minutes until the cheese is bubbling. These are more open-faced than traditional quesadillas but really fun for kids who love pizza. Zainab calls them "pizza stars."
- Add fresh herbs: A small handful of chopped cilantro or sliced green onions tucked inside brightens the whole thing. I add cilantro when I'm making these for adults — it's not everyone's thing, so I leave it out when the kids are the main audience.
Serving and Storage
Serving
Serve these warm, straight from the pan. Set out small bowls of salsa, guacamole, and sour cream so people can pick their own dip — it makes the snack feel more interactive, especially for kids. I usually put them on a wide plate or a wooden board when I'm doing a party spread. If I'm serving them for lunch alongside something more substantial, I'll add a simple green salad or, if the kids are involved, Spinach Macaroni and Cheese on the side to fill everyone up.
Storage
Store any leftovers in an airtight container in the fridge for up to 2 days. To reheat, put them in a dry nonstick skillet over low heat for about 2 minutes per side, or in a toaster oven at 350°F (175°C) for 5–6 minutes. They come back crispier than you'd expect. For freezing, let them cool completely, then freeze in a single layer on a sheet pan before transferring to a zip-lock bag. Reheat from frozen in the oven at 375°F (190°C) for about 10 minutes or in an air fryer for 5–6 minutes.
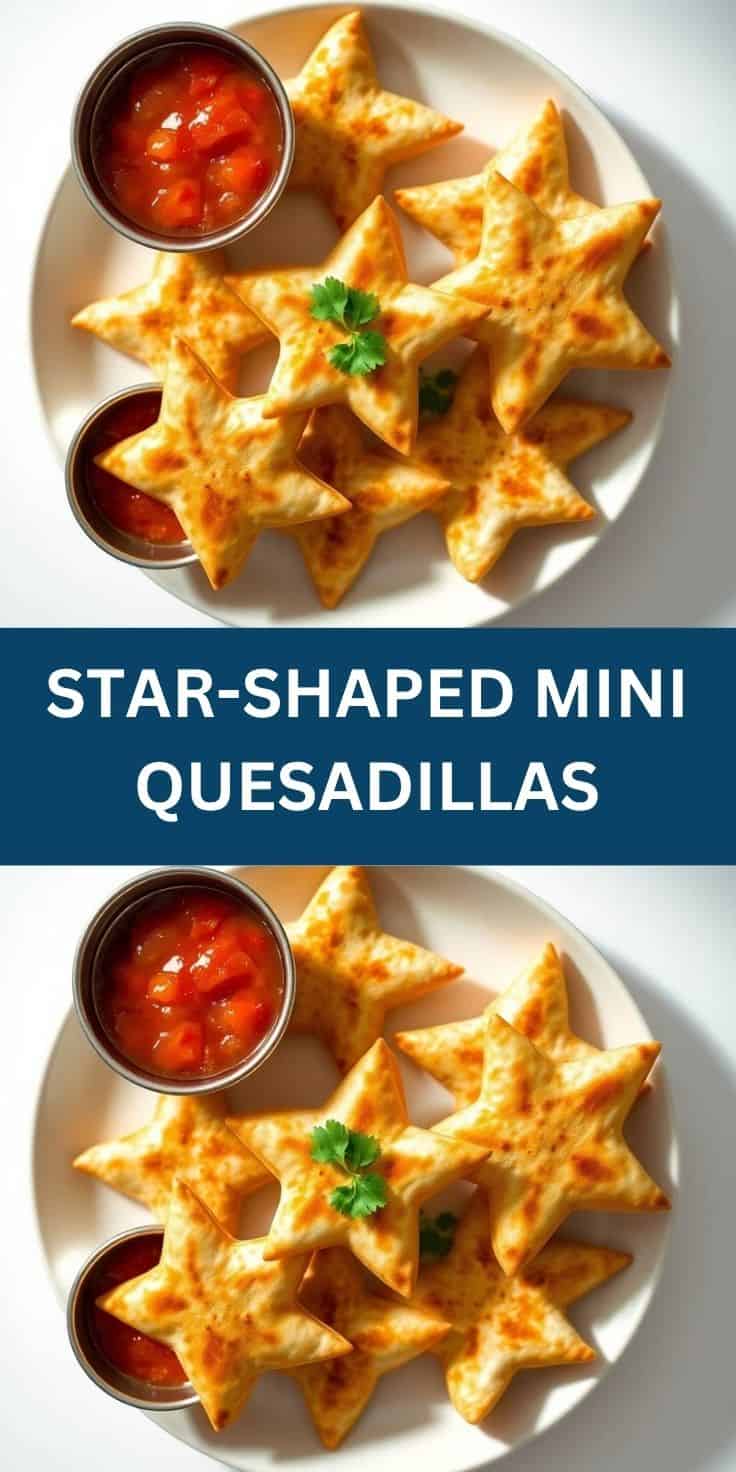
Frequently Asked Questions
Can I make these ahead of time?
Yes — assemble them (without cooking) and refrigerate between layers of parchment paper for up to 24 hours. Cook them fresh when you're ready to serve so they come out crispy rather than soggy. Alternatively, cook them fully and reheat in a skillet or toaster oven right before serving.
What if I don't have a star-shaped cookie cutter?
Use any cookie cutter shape you have — hearts, circles, even holiday trees work fine. No cookie cutter at all? Cut the tortillas into triangles or squares with a knife and call them mini quesadilla bites. The shape is fun but the recipe works regardless of how you cut it.
Can I freeze these quesadillas?
Yes. Let them cool completely after cooking, then freeze in a single layer on a sheet pan for about an hour before stacking them in a zip-lock bag. Reheat in the oven at 375°F for about 10 minutes or in an air fryer at 350°F for 5–6 minutes. They stay pretty crispy this way. I wouldn't microwave them from frozen — they go chewy and a bit sad.
What's the best cheese to use?
Cheddar melts reliably and has enough flavor to hold its own, which is why I default to it. Monterey Jack is even meltier if you want a stretchier result. Pepper jack adds heat. Mozzarella works but is pretty mild on its own — I'd mix it with cheddar if that's what you have. Pre-shredded bags from the store are fine; I use them regularly.
Can I use corn tortillas instead of flour?
Corn tortillas are trickier for this because they crack more easily when you press the cookie cutter through them, especially if they're cold. If you want to use corn tortillas, warm them briefly in the microwave (about 20 seconds wrapped in a damp paper towel) to make them more pliable before cutting. They'll taste different — earthier and slightly more rustic — but they do work.
These star-shaped quesadillas have become one of my most-requested party snacks, and I say that as someone who doesn't use the word "crowd-pleaser" — I just mean that every time I put them out, they're gone before I get one myself. I've started making a double batch now specifically so I can actually eat some.
What I appreciate most about this recipe is that it scales effortlessly. Ten people coming? Triple the batch, work in shifts on the stove, and keep them warm in a low oven (250°F) on a sheet pan while you finish cooking. The whole thing is low-stress, which is what I need when I'm also managing drinks, a birthday cake, and two kids running around.
If you're putting together a party spread, these go well with something sweet to round things out — I've served them alongside Cranberry Pistachio Shortbread for a holiday table and the combination of savory and sweet worked really well. And if you're making these for a weeknight kids' dinner rather than a party, pair them with something filling like Spinach Mac and Cheese and you've got a full meal in under 30 minutes.
I hope your kids react the way Zainab did — which was to immediately ask when we were making them again. That's the best review I know how to give. 🌟🧀✨
STAR-SHAPED MINI QUESADILLAS
Ingredients
- 6 small flour tortillas
- 1 ½ cups shredded cheddar cheese
- ½ cup cooked and shredded chicken optional
- ¼ cup finely chopped bell peppers optional
- Cooking spray or a little oil for the pan
Instructions
Cut Tortillas:
- Use a star-shaped cookie cutter to cut tortillas into stars. You’ll need two stars per quesadilla.
Assemble:
- Place one star-shaped tortilla piece in a skillet over medium heat. Sprinkle with cheese and optional fillings, then top with a second tortilla star.
Cook:
- Cook 2–3 minutes per side until tortillas are golden and cheese is melted.
Serve:
- Remove from pan and let cool slightly before serving. Serve with salsa, guacamole, or sour cream.
Notes
- Make Ahead: Assemble quesadillas and refrigerate until ready to cook.
- Variations: Use pepper jack cheese or add black beans for extra flavor.
- Serving Suggestions: Great for Fourth of July parties or kids’ snacks.
- Allergy-Friendly: Contains gluten and dairy; use gluten-free tortillas and dairy-free cheese if needed.
If you liked this, here are a few more recipes from my kitchen you might want to try next:
- Spinach Macaroni and Cheese — a great side dish when you need something filling to go with a snack spread
- Cherry Limeade Sparkler — the perfect party drink to serve alongside these quesadillas
- Cranberry Pistachio Shortbread — if you're building out a holiday table, these are a beautiful addition
- Creamy Tuscan Chicken — when the kids want something more substantial for dinner
- Cinnamon Cream Cheese Muffins — for when the party calls for something sweet alongside the savory



Comments
No Comments