
Every 4th of July, I used to stress about dessert. I'd think about baking a layered cake or some elaborate pie, and then remember it's July and my kitchen turns into an oven by noon. A few summers ago I made this trifle instead, and I haven't looked back. No oven, no fuss, and it looks genuinely impressive sitting in a glass bowl on the table.
What I love about this one is that it's honest about what it is — store-bought cake, fresh berries, whipped cream, layered up nicely. There's no pretending it's some complicated technique. The trick is in the assembly and the chilling time, which I'll walk you through. I do sometimes add the vanilla pudding layer for extra body, especially if I'm making it a day ahead, because it holds together better that way.
My husband has zero opinion about 4th of July traditions (we're in Pakistan, so the holiday is entirely for my American readers), but he absolutely cleaned out this trifle the first time I made it. Zainab called it "the cloud dessert" because of all the whipped cream, which is now its official name in our house. I make a double batch when I'm bringing it somewhere because a single batch disappears fast.
One thing to set expectations on: this is best assembled the night before or at least 2–3 hours ahead, so the cake has time to soak up a little of the cream and the layers settle. Don't skip the chilling time. I did once — served it after only 20 minutes — and while it tasted fine, it looked a bit sloppy. If you're looking for another no-bake dessert to add to your summer spread, my Raspberry Cheesecake Balls with Chocolate Coating are a great companion to this.
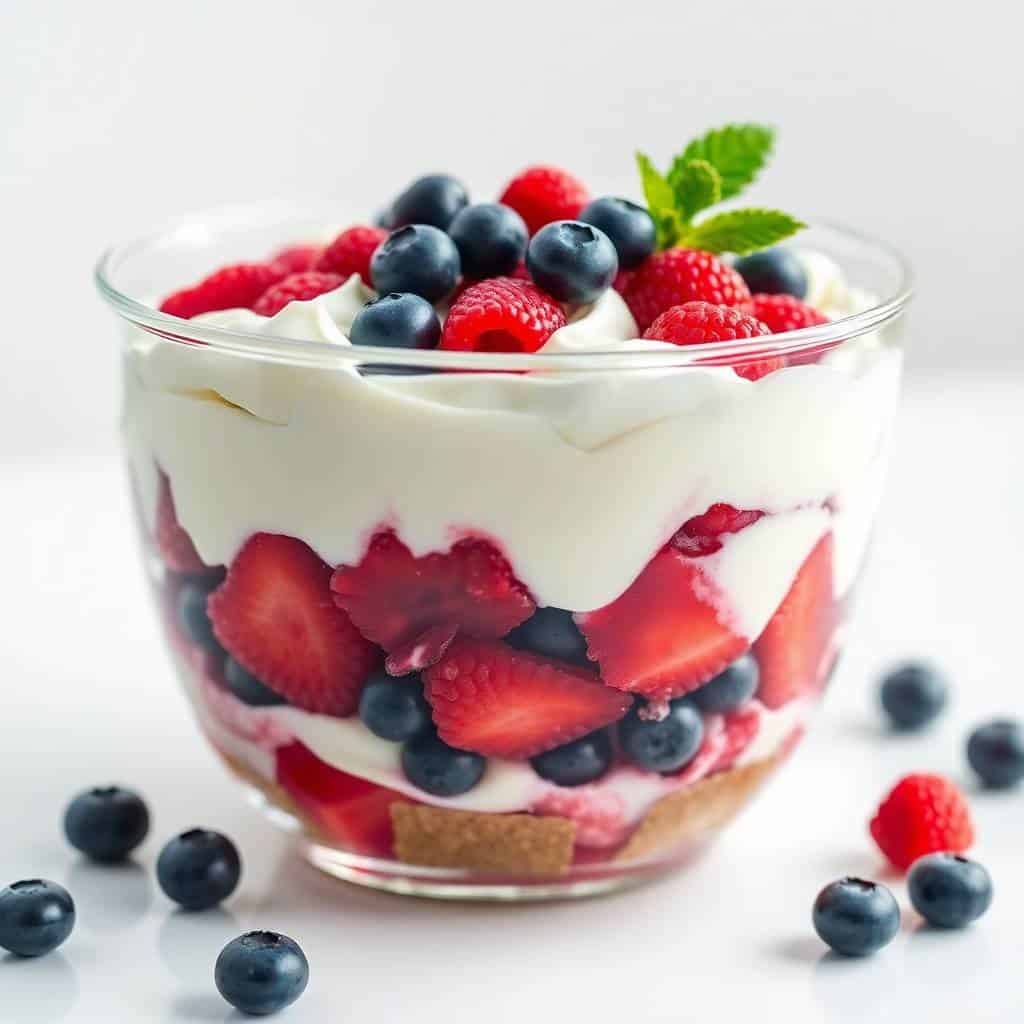
Why You'll Love This Recipe
- Zero oven time: In the middle of summer, not turning on the oven is a real advantage. Everything here is assembled cold — you slice, layer, and refrigerate. On a hot July afternoon that matters more than people admit.
- It actually looks like you tried: A trifle in a glass bowl or dish shows off every layer, and the red strawberries against the white cream and blueberries just look festive without any decorating skill required. I'm not artistic in the kitchen — this makes me look like I am.
- Make-ahead friendly: You can build the whole thing the night before and just pull it from the fridge when it's time to eat. That's exactly what I do when I'm hosting — it means I'm not scrambling in the kitchen while guests arrive.
- Flexible ingredients: Store-bought pound cake from Walmart or Trader Joe's works perfectly here. You don't need to bake anything from scratch. Angel food cake is lighter; pound cake is richer — either works, and both are easy to find.
- Feeds a crowd without stress: This serves 8–10 people easily from one large trifle dish. I've also done individual portions in clear cups for parties, which makes serving a lot less chaotic.
Ingredients
- 1 pound cake or angel food cake, cut into 1-inch cubes
- 2 cups fresh strawberries, hulled and sliced
- 1½ cups fresh blueberries
- 2 cups whipped topping (like Cool Whip) or freshly whipped cream
- 1 (3.4 oz) package instant vanilla pudding (optional — adds richness and helps layers hold)
- 2 cups cold milk (only needed if using the pudding)
- Fresh mint leaves for garnish (optional)
Directions
- Step 1: Prep the fruit and cake. Wash and hull the strawberries, then slice them. Rinse the blueberries and pat them dry — wet berries make the layers watery faster. Cut your cake into rough 1-inch cubes and set everything aside in separate bowls.
- Step 2: Make the pudding layer (if using). Whisk the instant pudding mix with 2 cups of cold milk for about 2 minutes, then let it sit for 5 minutes until it thickens up. I use pudding when I'm making this a day ahead — it holds the layers together better than whipped cream alone overnight.
- Step 3: Start your first layer. In a large trifle dish or clear serving bowl, spread a single layer of cake cubes across the bottom. Then spoon over a layer of whipped cream or pudding. Add a layer of sliced strawberries on top of that.
- Step 4: Keep layering. Add another layer of cake cubes, then cream, then blueberries. Repeat until you've used everything up. Try to end with a generous layer of whipped cream on top — then arrange the remaining berries on the surface so it looks nice.
- Step 5: Chill before serving. Cover the dish with plastic wrap and refrigerate for at least 1 hour, but 3–4 hours is better. Overnight is ideal. Pull it out, add a few mint leaves if you have them, and serve cold.
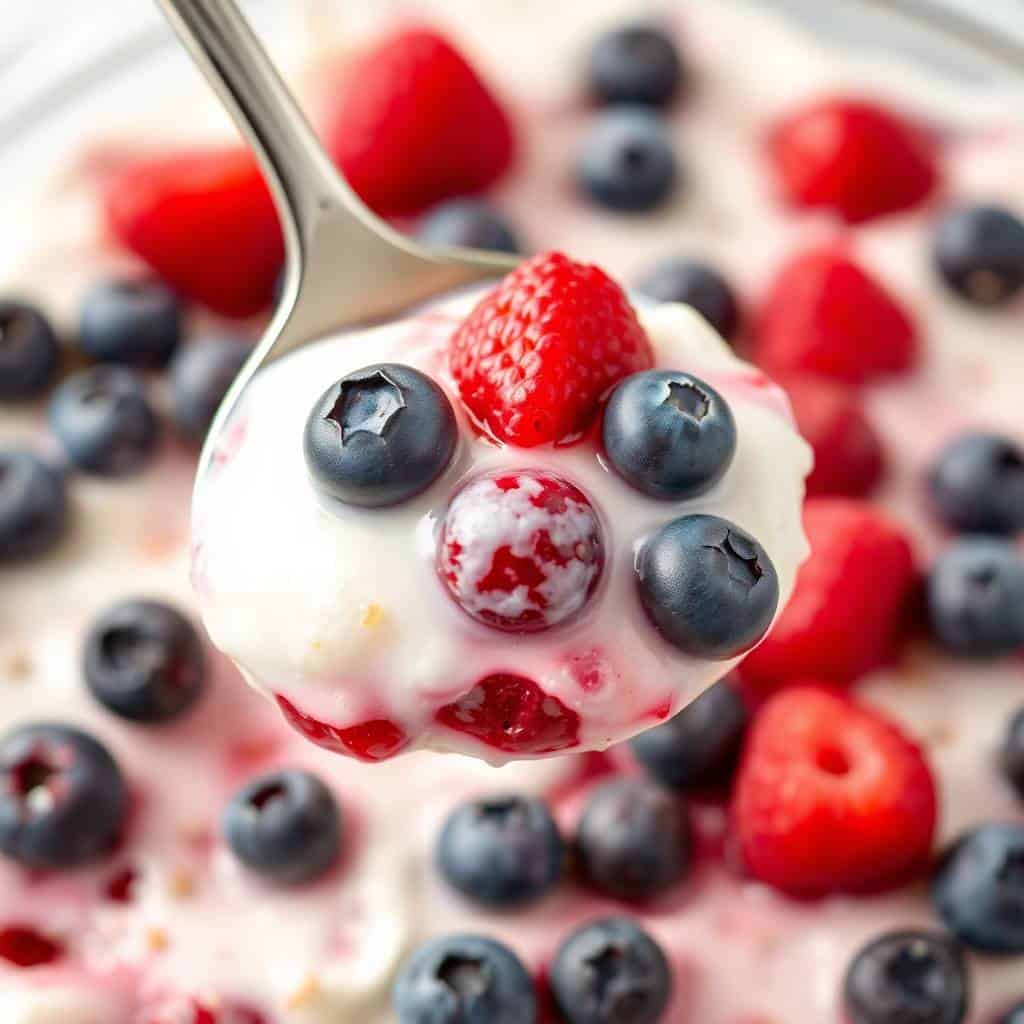
Tips for Success
- Dry your berries properly: I learned this after my first trifle turned a bit pink-watery at the bottom within a few hours. Pat the blueberries dry after rinsing and let the strawberries sit on a paper towel for a few minutes. Extra moisture from the fruit is the main reason layers go soggy faster than they should.
- Don't skip the chill time: I know it's tempting to serve it right away, especially with people standing around, but the trifle genuinely needs time to set. The cake softens slightly and the flavors come together. Thirty minutes in the fridge isn't enough — give it at least an hour, ideally more.
- Use stabilized whipped cream if you're making it hours ahead: Regular whipped cream starts to weep after a few hours. Cool Whip holds up much better for a make-ahead trifle. If you want real whipped cream, add a tablespoon of powdered sugar and a teaspoon of cornstarch when you whip it — that helps it stay firm longer.
- Use a clear bowl so the layers actually show: This sounds obvious but it matters. The whole point of a trifle is that you can see the layers from the side. A ceramic bowl hides all of that. A glass trifle dish or even a large glass salad bowl from the dollar store works perfectly — it doesn't have to be fancy.
- Taste your berries before you layer: If the strawberries are a little tart (which happens outside peak season), toss them with a teaspoon of sugar and let them sit for 10 minutes first. They'll release a bit of juice and taste sweeter. I do this almost every time I make this in early June when strawberries aren't quite at their best yet.
Variations
- Add a custard layer: Instead of (or alongside) the whipped cream, make a simple vanilla custard or use ready-made custard from a carton. It makes the trifle richer and more substantial — closer to a classic British trifle, actually. My husband prefers it this way.
- Lemon whipped cream: Mix a teaspoon of lemon zest into your whipped cream before layering. It cuts through the sweetness and adds a little brightness that works really well with the berries. I started doing this after the third or fourth time making it and it's now my preferred version.
- Individual cups: Instead of one large dish, assemble in clear plastic cups or mason jars. This is great for parties where you don't want to deal with serving — everyone just grabs their own. It also means less arguing over who got the most berries (I say this from experience with Saad and Zainab).
- Swap the cake base: Pound cake gives you something dense and a little buttery. Angel food cake is lighter and a bit airier. Ladyfingers are also a great option — they soak up the cream nicely and give you something closer to a tiramisu texture. Any of these work; it comes down to what you have.
- Mixed berry version for non-July occasions: This isn't exclusively a 4th of July dessert. Swap in raspberries, blackberries, or sliced peaches depending on the season. I've made a peach and blueberry version in late summer that was really good — it just doesn't have the red-white-blue look anymore, but it tastes great.
Serving and Storage
Serving
Serve this straight from the fridge — cold is how it's meant to be eaten. Use a large serving spoon and dig down deep to get all the layers in one scoop. If you're setting it out at a party, keep it on a bed of ice or near a cooler if it's a hot day, because whipped cream doesn't hold up well in heat. I usually pair it alongside something savory at holiday gatherings — my Deviled Eggs are always on the same table as this trifle on any summer holiday spread.
Storage
Cover tightly with plastic wrap and refrigerate for up to 2 days. The first day is ideal — the texture is best and the layers are still distinct. By day two it's a little softer but still tastes good. I wouldn't push it past 48 hours because the berries start to break down and the cake gets quite wet. Don't freeze it — the whipped cream and fresh fruit don't survive the freezer well at all.

Frequently Asked Questions
Can I make this trifle the night before?
Yes, and honestly it's better that way. The layers have time to settle and the cake softens just enough to soak up some of the cream. I almost always make it the night before when I'm bringing it to a gathering — one less thing to do on the day.
Can I use frozen berries instead of fresh?
You can, but you need to thaw them completely and drain off as much liquid as possible first. Frozen berries release a lot of water as they thaw, which will make your layers soggy much faster. Fresh berries are worth it here if you can find them — the texture and color are just better.
Do I have to use the vanilla pudding?
No, it's completely optional. If you just want a lighter, simpler trifle, whipped cream or Cool Whip alone is fine. I add the pudding when I'm making it the night before because it helps the layers hold their shape better. Without it, the trifle is a bit more delicate but still tastes great.
What's the best cake to use — pound cake or angel food cake?
Both work well, but they give you different results. Pound cake is denser and richer — it holds its shape more and gives the trifle some substance. Angel food cake is lighter and spongier, and soaks up the cream a bit more. I've used both. If I'm adding the pudding layer, I lean toward angel food cake. If it's just whipped cream, pound cake is my pick.
How far in advance can I assemble this?
Up to 24 hours ahead is the sweet spot. You can push to 48 hours and it'll still be fine to eat, but the presentation starts to look a little less sharp and the fruit softens. If you're making it the night before a party, assemble it before bed, cover it, and pull it from the fridge right before serving — that's the approach I always take.
RED, WHITE & BLUEBERRY TRIFLE
Ingredients
- 6 oz blue corn tortilla chips
- 1 cup shredded cheddar or Monterey Jack cheese
- 1 red bell pepper diced
- ½ cup canned black beans drained and rinsed
- ¼ cup sliced black olives optional
- ¼ cup chopped red onion
- 1 jalapeño sliced (optional)
- ¼ cup chopped cilantro optional
- Sour cream salsa, or guacamole for serving
Instructions
Preheat Oven:
- Preheat oven to 375°F (190°C). Line a baking sheet with parchment paper.
Assemble Nachos:
- Spread blue corn chips evenly on the baking sheet. Sprinkle with cheese, red bell peppers, black beans, olives, onion, and jalapeño.
Bake:
- Bake for 8–10 minutes or until cheese is fully melted and bubbly.
Serve:
- Top with chopped cilantro and serve immediately with sour cream, salsa, or guacamole.
Notes
-
Preheat Oven:
Preheat oven to 375°F (190°C). Line a baking sheet with parchment paper. -
Assemble Nachos:
Spread blue corn chips evenly on the baking sheet. Sprinkle with cheese, red bell peppers, black beans, olives, onion, and jalapeño. -
Bake:
Bake for 8–10 minutes or until cheese is fully melted and bubbly. -
Serve:
Top with chopped cilantro and serve immediately with sour cream, salsa, or guacamole.
This trifle has become my default answer to "what should I bring for dessert?" at any summer gathering. It travels well (keep it covered and cold), it feeds a crowd, and everyone can see exactly what's in it through the glass, which always gets a reaction when you set it down on the table. I've made it probably a dozen times now and I still look forward to it.
The thing I keep coming back to is how little effort it actually takes compared to what it looks like. I'm not a pastry person. Cakes that need to be frosted neatly or decorated with any precision are not my strength. This, though, I can do — and so can you, regardless of your baking confidence level. It's basically foolproof as long as you dry your berries and give it enough time to chill.
If you're building out a whole 4th of July menu, I'd pair this with something easy and crowd-friendly on the savory side. My Deviled Eggs are always a good call alongside this, and if you need a fresh, vibrant side, my Christmas Salad works year-round despite the name — the colors are just as festive in summer.
Make the trifle the night before, keep it covered in the fridge, and pull it out right when it's time to eat. That's genuinely all there is to it. 🍓❤️🫐
If you liked this, here are a few more recipes worth trying:
- Raspberry Cheesecake Balls with Chocolate Coating — another no-bake dessert that's great for parties
- Deviled Eggs — the classic party appetizer that always disappears first
- Christmas Salad — bright, colorful, and works at any festive gathering
- Pico de Gallo — fresh and easy, great alongside anything grilled at a summer cookout
- One-Pot Honey Garlic Chicken and Noodles — for when you need a quick dinner the day after the holiday





Comments
No Comments