
I made these for the Fourth of July last year on a total whim — I had butter, flour, and a bag of red, white, and blue sprinkles I'd grabbed from Walmart on a whim weeks earlier. The bars came out so well that my daughter Zainab carried the whole tray to the backyard herself and announced them like she'd made them. I've made them three times since, including once for Memorial Day and once just because Zainab asked nicely enough.
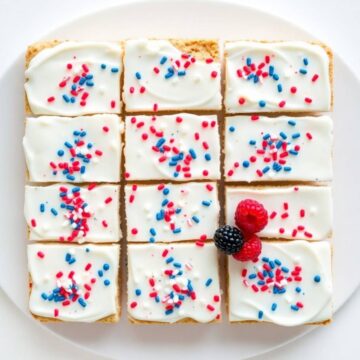
What I love about this recipe is that it gives you all the flavor of a classic sugar cookie without any of the rolling and cutting and chilling nonsense. You press the dough into a 9x13 pan, bake it once, let it cool, and frost it. That's genuinely it. The bars come out soft and buttery in the middle with slightly golden edges, and the frosting — divided into red, white, and blue — makes them look like you put in a lot more effort than you actually did.
If you're already planning a summer spread with savory bites like Taco Ranch Bites on the table, these bars are the sweet finish that rounds everything out. I usually make a double batch for parties because a single 9x13 disappears faster than I expect every single time.
One thing I'll set expectations on upfront: let the bars cool completely before frosting. I know it feels like you can rush it. You cannot. The first time I made these I was impatient and frosted them while they were still slightly warm — the buttercream turned into a melty smear and I had to scrape it off and start the frosting over. Cool completely. I now do something else for a full hour and come back.
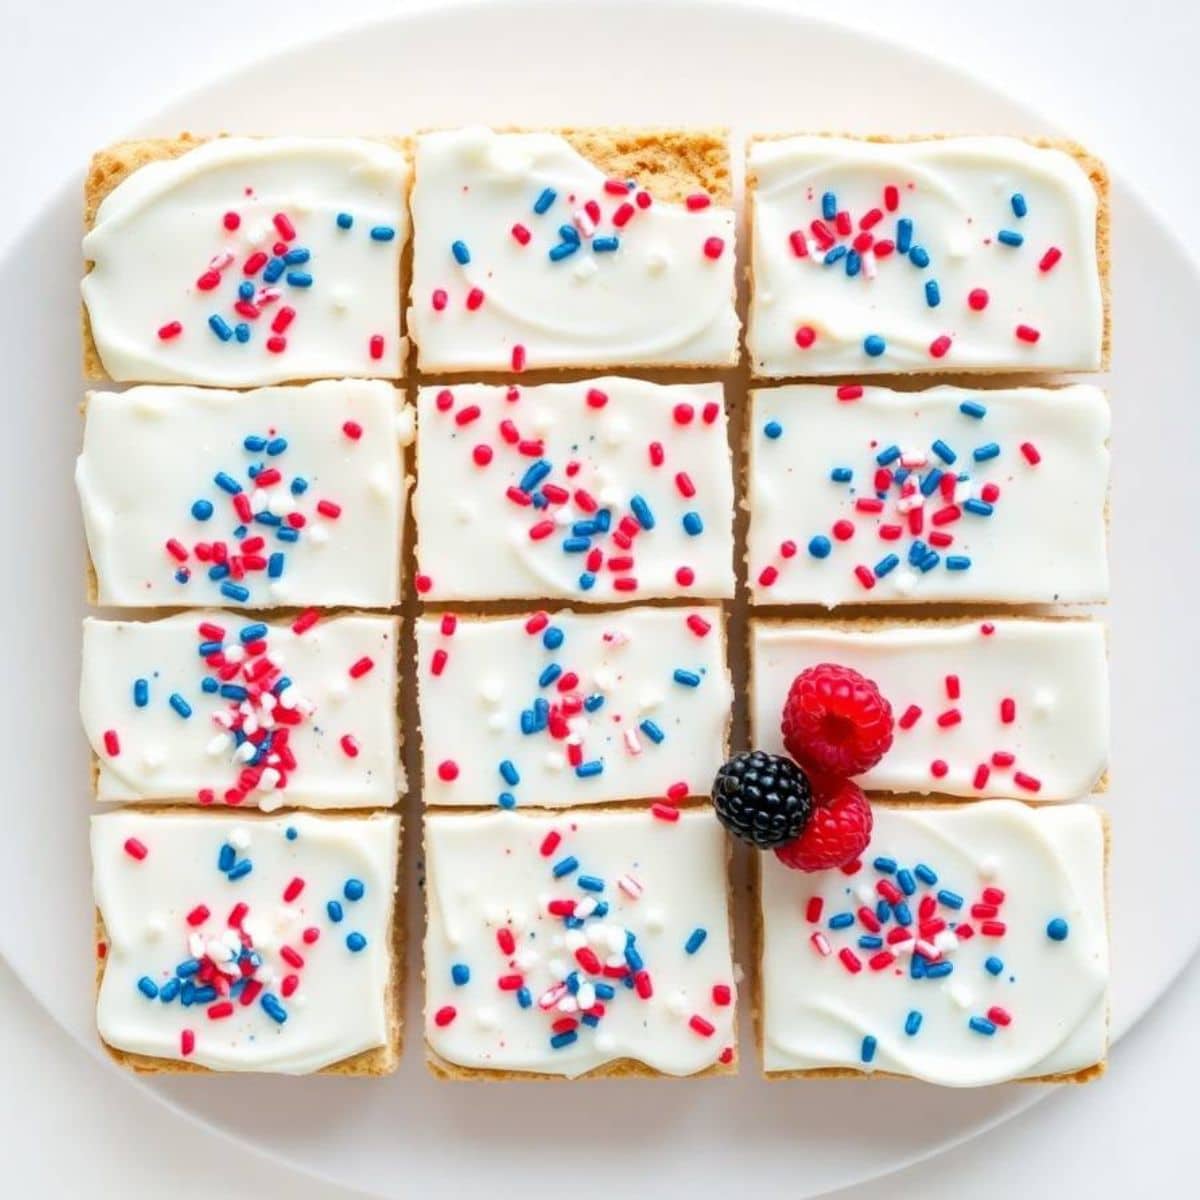
Why You'll Love This Recipe
- No rolling, no cookie cutters, no chilling: The whole point of bar cookies is that they skip every annoying part of making individual cookies. Press the dough into the pan with your hands, bake it once, and you're done with the hard part. I've made these on a Tuesday evening after work with zero stress, which is not something I can say about cut-out sugar cookies.
- The texture is genuinely good: Soft and thick in the middle, just barely golden at the edges. This isn't a crispy cookie bar — it's more like a dense, buttery blondie-adjacent thing that happens to taste like a sugar cookie. As long as you don't overbake it, the texture stays tender for days.
- Looks impressive, requires minimal skill: The red, white, and blue frosting does all the visual heavy lifting. You don't need to pipe anything neatly — just spread the three colors in rough sections and drag a spatula through them for a swirled effect. It looks intentional even when it's totally freeform.
- Travels well to parties: I've driven these 30 minutes to a Fourth of July cookout in a covered container and they arrived perfectly intact. Once the frosting is chilled and set, the bars stack without smearing. That matters when you're bringing something to a friend's house and don't want to show up with a mess.
- You can change the colors for any occasion: The base recipe is exactly the same — you just change the gel colors. Red and green for Christmas, pink and purple for birthdays, orange and black for Halloween. I'm honestly thinking about making an orange and black version this fall because the kids would love it.
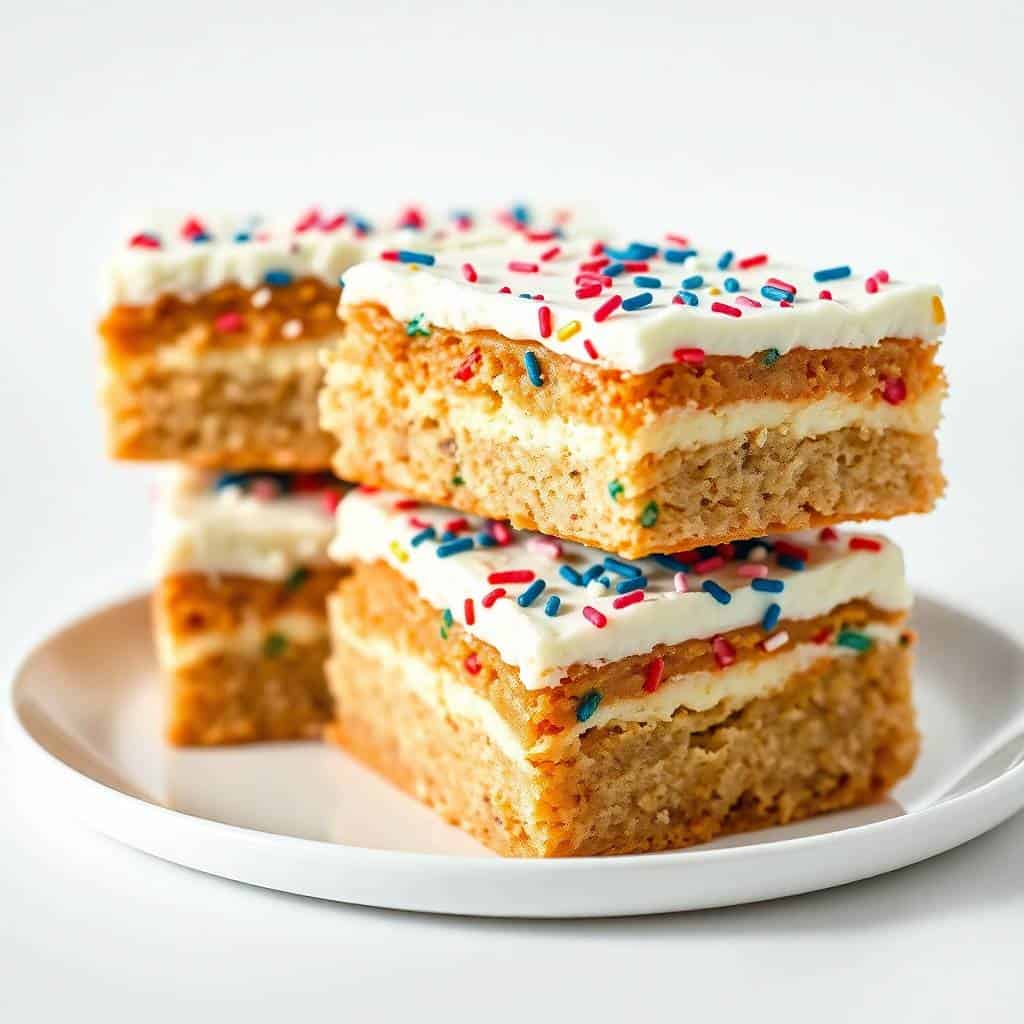
Ingredients
- For the Cookie Base:
- 1 cup unsalted butter, softened to room temperature
- 1 cup granulated sugar
- 1 large egg
- 1 teaspoon pure vanilla extract
- 2¼ cups all-purpose flour
- ½ teaspoon baking powder
- ½ teaspoon salt
- For the Frosting:
- ½ cup unsalted butter, softened
- 2 cups powdered sugar
- 2–3 tablespoons whole milk (or any milk you have)
- ½ teaspoon pure vanilla extract
- Red and blue gel food coloring (gel, not liquid — this matters)
- Patriotic sprinkles in red, white, and blue
Directions
- Step 1: Preheat the oven. Set your oven to 350°F (175°C). Line a 9x13-inch baking pan with parchment paper, leaving some overhang on the sides so you can lift the whole slab out later. If you don't have parchment, grease the pan well — the bars will still release fine.
- Step 2: Cream the butter and sugar. In a large bowl, beat the softened butter and sugar together for 2–3 minutes until it looks lighter and slightly fluffy. Add the egg and vanilla and beat until smooth. If you're doing this by hand with a wooden spoon, just mix firmly for a few extra minutes — it works, I've done it.
- Step 3: Mix in the dry ingredients. In a separate bowl, whisk the flour, baking powder, and salt together. Add this to the butter mixture gradually, stirring on low (or by hand) just until a soft dough forms. Stop as soon as you don't see dry flour — overmixing makes the bars tough instead of tender.
- Step 4: Press and bake. Transfer the dough to your prepared pan and press it into an even layer with your hands or the bottom of a measuring cup. Getting it level matters — thin spots will overbake before thick spots are done. Bake for 18–22 minutes, until the edges are just lightly golden and the center looks set (not shiny or jiggly). Let the bars cool completely in the pan — at least an hour.
- Step 5: Make the frosting. Beat the softened butter until smooth and creamy. Add the powdered sugar, milk, and vanilla, beating until the frosting is fluffy and holds its shape. Divide into three equal portions. Color one red and one blue with gel food coloring, leave one white. Add gel color a little at a time and mix well — red in particular needs more color than you think to get vibrant.
- Step 6: Frost and decorate. Spread or dollop the three colors of frosting across the cooled bars in sections, then drag a butter knife or spatula through them to create a swirled effect. Scatter the sprinkles on top immediately while the frosting is still soft so they stick. Refrigerate for 30 minutes to firm everything up before slicing into squares.
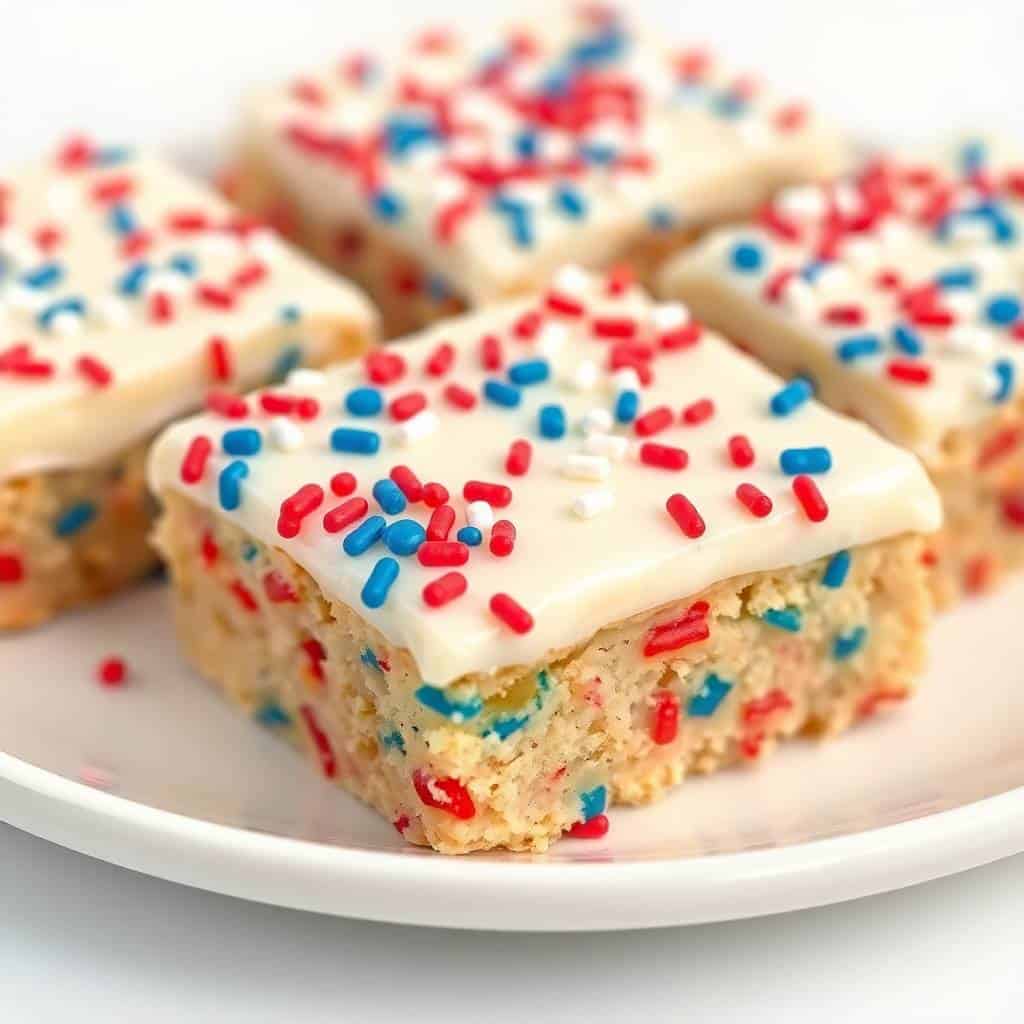
Tips for Success
- Use gel food coloring, not liquid: I learned this after my first batch came out with frosting that looked pink and lavender instead of red and blue. Liquid food coloring adds water to the frosting and dilutes it — both in color and in consistency. Gel colors are concentrated so you get vivid, saturated shades without thinning the buttercream. You can find them at Walmart, Michaels, or any craft store near the baking supplies.
- Don't skip the full cool-down: I already mentioned this in the intro but I'll say it again because it's the most common mistake with bar cookies. Even if the bars feel cool to the touch on top, the inside can still be warm enough to melt buttercream. I usually bake in the morning and frost after lunch.
- Press the dough evenly: An uneven layer means some parts are done before others. I use the flat bottom of a drinking glass to smooth it out after pressing with my hands — works better than a spatula for getting all the way into the corners.
- Cut with a warm knife: Run your knife under hot water, wipe it dry, then slice. Do this between every cut. It sounds tedious but it takes about 30 extra seconds total and the difference in edge cleanliness is genuinely significant — especially when you're cutting through swirled colored frosting that wants to drag.
- Add the sprinkles right away: I set out the sprinkles before I even start frosting so I don't forget. Once the frosting starts to skin over — even slightly — the sprinkles won't stick properly and you'll end up with a lot of them falling off when you slice. Frost a section, sprinkle immediately, move to the next section.
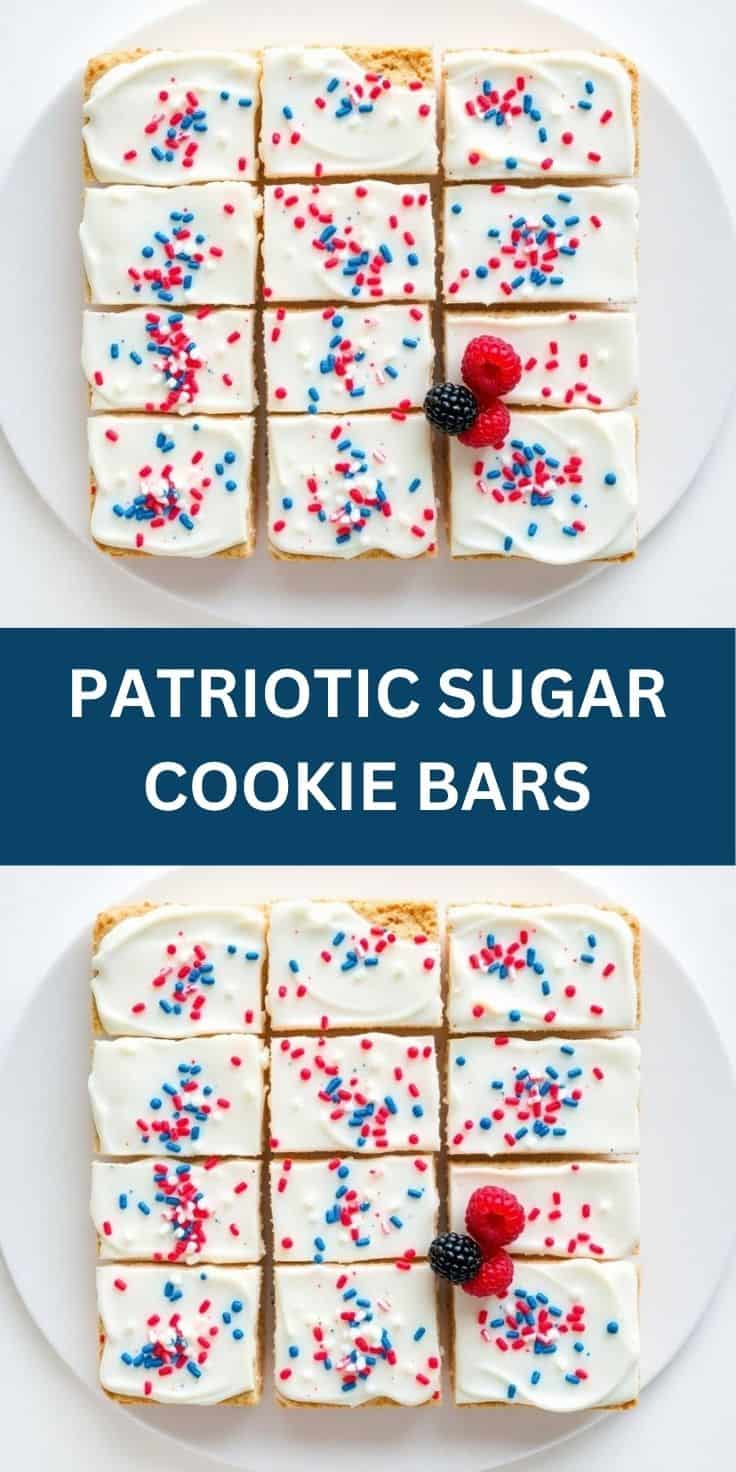
Variations
- Change the colors for a different occasion: The cookie base and frosting recipe stay exactly the same — just swap the gel colors. Pink and white for Valentine's Day, orange and black for Halloween, red and green for Christmas. I'm planning a birthday version with purple, yellow, and pink for Zainab's next birthday because she specifically requested it.
- Add mix-ins to the dough: Fold ½ cup of mini white chocolate chips into the dough before pressing it into the pan. They melt slightly during baking and create little pockets of sweetness throughout the bars. Patriotic M&Ms work too — just press them in gently after spreading the dough so they don't sink completely.
- Cream cheese frosting instead of buttercream: Replace half the butter in the frosting with softened cream cheese. It makes the frosting tangier and slightly denser, which cuts through the sweetness of the cookie base in a really good way. It also holds up better in warm weather than a pure buttercream does.
- Chocolate sugar cookie base: Swap 2 tablespoons of the all-purpose flour for unsweetened cocoa powder. The base takes on a light chocolate flavor that pairs surprisingly well with the vanilla buttercream. It's not a brownie — it's still soft and cookie-like — but the chocolate note adds something interesting underneath all that colorful frosting.
- Make them dairy-free: Use a plant-based butter (I've used Country Crock Plant Butter with good results) in both the cookie base and the frosting, and swap the milk for oat milk or almond milk. The texture is slightly different but honestly not enough to notice once everything is frosted and decorated.
Serving and Storage
Serving
Slice into squares or rectangles — I usually get 24 pieces from a 9x13 pan, cutting 4 across and 6 down. Serve them on a flat platter or stack them in a container with parchment between layers. If you want to go full festive, arrange them alongside fresh strawberries and blueberries on a white platter — the colors line up nicely and it looks intentional without any extra effort. These are good at room temperature but I actually prefer them slightly chilled — the frosting firms up and the bars have a denser, fudgier bite when cold.
Storage
Store in an airtight container at room temperature for up to 3 days. If your kitchen is warm (summer kitchens definitely are), refrigerate them — they'll keep well for up to 5 days and the frosting stays firmer. To freeze, wrap the unfrosted baked slab tightly in plastic wrap, then foil, and freeze for up to 2 months. Thaw at room temperature for an hour or two, then make fresh frosting and decorate the day you need them. I wouldn't freeze the frosted bars — the frosting tends to weep when it thaws and the sprinkles can bleed color.
Frequently Asked Questions
Can I make these bars the day before?
Yes, and honestly they're better the next day. The bars have time to settle and the frosting firms up into a clean layer. Bake and frost them the night before, cover the pan loosely with foil, and refrigerate overnight. Pull them out 20–30 minutes before serving so the frosting softens slightly before you slice.
Do I have to use food coloring?
Not at all. All-white frosting looks clean and simple, and the bars still taste exactly the same. You could also do just one color — all red or all blue — if you only have one gel color on hand. The recipe works regardless of what you do with the frosting color.
Can I double the recipe to feed a bigger crowd?
Yes — use a half-sheet pan (18x13 inches) and add about 3–5 minutes to the baking time. Start checking at 22 minutes and look for lightly golden edges and a set center. Double all the frosting ingredients too. I've done this for a party of about 40 people and it worked well — just make sure your oven is fully preheated before the pan goes in.
How do I cut clean squares without smearing the frosting?
Chill the frosted bars in the refrigerator for at least 30 minutes first — cold frosting cuts cleanly. Then use a sharp knife dipped in hot water and wiped completely dry between each cut. It sounds like a lot but it makes a real difference, especially when you have three colors of frosting and want the swirls to look deliberate rather than smeared.
What can I use instead of sprinkles?
Colored sugar works and gives a slightly more subtle shimmer. You could also arrange fresh blueberries and small strawberry pieces directly on the frosting for a no-sprinkle patriotic look — it's actually really pretty and the fruit adds a bit of freshness. Or just leave the frosting swirls as they are — the three-color effect is enough on its own.
These bars have become my go-to for any holiday that involves a flag and a backyard. They're low-effort in the best way — one pan, simple ingredients, no special equipment — and the payoff in terms of how they look on a table is genuinely disproportionate to the work involved. I make them the night before so the day of the party I'm not rushing, and they travel well enough that I can bring them to someone else's cookout without stressing about the drive.
If you're baking something sweet alongside a savory spread, my Chocolate Chip Donuts are another good option that feeds a crowd without much fuss. And if you want something fun to do with kids in the kitchen, this bar recipe is genuinely one of the easier ones — Zainab loves the frosting division step, mostly because she gets to lick the spatula from each bowl.
Give these a go before your next summer gathering — I think you'll be surprised by how much people respond to a pan of bars that look this cheerful. 🎆🍪✨
If you liked this recipe, here are a few more from forfoodiefriends.com you might enjoy:
- Chocolate Chip Donuts — another crowd-friendly bake that's easier than it looks
- Taco Ranch Bites — the savory counterpart to bring to the same cookout
- White Chicken Enchiladas — a crowd-pleasing dinner that's great for feeding a group
- Copycat Chicken Bake (Costco-Style) — if you want something hearty to serve alongside the dessert table



Comments
No Comments