
For my husband's birthday two years ago, I wanted to make a dessert that felt genuinely special and restaurant-quality but didn't require the technical complexity of a full cake or the intimidation of a layered showstopper that I might mess up under pressure.
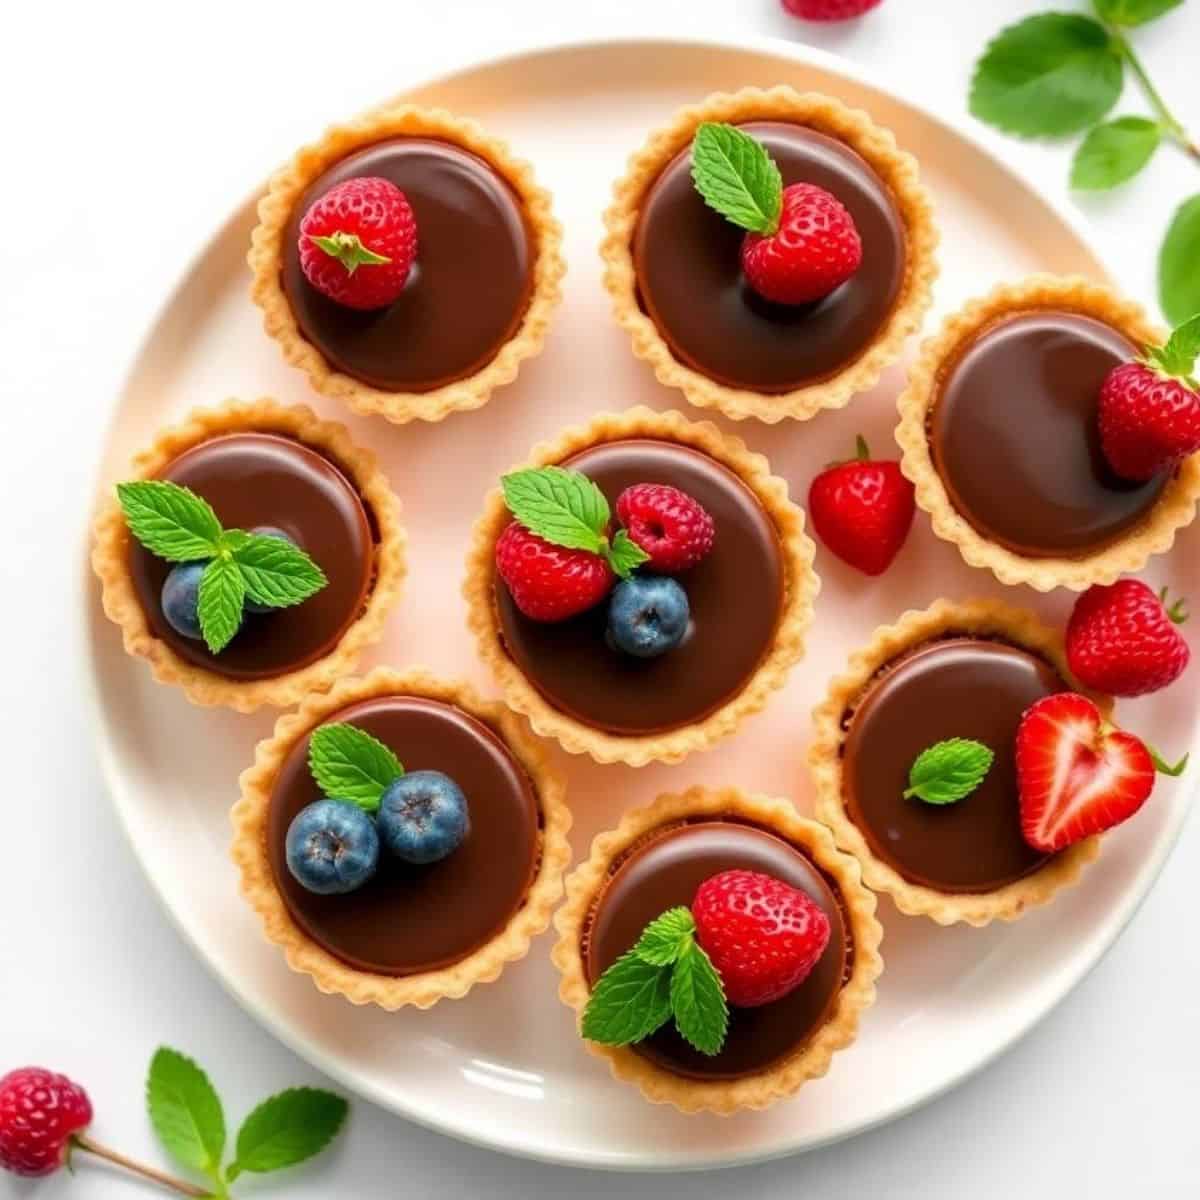
These mini chocolate tarts emerged as the perfect birthday solution because they look incredibly impressive (individual portions, glossy chocolate filling, elegant presentation) but the technique is genuinely forgiving — buttery cookie crust pressed into mini pans, smooth chocolate ganache poured on top, brief bake in the oven.
My husband's birthday celebration that year had 8 adult guests, and the mini tarts arrived at the table on a decorative platter with fresh raspberries and a light dusting of powdered sugar — guests genuinely thought I had ordered them from a bakery, which is the kind of dessert reaction every home cook secretly hopes for.
Saad and Zainab were 6 and 5 at the time and the kids ate the leftover tarts the next morning for breakfast (which I allowed because it was technically birthday-week leftover, even though they're definitely not breakfast food), and Saad has been requesting "the small chocolate cups" for every special occasion since.
My mother in Pakistan would recognize this kind of small individual dessert presentation from her own experience with traditional Pakistani sweets — many of her family celebration desserts (gulab jamun, ras malai, kheer in individual bowls) are similarly designed for individual portions rather than communal slicing, which feels especially elegant for adult dinner parties.
Why You'll Love This Recipe
- Restaurant-quality elegance with forgiving home-kitchen technique: These mini chocolate tarts look genuinely bakery-quality on the dessert platter — glossy chocolate filling, professional individual portions, elegant presentation — but the underlying technique is significantly more forgiving than the visual impact suggests. The crust is essentially a cookie-crumb-and-butter mixture pressed into pans (no rolling, no chilling, no laminating). The ganache filling is melted chocolate and cream stirred together (no tempering, no fancy technique). The brief bake just sets the filling slightly. Even first-time bakers produce impressive results with this recipe — which is the rare combination of "looks fancy" and "actually easy" that home cooks love discovering.
- Individual portions — no awkward slicing, no portion-control disputes: Unlike a single large chocolate tart or cake that requires precise slicing to serve everyone fairly, these mini tarts solve portion control elegantly. Each guest gets their own complete dessert that they can pick up and eat without sharing or slicing. For dinner parties, anniversary celebrations, holiday gatherings, or any occasion where you want to avoid the inevitable "I'll just take a small slice" portion negotiations, the mini-portion approach is genuinely the more sophisticated serving choice. Each tart is 2-3 bites of pure chocolate indulgence, which is exactly the right portion size for an elegant dessert.
- Make-ahead friendly — flavor improves overnight, perfect for entertaining: These tarts genuinely improve with overnight refrigeration. The chocolate ganache filling firms up to a perfect sliceable consistency, the cookie crust absorbs subtle butter flavor from the ganache, and the entire dessert develops a cohesive chocolate-truffle quality that fresh-baked simply doesn't have. For party-hosting realism, this means you can bake the entire batch the day before serving, refrigerate overnight, and pull the tarts out cold from the fridge to room temperature 30 minutes before serving — with absolutely no last-minute work required. Maximum advance prep: 2 days. Beyond that, the cookie crust begins to soften from absorbed ganache moisture.
- Endlessly customizable — same template, infinite flavor variations: Same base technique (cookie crust + chocolate ganache filling + light bake + topping) accommodates infinite variations through the year — dark chocolate version (richer, more sophisticated adult dessert), milk chocolate version (sweeter, more kid-friendly), white chocolate-berry version, mocha-espresso adult version, peanut butter-chocolate version, Pakistani-American cardamom-rose-pistachio hybrid. The template scales with what flavor profile your specific occasion needs and what ingredients you already have available. One basic recipe becomes a permanent foundation for dozens of variations across special celebrations.
- Crowd-pleasing across age groups — adults love it, kids inhale it: The combination of rich chocolate filling and buttery cookie crust appeals universally — adults appreciate the sophisticated chocolate-truffle quality, kids inhale the chocolate sweetness without complaint. For dinner parties with mixed-age guests (parents + their kids visiting for the weekend), this dessert satisfies everyone simultaneously without requiring multiple dessert preparations. Saad's continued requests for "the small chocolate cups" two years after my husband's birthday celebration confirms the kid-appeal. Adult guests at that birthday party confirmed the adult-appeal. This is genuinely the cross-age-group dessert win that hosts dream of.
Ingredients
- For the Chocolate Cookie Crust (Makes 12 mini tarts):
- 2 cups chocolate cookie crumbs (about 24 Oreo cookies with filling, or chocolate wafers, blended in food processor)
- 6 tablespoon unsalted butter, melted
- 2 tablespoon granulated sugar (optional, adds slight extra sweetness)
- Pinch of salt
- For the Dark Chocolate Ganache Filling:
- 8 oz good-quality dark chocolate (60-70% cacao), chopped finely
- ¾ cup heavy cream
- 3 tablespoon granulated sugar
- 2 large eggs, room temperature
- 1 teaspoon pure vanilla extract
- Pinch of salt
- For Optional Toppings (Pick Based on Occasion):
- 1 cup fresh raspberries (classic elegant pairing)
- 1 cup fresh strawberries, halved or sliced
- ½ cup whipped cream (homemade preferred — recipe in serving notes)
- 2 tablespoon powdered sugar (for dusting)
- Fresh mint sprigs
- 2 tablespoon chocolate shavings (from a chocolate bar with a vegetable peeler)
- 1 tablespoon gold leaf or edible gold flakes (for ultra-luxurious presentations)
- ¼ cup chopped pistachios (for Pakistani-American variation)
Directions
- Step 1: Preheat oven and prep the mini tart pans (5 minutes). Preheat your oven to 350°F (175°C). Grease 12 mini tart pans (about 3 inches in diameter — these are widely available in any kitchen store) with butter or non-stick cooking spray. Place the prepared pans on a large baking sheet for easy handling. Alternative: if you don't have mini tart pans, use a 12-cup muffin tin with paper liners (the texture is slightly different but the recipe still works beautifully). For the most professional presentation, invest in mini tart pans with removable bottoms — they cost about $20-30 for a set of 6-12 and produce noticeably better results.
- Step 2: Make the chocolate cookie crust (5 minutes). In a medium bowl, combine the chocolate cookie crumbs, melted butter, sugar (if using), and pinch of salt. Stir thoroughly with a fork until the mixture looks like wet sand and holds together when pressed between your fingers. If the mixture seems too dry to hold together, add 1 more tablespoon of melted butter. If it seems too wet/oily, add 2 tablespoons of additional cookie crumbs. The proper consistency is "moist but not greasy" — when pressed firmly into a tart pan, the mixture should form a solid even crust without crumbling apart.
- Step 3: Press crust firmly into tart pans (8 minutes). Divide the cookie crust mixture evenly among the 12 mini tart pans (about 2-3 tablespoons per pan). Using the back of a measuring spoon, the bottom of a small glass, or your fingers, press the crust firmly into the bottom and up the sides of each pan. Pressing FIRMLY is genuinely important — loose crusts crumble when sliced and when removed from the pans. The crust should be about ¼-inch thick on the bottom and slightly thinner up the sides. Place the prepared crusts (still on the baking sheet) in the refrigerator for 10 minutes to firm up while you make the filling.
- Step 4: Heat the cream for the ganache (3 minutes). Pour the heavy cream into a medium saucepan and heat over medium-low heat until just beginning to simmer (small bubbles forming around the edges, NOT a full rolling boil). Do NOT let the cream boil — boiling damages the cream's daily protein needs structure and produces a grainy ganache. Remove from heat immediately when you see small bubbles. This step typically takes 3-4 minutes depending on your stove.
- Step 5: Make the chocolate ganache filling (5 minutes). Place the chopped chocolate in a heatproof medium bowl. Pour the hot cream directly over the chocolate. Let sit undisturbed for 2-3 minutes (this allows the heat to gently melt the chocolate from the inside out). Then stir gently with a rubber spatula or whisk until completely smooth and glossy. Add the sugar and salt and stir to combine. Let the ganache cool for 5 minutes (to prevent the eggs from scrambling when added). Whisk in the eggs (one at a time) and vanilla extract until fully incorporated. The ganache should be smooth, glossy, and slightly pourable.
- Step 6: Pour ganache into chilled crusts (3 minutes). Remove the chilled crusts from the refrigerator. Pour the ganache evenly among the 12 tart pans, filling each about ¾ full (do NOT overfill — the filling will rise slightly during baking). Use the back of a spoon or a small offset spatula to smooth the surface of each filling if needed. The ganache should fill each tart to within about ¼-inch of the top edge of the crust. Tap the baking sheet gently on the counter 2-3 times to release any air bubbles trapped in the ganache.
- Step 7: Bake for 14-18 minutes (14-18 minutes). Bake at 350°F for 14-18 minutes, until the edges of the filling are set but the centers are still slightly soft and slightly jiggly. The centers should NOT be fully firm when you remove them from the oven — they finish setting from residual heat during cooling. A toothpick inserted in the center should come out with moist chocolate sticking to it (not wet liquid chocolate, but not dry crumbs either). This "set edges, soft centers" doneness is the proper professional technique — overbaked tarts become dry and crack, underbaked tarts don't hold their shape when sliced.
- Step 8: Cool completely, then chill before serving (1.5 hours total). Remove the tarts from the oven and let cool on the baking sheet at room temperature for 30 minutes (the centers finish setting during this rest). Then transfer the tart pans to the refrigerator and chill for at least 1 hour (preferably 4 hours or overnight for best texture). The chilling step is essential — it firms up the ganache to a perfect sliceable truffle-like consistency. Just before serving, carefully remove the tarts from the pans (if using removable-bottom pans, just push up from the bottom; if using fixed pans, run a knife around the edge first). Top with fresh berries, whipped cream, or your chosen garnishes. Serve cold or at slightly cool room temperature.
Tips for Success
- Use HIGH-QUALITY chocolate — this is the defining ingredient. The single most important ingredient in chocolate tarts is the chocolate itself, and quality genuinely matters for the finished result. Use 60-70% cacao dark chocolate from a reputable brand: Ghirardelli, Valrhona, Callebaut, Lindt, or Trader Joe's Pound Plus dark chocolate all produce excellent results. Avoid: cheap baking chocolate (Baker's brand), unsweetened chocolate (this recipe needs sweetened), or chocolate chips (most chips contain stabilizers that prevent smooth melting). The flavor difference between budget chocolate ($5/lb) and good chocolate ($10-15/lb) is genuinely dramatic in a recipe where chocolate is the lead flavor — the upgrade is worth it for special-occasion desserts. Save the budget chocolate for chocolate chip cookies where the chocolate is supporting cast.
- Do NOT overbake — slightly soft centers are correct. The single biggest mistake home bakers make is overbaking these tarts in search of "fully set" centers. The proper doneness has firm set edges with centers that are still slightly soft and slightly jiggly when removed from the oven — they finish setting from residual heat during the 30-minute cooling period. Overbaked tarts have a dry, crumbly, slightly grainy texture that's noticeably worse than properly baked tarts. The "set edges, soft centers" indicator at 14-18 minutes is genuinely the correct visual cue, even if the centers look "underdone" — trust the process. Pull at minimum time (14 minutes), check, and bake additional 2-minute increments if needed.
- Press the crust FIRMLY into the pans — loose crusts crumble. A loosely-pressed crust crumbles during baking and falls apart when slicing. The proper technique is to press the crust firmly enough that it forms a solid even layer without visible air gaps or loose crumbs. Use the back of a measuring spoon, the bottom of a small glass, or your fingers to press the crust thoroughly into both the bottom and up the sides of each tart pan. The crust should feel solid to the touch and look uniformly compressed. If you can see distinct cookie crumb pieces in the crust (rather than a smooth dense layer), you need to press harder. The 5 extra minutes of firm pressing produces a dramatically better final tart.
- Let ganache cool slightly before adding eggs — prevents scrambled-egg disaster. Adding eggs to ganache that's too hot results in the eggs scrambling on contact, which produces a curdled grainy filling that you can taste in the finished tart. The proper technique is to let the chocolate-cream ganache cool for 5 minutes (until it's warm but not hot — you should be able to comfortably touch the side of the bowl without discomfort) before whisking in the eggs. Add eggs ONE AT A TIME, whisking vigorously after each addition to fully incorporate. The 5-minute cooling step is the small detail that separates smooth professional ganache from grainy curdled ganache.
- Bring eggs to room temperature — cold eggs cause ganache to seize. Cold eggs added to warm ganache cause the chocolate to seize (rapidly firm up and become grainy) because the temperature shock breaks the chocolate emulsion. The proper technique is to take eggs out of the refrigerator 30 minutes before baking, OR submerge in a bowl of warm (not hot) water for 5 minutes to bring them quickly to room temperature. Room-temperature eggs integrate smoothly with the ganache and produce a uniformly textured filling. This is the small detail that professional pastry chefs follow religiously and home bakers often skip — the difference is noticeable in the finished texture.
Variations
- Dark chocolate sophisticated adult version (peak chocolate intensity): Use 70-75% cacao extra-dark chocolate instead of the standard 60-70%. Reduce the sugar in the filling to 2 tablespoons (the darker chocolate needs less sweetening). Top with a small flake of sea salt and a few fresh raspberries. The result is a sophisticated, deeply chocolate-forward dessert that pairs beautifully with espresso or red wine. This is the version I make for adult-only dinner parties where I want the dessert to feel especially elegant and grown-up. The intense chocolate flavor isn't for everyone — children sometimes find very dark chocolate too bitter — so reserve this version for adult gatherings.
- Milk chocolate sweeter kid-friendly version: Replace the dark chocolate with high-quality milk chocolate (Lindt, Ghirardelli, or Cadbury work well). Reduce the cream slightly (½ cup instead of ¾ cup) because milk chocolate is creamier than dark. Reduce the sugar to 1 tablespoon (milk chocolate is already sweeter than dark). The result is a sweeter, creamier, more accessible version that kids genuinely love and that adults who prefer milder chocolate also enjoy. Saad strongly prefers this version. The milk chocolate version is also slightly less sophisticated but more universally appealing — choose based on your specific guests' chocolate preferences.
- White chocolate and berry version (visually stunning): Replace the dark chocolate with high-quality white chocolate (Ghirardelli or Lindt — avoid white "chips" which contain stabilizers). Add 2 tablespoons of fresh lemon juice and 1 tablespoon of lemon zest to the ganache for brightness that balances the sweet white chocolate. Top with mixed fresh berries (raspberries, blueberries, blackberries, sliced strawberries) and a light dusting of powdered sugar. The visual contrast between the pale white filling and bright colorful berries is genuinely stunning, and the flavor combination is delightfully bright and summery. This is my preferred version for spring and summer celebrations like Mother's Day, anniversaries, and graduation parties.
- Mocha-espresso adult version (coffee lovers' dessert): Add 2 teaspoons of espresso powder (or 1 tablespoon of strong brewed espresso) to the heated cream during the ganache-making step. Use 70% cacao dark chocolate. Top with a light dusting of cocoa powder and a few coffee beans for visual presentation. The result is a sophisticated mocha-chocolate-truffle dessert that pairs beautifully with after-dinner coffee or espresso. This version genuinely tastes like an upscale Italian restaurant dessert. My husband requests this version for his birthday because he loves the coffee-chocolate combination. Avoid serving to kids — the caffeine content from the espresso powder is small but not zero.
- Pakistani-American cardamom-rose-pistachio hybrid (Sana's adaptation): Add 1 teaspoon of ground cardamom to the cream during heating. Add 1 teaspoon of rose water to the ganache after combining with chocolate. Top each tart with chopped pistachios, a few rose petals (food-grade, available at Middle Eastern markets), and a light dusting of powdered sugar. The result is a Pakistani-American take on mini chocolate tarts that bridges the European chocolate-truffle tradition with the cardamom-rose-pistachio flavor combination my mother in Pakistan would recognize from her halwa, kheer, and Eid sweets. My husband requests this version specifically for our family Eid celebrations because the cross-cultural fusion makes the dessert feel both elegant and familiar to our Pakistani-American extended family.
Serving and Storage
How to Serve
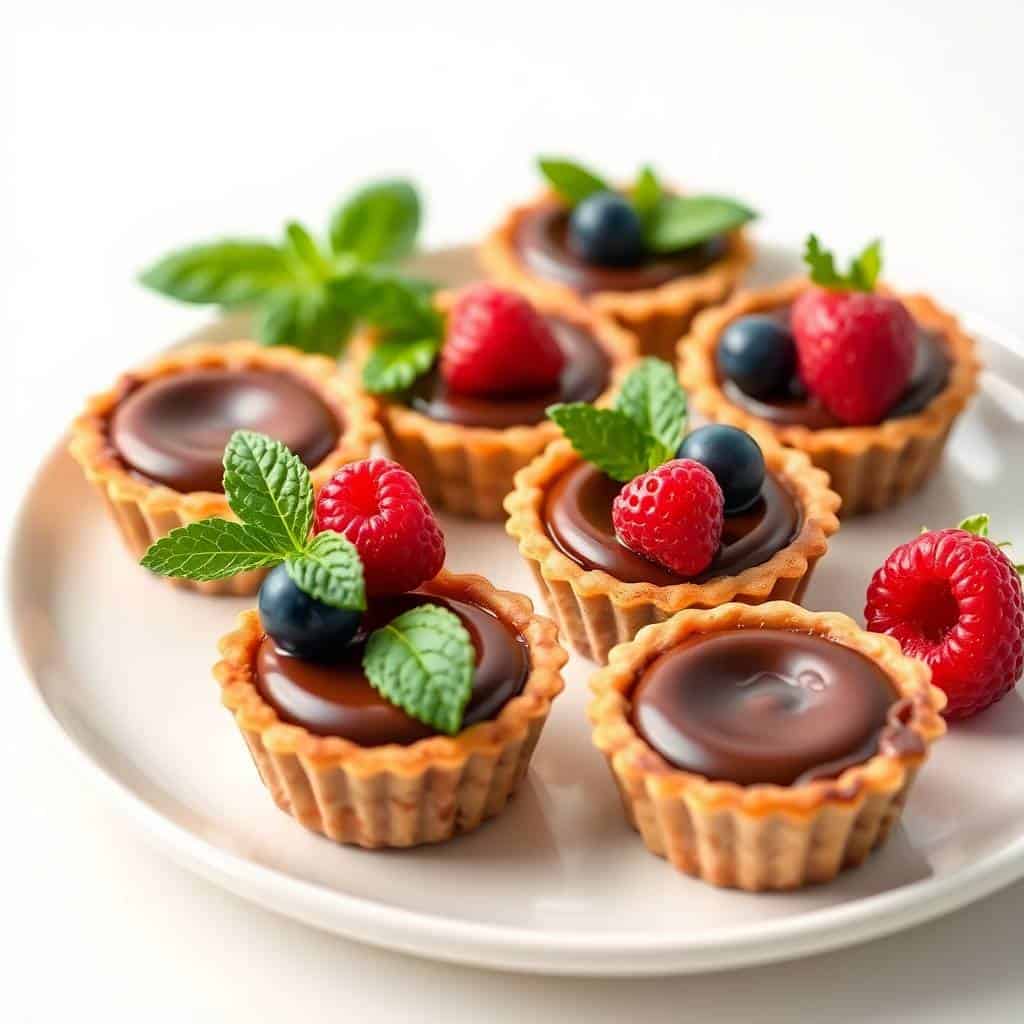
Serve cold or at slightly cool room temperature (remove from refrigerator 30 minutes before serving for optimal texture — the ganache softens slightly to the perfect truffle-like consistency). Arrange the tarts on a decorative platter — white or dark serving platters provide maximum visual contrast with the chocolate. Garnish elegantly: fresh raspberries are the classic chocolate-tart pairing (the tartness balances the rich chocolate beautifully), fresh strawberries (halved or sliced) work seasonally in spring/summer, fresh blackberries or blueberries add color variety, mint sprigs add visual freshness, a light dusting of powdered sugar adds elegant visual appeal, chocolate shavings on top reinforce the chocolate theme. For ultra-luxurious presentations: add a small drizzle of fresh whipped cream on top of each tart, or place a tart in the center of a dessert plate with raspberry sauce drizzled around it. Pair with drinks: espresso, decaf coffee, dessert wine (port, Madeira, or sweet Riesling for adults), milk for kids, or sparkling water with a lemon twist for non-drinkers. For Pakistani-American variation: serve with kashmiri chai or doodh patti chai for fusion elegance. The dessert is rich and indulgent — one tart per guest is the proper serving size, with maybe 1-2 extras for guests who want seconds.
How to Store
Refrigerator storage: store the cooled tarts (without toppings) in an airtight container in the refrigerator for up to 4 days. The flavor actually IMPROVES over the first 1-2 days as the ganache develops a deeper chocolate-truffle quality. By day 3-4, the cookie crust may begin to soften slightly from absorbed ganache moisture, but the flavor remains excellent. Add fresh berry toppings JUST before serving (don't store with toppings — fresh berries weep liquid during refrigeration). Freezer storage: tarts can be frozen for up to 1 month without significant quality loss. Cool tarts completely (3+ hours), wrap each tart individually in plastic wrap, then place all wrapped tarts in a freezer-safe bag or container. To use frozen tarts: thaw overnight in the refrigerator (best method for texture) — the slow thaw allows the ganache to return to its perfect creamy texture. Add toppings just before serving. For meal-prep applications: bake a batch on Sunday for special-occasion dinners throughout the week, OR bake several batches in advance for big celebrations and freeze for up to 1 month. The "bake once, serve elegantly multiple times" math is what makes this recipe genuinely useful for serious entertaining throughout the year. For party hosting: scale up to 1.5x or 2x for larger gatherings — the recipe scales linearly without technique changes. Always make 1-2 extra tarts beyond your guest count to allow for second servings or quality-control sampling.
Related Recipes You Might Like
If you loved these mini chocolate tarts, here are more elegant entertaining and special-occasion dessert recipe collections from the site that pair beautifully with dinner parties, anniversaries, and celebrations:
- Macaron Recipe — French pastry for elegant entertaining
- The Best Snickerdoodle Cookies — classic cookie companion
- Strawberry Mug Cake — single-serving sweet treat
- Salted Caramel Apple Sheet Cake — family dessert for celebrations
- 17 Scaled-Down Father's Day Dinner Recipes for Two — pair with these tarts for date-night dinners
Frequently Asked Questions
Can I make mini chocolate tarts ahead of time?
Absolutely yes — and they actually improve with overnight rest. Prepare and bake the tarts one to two days in advance, cool completely, then store covered in the refrigerator (without toppings) until ready to serve. The ganache filling develops a deeper, more cohesive chocolate-truffle flavor during refrigeration, and the cookie crust absorbs subtle butter flavor from the ganache for an integrated final dessert. Add fresh berry toppings just before serving — don't refrigerate with berries on top because they weep liquid during storage. Maximum advance prep: 2 days at peak quality. Beyond that, the cookie crust softens slightly. For party hosting, the make-ahead approach genuinely eliminates day-of stress entirely.
What type of chocolate works best?
60-70% cacao dark chocolate is the sweet spot for this recipe — sophisticated enough for adult palates, sweet enough that kids enjoy it, balanced enough that the chocolate flavor is dominant without being overpowering. Reliable brands: Ghirardelli, Valrhona, Callebaut, Lindt, or Trader Joe's Pound Plus dark chocolate all produce excellent results. For sweeter milk-chocolate versions: high-quality milk chocolate (Lindt, Ghirardelli, or Cadbury) works for kid-leaning gatherings. For sophisticated adult versions: 70-75% extra-dark chocolate produces intense flavor that pairs with espresso and red wine. Avoid: cheap baking chocolate (flat flavor), unsweetened chocolate (wrong for this recipe), or chocolate chips (contain stabilizers that prevent smooth melting). The chocolate is the lead flavor, so quality genuinely matters.
Can I freeze these tarts?
Yes, mini chocolate tarts freeze beautifully for up to 1 month without significant quality loss. Cool the tarts completely (3+ hours, until fully chilled), wrap each tart individually in plastic wrap, then place all wrapped tarts in a freezer-safe bag or container. To use frozen tarts: thaw overnight in the refrigerator (best method for texture preservation) — the slow thaw allows the ganache to return to its perfect creamy texture. Add fresh berry toppings just before serving. The freezer approach is genuinely useful for advance party prep — bake several batches over multiple weekends, freeze them, and have elegant desserts ready for last-minute hosting opportunities. The texture after freezing and thawing is essentially identical to fresh-baked.
Why did my filling crack while baking?
Cracking has three main causes, all preventable with proper technique. First, overbaking is the most common cause — pulling the tarts when the centers are slightly soft and slightly jiggly (not fully set) prevents cracks because the centers finish setting from residual heat during cooling. Second, oven temperature too high — if your oven runs hot, the rapid surface set creates tension that produces cracks. Use an oven thermometer to verify your oven is at the actual 350°F (many home ovens are 25-50°F off). Third, rapid temperature changes during cooling — letting the tarts cool slowly at room temperature for 30 minutes before refrigerating prevents thermal-shock cracks. Combination of all three preventive techniques eliminates cracking entirely.
Do I need mini tart pans?
Mini tart pans (3-inch diameter with removable bottoms preferably) are the ideal equipment because they produce the most professional-looking results and make removal effortless. A set of 6-12 mini tart pans costs about $20-30 and is genuinely useful for many dessert recipes beyond just chocolate tarts. If you don't have mini tart pans, alternatives work with slightly different presentation: standard 12-cup muffin tin lined with paper liners (slightly different shape but identical flavor and texture results), small ramekins or oven-safe glass cups (gorgeous individual presentation, no removal needed — serve in the cups), or a single 9-inch tart pan with removable bottom for one large tart instead of 12 mini tarts (same recipe, longer baking time of 25-30 minutes). For first-time bakers, the muffin tin approach is the most accessible — every American kitchen has one.
These mini chocolate tarts have earned their permanent place in my special-occasion dessert rotation specifically because of how perfectly they delivered the "looks bakery-quality but is actually forgiving home-baking" balance during my husband's birthday celebration two years ago — the dessert that guests assumed I had ordered from a professional bakery.
Saad's "small chocolate cups" nickname has stuck around our household for two years, and he genuinely requests these for every special occasion — his birthday, Zainab's birthday, our wedding anniversary, my husband's birthday, his school year-end celebrations.
My husband appreciates these tarts specifically because they pair beautifully with after-dinner coffee or espresso, and the make-ahead nature means I can prepare them the day before any celebration and actually enjoy the event rather than disappearing into the kitchen for last-minute dessert assembly.
My mother in Pakistan would recognize the small individual dessert presentation tradition because Pakistani celebration sweets (gulab jamun, ras malai, kheer, halwa in individual bowls) are similarly portion-controlled and elegant — small individual portions feel more refined than communal slicing, regardless of which cuisine tradition you're working within. The Pakistani-American cardamom-rose-pistachio variation deserves special mention because it bridges the European chocolate-truffle tradition with the South Asian sweet flavor profile my mother and husband both recognize, creating a cross-cultural dessert that earns "what is this incredible flavor combination" questions at our family Eid celebrations. 🍫🌹💕✨

Mini Chocolate Tarts Recipe (Make-Ahead, Elegant, Crowd-Pleasing Dessert)
Ingredients
For the Tart Shells
- 1 cup all-purpose flour
- 6 tablespoons unsalted butter, softened room temperature
- 2 tablespoons granulated sugar
- 1 pinch salt
- 1 egg yolk large egg yolk
For the Chocolate Ganache Filling
- 4 ounces dark chocolate, chopped 70% cocoa or higher
- ⅓ cup heavy cream
- 1 tablespoon butter
For Topping and Decoration
- 8 to 10 pieces fresh raspberries or mixed berries
- 8 to 10 leaves fresh mint leaves optional
Instructions
Make the Tart Shells
- Preheat your oven to 350 degrees Fahrenheit. In a small bowl, combine flour and salt. In another bowl, cream together softened butter and sugar until the mixture is light and fluffy, about 2 minutes with an electric mixer. Add the egg yolk and mix until fully incorporated. Gently fold in the flour mixture until just combined, being careful not to overwork the dough.
- Divide the dough among 8 mini tart pans with removable bottoms, pressing it evenly into the bottom and up the sides. Use the bottom of a measuring cup to create a flat, even surface. Place the filled tart pans on a large baking sheet and bake for 12 to 15 minutes until the shells are golden brown and set but not darkened. Remove from the oven and let cool for 5 minutes before carefully removing from the pans. The shells should still be warm, making removal easier.
Make the Chocolate Ganache and Assemble
- While the tart shells cool, place chopped dark chocolate in a heatproof bowl. In a small saucepan, heat the heavy cream over medium heat until it just begins to simmer (small bubbles forming around the edges). Pour the hot cream over the chocolate and add the butter. Let it sit undisturbed for 2 minutes, then whisk until smooth and glossy. Allow the ganache to cool for 3 to 4 minutes so it reaches a pourable consistency but is still warm.
- Carefully pour or spoon the warm ganache into each cooled tart shell, filling to just below the rim. Smooth the surface with the back of a small spoon if desired. Let the tarts sit at room temperature for 10 minutes to allow the ganache to set slightly, then refrigerate for at least 30 minutes until the chocolate is completely set and firm to the touch.
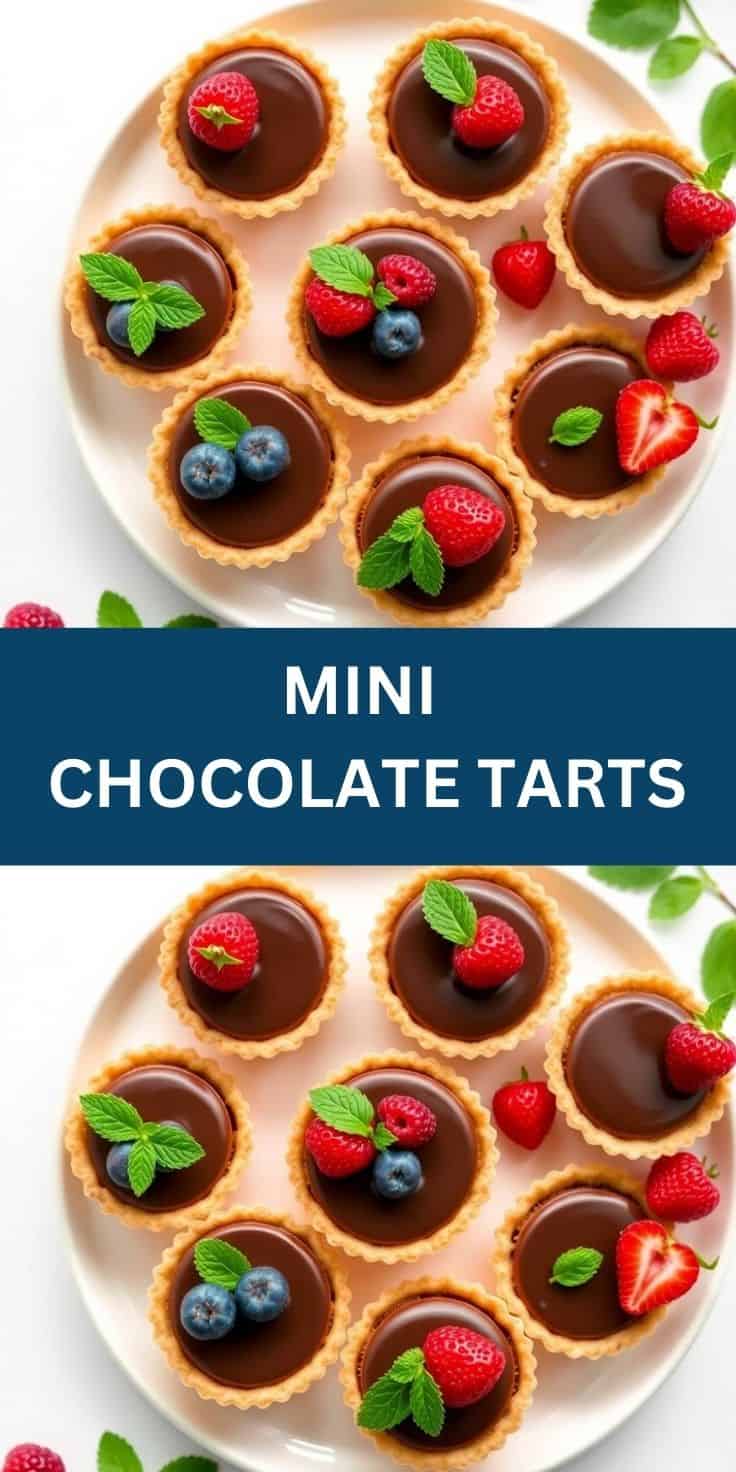
- Just before serving, top each tart with one or two fresh berries and a small mint leaf if using. Arrange the finished tarts on a decorative serving platter and serve chilled or at room temperature. For make-ahead convenience, prepare the tarts up to 8 hours in advance and add fresh berries just before serving to maintain their appearance and texture.
Notes





Comments
No Comments