
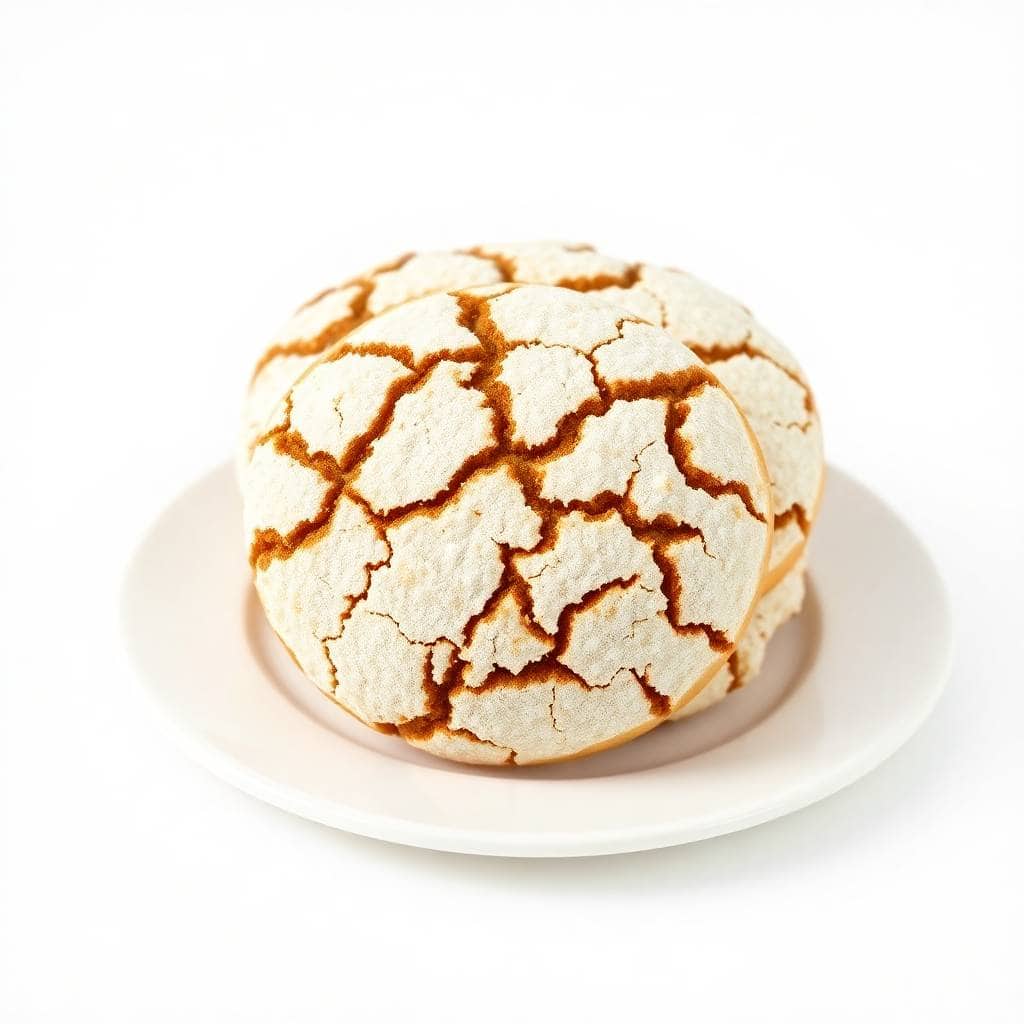
Every December, Zainab starts asking about "the crinkle cookies" before I've even pulled out the baking sheet. She calls them the snow cookies, which honestly is the best name for them — those powdered sugar cracks really do look like something out of a snow globe. I've been making these every Christmas for years now, and they're one of those recipes that feel festive without requiring any special skill or equipment.
What makes these work is the combination of butter, both granulated and brown sugar, and a short chill time. I know some crinkle cookie recipes call for oil instead of butter and a much longer chill — four hours or overnight. That version is fine, but this one, with softened butter and just 30 minutes in the fridge, gives you a slightly richer, fudgier cookie with a defined crinkle that holds up beautifully. The brown sugar is the secret — it keeps things soft even after a couple of days.
I always make a double batch around Christmas because one batch disappears the same day I bake them. Zainab claims at least four straight from the cooling rack. My husband takes them with his evening tea. I end up with maybe six to pack into a tin for guests, and that's if I'm fast. If you're baking for a cookie swap or a holiday gathering, I'd genuinely recommend making two batches from the start and saving yourself the frustration. If you want more holiday baking inspiration, my Banana Bundt Cake is another one I bake every December — it travels well and everyone asks for the recipe.
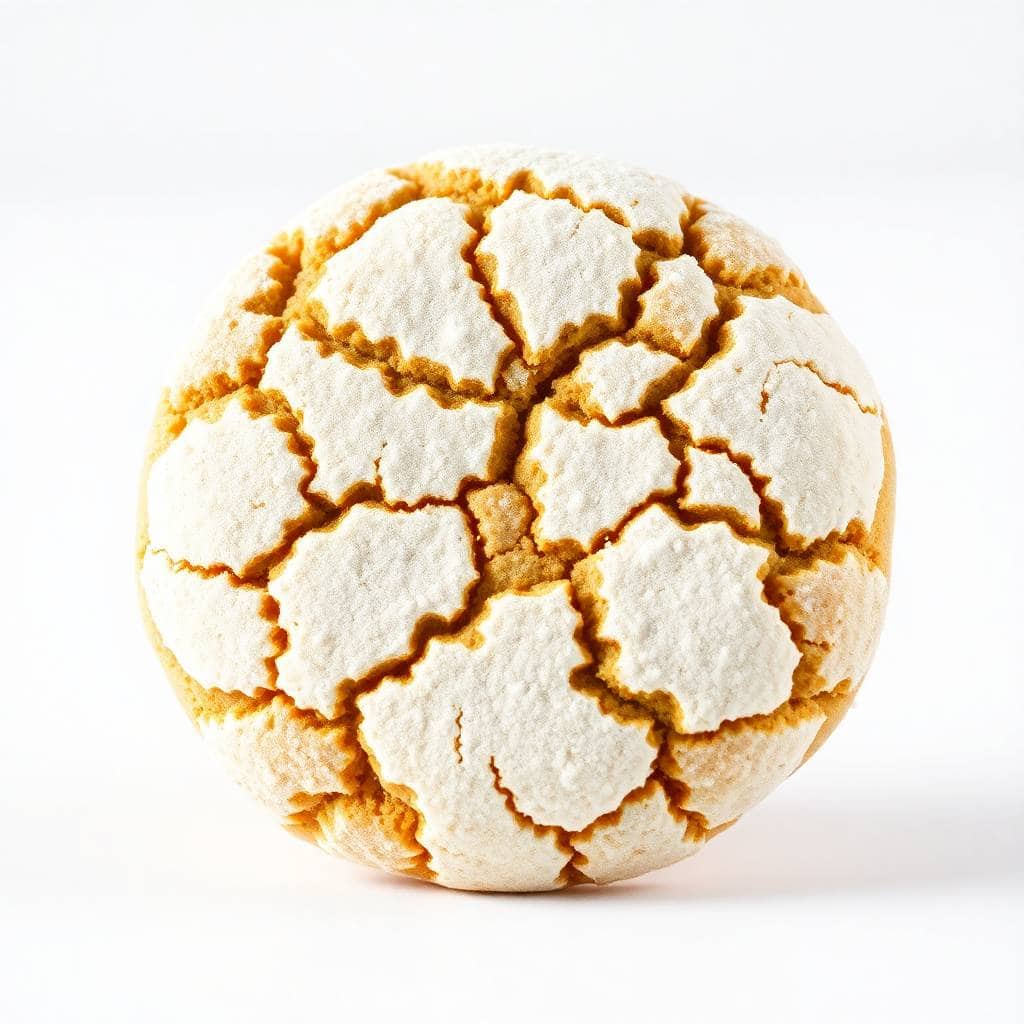
One thing to know before you start: the dough is sticky. That's normal. Don't add more flour — just make sure your hands are lightly dusted when you roll the balls, and coat them generously in powdered sugar. The thick sugar coat is what creates those dramatic cracks. Skimp on the sugar and you'll get smooth cookies. Not bad, but not the same thing.
Why You'll Love This Recipe
- They look impressive with almost no effort: The crinkled, snow-dusted tops happen naturally in the oven — you don't do anything special to create them. Roll the dough in powdered sugar, put them in the oven, and they crack on their own as they spread. Every time I pull a tray out, I feel like I've done something far more complicated than I actually have.
- The texture is genuinely fudgy in the center: These aren't cakey or dry. The center stays soft and dense — almost brownie-like — while the edges set up just enough to hold together. I've overbaked them before (11 minutes was too long in my old oven) and even then they were decent. But at exactly 10 minutes with the center still looking slightly underdone, they are exactly right once they cool.
- The dough can be made ahead: The dough keeps in the fridge for up to 2 days before baking. During the holiday season when I'm running around doing a hundred things, being able to mix the dough on a Tuesday and bake fresh cookies on Thursday is genuinely useful. You can also freeze the rolled, sugared dough balls and bake straight from frozen — just add 2 extra minutes.
- Kids can actually help: Rolling dough balls in powdered sugar is a job anyone can do, including small children who will get powdered sugar everywhere. Zainab has been my rolling assistant since she was four. The mess is real, but so is the fun — and it keeps her occupied while I prep the rest of dinner.
- They hold up well for gifting: These stay soft at room temperature for up to a week in an airtight container. I've shipped them in tins lined with parchment and they arrive looking great. If you're putting together a holiday cookie box, these pack beautifully alongside something like the Christmas Meatballs on the savory side of things.
Ingredients
- 1 ¾ cups all-purpose flour
- 2 teaspoons baking powder
- ½ teaspoon salt
- ½ cup unsweetened cocoa powder (I use Hershey's or whatever is at Walmart — both work fine)
- ½ cup granulated sugar
- ½ cup brown sugar, packed
- ¼ cup unsalted butter, softened (set it out 30 minutes before you start)
- 2 large eggs
- 1 teaspoon vanilla extract
- ½ cup powdered sugar, for rolling (don't skimp — have extra ready)
Directions
- Step 1: Mix the dry ingredients — Whisk together the flour, baking powder, salt, and cocoa powder in a medium bowl and set it aside. Getting this done first means you won't be scrambling mid-recipe.
- Step 2: Cream the butter and sugars — In a large bowl, beat the softened butter with both sugars until the mixture looks lighter and a bit fluffy, about 2 minutes by hand or with a hand mixer. This is where the texture starts — don't rush it. I do this with a wooden spoon on days when I can't be bothered to get the hand mixer out, and it works just fine.
- Step 3: Add eggs and vanilla — Add the eggs one at a time, beating after each one. Stir in the vanilla extract. The mixture should look smooth and slightly glossy at this point.
- Step 4: Combine wet and dry — Gradually add the dry ingredients to the wet mixture and stir until just combined. The dough will be thick and slightly sticky — that's correct. Don't add extra flour.
- Step 5: Chill the dough — Cover the bowl with plastic wrap and refrigerate for at least 30 minutes. This firms the dough enough to roll without it sticking to your hands. I've skipped this step once out of impatience — the cookies spread too much and the cracks were barely visible. The chill matters.
- Step 6: Preheat and prep — Preheat your oven to 350°F (175°C). Line a baking sheet with parchment paper and put your powdered sugar in a shallow bowl. I use a regular sheet pan — nothing fancy needed.
- Step 7: Roll and coat — Scoop tablespoon-sized portions of dough and roll each one into a ball between your palms. Drop each ball into the powdered sugar and roll until completely coated — generously, not lightly. Place them about 2 inches apart on the prepared sheet.
- Step 8: Bake — Bake for 10 to 12 minutes, until the edges are set but the centers still look slightly soft. They will crack as they spread — that's exactly what you want. Don't wait for them to look fully dry on top or they'll overbake.
- Step 9: Cool — Let the cookies cool on the baking sheet for 5 minutes before moving them to a wire rack. They firm up as they cool, so give them the time they need before you stack or pack them.
Tips for Success
- Don't skip the chill time: I know 30 minutes feels like forever when you're excited to bake, but cold dough rolls cleanly and holds its shape in the oven. Warm dough spreads too fast before the outside sets, and you lose the crinkle effect. If you have time, even an hour in the fridge gives you better results than the minimum.
- Coat the dough balls heavily in powdered sugar: This is the step people underdo, and it shows. The powdered sugar coating needs to be thick — almost over-the-top thick — because it partially melts into the cookie as it bakes. What's left on the surface is what gives you those bright white cracks against the dark cookie. A light dusting gives you a faint crinkle. A generous roll gives you the dramatic snow-dusted look everyone's after.
- Pull them out while the centers look underdone: The first time I made crinkle cookies I left them in until they looked set all the way through. They were fine but noticeably drier than they should be. These cookies continue cooking on the hot pan after you remove them from the oven. Take them out when the edges are firm and the center still looks soft — they'll be perfectly fudgy once they cool.
- Use a cookie scoop for uniform size: If you don't have one, a tablespoon measure works — just level it off each time. Uniform dough balls mean all the cookies bake at the same rate. I've baked mismatched batches before and always end up with some overdone while others are still soft. A cheap cookie scoop from any kitchen aisle (usually under $10) makes a real difference here.
- Leave room on the baking sheet: These cookies spread. Two inches apart is the minimum — I actually give them closer to 2½ inches when my sheet is big enough. Crowded cookies run into each other and lose their shape. I bake one sheet at a time in the center rack for the most even results.
Variations
- Peppermint crinkles: Add ½ teaspoon of peppermint extract along with the vanilla. The mint cuts through the richness of the cocoa in a really good way. This is my favorite version to make for cookie exchanges because it tastes specifically like Christmas. Start with ¼ teaspoon if you're not sure about the intensity — peppermint extract is strong.
- Chocolate chip add-in: Stir ½ cup of mini chocolate chips into the finished dough before chilling. The chips stay mostly intact during baking and give you little pockets of melted chocolate in every bite. My husband prefers this version — he says the plain ones aren't chocolatey enough, which tells you everything about his sweet tooth.
- Orange zest version: Add 1 teaspoon of freshly grated orange zest to the dough when you add the eggs. Chocolate and orange is a combination that sounds fancier than it is — the zest brightens the whole cookie and makes it taste a little more sophisticated. I've served these at grown-up holiday parties where they always disappear first.
- Gluten-free version: Swap the all-purpose flour with a 1:1 gluten-free flour blend — I've used Bob's Red Mill and it works well here. The texture is very slightly different but still soft and fudgy. If you're baking for guests with dietary needs, this is a reliable substitution and nobody will notice the difference.
- White chocolate drizzle: Once the cookies are fully cooled, melt ¼ cup of white chocolate chips (30 seconds in the microwave, stir, repeat) and drizzle over the tops with a spoon. It looks like something from a bakery and takes about three extra minutes. A good option if you want to dress them up for a dessert table alongside something like this French Antilles Coconut Flan for a full spread.
Serving and Storage
Serving
These are best served at room temperature, a few hours after baking when they've had time to fully set. Warm from the oven they're a little fragile, but once cooled they have that satisfying dense bite. I like them alongside hot cocoa or tea — nothing complicated. If you're putting together a holiday dessert spread, they look great stacked in a shallow bowl or arranged on a plate with a little extra powdered sugar dusted over the top just before serving.
Storage
Store baked cookies in an airtight container at room temperature for up to one week. They actually get a little softer on day two, which I personally prefer. If you want to freeze the dough, roll it into balls first, freeze on a sheet pan until solid, then transfer to a zip-lock bag. When you're ready to bake, let them thaw for about 10 minutes, roll in powdered sugar, and bake as normal — add an extra minute or two to the bake time. The dough (unrolled) keeps in the fridge for up to 2 days before baking.

Frequently Asked Questions
Can I freeze the cookie dough?
Yes, and I actually recommend it if you're planning ahead. Roll the dough into balls and freeze them on a sheet pan until solid, then transfer to a freezer bag. When you're ready to bake, let them sit at room temperature for about 10 minutes, roll generously in powdered sugar, and bake as directed — just add a minute or two to the total time. They come out just as good as fresh.
Why didn't my cookies crack?
Two things usually cause this: the dough wasn't cold enough, or the powdered sugar coating was too thin. The cracks happen because the outer sugary layer sets quickly while the center is still expanding — if the dough is warm, everything spreads at the same rate and the cracks don't form. Make sure you chill the dough for at least 30 minutes and coat each ball thickly in powdered sugar before it goes on the pan.
Can I use butter instead of oil?
This recipe already uses butter, which gives a slightly richer flavor than oil-based versions. If you've seen crinkle cookie recipes that call for vegetable oil, those work too — the texture is a bit fudgier and more uniform. Butter gives you a more complex flavor. I prefer butter, but both versions make a good cookie.
Can I make the dough ahead of time?
Absolutely. The dough keeps in the refrigerator for up to 2 days before baking, tightly covered. I often mix it the night before a party so all I have to do the next day is roll, coat, and bake. You can also freeze the rolled dough balls (before coating in sugar) for up to a month — just add the powdered sugar right before baking, not before freezing.
How do I keep the cookies soft after baking?
The brown sugar in this recipe is what keeps them soft — it holds onto moisture better than granulated sugar alone. Store them in an airtight container at room temperature and they'll stay soft for up to a week. If you want to be extra careful, tuck a slice of plain white bread into the container. The cookies absorb the moisture from the bread and stay soft even longer. I know it sounds strange but it works.
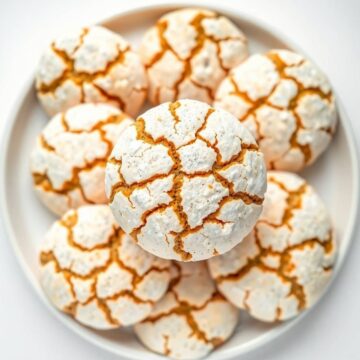
CHRISTMAS CRINKLE COOKIES
Ingredients
- 1 ¾ cups all-purpose flour
- 2 teaspoons baking powder
- ½ teaspoon salt
- ½ cup unsweetened cocoa powder
- ½ cup granulated sugar
- ½ cup brown sugar packed
- ¼ cup unsalted butter softened
- 2 large eggs
- 1 teaspoon vanilla extract
- ½ cup powdered sugar for coating
Instructions
Preheat the Oven:
- Preheat oven to 350°F (175°C). Line a baking sheet with parchment paper or a silicone mat.
Prepare the Dough:
- In a medium bowl, whisk together flour, baking powder, salt, and cocoa powder. In a large bowl, beat together granulated sugar, brown sugar, and butter until light and fluffy. Add eggs and vanilla extract, beating until combined. Gradually add the dry ingredients and mix until just combined.
Chill the Dough:
- Refrigerate dough for 30 minutes to make it easier to roll.
Shape the Cookies:
- Scoop tablespoon-sized portions of dough and roll them into balls. Roll each ball in powdered sugar, coating generously.
Bake:
- Place dough balls about 2 inches apart on the prepared baking sheet. Bake for 10–12 minutes, until the edges are set but the centers are still soft. The cookies will crack as they bake.
Cool:
- Let the cookies cool on the baking sheet for 5 minutes before transferring to a wire rack to cool completely.
Notes
Dough can be refrigerated for up to 2 days before baking. Customizing the Flavor:
Add chocolate chips, white chocolate chunks, or crushed peppermint for a fun twist! Serving Suggestions:
Serve these cookies at Christmas parties, pack them in gift boxes, or enjoy them with a cup of hot cocoa. Storage Tips:
Store cookies in an airtight container at room temperature for up to 1 week.
These crinkle cookies have become one of my non-negotiable December bakes — right up there with my Banana Bundt Cake as something I make every single year without fail. What I love most is that the recipe is genuinely low-maintenance. Mix, chill, roll, bake. No piping bags, no thermometers, no special techniques. The cookies do the work themselves in the oven.
I've made them for school bake sales, packed them into tins for neighbors, brought them to parties where they were gone within the first hour. The chocolate is deep and rich without being overwhelming, and the powdered sugar crust keeps everything balanced. They look like they came from a bakery, which is satisfying in a way I never get tired of.
If you try these, make more than you think you need. I say that from experience — four years in a row of making "enough" and being wrong about it. A double batch is the right call. 🍪❄️
Looking for more things to bake and cook this holiday season? Here are a few more recipes from my kitchen:
- Banana Bundt Cake — moist, deeply flavorful, and travels beautifully in a tin
- Christmas





Comments
No Comments