
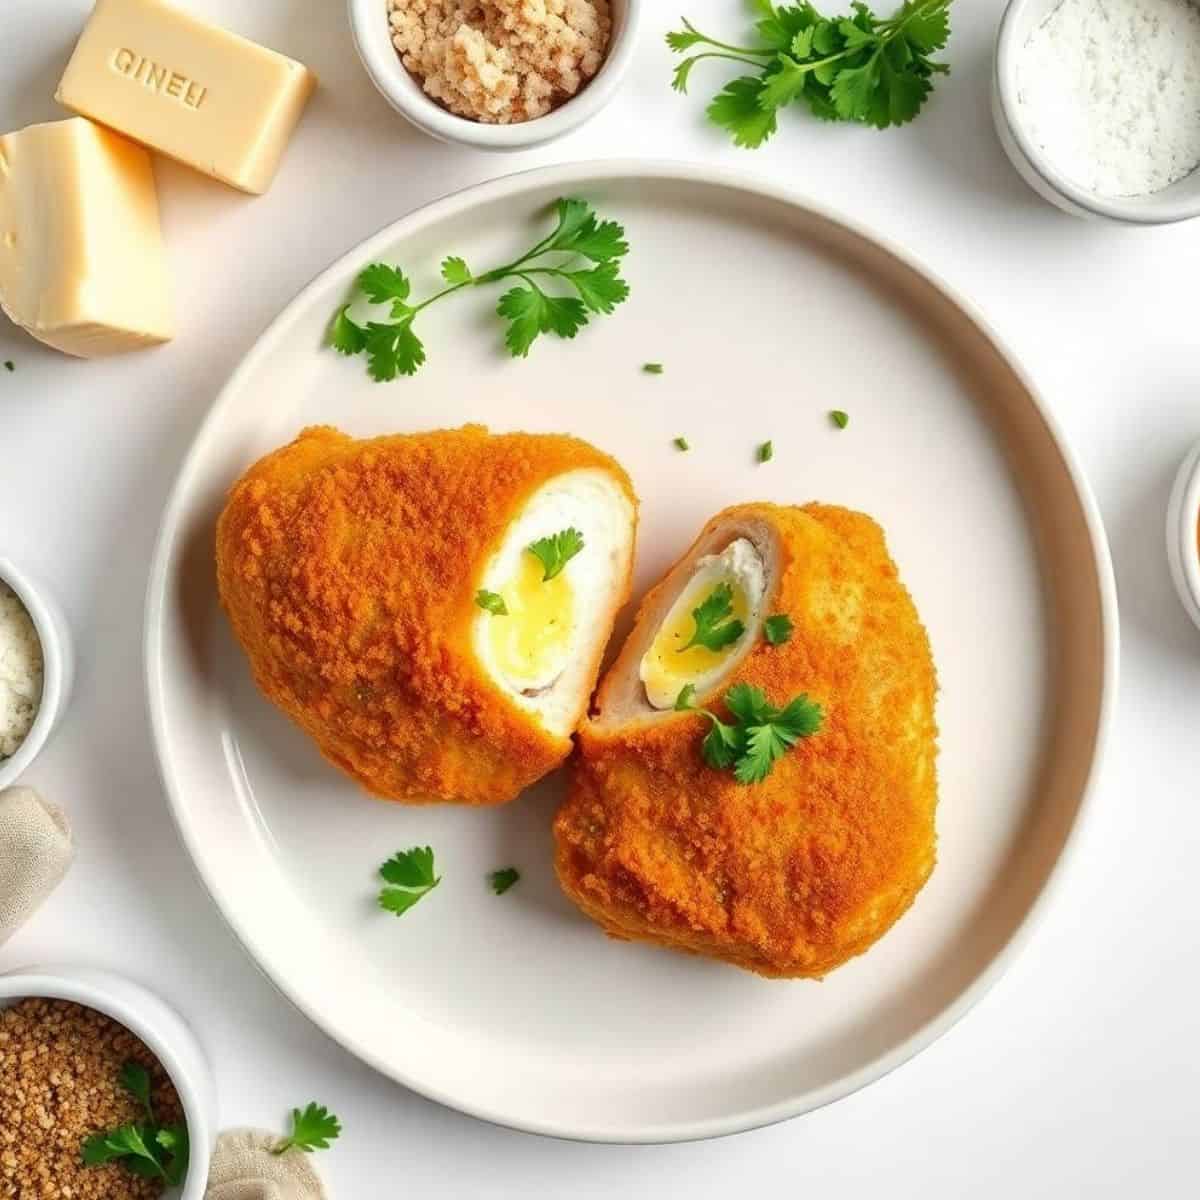
Chicken Kiev is a classic dish that combines tender chicken breast with a luxurious garlic butter filling. Each bite delivers a crisp exterior and a rich center that melts in mouth. This recipe is perfect for family dinners or special occasions.
The combination of fresh herbs, butter, and perfectly seasoned chicken creates a balance of taste and texture that’s irresistible. The golden, crispy coating adds crunch, while the melted herb butter provides an aromatic burst of flavor.
This recipe highlights both simplicity and elegance. Using everyday ingredients, you can create an impressive meal without spending hours in the kitchen. With a few careful steps, anyone can achieve the restaurant-quality result.
Chicken Kiev is versatile and pairs beautifully with sides like mashed potatoes, roasted vegetables, or a crisp salad. Its buttery filling complements a variety of flavors, making it a crowd-pleaser for casual or festive dining experiences.
Preparing chicken Kiev may seem intimidating, but it’s surprisingly approachable. Whether you’re making it for the first time or refining your technique, it guarantees a delicious result every time.
WHY YOU WILL LOVE THIS RECIPE
- Irresistible Flavor: The herb butter inside the chicken infuses every bite with a rich, savory, and aromatic taste that’s simply unforgettable.
- Crispy Texture: A golden breadcrumb coating provides a satisfying crunch while maintaining tender, juicy chicken inside for the perfect bite.
- Elegant Presentation: Each piece looks professionally prepared, making it ideal for impressing guests during dinner parties or special family meals.
- Quick Preparation: With simple steps and minimal ingredients, this recipe is approachable for home cooks of any skill level.
- Versatile Pairing: It complements a wide range of sides, from creamy mashed potatoes to fresh salads, enhancing overall meal enjoyment.
- Crowd-Pleaser: Loved by both kids and adults, this classic dish guarantees smiles and compliments at any dining table.
INGREDIENTS
- 4 boneless, skinless chicken breasts
- 100g unsalted butter, softened
- 2 cloves garlic, minced
- 2 tablespoon fresh parsley, chopped
- 1 teaspoon salt
- ½ teaspoon black pepper
- ½ cup all-purpose flour
- 2 large eggs, beaten
- 1 cup breadcrumbs
- Vegetable oil, for frying
DIRECTIONS
- Step No.1: Prepare the butter filling
In a small bowl, combine softened butter, minced health benefits of garlic, chopped parsley, salt, and pepper. Mix thoroughly and shape into logs. Chill in the fridge for at least 30 minutes.
- Step No.2: Prepare the chicken
Flatten each chicken breast using a meat mallet between plastic wrap until about ½ inch thick. Ensure even thickness for proper cooking and filling containment.
- Step No.3: Stuff the chicken
Place a chilled butter log in the center of each flattened chicken breast. Fold edges over the butter and roll tightly to seal, ensuring no butter escapes.
- Step No.4: Coat the chicken
Dredge each chicken roll in flour, dip in beaten eggs, and coat evenly with breadcrumbs. Press crumbs gently to adhere properly for a uniform crust.
- Step No.5: Fry the chicken
Heat vegetable oil in a skillet over medium heat. Fry chicken rolls for 5-6 minutes per side until golden brown, ensuring even cooking and crispy coating.
- Step No.6: Bake for perfection
Transfer fried chicken to a preheated oven at 180°C (350°F) for 10 minutes to finish cooking and ensure butter melts inside without leaking.

TIPS FOR SUCCESS
- Chill the butter: Cold butter prevents leaking during cooking, ensuring a smooth, flavorful filling that remains inside the chicken.
- Flatten evenly: Uniform chicken thickness ensures even cooking and prevents the exterior from burning before the inside is fully cooked.
- Seal tightly: Properly rolling and sealing the chicken avoids butter escaping, maintaining a delicious, juicy interior.
- Use fresh herbs: Fresh parsley and health benefits of garlic enhance the flavor profile, creating a more aromatic and vibrant dish.
- Monitor frying temperature: Medium heat ensures a golden crust without overcooking the chicken or losing butter inside.
- Bake after frying: Brief oven finishing ensures thorough cooking and a fully melted, luscious butter center.
- Serve immediately: Chicken Kiev tastes best hot, with warm, melted butter oozing inside for maximum indulgence.
VARIATIONS
- Cheese-filled version: Add a small piece of mozzarella inside the butter for an extra creamy, cheesy center in each bite.
- Spicy twist: Mix a pinch of cayenne pepper or smoked paprika into the butter for a subtle heat flavor.
- Herb variations: Try dill, tarragon, or chives instead of parsley for different aromatic experiences in the butter filling.
- Oven-baked option: Skip frying and bake at 200°C (400°F) for 20 minutes for a lighter, less oily version.
- Panko breadcrumbs: Use panko instead of regular breadcrumbs for an extra-crispy, airy texture on the exterior.
- Mini portions: Make smaller chicken rolls for appetizers or party bites, perfect for sharing or entertaining guests.
- gluten-free diet: Substitute flour and breadcrumbs with gluten-free alternatives for a dish suitable for dietary restrictions.
SERVING AND STORAGE
Serving
Serve chicken Kiev immediately with mashed potatoes, fresh salad, or roasted vegetables for a visually appealing, flavorful meal.
Storage
Store cooked chicken Kiev in an airtight container in the refrigerator for up to 3 days, reheating gently before serving.

FAQ
Yes, assemble and chill the rolls up to a day in advance, then fry and bake just before serving.
Absolutely. Freeze raw, rolled chicken on a tray, then transfer to a bag. Cook from frozen for 25-30 minutes.
Chill the butter thoroughly, seal the chicken tightly, and avoid high frying temperatures to keep the butter inside.
Yes, baking at 200°C (400°F) for about 20 minutes creates a lighter, crispy version without frying in oil.
Breasts are preferred for even cooking and rolling, but thighs can be used if flattened carefully for stuffing.
Chicken Kiev is an iconic dish that showcases tender chicken, herb-infused butter filling. Its exterior contrasts beautifully with the center, making it an irresistible centerpiece for any meal.
The combination of garlic, parsley, and butter creates a burst of flavor that elevates a simple chicken breast. Ultimately, chicken Kiev is a versatile, crowd-pleasing recipe that combines flavor.
Even novice cooks can achieve professional results with careful preparation and adherence to the step-by-step method. Each bite delivers a harmonious mix of textures and flavors.
By following these directions and tips, anyone can create a memorable meal that impresses family. Its delicious interior and exterior make it a recipe worth mastering and enjoying.

CHICKEN KIEV
Ingredients
For the Garlic Butter:
- ½ cup unsalted butter softened
- 3 cloves garlic minced
- 2 tablespoons fresh parsley chopped
- ¼ teaspoon salt
For the Chicken:
- 4 pieces chicken breasts boneless, skinless
- 1 cup all-purpose flour
- 2 large eggs beaten
- 1 cup breadcrumbs
- ½ teaspoon salt
- ¼ teaspoon black pepper
- ½ cup oil for frying
Instructions
Prepare Garlic Butter:
- Mix softened butter with minced garlic, parsley, and salt. Shape into a log, wrap, and freeze until firm.
Prepare Chicken:
- Pound chicken breasts flat. Place a piece of garlic butter in the center of each.
- Roll chicken tightly, sealing edges to enclose the butter completely.
Coat Chicken:
- Season flour with salt and pepper. Dredge each chicken piece in flour, dip in beaten eggs, then coat with breadcrumbs.
Cook Chicken:
- Heat oil in a pan over medium heat. Fry chicken until golden brown on all sides.
- Transfer to oven at 350°F (175°C) and bake 15–20 minutes until cooked through.
Serve:
- Let rest briefly before serving so the butter stays inside. Serve hot and enjoy.
Notes
- Tip: Freeze the butter well so it doesn’t leak while cooking.
- Variation: Add dill or lemon zest to the butter for extra flavor.
- Storage: Refrigerate leftovers up to 2 days and reheat in oven for best texture.




Comments
No Comments