
I've made fried chicken the real way — big pot of oil, splatter guard, the works — and I'll be honest, I don't miss it. The oil smell stays in my kitchen for two days, my stovetop looks like a crime scene, and half the time I overcook the outside before the inside is done. This baked version came out of pure laziness one Tuesday night, and I've been making it ever since.
The buttermilk is what makes this work. It tenderizes the chicken overnight and gives the coating something to grip onto. I bake on a wire rack so the heat circulates underneath — that's what gets you a crust on the bottom instead of a soggy patch where the chicken sat in its own steam. A quick spray of oil over the top before it goes in the oven, and at 425°F you get real color and real crunch.
My husband was skeptical the first time. He's a fried chicken purist — the kind of person who will defend deep frying to anyone who'll listen. But he had two pieces and didn't say anything, which in our house means it passed. Saad now asks for this with mashed potatoes almost every week, which is how I know the recipe is genuinely good and not just "good for baked chicken."
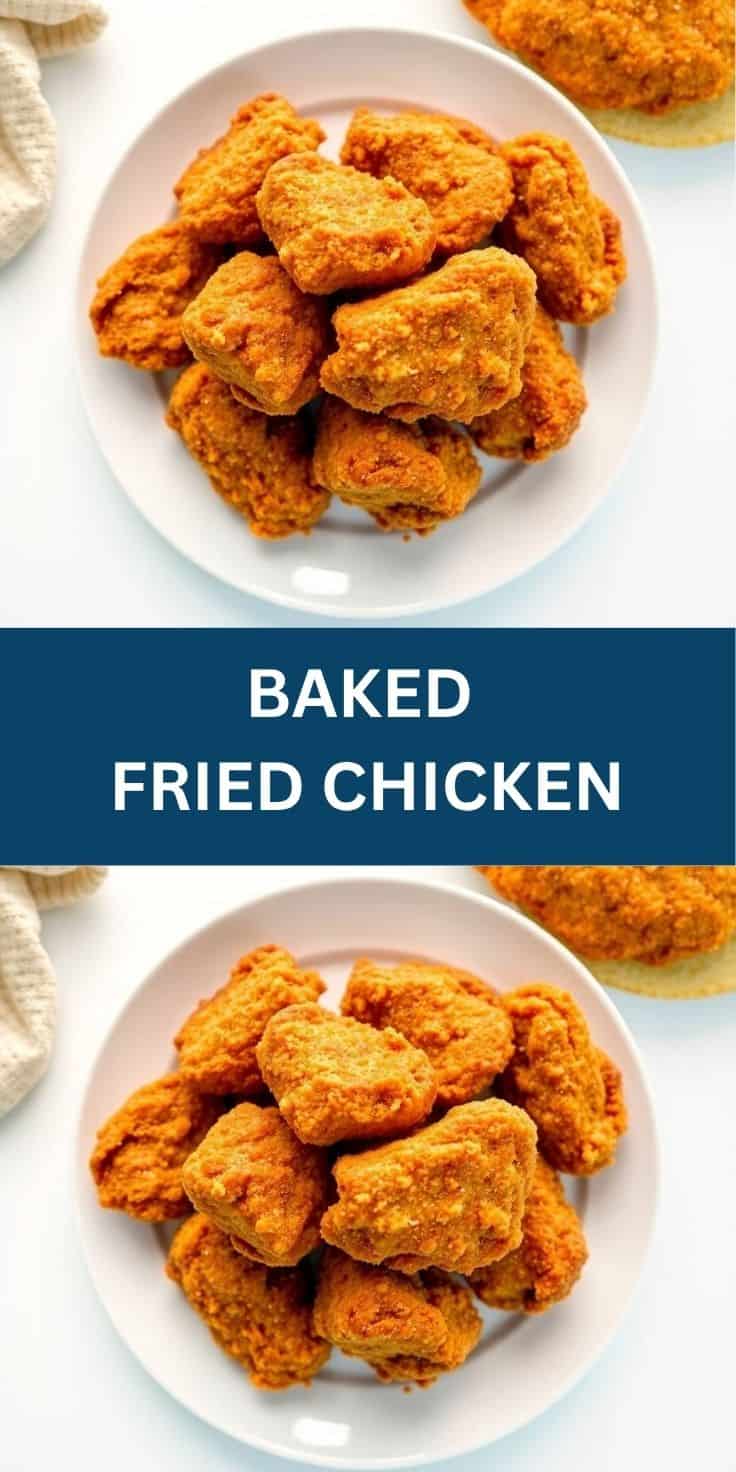
One thing to set expectations on: the crust won't be identical to deep-fried. It's crispy, it's golden, it's satisfying — but it has a slightly lighter texture. If that's fine with you (and it is with most people), you're going to love this. If you want something else to round out dinner, I usually serve this alongside my creamy chicken and rice casserole on nights I'm feeding more people — they complement each other really well.

Why You'll Love This Recipe
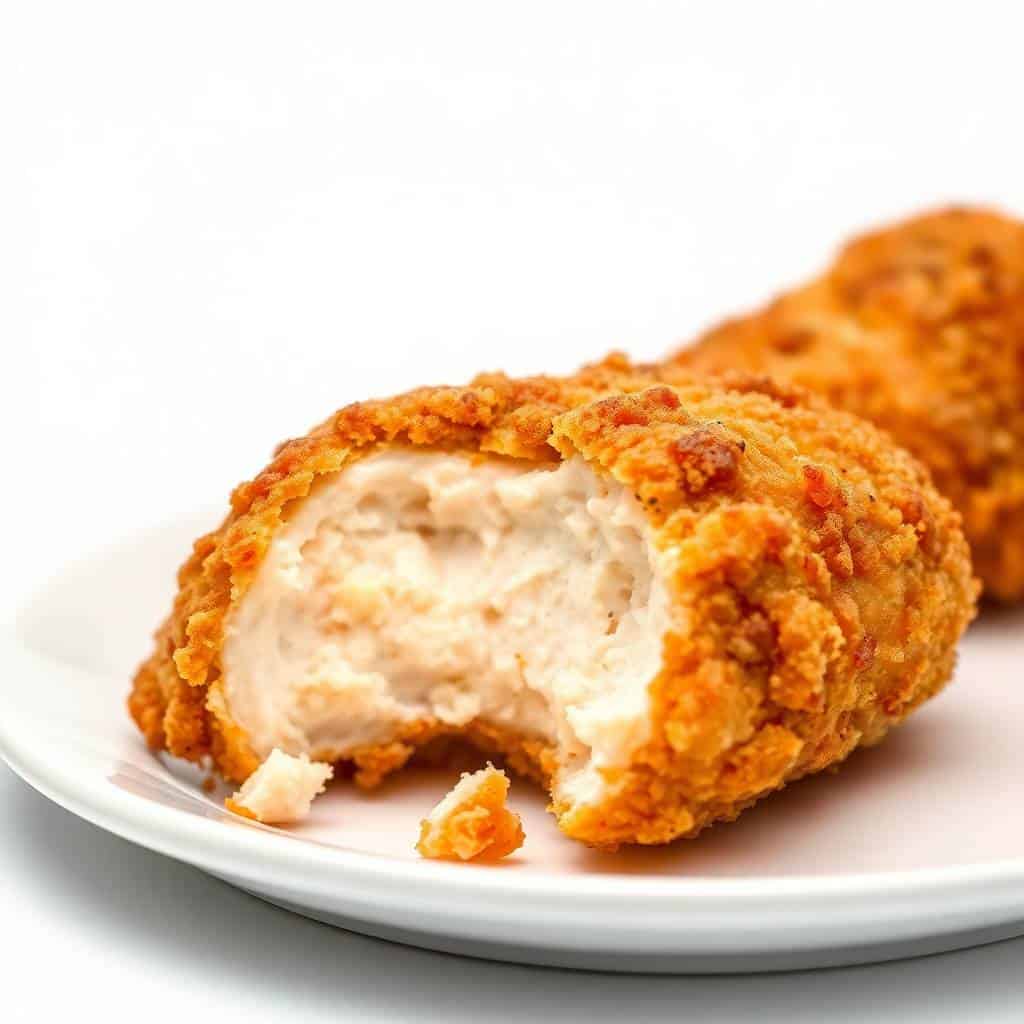
- Genuinely crispy without any frying: I know "crispy baked chicken" sounds like a lie, but the wire rack plus the high oven temperature actually delivers. The coating gets real color and a real crunch — not the sad, pale crust you get when you just lay chicken on a sheet pan. The key is not skipping the oil spray before baking; that's what kicks off the browning.
- The buttermilk does real work here: Overnight in buttermilk makes even cheap supermarket chicken thighs taste noticeably more tender. The slight tang also seasons the meat from the inside, so you're not just tasting the coating — the chicken itself has flavor. I've made this with a quick 1-hour soak when I forgot to plan ahead, and it's still good, but overnight is worth it when you can manage it.
- No special equipment needed: I use a wire rack I paid maybe $8 for at Walmart — the kind that comes in a set with a sheet pan. That's genuinely all the special equipment this recipe requires. No thermometer probe clips, no convection settings, no fancy anything. A regular oven, a sheet pan, and that cheap little rack.
- Cleanup takes about two minutes: The foil-lined pan means almost nothing sticks. The wire rack gets a quick rinse. Compared to deep frying — where I'm dealing with hot oil disposal and a grease-coated stovetop — this is almost nothing. On a weeknight, that matters more than I care to admit.
- The seasoning is flexible: The base recipe here is paprika, garlic powder, onion powder, salt, and pepper — classic, reliable, goes with everything. But I've added smoked paprika, dried thyme, a pinch more cayenne when my husband wants heat — it takes adjustments well. This is the kind of recipe where you can make it your own after the first time.
Ingredients
- 4 bone-in, skin-on chicken thighs (about 2 lbs)
- 1 cup buttermilk
- 1 ½ cups all-purpose flour
- 1 teaspoon paprika
- 1 teaspoon garlic powder
- 1 teaspoon onion powder
- 1 teaspoon salt
- ½ teaspoon black pepper
- ½ teaspoon cayenne pepper (optional — skip for mild, double it if you want heat)
- Cooking spray or a light drizzle of oil for greasing
Directions
- Marinate the chicken: Place chicken thighs in a bowl and pour the buttermilk over them. Cover and refrigerate for at least 1 hour, or overnight if you can plan ahead. The longer it soaks, the more tender the meat will be — I genuinely notice the difference between 1 hour and overnight.
- Preheat the oven and prep the pan: Heat your oven to 425°F (220°C). Line a baking sheet with foil, then place a wire rack on top and spray it with cooking spray. This setup is what gets you a crust underneath the chicken, not just on top.
- Mix the coating: In a shallow dish or wide bowl, combine the flour, paprika, garlic powder, onion powder, salt, pepper, and cayenne. Give it a good stir so the spices are evenly distributed through the flour.
- Coat the chicken: Pull each piece out of the buttermilk and let the excess drip off for a few seconds — you don't want it dripping wet, but you want enough moisture that the flour sticks. Dredge each piece in the flour mixture and press firmly. I mean really press — push the coating into the chicken with your palm. That's what keeps it from falling off later.
- Set up on the rack and spray: Arrange the coated chicken pieces on the wire rack, spaced apart so they're not touching. Spray the tops generously with cooking spray or brush lightly with oil. Don't skip this — it's what starts the browning in the oven and gives you actual color.
- Bake: Slide the pan into the oven and bake for 40–45 minutes, until the coating is deep golden and the internal temperature reads 165°F (75°C). I don't flip these — the wire rack handles even cooking. If your oven runs hot, check at 38 minutes.
- Rest before serving: Let the chicken sit for 5 minutes after it comes out. The juices settle back into the meat, and the coating firms up a little more as it cools slightly. Cutting into it immediately is how you end up with a puddle on your plate.
Tips for Success
- Pat the chicken dry before the buttermilk soak: This sounds counterintuitive — you're about to soak it — but patting dry first removes surface water that would dilute the buttermilk and affect how well it soaks in. I started doing this after a batch came out blander than usual, and it made a real difference. Takes about 30 seconds with paper towels.
- Don't skip the wire rack: The first time I made this, I just lined a pan with parchment and laid the chicken directly on it. The bottoms were pale and soft by the time the tops were done. The wire rack lifts the chicken so hot air hits it from all sides. If you don't have one, you can crumple a piece of foil into ridges and rest the chicken on top — it's not as good but it helps.
- Press the coating on firmly: A gentle dredge gives you a thin, flaky crust that slides right off when you pick up the piece. Use the heel of your hand and press the flour mixture into the chicken. You're looking for a thick, even layer that feels almost packed on. That's the crust that stays put through the whole bake.
- Give the pieces space on the rack: I learned this the hard way when I crammed six thighs onto one rack. The ones in the middle steamed each other and came out soft. Space them so there's at least an inch between pieces. If you're making a big batch, use two pans and rotate them halfway through.
- Use a meat thermometer if you have one: A basic instant-read thermometer from Walmart costs about $10 and takes all the guessing out of chicken. You're looking for 165°F (75°C) in the thickest part of the thigh, not touching the bone. I've overbaked chicken waiting for the juices to "run clear" — the thermometer is faster and more reliable.
Variations
- Spicy version: Double the cayenne to 1 full teaspoon, add ½ teaspoon of smoked paprika, and mix a tablespoon of hot sauce directly into the buttermilk before soaking. My husband makes it this way when I let him near the spice cabinet. It's genuinely hot — Saad can't eat it — but the heat is really good against the crispy coating.
- Herb and Parmesan crust: Swap out ½ cup of the flour for grated Parmesan, and add 1 teaspoon each of dried thyme and oregano to the coating mix. The Parmesan browns beautifully in the oven and gives the crust a slightly salty, nutty flavor. This is the version I make when I want something that feels a little more special without being complicated — pairs really well with a simple salad or a side of baked mozzarella sticks if I'm feeding a crowd.
- Panko for extra crunch: Replace the all-purpose flour entirely with a 50/50 mix of Panko breadcrumbs and flour. Panko absorbs less oil and creates a lighter, craggier texture. This is my go-to when I want the crunch to be really obvious — the coating almost shatters when you bite in. Panko is easy to find at any grocery store, usually in the Asian foods aisle.
- Gluten-free version: Use a 1:1 gluten-free flour blend (Bob's Red Mill or King Arthur both work well) in place of the all-purpose flour. The texture is slightly different — a little more delicate — but it crisps up fine at 425°F. I've made this for a friend who can't eat gluten and she said she couldn't tell the difference.
- Wings instead of thighs: This coating works exactly the same on chicken wings — just reduce the bake time to about 30–35 minutes and flip once halfway through. Wings have less meat-to-surface area so they cook faster. I make a double batch of wings this way whenever there's a game on at our house.
Serving and Storage
Serving
Serve the chicken warm, straight off the rack, within about 10 minutes of resting. It holds its crunch well for the first 20–30 minutes, then starts to soften a little as it sits — that's just the nature of baked coatings. In my house, I put it in the middle of the table and it disappears before I've even sat down. I usually serve it with mashed potatoes and a simple slaw, but it also works over rice if that's what you have. My husband eats the leftovers cold straight from the fridge at 11pm, which apparently is also acceptable.
Storage
Store leftovers in an airtight container in the fridge for up to 3 days. To reheat and get some of the crunch back, put the pieces on a wire rack over a sheet pan in a 375°F oven for about 10–12 minutes. The microwave will make the coating soft and chewy — technically it's still fine to eat, but the texture is very different. If you're doing meal prep, I'd suggest storing the coating and the marinated raw chicken separately and baking fresh — the baked chicken is at its best the day it's made.
Frequently Asked Questions
Can I use boneless chicken thighs or breasts instead of bone-in?
Yes, boneless works fine — just reduce the baking time by about 8–10 minutes and start checking the internal temperature at the 30-minute mark. Boneless breasts in particular can dry out fast at 425°F, so the thermometer really earns its keep here. Thighs are more forgiving than breasts because of the higher fat content.
What can I use instead of buttermilk?
Mix 1 cup of regular whole milk with 1 tablespoon of white vinegar or lemon juice, stir, and let it sit for 5 minutes until it curdles slightly. That's a solid buttermilk substitute that works just as well in this recipe. Plain yogurt thinned with a splash of milk also works — I've used both when I didn't have buttermilk on hand.
Can I prep this ahead of time?
You can marinate the chicken in buttermilk up to 24 hours in advance — longer than that and the acid starts to break down the texture in a way that doesn't help. You can also coat the chicken and refrigerate it (uncovered on the rack) for up to 2 hours before baking. Letting the coating dry out a little in the fridge actually helps it stay on during baking.
Does this work in an air fryer?
It does — cook at 375°F for about 20–25 minutes, flipping once at the halfway point. The air fryer gives you a slightly more even crust all around because the fan circulates heat more aggressively than a regular oven. Just don't overcrowd the basket or you'll be back to the steaming problem. Two thighs at a time, max, depending on your air fryer size.
How do I keep the crust from falling off?
Three things: let the excess buttermilk drip off before dredging, press the coating on firmly with your palm instead of just dusting it on, and don't flip the chicken during baking. Every time you touch it, you risk cracking the crust. The wire rack means you genuinely don't need to flip — trust the setup and leave it alone.
BAKED FRIED CHICKEN
Ingredients
- 4 bone-in skin-on chicken thighs (about 2 lbs)
- 1 cup buttermilk
- 1 ½ cups all-purpose flour
- 1 teaspoon paprika
- 1 teaspoon garlic powder
- 1 teaspoon onion powder
- 1 teaspoon salt
- ½ teaspoon black pepper
- ½ teaspoon cayenne pepper optional
- Cooking spray or oil for greasing
Instructions
Marinate Chicken:
- Place chicken thighs in a large bowl and pour buttermilk over them. Cover and refrigerate for at least 1 hour, preferably overnight.
Preheat Oven:
- Preheat oven to 425°F (220°C). Line a baking sheet with foil and place a wire rack on top. Spray rack with cooking spray.
Prepare Coating:
- In a shallow dish, mix flour, paprika, garlic powder, onion powder, salt, black pepper, and cayenne pepper.
Coat Chicken:
- Remove chicken from buttermilk, letting excess drip off. Dredge each piece in the seasoned flour mixture, pressing lightly to coat well.
Bake Chicken:
- Place coated chicken on the wire rack. Lightly spray the tops with cooking spray or brush with oil.
Cook:
- Bake for 40–45 minutes until the chicken is golden brown, crispy, and the internal temperature reaches 165°F (75°C).
Rest and Serve:
- Let chicken rest for 5 minutes before serving.
Notes
- Make Ahead: Marinate chicken up to 24 hours in advance for best flavor.
- Spice Level: Adjust cayenne pepper to taste or omit for mild flavor.
- Serving Suggestions: Serve with mashed potatoes, coleslaw, or your favorite sides.
- Gluten-Free Option: Use gluten-free flour blend for coating.
- Storage: Leftovers can be refrigerated for up to 3 days and reheated in the oven to maintain crispiness.
I make this on a rotation now — probably twice a month, sometimes more in winter when I want something that feels substantial. It's not a complicated recipe, which is partly why I keep coming back to it. Marinate the night before, coat it, bake it, done. The most effort is just remembering to take the chicken out of the fridge the previous evening, which I've forgotten exactly twice and had to do a rushed 2-hour soak instead.
If you want to try a different direction with chicken altogether, my chimichurri chicken is completely different — bright, herby, quick — but it satisfies a different kind of craving. And if you're planning a bigger spread and need something for the table alongside this, my baked ham and cheese mozzarella sticks are always gone before anything else.
This is the kind of recipe I'd have been really happy to find years ago when I was trying to figure out how to make weeknight dinners feel like something worth sitting down for. Crispy chicken, easy cleanup, no pot of oil required. If you make it, let me know in the comments how it turned out — and whether you went spicy or kept it mild. 🍗✨
If you liked this recipe, these are worth a look too: