
Where I grew up in Pakistan, basmati rice was on the table almost every single day. My mother cooked it by feel — no measuring cups, no timers — and it came out long and fluffy and separate every time. When I moved out and started cooking on my own, I assumed it would be easy. It was not.
It took me an embarrassingly long time to figure out why my rice kept coming out sticky and clumped together. The answer turned out to be two things I was skipping: proper washing and the dum step at the end. Once I stopped rushing those two things, everything clicked. Now I cook basmati rice the same way every time, and it works every time.
Rice is the base for so many meals in my house — it goes under my husband's dal, next to whatever curry I've made that week, and I use leftover cooked basmati to make fried rice the next morning. If you're going to cook basmati regularly, it's worth learning the actual method rather than just winging it. This post is that method, written out properly.
One thing to know upfront: this is a stovetop boil-and-drain method, not an absorption method. You cook the rice in more water than it needs, then drain it and finish it on low heat with the lid on. This is how basmati is traditionally cooked across Pakistan and India, and it's how you get those long, separate grains. If you want a light meal to serve alongside, my Cucumber Salad with Tangy Vinegar Dressing works really well next to a rice-and-curry dinner.

Why You'll Love This Recipe
- Only 3 ingredients: Basmati rice, water, and salt. That's it. I know a lot of recipes dress up their rice with broth or butter from the start, and you can do that too, but the base method needs nothing more than these three things. Getting the basics right first means you can always build from there.
- Genuinely fluffy, separate grains: The whole point of basmati is those long, non-sticky grains. This method — wash, soak, boil, drain, dum — is specifically designed to get you there. I've tried skipping steps and it always shows in the final result. Do all the steps and the rice will be what it's supposed to be.
- Works as a base for everything: Plain boiled basmati is the foundation for biryani, fried rice, rice bowls, and countless curry pairings. Once you have this down, you have a skill you'll use constantly. My husband eats it plain with a spoonful of ghee. Saad mixes it into whatever's on his plate. It goes with everything.
- No special equipment: A large pot and a lid. That's all you need. I don't use a rice cooker, I don't use a fancy steamer — just a regular pot from any kitchen store and a tight-fitting lid. If your lid doesn't seal well, cover the pot with a clean kitchen towel and then put the lid on top; it traps the steam better.
- Ready in under 30 minutes (active time is minimal): Most of the time is soaking, which is hands-off. The actual cooking from start to finish — once the rice has soaked — takes about 20 minutes. On weeknights when I'm also managing a pot of dal and trying to get Saad to set the table, that matters.
Ingredients
- 1 cup basmati rice (washed and soaked for 30 minutes — don't skip this)
- 1½ cups water
- 1 teaspoon salt
Directions
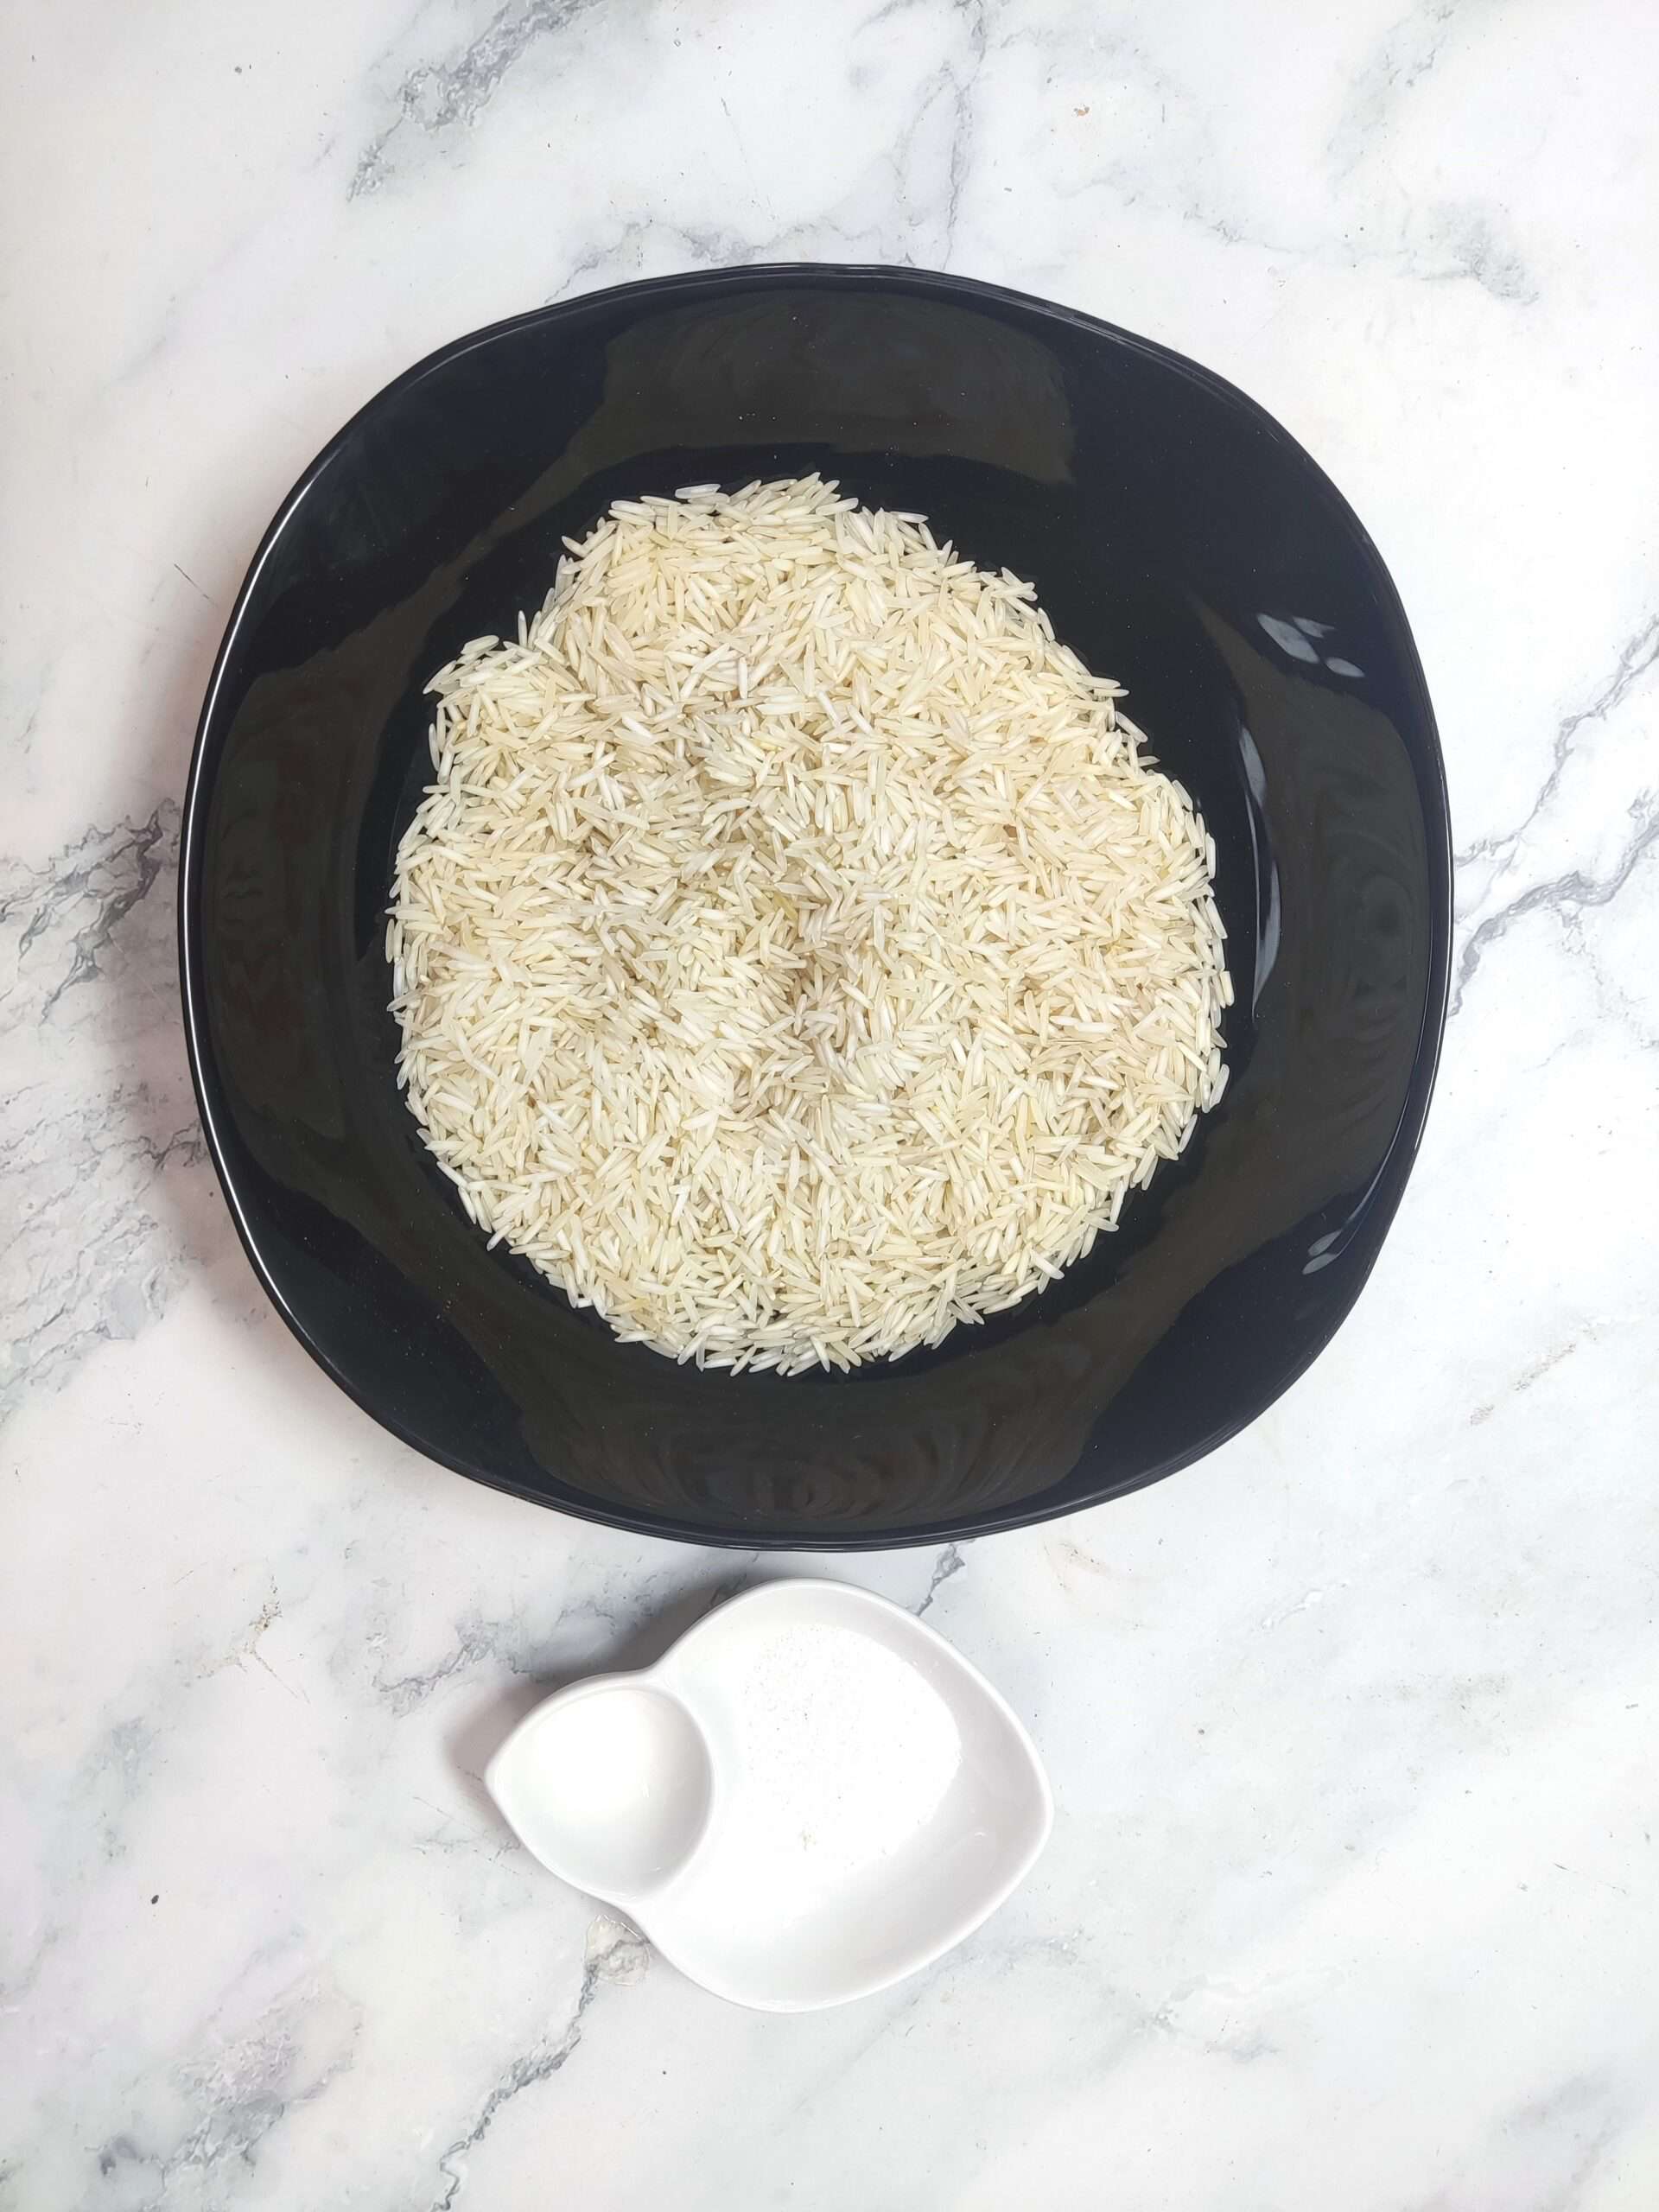
- Wash the rice: Put the rice in a large bowl and cover with cold water. Swirl it around with your hand, then carefully pour off the cloudy water. Repeat this 4 to 5 times until the water runs mostly clear. This removes the surface starch that makes rice sticky — it's the step most people rush, and it shows in the final result.
- Soak the rice: Cover the washed rice with fresh cold water and let it sit for at least 30 minutes, up to an hour. Soaking lets the grains absorb water gradually, which means they cook more evenly and the long basmati grain holds its shape instead of splitting during boiling. I usually soak mine while I prep everything else for dinner.
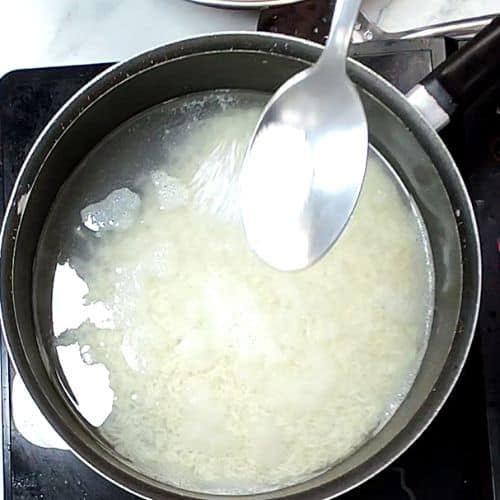
- Boil the water: Drain the soaked rice and add it to a large pot along with 1½ cups of fresh water and the salt. Place the pot on medium-high heat and bring it to a full boil. Don't cover the pot at this stage — you want the water to be actively bubbling.
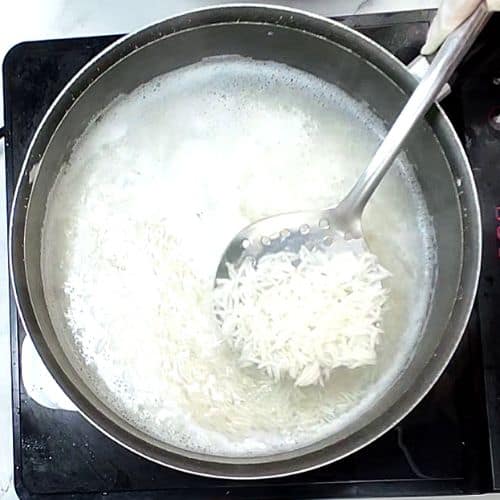
- Cook the rice: Once boiling, let the rice cook uncovered for 10 to 12 minutes, adjusting the heat so it stays at a steady medium boil. At the 10-minute mark, fish out one grain and press it between your fingers. It should break apart but still feel slightly firm in the center — that's about 70 to 80% done, which is exactly where you want it before the next step. Do not let it cook all the way through here.
- Drain immediately: Pour the rice through a strainer and discard the water. Don't rinse the rice — just drain it and move fast. The rice continues cooking from residual heat, so you want to get it back into the pot quickly.
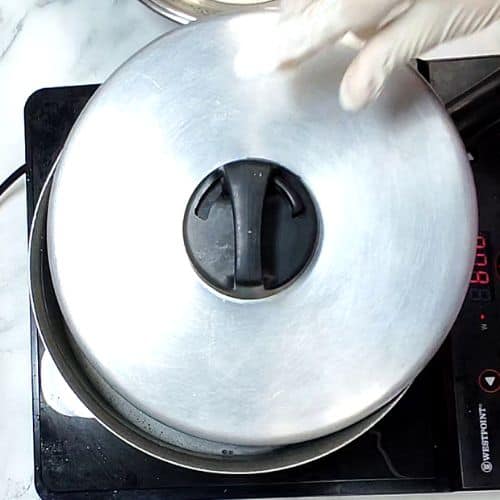
- Dum (the finishing steam): Return the drained rice to the pot, cover with a tight-fitting lid, and set the heat to the lowest possible setting. Let it steam like this for 5 minutes. This step — called dum in Urdu — is what finishes the cooking gently and drives out any remaining moisture, leaving the grains dry and separate. If your burner runs hot even on low, put a heat diffuser or a folded kitchen towel between the pot and the burner.
- Rest and fluff: Turn off the heat and let the pot sit covered for another 5 minutes. Then open the lid and use a fork to gently fluff the rice from the bottom. Don't stir with a spoon — that breaks the grains. The rice is ready to serve.




Tips for Success
- Don't rush the washing: I used to rinse the rice twice and call it done. The water still had a white, milky look — that's starch — and my rice was sticky every single time. Wash until the water is visibly clearer, even if that takes 5 or 6 rounds. It makes a real difference.
- Soak properly — 30 minutes minimum: Dry basmati is a hard grain. If you put it straight into boiling water without soaking, the outside of the grain cooks faster than the inside. You get rice that's soft on the surface and chalky in the middle, or it splits before it's cooked through. The soak hydrates the grain so it cooks evenly all the way through.
- Pull it off the boil before it's fully done: The biggest mistake I made early on was letting the rice cook completely during the boiling stage. By the time it finished the dum, it was overcooked and mushy. Check at 10 minutes. If the grain breaks apart under pressure but still feels slightly resistant, drain it. It finishes in the steam.
- Season the cooking water: Salt in the water is not optional — it seasons the rice from the inside. Plain, unsalted basmati tastes flat no matter what you serve it with. 1 teaspoon per cup of dry rice is what I use. You can also drop in a bay leaf or a few whole cardamom pods if you want a subtle fragrance, especially if you're serving the rice with a mild curry.
- Add a small knob of ghee or butter before the dum: This is optional but I almost always do it. Drop about half a teaspoon of ghee or unsalted butter onto the drained rice before you put the lid on for the steam. It gives the rice a faint richness and helps the grains stay separate. Ghee is ideal but regular butter from the grocery store works fine.
Variations
- Whole spice rice (zeera chawal style): Heat a teaspoon of oil or ghee in the pot before adding the water. Add 1 teaspoon of cumin seeds and let them sizzle for 30 seconds, then add the water and proceed as normal. The cumin infuses into the rice as it cooks and gives it a warm, slightly earthy flavor. This is what I make when rice is the main side dish rather than something sitting under a heavily sauced curry.
- Bay leaf and cardamom rice: Add 2 bay leaves and 3 to 4 green cardamom pods to the water before boiling. Remove them before serving. This is a very mild fragrance — not overpowering — and it makes the rice smell the way it does at a good Pakistani restaurant. I make this version specifically when I'm serving it with a lighter dal or grilled fish like my spicy lemon fish.
- Broth-cooked basmati: Replace the water with low-sodium chicken broth or vegetable broth. The rice picks up a subtle savory flavor that makes it interesting even when eaten plain. This isn't traditional in my house, but it's something I started doing when my kids were younger and I wanted rice that tasted like more than just rice without adding a full curry.
- Biryani base: This exact recipe is the parboiled rice you need for making biryani. Cook to about 70% done, drain, then layer it with your marinated meat and finish on dum as the biryani method requires. The parboiling stage here maps directly onto the biryani process — if you can do this, you can do biryani.
- Fried rice base: Cook the rice one day ahead, spread it on a tray to cool completely, and refrigerate it overnight. Cold day-old basmati is the best base for fried rice because the grains are dry and firm — freshly cooked rice turns to mush in the wok. I keep a batch in the fridge almost every week for exactly this reason.
Serving and Storage
Serving
In Pakistan, basmati rice is served as the base for the entire meal — dal poured over it, curry spooned alongside, a bit of achaar on the side. That's still how we eat it at home most nights. For my readers who aren't cooking South Asian food every day, plain basmati works just as well under a braised chicken, a Middle Eastern stew, or any saucy dish that needs something to soak into. It's not specifically Asian food — it's just very good rice. Serve it hot, fluffed with a fork, in a wide shallow bowl so the steam can escape without making the bottom sticky.
Storage
Let the rice cool completely before storing — don't seal hot rice in a container, it creates condensation and makes it soggy. Store in an airtight container in the fridge for up to 3 days. To reheat, add a tablespoon or two of water to the rice, cover loosely, and microwave in 1-minute intervals, fluffing between each, until heated through. The small amount of water brings the moisture back. Basmati also freezes well: portion it into zip-lock bags, press flat, and freeze for up to one month. Reheat from frozen in the microwave with a splash of water.
Frequently Asked Questions
What is the ratio of basmati rice to water for this method?
For this boil-and-drain method, I use 1½ cups of water per 1 cup of dry basmati. This is different from absorption methods (which use a 1:2 ratio) because you're draining the excess water rather than letting it absorb completely. Using more water isn't a problem here since you pour it off anyway — the key is draining at the right time before the rice is fully cooked.
Can I skip soaking the rice?
I've done it when I was in a rush, and honestly the rice came out noticeably worse — the grains were less elongated and a few split during boiling. Soaking is the step that gives basmati its characteristic long grain. If you're truly pressed for time, soak for at least 15 minutes rather than skipping entirely. A short soak is better than none.
Why did my rice turn out sticky and clumped?
Almost always it comes down to one of two things: not washing the rice thoroughly enough (surface starch left on the grains makes them stick), or overcooking during the boiling stage. If the rice is fully cooked before you drain it, the grains are already too soft and will clump together during the dum step. Pull it off the boil when it's still 20% firm in the center.
Can I make basmati rice ahead of time?
Yes, and it actually holds up well. I make a double batch at least twice a week because it disappears fast at dinner and I want leftovers for fried rice the next day. Cook the rice completely, let it cool on a wide tray or spread in a shallow pan, then refrigerate in a sealed container. It reheats well in the microwave with a tiny splash of water.
What brand of basmati rice should I buy?
Look for aged basmati if you can find it — it's labeled as such on the bag and has a drier, firmer grain that cooks up more separate. Brands like Royal, Laxmi, and Daawat are widely available at Indian grocery stores and increasingly at larger Walmart or Costco locations. If you can't find specialty basmati, any long-grain basmati from a regular grocery store will work with this method — just make sure to wash and soak it properly.
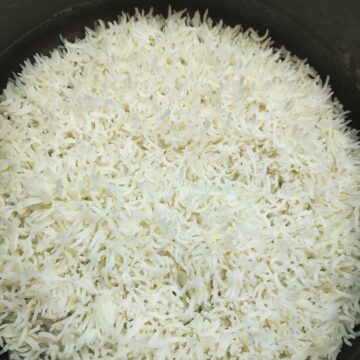
How to Cook Basmati Rice: A Step-by-Step Guide
Equipment
- 1 Large bowl to soak rice
- 1 Large pan
Ingredients
- 1 cup Basmati rice washed and soaked for 30 minutes
- 1 teaspoon Salt
- 1.5 cups Water
Instructions
- Wash the rice well under running water till the water runs clear.
- Soak the rice in water for at least 30 minutes.
- Place the rice with the water and salt in a large pot.
- Place the pot on medium-high heat and allow to boil.
- Let the rice boil for about 10-12 minutes.
- Check if the rice is done by applying pressure on a grain of rice. If it breaks apart it is about 80% done.
- Strain the rice and discard the water.
- Place the rice back in the pan and cover with a lid.
- Place the pan on the lowest heat setting for about 5 minutes. This is called dum.
- After 5 minutes remove the pan from the heat, and let it sit for 5 minutes before serving.
Notes
Rice is one of those things that seems too simple to bother writing a full post about — and then you eat badly cooked rice at a restaurant and remember why the method actually matters. This stovetop boil-and-drain technique is the one I've used for years, it's the one my mother used before me, and it's the one I'll keep using. Once it becomes muscle memory, you won't think about it anymore — you'll just always have good rice.
The dum step at the end is the part most people





Comments
No Comments