
Lotus lovers, get ready for the dessert of your dreams! Lotus Cheesecake is a creamy, dreamy cake made using the ever-popular Lotus Biscoff biscuits, cream cheese, and cream. The light and airy cheesecake layer melts in your mouth. And the biscuit base is crunchy and buttery. Furthermore, to top off this perfect dessert, Lotus Biscoff Spread is spread on top of the cake. An absolute decadent, sweet, and caramel-y delight!
My easy recipe, which takes just 20 minutes to prepare, will become your go-to Lotus Biscoff Cheesecake recipe! What's more, this is a no-bake cheesecake recipe. So you don't have to spend hours in front of your hot oven.

Additionally, this recipe is a quick dessert recipe that you can make in advance. Just follow all my easy instructions, and you will be done in no time. If you are hosting a lunch or dinner party soon, this no-bake dessert recipe is what you should make! Moreover, make it a day in advance, put it in the fridge to cool, and forget about it!
Jump to:
About Lotus Cheesecake
Lotus Biscoff biscuits were created in 1932 in Belgium. They were made to be served with coffee, hence the name: Biscoff, biscuits and coffee! They have a delicious caramel flavor coupled with hints of cinnamon.
Likewise, the spread Lotus Biscoff Spread is a cookie butter with a rich and spreadable consistency. It is all the rage and has gone viral over the past few months!
Moreover, both these ingredients come together, along with cream cheese and cream, to form a delectable cheesecake. Seriously, what's not to love?
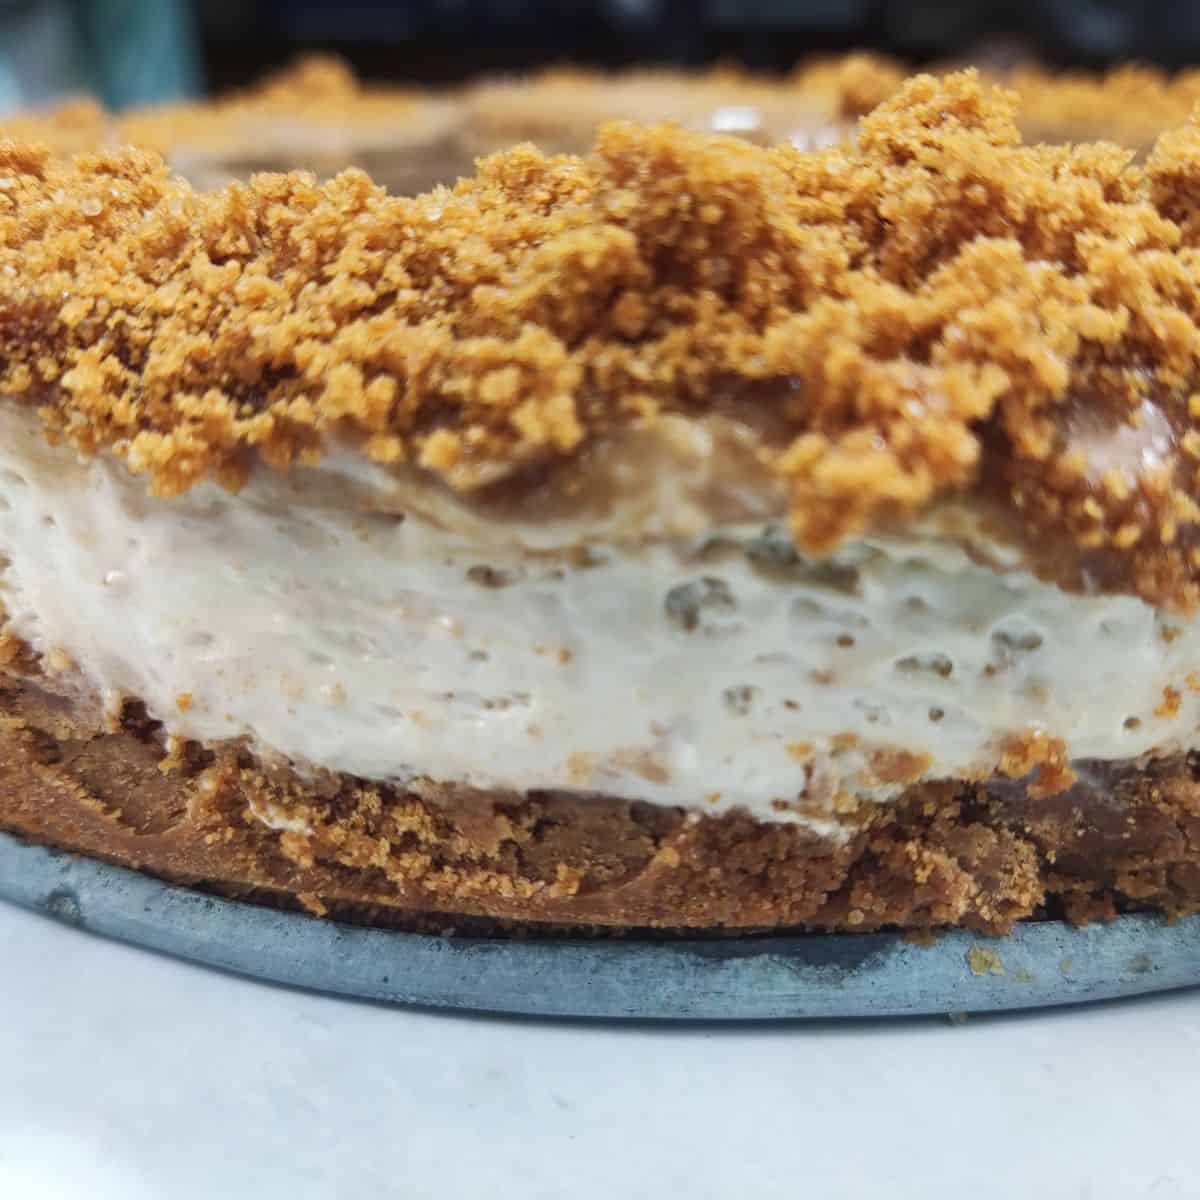
4 Reasons to Make This Lotus Cheesecake
- A crowd pleaser: If you want to make a dessert that leaves everyone speechless, my Lotus cheesecake recipe is it! This uniquely mouthwatering and decadent dessert is the best way to end a dinner party! Furthermore, everyone will ask you for the recipe.
- Easy recipe: My recipe is as easy as 1, 2, 3! The steps are short and simple. Additionally, it will take you only 20 minutes to whip it up and put it in the fridge!
- All-in-one dish: This cheesecake has it all. It's sweet, salty, caramel-like, tangy, and fresh! Above all, the flavors come together to make an unforgettable dessert!
- No-bake dessert: Don't you just love it when you can make a cold and sweet dessert without turning on the oven or the stove? Especially on a hot day? Well, this recipe is a no-bake one, so that you won't have to stand in your kitchen on a hot summer's day to make it!
Ingredients
Here's a list of the ingredients required to make my Lotus Biscoff Cheesecake!
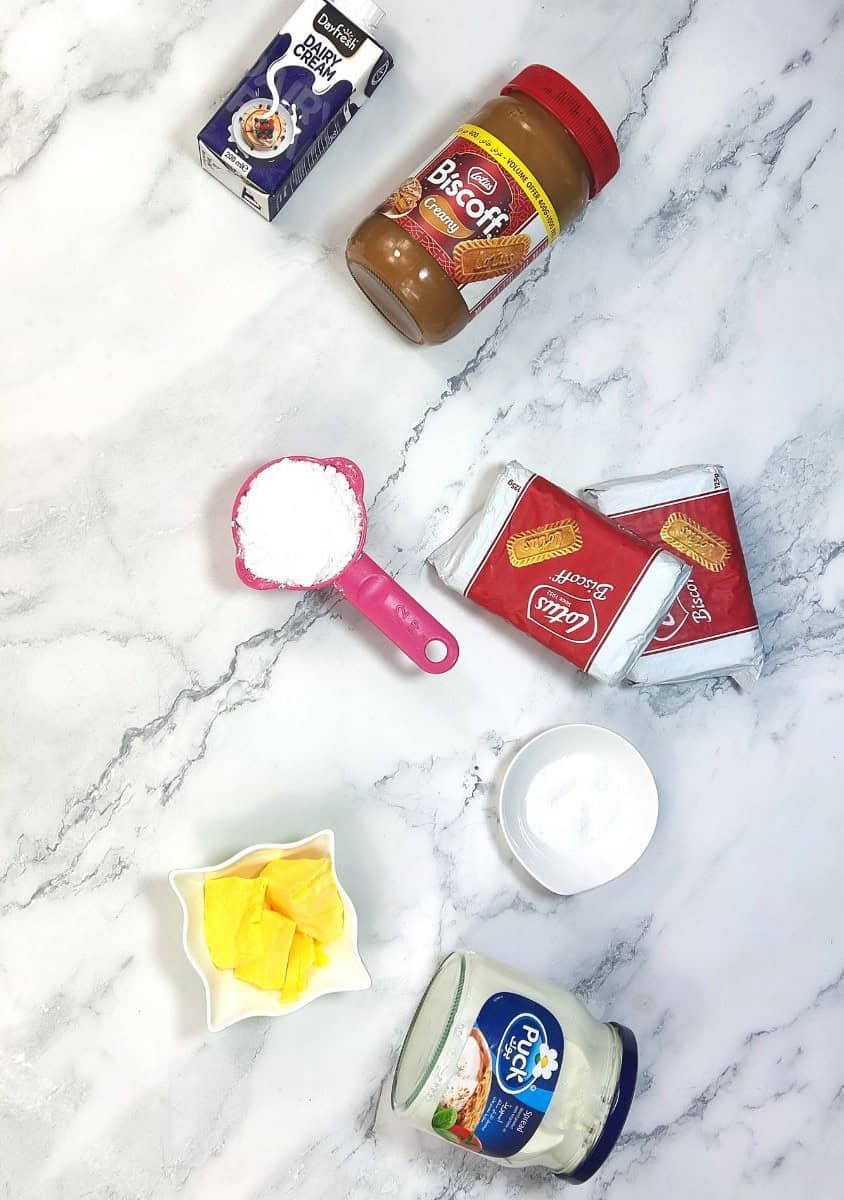
- Lotus Biscuits: You definitely need these biscuits to make the cheesecake! Lotus biscuits have a deep caramelized flavor and a hint of cinnamon. They have a unique taste. However, if you can't find them, try other caramelized biscuits.
- Cream cheese: The base of any cheesecake is good quality cream cheese. Take it out of the refrigerator an hour before making so it can come to room temperature.
- Cream: In addition to the cream cheese, cream adds richness and makes the cheesecake decadent.
- Butter: Melted butter is mixed with the crushed biscuits to form the crust.
- Lotus Biscoff Spread: The spread acts as a frosting for the cake, and is added to the cheesecake batter for an intense Lotus flavor.
For quantities, view the recipe card.
Instructions
Here's how to make this delicious dessert:
Prepare the Crust
Start by finely crushing the biscuits in a blender. If you don't have a chopper or blender, place the biscuits in a Ziploc bag and use a rolling pin to crush them.
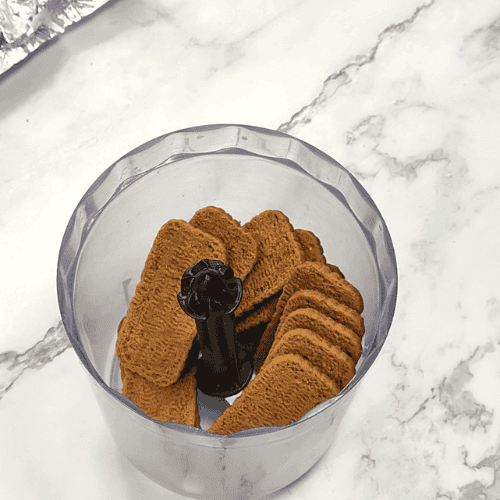
- In a blender bowl, place the Lotus biscuits.
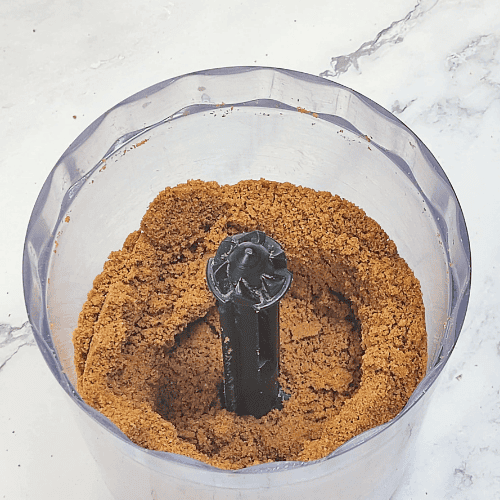
- Blend to form a powder.
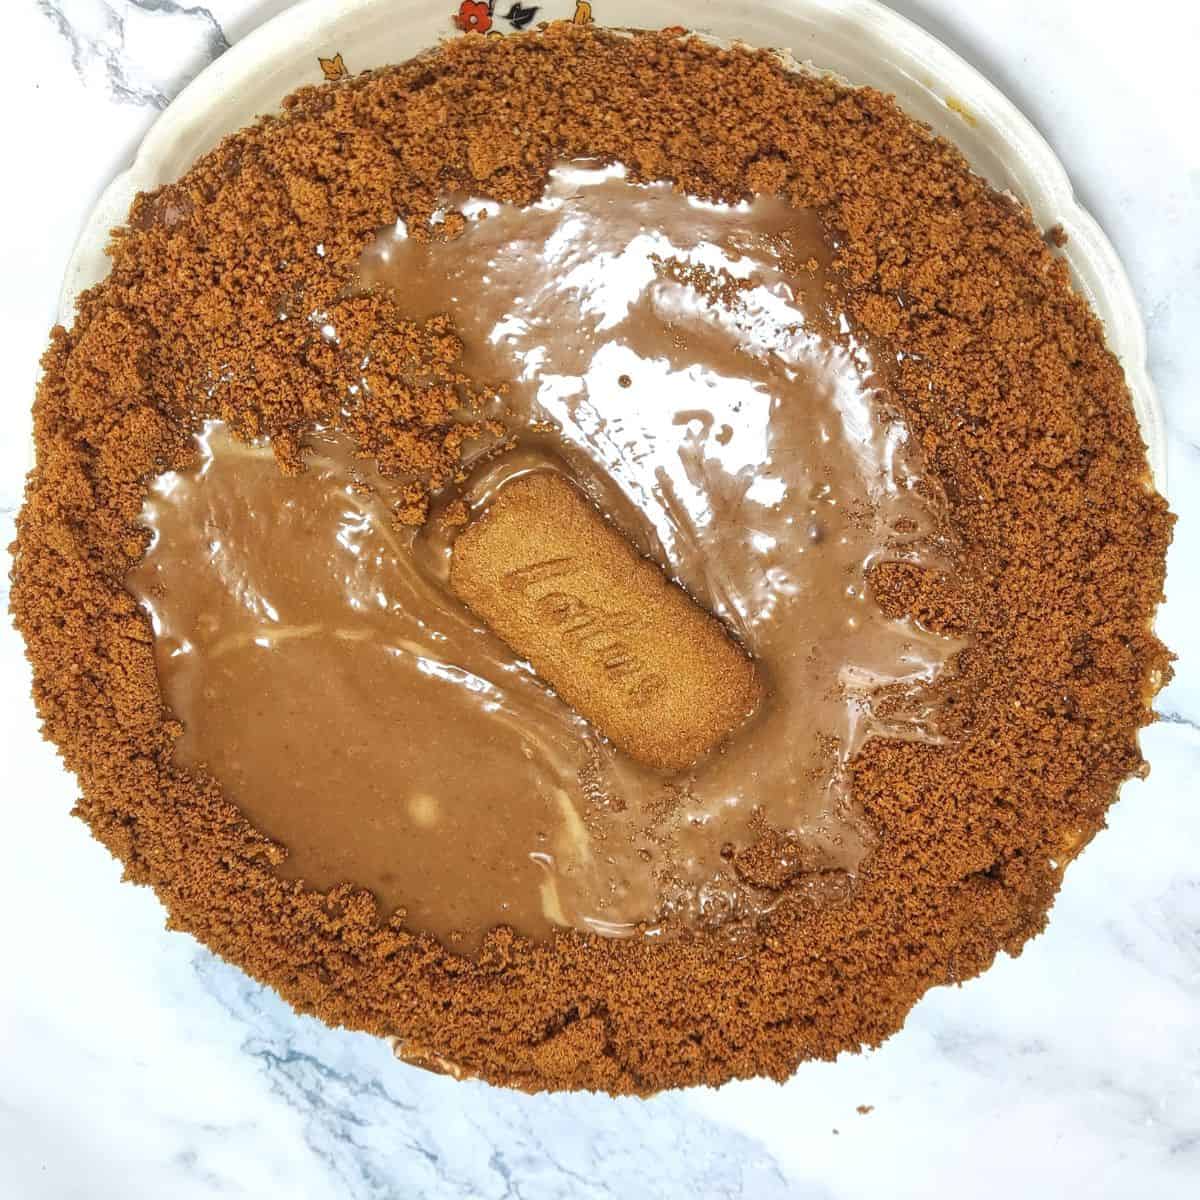
Melt the butter and add it to the crushed biscuits. Mix well, and transfer to a springform pan. The biscuit and butter mixture should resemble wet sand. Press the biscuit mixture firmly in the bottom of the pan to form the base.
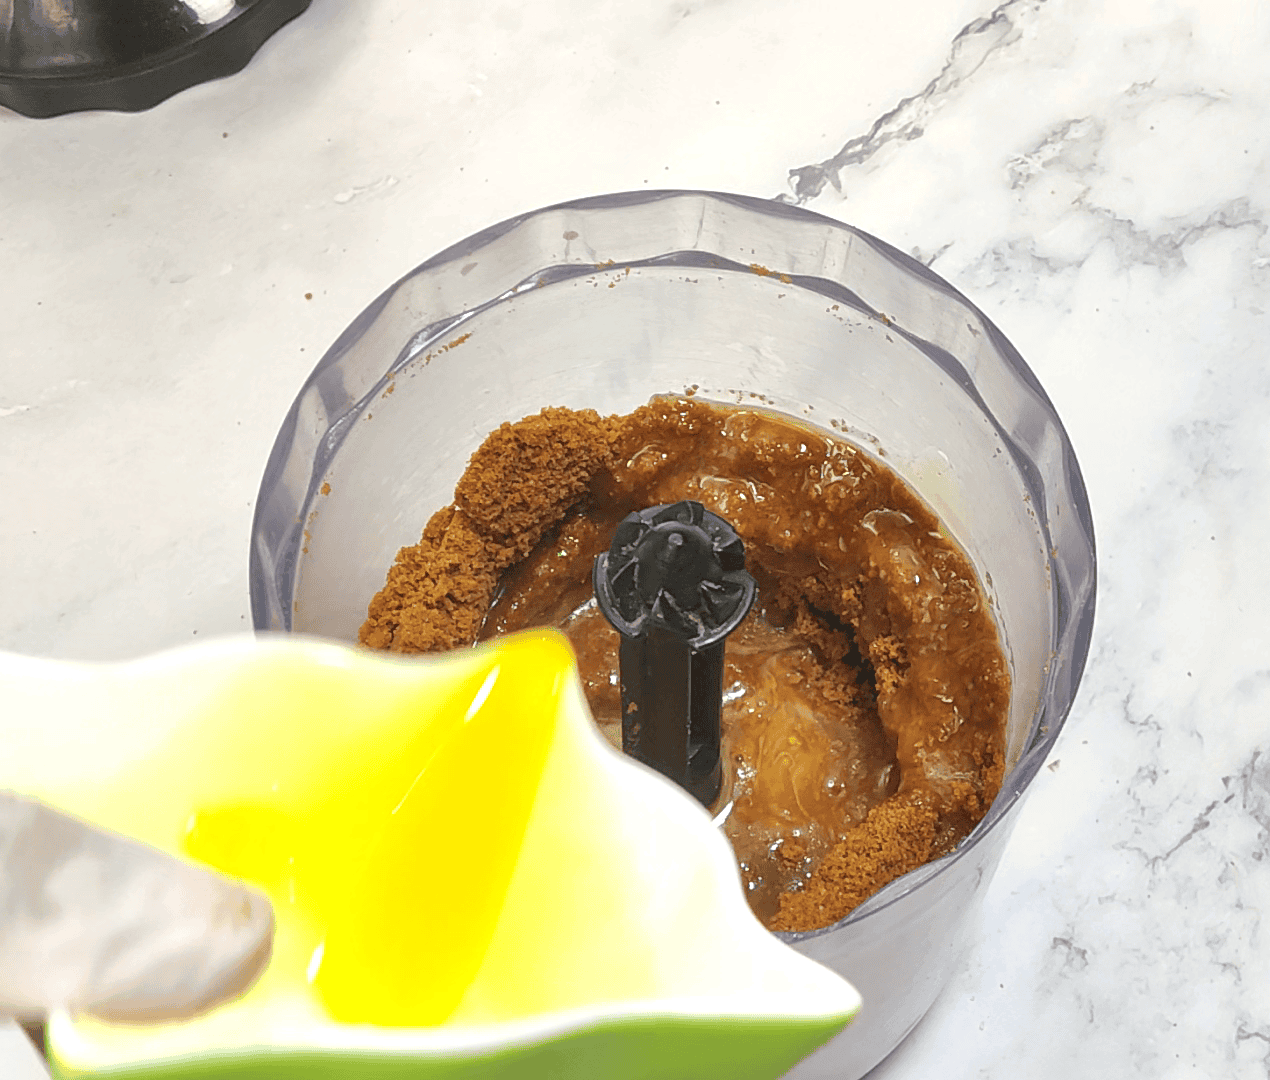
- Add the melted butter to the crushed biscuits.

- Combine well to form a coarse, sand-like mixture.
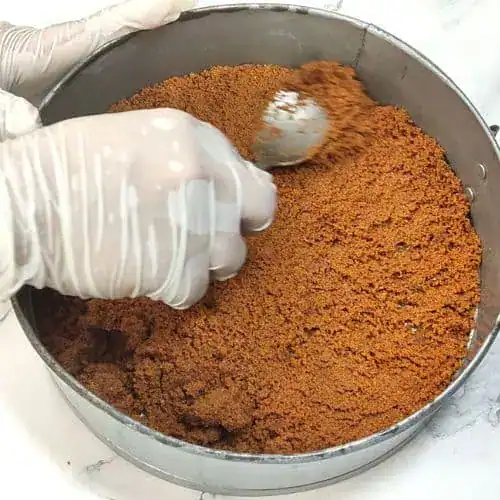
- Press the biscuit mixture into the bottom of a pan.

- Firmly press it down to form the crust of the cheesecake. Refrigerate the crust.
Refrigerate the crust while making the filling.
Prepare the Filling
Next, place the softened cream cheese in a large mixing bowl and beat with an electric beater for two minutes. Then, add the Lotus spread, salt, and vanilla essence, and beat it for 3-4 minutes or until the mixture is smooth.
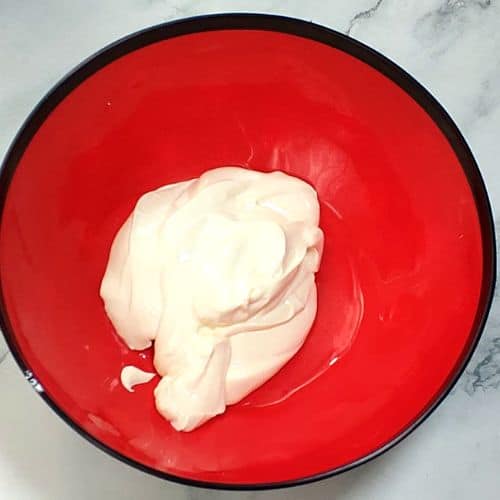
- In a bowl take the softened cream cheese.
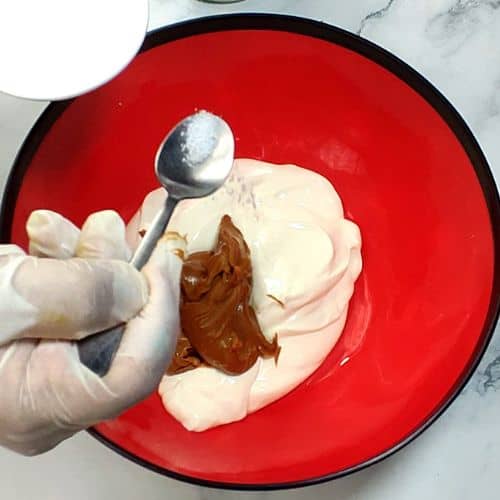
- Add the Lotus Biscoff spread to it.
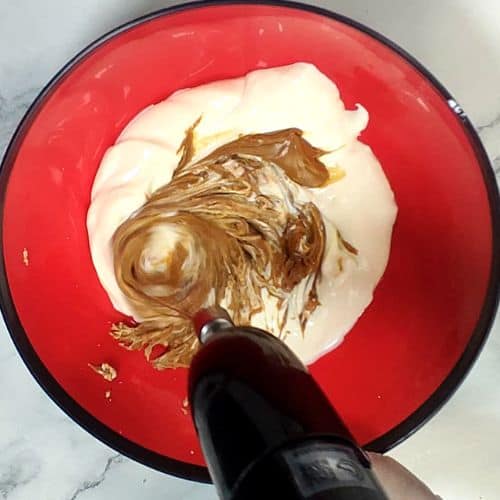
- Add the vanilla essence and salt.
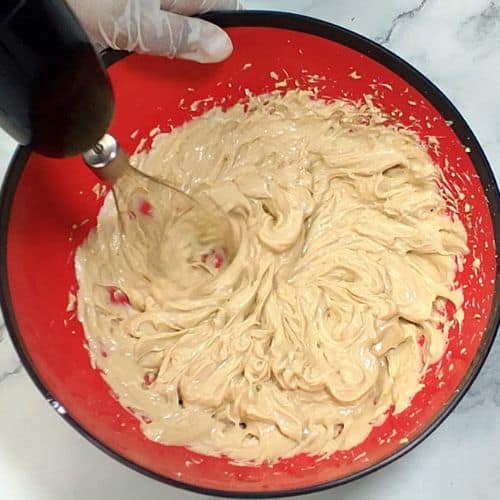
- Beat well with an electric whisk until it is smooth and creamy. Set aside.
Set it aside.
Whip the Cream
In another chilled bowl, beat the chilled cream until it forms soft peaks, usually about 5-7 minutes. Next, add the icing sugar and beat again until well combined.
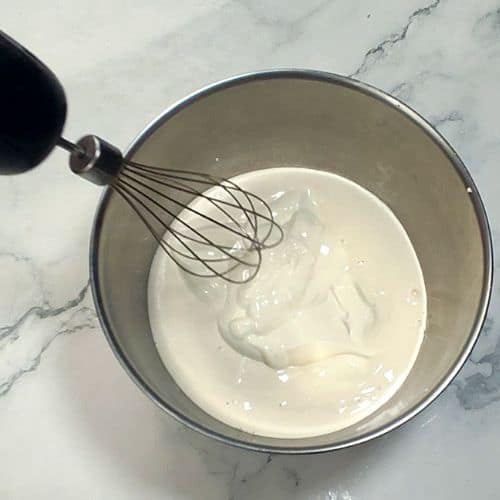
- In another bowl, pour the chilled cream.
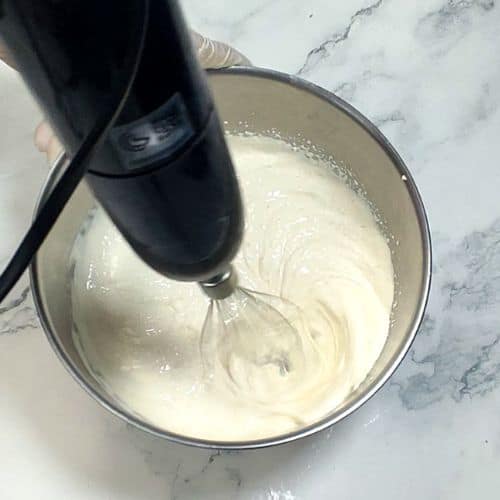
- Beat it well for about 5-7 minutes.
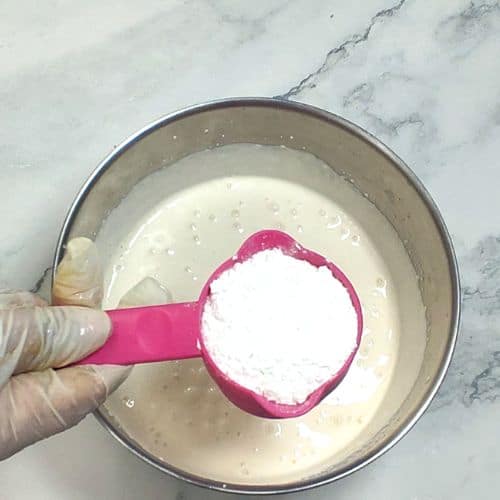
- Add the icing sugar and beat again.
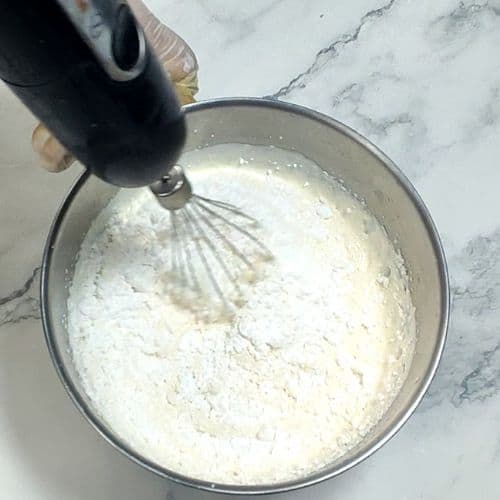
- Beat the whipping cream till soft peaks form.
Combine and Chill
Combine the cream mixture with the cream cheese mixture by gently folding them together until thoroughly combined.
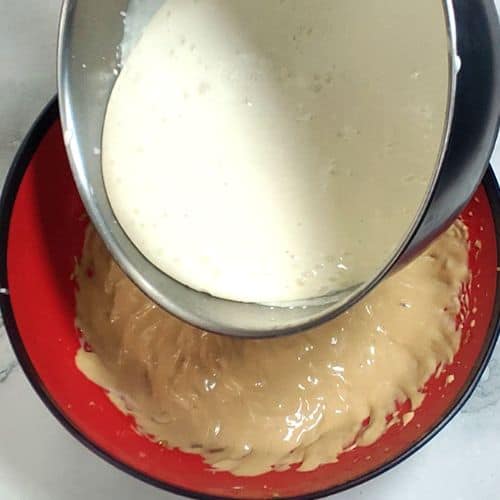
- Next, combine both the whipped cream and cream cheese mixtures.
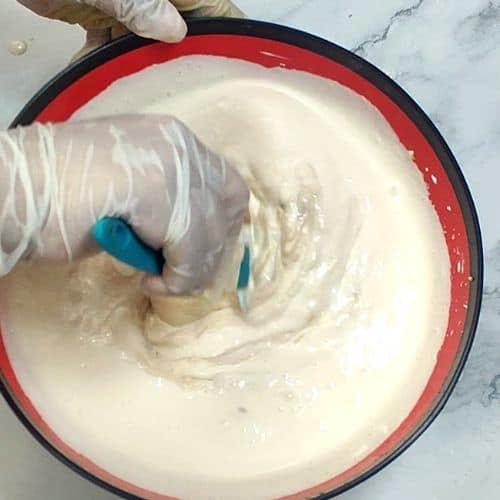
- Beat well until smooth.
Next, pour the cheesecake batter over the prepared crust and spread out evenly. Cover the pan with cling film.
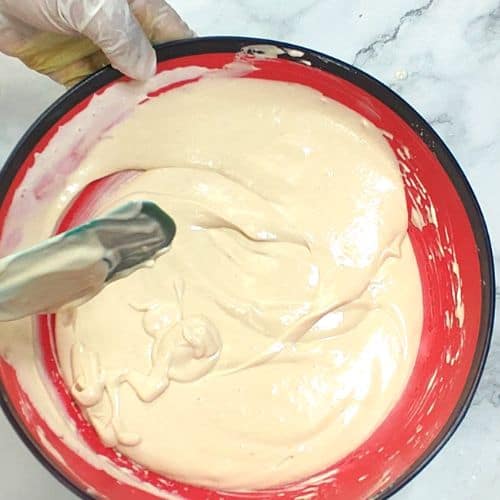
- Combine the mixtures well.
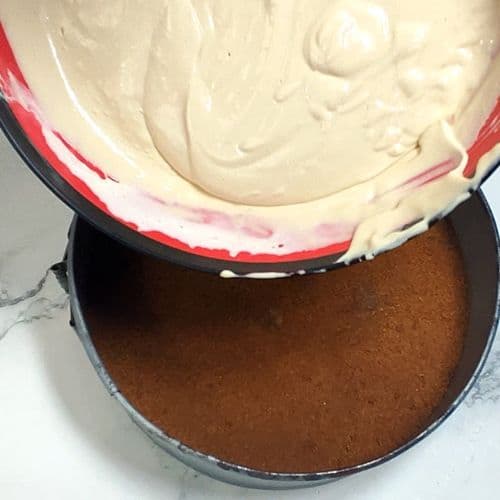
- Pour the cheesecake batter on top of the prepared crust.
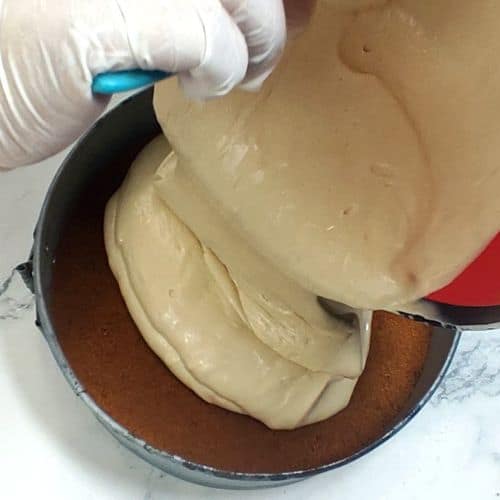
- Gently pour the batter over the crust.
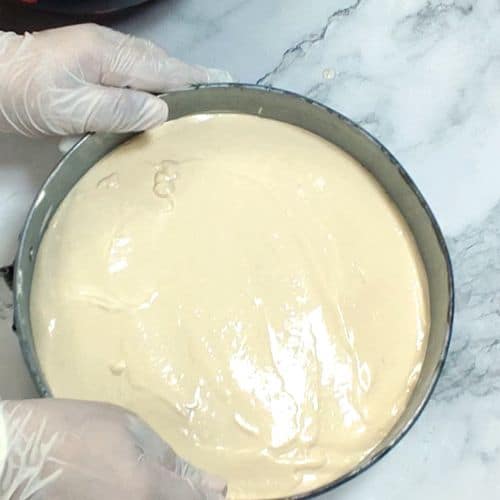
- Even out the top of the cheesecake and refrigerate for at least 12 hours or overnight.
Chill Overnight
Refrigerate your cheesecake for 10-12 hours or overnight so it is completely set.
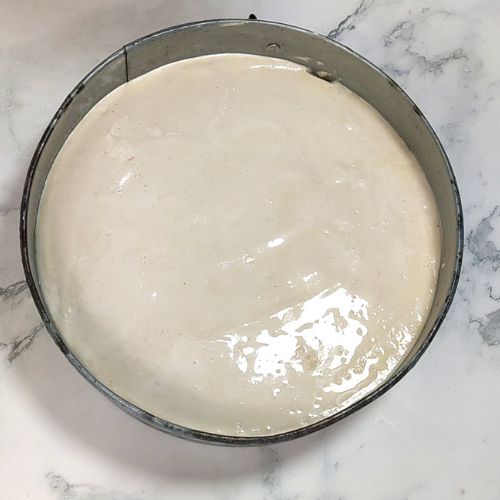
- Place the cheesecake in the fridge to chill.
Decoration
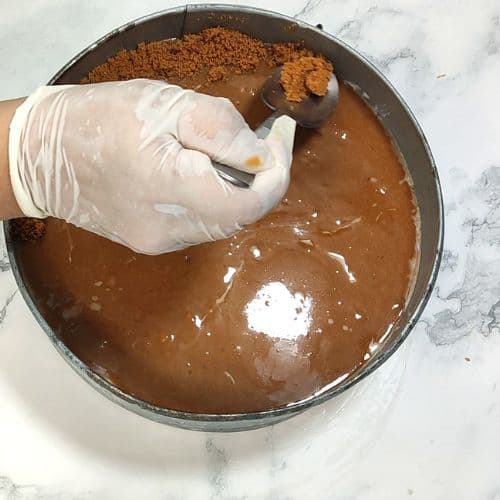
Finally, before serving the cheesecake, microwave the Lotus Biscoff spread for 30 seconds or until it becomes runny. Pour it over the cheesecake and spread it out evenly.
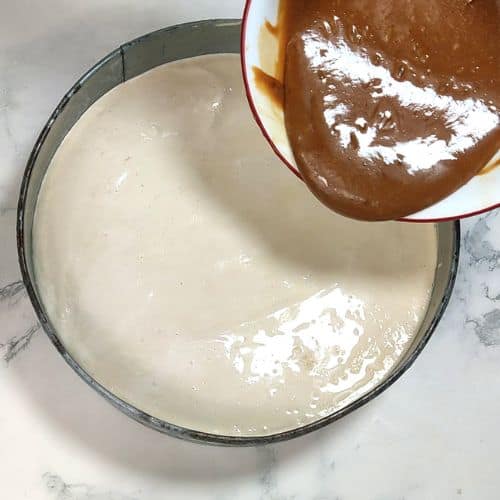
- Once chilled, decorate the top of the cheesecake.
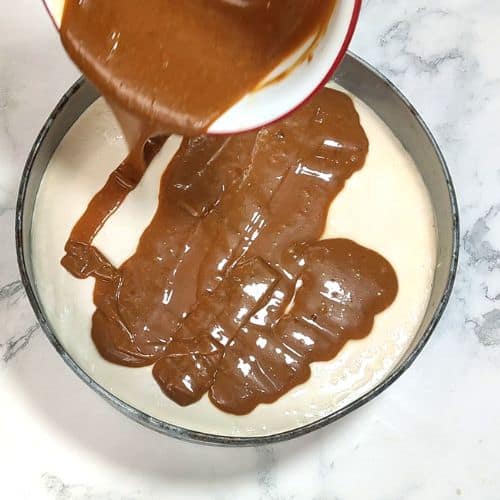
- Melt Lotus Biscoff spread in the microwave for 30 seconds and pour on top of the cheesecake.
You can also add crushed Lotus biscuits on top of the cake. Serve the cheesecake cold, and enjoy this rich and perfect dessert!
Hint:
Always have all ingredients at room temperature for easy mixing and blending.
Before beating the cream, chill both the cream and the bowl in which you will beat it for easier whisking.
Always use a springform pan when making a cheesecake for easy removal. You can also make and serve it in a clear glass dish or trifle bowl.
Variations
This no-bake dessert is not only easy to make and delicious, but it is also very versatile! You can make lots of variations of it:
- Nutella Cheesecake: Replace the Lotus Biscoff spread with Nutella and Lotus biscuits with your favorite chocolate biscuits, and you have a delicious Nutella cheesecake!
- Cookies n' Cream Cheesecake: Add crushed Oreos to the cheesecake batter, and make the crust using Oreos.
- Strawberries n' Cream Cheesecake: On the other hand, if you are a fruit lover, make a delicious cheesecake by adding fresh, chopped strawberries to the cheesecake batter. Make a thick strawberry puree for the topping. For the crust, use your favorite vanilla cookies or wafers.
Equipment
Here's a list of the kitchen equipment I used to prepare Lotus Cheesecake
- 2 large mixing bowls
- Spatula
- Electric Beater/Whisk
- Grinder/Blender
- Springform pan, transparent platter, or trifle bowl.
Top tips
- You can make this cold dessert a day ahead and let it chill completely in the fridge overnight.
- Chilling the cheesecake is key! You must let it get very cold to set properly. It's best to leave it in your refrigerator overnight.
- Always have all your ingredients at room temperature before starting the recipe.
- Crush the biscuits in a Ziploc bag using a rolling pin if you don't have a blender or grinder.
- Always chill your cream before whipping; chill the bowl you will whip it in, too.
FAQ
Lotus Biscoff spread is made of crushed Lotus biscuits mixed with cream, oil, and sugar. It has a smooth, spreadable consistency, so you can spread it on bread for a delicious treat.
Lotus biscuits have a caramelized taste with a hint of cinnamon. You can try other caramelized biscuits or ones made with brown sugar, instead.
You can put it in the freezer without the topping. When you want to serve it, remove it from the freezer a day before and leave it to thaw in the fridge. Then, add the topping before serving.
Related
Looking for other recipes like this? Try these:




Got any Question feel free to ask in comments!
If you tried this Lotus Cheese cake recipe, Share your thought and feedback in the comments. Your 5-ratings motivate me to do my best. Stay connected for more recipes and videos on Facebook, Instagram, Pinterest, and YouTube.

Lotus Biscoff Cheesecake
Equipment
- 2 Large mixing bowls
- 1 Blender/Grinder
- 1 Springform pan/Glass trifle bowl
- Measuring Spoons
- 1 Electric Hand Beater
- Spatula
Ingredients
- 250 grams Lotus Biscuits Crushed to a powder
- 60 grams Butter melted
- 400 grams Cream cheese At room temp
- 300 ml Cream Chilled
- ½ cup Icing sugar
- Salt A pinch
- 1 teaspoon Vanilla essence
Instructions
- Crush the Lotus biscuits in a grinder or chopper (or in a Ziploc bag with a rolling pin) and add the melted butter. Combine both till you get a sand-like texture. Press the crushed biscuits, firmly into the base of the pan or dish you are using.
- Refrigerate the crust while making the cheesecake batter.
- In a large mixing bowl, add the softened cream cheese and beat it for 2 minutes. Then add the Lotus Biscoff spread, salt, and vanilla essence to it. Beat the mixture for 3-4 minutes, or until it is smooth. Set aside.
- In another chilled bowl add the chilled cream. Beat it for 10 minutes, or until soft peaks are formed. Next add icing sugar and beat till smooth.
- Combine both the cream cheese mixture and the whipped cream. Pour the cheesecake batter over the prepared crust.
- Refigrate the cheesecake for 10 to 12 hours or overnight.
- Before serving the chilled cheesecake, microwave the Lotus spread for 30 seconds and spread it over the prepared cheesecake. You can also decorate with with crushed Lotus biscuits, if you like.
- Your delicious Lotus Cheesecake is ready to serve!
Notes




Miss Simplitty says
Great recipe. I've never heard of this cake. I need to try it one day.
Sana Umer says
Thank you! It’s definitely worth trying – I hope you enjoy it when you do!
AA Lee says
Looks delicious~ Love the color too.
Sana Umer says
Thank you so much! I'm glad you like it, the colors definitely make it more appetizing!