
Southern fried corn is not the corn on the cob that you boil and butter, and it is not the creamed corn that comes from a can — it is fresh corn kernels cut from the cob and cooked in a skillet with bacon fat and butter until the cut corn surfaces caramelize, the natural corn sugars deepen into something more complex than fresh sweet corn, and the milky corn liquid that scrapes from the cob thickens into a natural, starchy sauce that coats every kernel in a way that requires no additional thickening agent because the corn provides its own.
My husband had not eaten creamed corn in any form since childhood before this recipe, which he associated with the gray, sweet, watery canned version that appears at institutional cafeteria tables — and his experience of this skillet version was sufficiently different from that association that he ate it directly from the pan with a spoon while I was still preparing the main dish, which is the most reliable indicator of a recipe's success in our household.
Saad's relationship with fresh corn is enthusiastic when it is in whole cob form and more cautious when it is in kernel form — he approached the fried corn bowl with the forensic assessment he applies to food that looks familiar but has been modified in a way he has not approved in advance, and then ate a full adult portion while describing it as "the butter corn," which is not technically accurate but captures the essential appeal.
The skillet method matters — this is not a recipe that can be made in a saucepan. A wide, heavy skillet (cast iron is ideal) allows the corn kernels to spread in a single layer, develop direct contact with the hot cooking surface, and caramelize properly rather than steam in their own moisture. The caramelization is the mechanism that converts fresh sweet corn into something with depth and complexity — a saucepan produces steamed corn with bacon; a hot skillet produces fried corn with character.
My mother in Pakistan's equivalent preparation is the fresh corn bhutta — roasted or charred corn eaten with chaat masala and lime — which is the same commitment to fresh seasonal corn as the primary ingredient, processed with different aromatics and a different cooking method to produce a completely different result. Her observation when I described the Southern fried corn was that adding dairy to corn is a distinctly American technique, because in Pakistani cooking the corn stands alone as its own flavor rather than being enriched and extended by cream and bacon fat.
The corn scraping technique in this recipe is important and worth explaining: after cutting the kernels from the cob, turn the knife to the blunt edge and scrape down the cob with firm pressure to extract the milky liquid that remains in the cob after the kernels are removed. This "corn milk" goes into the skillet with the kernels and is the primary thickening agent that produces the natural sauce — without it, the finished corn is dryer and the sauce component is significantly reduced.
For halal households: halal chicken bacon substitutes for pork bacon directly in this recipe — the fat renders slightly differently (chicken bacon fat is leaner than pork bacon fat) but the flavor contribution is nearly identical in the finished dish. Add one additional tablespoon of butter to compensate for the slightly lower fat yield from chicken bacon.
Whether you are making the summer side dish that converts people who believe they do not like creamed corn, feeding a crowd from a single skillet at a summer cookout where the main proteins are on the grill and you need a side that happens on the stovetop simultaneously, using peak-season fresh corn at the height of its sweetness before it disappears in August, or simply needing the 20-minute side dish that gets more compliments than anything else on the cookout table, this Southern fried corn is exactly that dish.
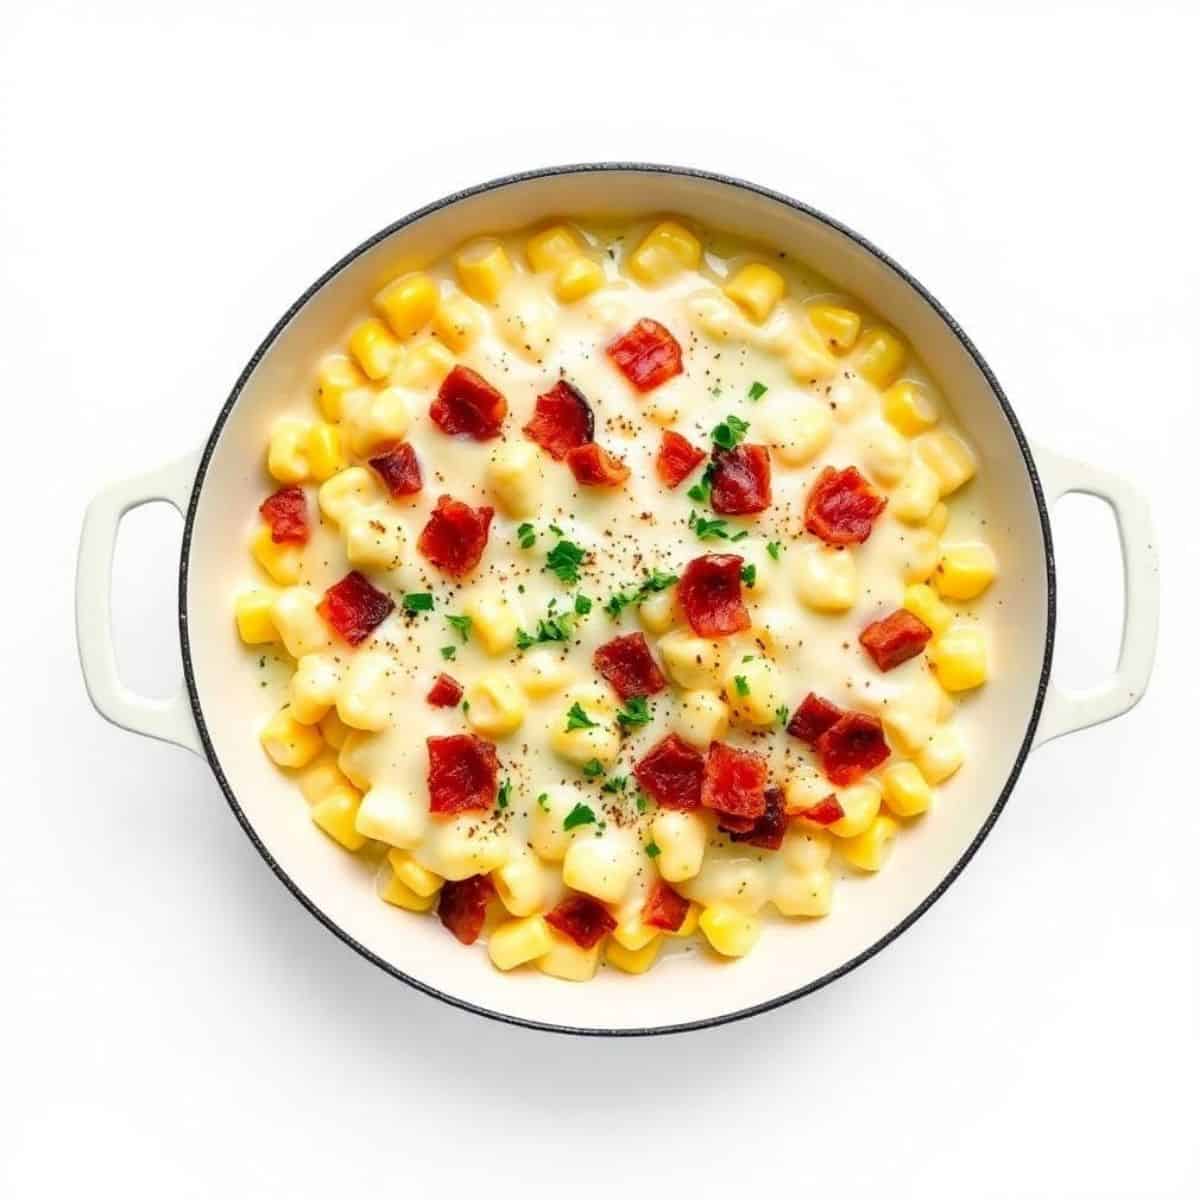
Why You'll Love This Southern Fried Corn
- The dish that converts people who think they don't like creamed corn: This is not canned creamed corn — it is fresh corn that has been caramelized in a hot skillet in bacon fat and butter until its natural sugars develop into something more complex, finished with a modest splash of cream that enriches rather than dominates. My husband's reaction, who had not eaten creamed corn voluntarily since childhood, was eating it directly from the pan while still standing at the stove. That is the conversion rate that matters.
- 20 minutes, one skillet, peak-season corn: The recipe is as simple as its ingredient list — halal chicken bacon, fresh corn, butter, a splash of cream, and salt. The technique (hot skillet, don't stir too much, scrape the corn milk from the cob) converts simple ingredients into something that tastes like it took longer and involved more steps than it actually did. The one skillet is also the one pan to wash, which is a meaningful consideration at a summer cookout where the grill and the cooler are already occupying attention.
- Fresh-corn specific — peak season only, July through August: This recipe cannot be made correctly with frozen corn, canned corn, or out-of-season corn. The fresh corn milk scraped from the cob is the primary thickening agent, the caramelization of the cut corn surface is only achievable with fresh corn's natural sugar content, and the flavor of the finished dish is directly proportional to the quality of the fresh corn used. Make this in the eight-week window when corn is genuinely in season and genuinely good. Do not attempt it outside that window.
Ingredients
- 6 ears fresh corn — the freshest available, same-day from the farmers market if possible. The sweetness of the corn decays rapidly after harvest, and day-old grocery store corn produces a noticeably less sweet, less flavorful result than fresh-picked corn.
- 4 strips halal chicken bacon, cut into small pieces
- 2 tablespoon unsalted butter + 1 extra tablespoon butter to compensate for chicken bacon's lower fat yield (total 3 tablespoon butter)
- ½ cup heavy cream (use the full cream — light cream does not produce the same sauce consistency)
- ½ teaspoon sugar (optional — helps if the corn is slightly out of peak season and less naturally sweet than ideal)
- ¾ teaspoon salt, plus more to taste
- ¼ teaspoon black pepper
- ¼ teaspoon smoked paprika
- 2 green onions, thinly sliced (for serving)
- Optional: a pinch of cayenne for heat, fresh thyme for fragrance
Directions
- Step 1: Cut and scrape the corn. Husk the corn and remove the silk. Stand each ear of corn upright on a cutting board and cut the kernels from the cob with a sharp knife, cutting downward in sections — cut approximately ¾ of the depth of each kernel to get the kernel without going all the way to the cob. Transfer the cut kernels to a large bowl. Then — and this step matters — take the blunt back edge of the knife and scrape firmly down each stripped cob over the same bowl. You will extract a significant amount of milky, starchy liquid from the cob. This corn milk goes into the skillet with the kernels and thickens into the sauce. Do not skip this step.
- Step 2: Cook the halal chicken bacon. In a large, wide, heavy skillet — cast iron is ideal — cook the chicken bacon pieces over medium heat, stirring occasionally, until the bacon is crispy and the fat has rendered, approximately 5-6 minutes. Remove the crispy bacon pieces to a paper towel-lined plate and set aside. Leave all the rendered fat in the skillet — this is the cooking fat for the corn.
- Step 3: Add the butter and the corn. Add 2 tablespoons of butter to the chicken bacon fat in the skillet over medium-high heat. Once the butter is melted and the mixture is hot and slightly sizzling, add all the corn kernels and the corn milk from the bowl simultaneously. Spread the corn in an even layer across the skillet surface. Do not stir immediately — let the corn sit in contact with the hot pan for 2-3 minutes to develop the caramelization that is the foundation of fried corn's flavor. You will hear a steady sizzle and see the corn beginning to brown at the contact points.
- Step 4: Stir, season, and cook until caramelized. After the first 2-3 minutes without stirring, stir the corn once, scraping any caramelized bits from the pan surface into the corn — these browned bits are flavor. Season with salt, pepper, smoked paprika, and optional sugar. Continue cooking, stirring every 2 minutes, for a total of 10-12 minutes until the corn kernels are golden at the edges and the corn milk has thickened into a starchy coating that clings to the kernels.
- Step 5: Add the cream and finish. Reduce heat to medium-low. Add the heavy cream and the remaining tablespoon of butter. Stir to incorporate — the cream will immediately combine with the thickened corn milk already in the pan to produce a creamy, rich sauce that coats every kernel. Cook 2-3 more minutes, stirring, until the sauce has thickened slightly and the cream has been fully incorporated rather than sitting on top of the corn. Taste and adjust salt.
- Step 6: Add the crispy bacon back and serve. Return the reserved crispy chicken bacon pieces to the skillet. Stir once to incorporate. Scatter sliced green onions over the top. Serve directly from the skillet if presenting at the table — the cast iron keeps the corn hot for 15+ minutes at the table without any reheating. If transferring to a serving dish, do so immediately before serving as the corn thickens rapidly as it cools.
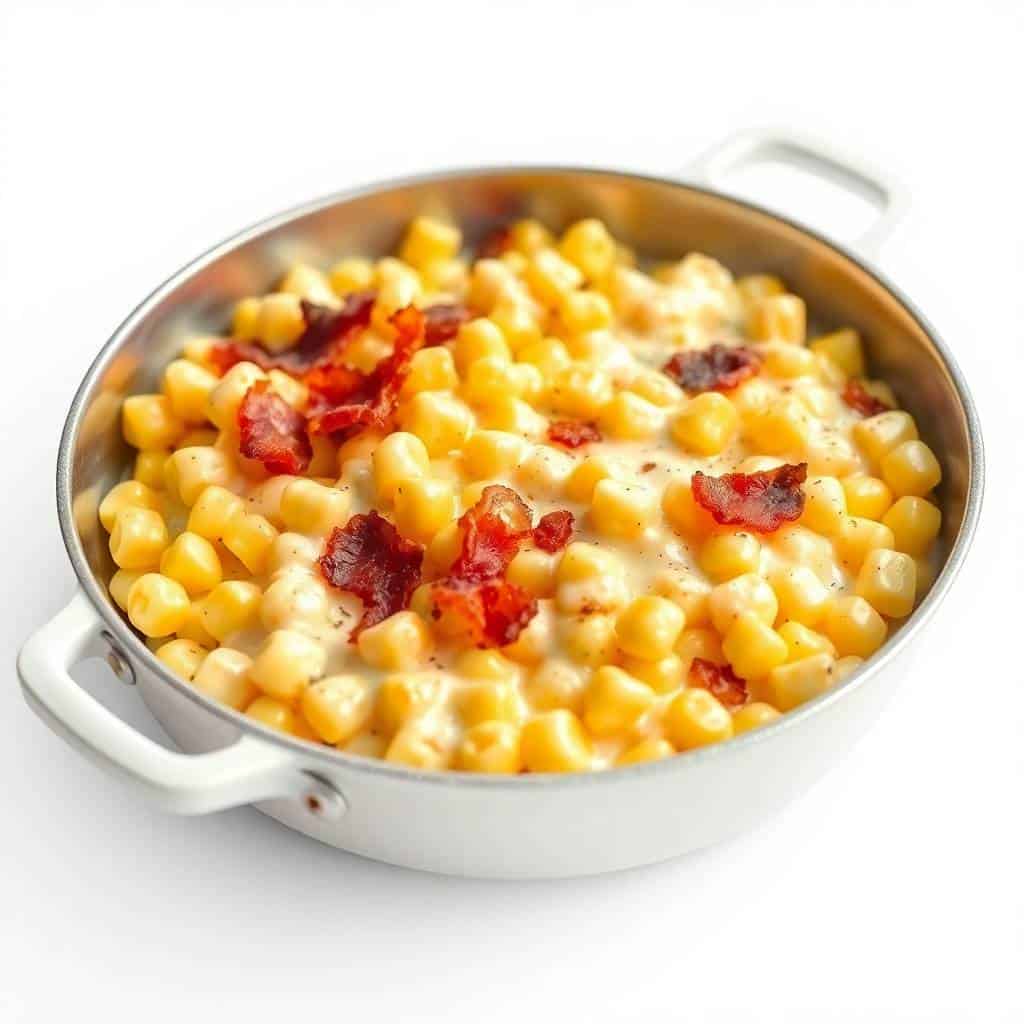
Tips for Perfect Southern Fried Corn
- Use a wide skillet — never a saucepan. The caramelization that defines fried corn requires direct contact between the corn and the hot pan surface. A wide skillet spreads the corn in a thinner layer, giving more kernels direct contact with the heat. A saucepan stacks the corn in depth, causing the kernels to steam in their own moisture rather than caramelize — the result is soft, sweet, steamed corn rather than fried corn with depth and character.
- Do not stir for the first 2-3 minutes. The browning that develops on the corn during the initial undisturbed cooking period is the primary flavor mechanism of fried corn. Stirring immediately prevents caramelization and produces boiled corn in a pan rather than fried corn. Let it sit, hear the sizzle, and trust that the corn is not burning — it is developing flavor at the contact points.
- The corn milk is not optional. The starchy milky liquid scraped from the stripped cob is the only thickening agent in this recipe — without it, the cream and butter will not coat the kernels in the sauce that makes fried corn what it is. It will instead pool at the bottom of the pan as a thin liquid rather than becoming a cohesive creamy coating. Scrape every cob firmly and thoroughly after stripping the kernels.
- Peak-season corn only. If you hold the freshly cut corn kernel between two fingers and press, a genuinely peak-season fresh corn kernel will release a stream of sweet, milky liquid — that liquid is the corn milk that thickens the sauce. An out-of-season or old corn kernel releases almost nothing. If your corn kernels are dry when pressed, the corn is past its peak and this recipe will not produce the same result.
Variations
- Jalapeño and cheddar fried corn: Add 1 finely diced jalapeño to the skillet with the butter in Step 3, before the corn. Cook the jalapeño 60 seconds until fragrant. Proceed with the corn. At the cream step, stir in ½ cup shredded sharp cheddar after the cream — the cheddar melts into the cream and corn milk to produce a cheesy sauce version that is significantly more indulgent and that Saad has voted as the better version of the two, based entirely on the presence of the melted cheddar.
- Herb and garlic fried corn (no bacon): Omit the chicken bacon. Use 3 tablespoon butter total in the pan. Add 3 garlic cloves, minced, to the butter 60 seconds before adding the corn. At the cream step, stir in 2 tablespoon fresh thyme leaves and 1 tablespoon fresh chives. The herb version is lighter, more aromatic, and appropriate for a dinner table where a heavy main dish doesn't need the bacon richness of the standard version alongside it.
- Pakistani-spiced fried corn: Add ½ teaspoon cumin seeds to the bacon fat before the corn and let them sizzle 30 seconds until fragrant. Add ¼ teaspoon turmeric and ½ teaspoon Kashmiri chili with the other seasonings. Omit the heavy cream and replace with 2 tablespoon plain yogurt stirred in off the heat at the end. Finish with fresh cilantro and a squeeze of lime rather than green onions. This is the version that tastes closest to what my mother in Pakistan would approve of.
Serving and Storage
How to Serve
Serve immediately from the skillet — the corn thickens as it cools and the sauce becomes less fluid, producing a thicker, drier result than the just-cooked version. If serving at a cookout, bring the skillet to the table with a trivet and let guests serve themselves from the pan with a spoon. The cast iron holds the heat long enough for everyone to get a portion before it needs attention. For Saad: served in a bowl with slightly extra butter stirred in. For adults: directly from the skillet, green onions scattered generously over the top, a slight extra seasoning of smoked paprika visible on the surface.
How to Store
Refrigerator: airtight container, up to 3 days. The corn thickens significantly in the refrigerator into an almost solid mass — this is normal and the texture fully restores during reheating. Reheat in a skillet over medium-low with 2 tablespoons of milk or cream stirred in, 5 minutes, stirring occasionally, until loose and hot again. Or microwave covered with 1 tablespoon of milk for 90 seconds, stir, microwave 60 more seconds. The refrigerator version is surprisingly good for the effort of reheating. Do not freeze — the cream-based sauce separates irrevocably during the freeze-thaw cycle.
Related Recipes You'll Love
- Foolproof Grilled Corn on the Cob
- 18 Quick Memorial Day Side Dishes
- Easy Southern Tomato Pie for First-Time Bakers
- Firecracker Deviled Eggs
- 19 Naturally Gluten-Free BBQ Recipes
Can I make this with frozen corn instead of fresh?
Technically yes, but the result is significantly different and not what this recipe is designed to produce. Frozen corn has no corn milk to scrape from a cob, so the natural thickening agent is absent — you will need to add 1 tablespoon of cornstarch mixed with 2 tablespoons of water at the cream step to compensate. The frozen corn also does not caramelize as effectively as fresh because of higher water content from the freezing process. The frozen version is a reasonable everyday side dish. The fresh corn version is a summer special occasion. They are different recipes in the same category.
How many ears of corn do I need per person?
One ear of corn yields approximately ¾ cup of kernels after cutting and scraping. The recipe's 6 ears produce approximately 4.5 cups of kernels, which serves 6 people as a generous side dish portion. For a dinner party or cookout: plan 1 ear per person plus 1-2 extra ears total for the batch — the corn reduces slightly during cooking and people tend to take larger portions than they initially expect because it is significantly better than they anticipate.

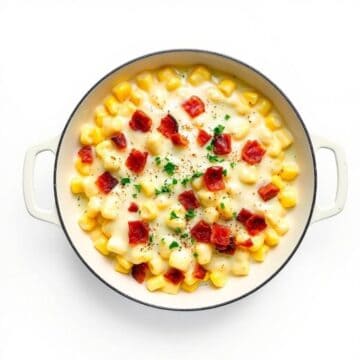
ONE-SKILLET SOUTHERN FRIED CORN WITH BACON AND CREAM
Equipment
- Large cast-iron skillet or frying pan
- Wooden Spoon
- Knife and Cutting Board
- Paper towels
Ingredients
For the Fried Corn:
- 6 slices bacon, chopped
- 6 cups corn kernels (fresh, frozen, or canned)
- ½ cup yellow onion, finely diced
- 2 tablespoons butter
- ½ cup heavy cream
- ½ teaspoon garlic powder
- ½ teaspoon salt
- ¼ teaspoon black pepper
Optional Garnish:
- 2 tablespoons green onions, sliced
- 1 tablespoon fresh parsley, chopped
Instructions
Cook Bacon
- Cook chopped bacon in a large skillet over medium heat until crispy. Remove bacon with a slotted spoon and set aside, leaving the drippings in the skillet.
Sauté Onion
- Add diced onion to the skillet and cook for 3–4 minutes until softened.
Cook Corn
- Add butter and corn kernels. Cook for 8–10 minutes, stirring occasionally, until corn is lightly golden.
Make Creamy Sauce
- Stir in heavy cream, garlic powder, salt, and black pepper. Simmer for 2–3 minutes until slightly thickened.
Finish & Serve
- Return bacon to the skillet, stir well, and serve hot with green onions or parsley if desired.
Notes
- Fresh Corn Best: Fresh summer corn provides the sweetest flavor, but frozen works well too.
- Southern Classic: A rich, comforting side dish for BBQs, holidays, and Sunday dinners.
- Extra Creamy: Add an extra splash of cream if you prefer a creamier texture.
- Make It Spicy: Stir in a pinch of cayenne pepper or diced jalapeños.
- Storage: Refrigerate leftovers for up to 3 days and reheat gently before serving.

Comments
No Comments