
Homemade ghee is a staple in many kitchens, celebrated for its rich aroma, nutty flavor, and versatile uses in cooking. Making it at home ensures purity, quality, and freshness that store-bought versions often lack.
Creating ghee from unsalted butter is surprisingly simple and rewarding. The process involves slow melting, simmering, and straining to remove milk solids, resulting in golden, clarified butter that elevates any dish.
Ghee has a high smoke point, making it ideal for sautéing, frying, or roasting without burning. Its distinctive flavor enhances everything from curries to baked goods, offering a depth that ordinary oils cannot replicate.
Many health-conscious cooks prefer ghee because it is lactose-free and rich in fat-soluble vitamins. It provides healthy fats, supports digestion, and adds a creamy texture that complements both savory and sweet dishes.
Whether used in traditional recipes or modern meals, homemade ghee is a versatile kitchen essential. With patience and care, anyone can master this golden elixir and enjoy its luxurious flavor and aroma.

WHY YOU WILL LOVE THIS RECIPE
- Pure and Natural: Homemade ghee is free from additives, preservatives, and artificial flavors, ensuring a clean and healthy cooking fat.
- Rich Flavor: The slow-cooked butter develops a deep, nutty flavor that enhances all dishes without overpowering natural ingredients.
- Versatile Use: Ghee can be used for frying, roasting, baking, or drizzling over meals to enrich flavor in countless recipes.
- High Smoke Point: Ideal for high-heat cooking, ghee resists burning, making it perfect for stir-frying, sautéing, and deep-frying safely.
- Health Benefits: Lactose-free and packed with vitamins A, D, E, and K, ghee supports digestion, immunity, and overall wellness.
INGREDIENTS
- 2 cups unsalted butter (preferably grass-fed)
- 1 teaspoon water (optional, to prevent splattering)
DIRECTIONS
- Step No.1: Melt Butter
Place unsalted butter in a heavy-bottomed saucepan over low heat. Allow it to melt slowly without stirring to prevent burning.
- Step No.2: Simmer Butter
Once melted, simmer the butter gently. Foam will form on top as water evaporates. Do not stir, but skim off excess foam carefully.
- Step No.3: Clarify Butter
Continue simmering until milk solids separate and sink to the bottom, and the liquid becomes clear golden, releasing a nutty aroma.
- Step No.4: Strain Ghee
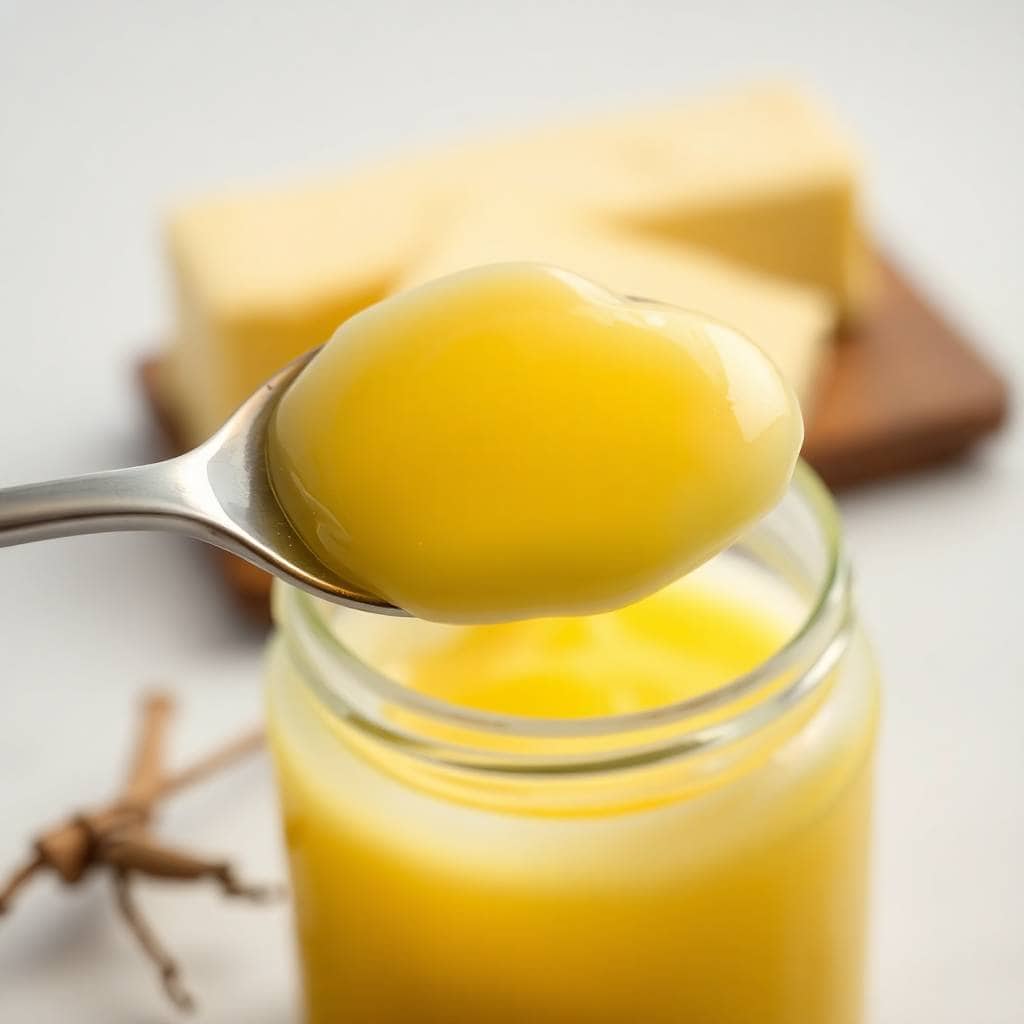
Remove from heat and let cool slightly. Pour through a fine mesh strainer or cheesecloth into a clean jar, leaving milk solids behind.
- Step No.5: Store Ghee
Seal in an airtight container once fully cooled. Keep at room temperature for regular use or refrigerate for long-term storage.

TIPS FOR SUCCESS
- Low Heat Cooking: Maintain a gentle simmer to prevent burning milk solids and ensure smooth, flavorful ghee.
- Use Grass-Fed Butter: High-quality butter enhances taste, aroma, and nutrition informational value, making your homemade ghee superior.
- Skim Foam Carefully: Removing foam prevents cloudiness and ensures the ghee remains golden and clear.
- Avoid Stirring: Stirring may mix milk solids with the fat, resulting in a less pure texture.
- Strain Thoroughly: Straining removes all solids for a silky smooth and long-lasting ghee.
- Cool Before Sealing: Allow ghee to cool slightly to avoid condensation in the container, which can reduce shelf life.
VARIATIONS
- Herbed Ghee: Infuse with fresh or dried herbs for aromatic, flavorful ghee perfect for drizzling or roasting vegetables.
- Spiced Ghee: Add spices like cumin or turmeric benefits while simmering for a fragrant and vibrant cooking fat.
- health benefits of garlic Ghee: Incorporate lightly sautéed garlic to enhance richness and impart savory notes to any dish.
- Coconut Ghee Blend: Mix with coconut oil for a tropical twist that adds subtle sweetness to recipes.
- Clarified Butter Only: Skip additional flavorings for pure, versatile ghee suitable for all culinary purposes.
- Nut-Infused Ghee: Toast nuts in the melted butter for a unique, nutty flavor that complements sweet and savory dishes.
SERVING AND STORAGE
Serving
Drizzle ghee over rice, vegetables, or toast to enhance flavor, texture, and richness in every bite.
Storage
Store in a clean, airtight container at room temperature or refrigerate to extend shelf life and maintain freshness.
FAQ
Salted butter is not recommended as it may alter flavor and reduce shelf life. Unsalted butter is preferred.
At room temperature, ghee lasts 2–3 months. Refrigeration can extend freshness up to 6–12 months.
Yes, ghee is excellent for baking, providing rich flavor and a tender texture to cakes, cookies, and breads.
Absolutely. Ghee has a high smoke point, making it ideal for frying, sautéing, and roasting without burning.
Yes, adding herbs, spices, or garlic while simmering creates infused ghee with unique aromatic flavors.
Homemade ghee is more than just clarified butter—it is a culinary treasure that adds richness, depth, and aroma to every meal. The simple process transforms unsalted butter into golden, nutty perfection that elevates dishes effortlessly.
Mastering ghee requires patience, attention, and gentle heat, but the result is immensely rewarding. The distinct nutty aroma, and versatility make it indispensable in any kitchen.
Beyond flavor, homemade ghee offers health benefits that store-bought versions rarely match. Packed with vitamins, and free from lactose, it supports both cooking and well-being.
Once prepared, ghee's long shelf life and multifunctional use make it a kitchen essential. From sautéing vegetables to drizzling over rice, every application enhances taste and aroma.
HOMEMADE GHEE
Ingredients
Ingredients
- 1 lb unsalted butter preferably organic
Instructions
Melt Butter
- Place unsalted butter in a heavy-bottomed saucepan over low heat.
Simmer and Separate
- Allow butter to melt completely, then continue to simmer. The milk solids will separate and settle at the bottom.
Check Color and Aroma
- Once the butter turns golden and aromatic, remove from heat.
Strain Ghee
- Strain through a fine mesh or cheesecloth into a clean, dry jar. Discard solids.
Cool and Store
- Allow to cool completely. Store at room temperature for up to 3 months or refrigerate for longer shelf life.
Notes
- Tip: Use unsalted, high-quality butter for the best flavor.
- Variation: Add a pinch of turmeric for a golden hue.
- Storage: Keep ghee in a clean, dry jar at room temperature or refrigerate for longer shelf life.





Comments
No Comments