
Last winter when Saad's elementary school had a cultural foods potluck and parents were asked to bring a dish from any culture our family connected with, I panicked at the assignment because Saad has been very specific about wanting "kid-friendly food, mama, not the spicy stuff" for school events.
This bean dip ended up being my last-minute solution that came together in 15 minutes the morning of the potluck, and it disappeared from the appetizer table faster than any other dish — including the more elaborate Pakistani and Mexican offerings that other parents had clearly spent hours preparing.
Saad named it "the brown dip" on the car ride home that afternoon and has requested it for nearly every family gathering, weekday lunch, and movie night since, which is the kind of kid-endorsement that confirms a recipe deserves permanent rotation status in our household.
Zainab eats it only with plain tortilla chips (never with vegetables, never with crackers, only chips — she has very specific texture rules), and my husband uses it as a sandwich spread for his lunch box throughout the week, which has made one batch stretch impressively across multiple meal applications.
My mother in Pakistan would recognize the underlying principle of this dip from her own kitchen because mashed-bean-and-spice preparations exist across many cuisines for the same fundamental reason — beans + aromatics + acid + spice = filling, affordable, satisfying food that holds together beautifully for dipping or spreading.
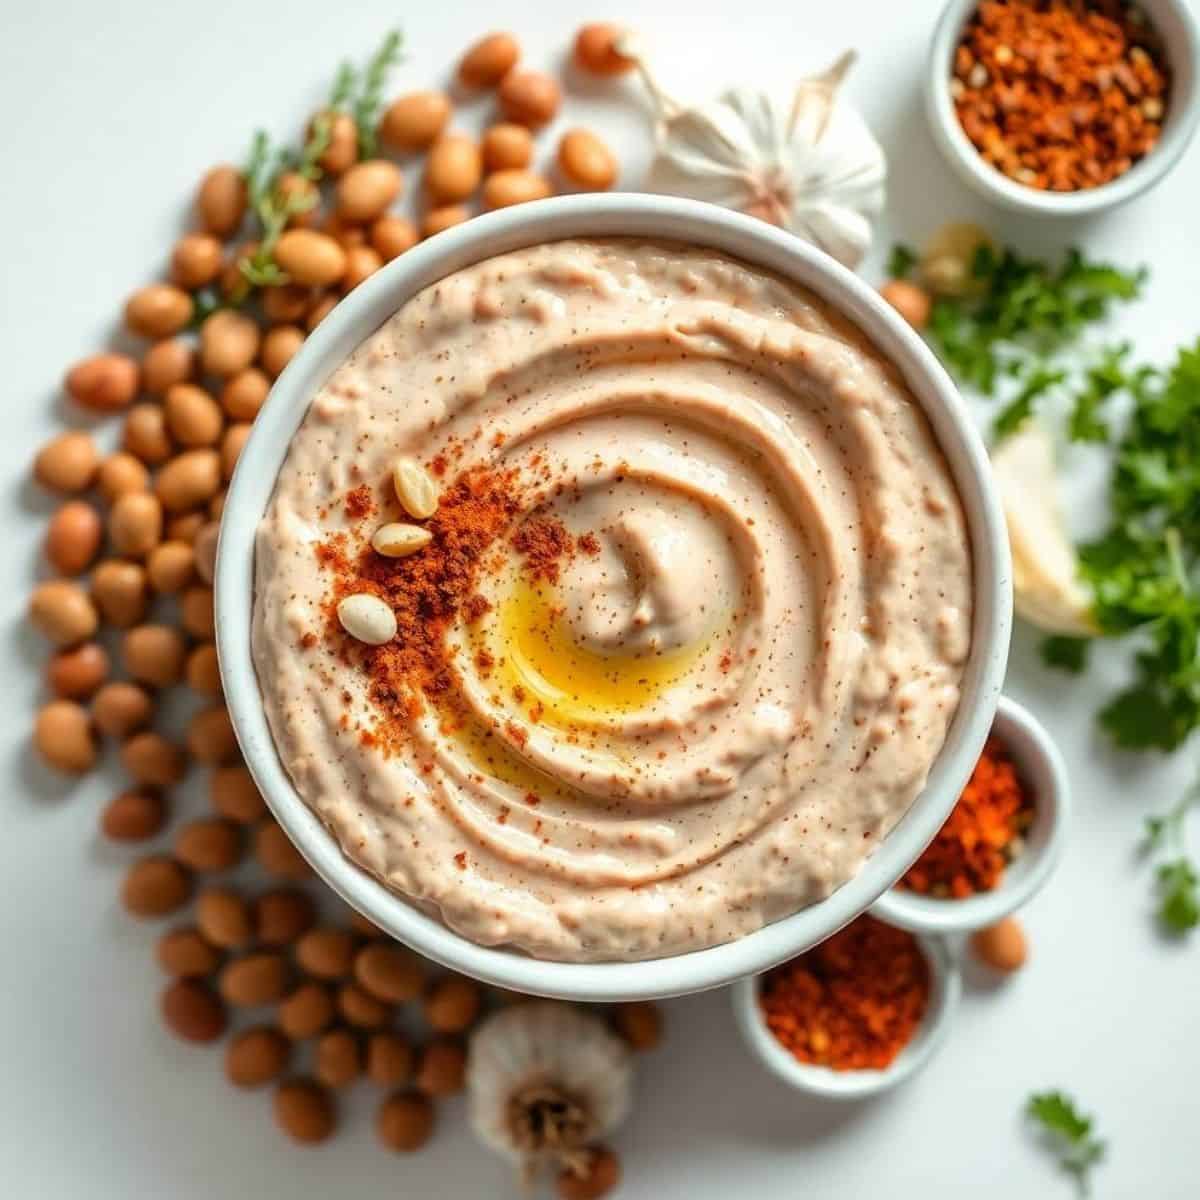
Why You'll Love This Recipe
- Ready in 15 minutes with pantry staples — genuine last-minute appetizer: This is the recipe that saves you when guests arrive unexpectedly, when you forgot you signed up to bring something to the potluck, or when you need a snack TONIGHT and don't want to order takeout. Total active time is 5 minutes of chopping and 10 minutes of cooking and blending. Most of the ingredients are pantry staples (canned beans, garlic, onion, spices), which means you can make this without an emergency grocery run. The math of "15 minutes to a complete crowd-pleasing appetizer" is genuinely rare in the recipe world, and this one delivers every time.
- Universally kid-friendly without modifications — both my kids eat it: Saad inhales this dip with tortilla chips and has named it "the brown dip" in our family vocabulary. Zainab eats it (a rare endorsement from her extremely picky palate) as long as the chips are plain salted tortilla chips and the dip itself isn't visibly spicy. For mixed-age households where getting kids to eat the same appetizer as adults is its own daily victory, this recipe is the kind of universal-acceptance win that earns permanent rotation status. The mild base recipe is genuinely kid-friendly; you can add spicy heat to individual adult portions with hot sauce on the side.
- Budget-friendly — under $4 for a generous batch that feeds 6-8: A can of beans costs about $1.50, an onion costs less than $1, garlic and spices are pantry staples, and the lime juice is the only fresh ingredient that adds about $0.50. The complete cost for a generous batch that feeds 6-8 people at a casual gathering works out to about $3-4, which is significantly cheaper than store-bought hummus, salsa, or queso of equivalent quality. For families stretching grocery budgets without compromising on appetizer quality, this is the recipe math that genuinely works in real-world kitchen economics.
- Endlessly customizable — same template, infinite flavor variations: Same base technique (beans + aromatics + spices + acid + blend) accommodates infinite variations through the year — Pakistani-American masala version with garam masala and chaat masala, smoky chipotle version, white bean Mediterranean version with rosemary and lemon, Cajun version with hot sauce and creole seasoning, breakfast version with diced bacon and cheese. The template scales with what's in your pantry, what flavor you're craving that day, and what occasion you're serving for. One basic recipe becomes a permanent foundation for dozens of variations.
- Multi-purpose — dip, spread, taco filling, baked potato topper, and more: Beyond just-appetizer-dip duty, this preparation transforms into multiple meal applications throughout the week — sandwich spread on toasted bread, taco filling for vegetarian diet taco night, baked potato topping with cheese and sour cream, quesadilla filling, breakfast burrito component, salad protein, nachos base, and so on. My husband packs leftovers in his lunch sandwiches throughout the week. The "one recipe, multiple meal applications" math is the kind of versatility that justifies the 15 minutes of cooking effort because it produces 5-8 different meals across the following days.
Ingredients
- For the Bean Dip Base:
- 2 (15 oz) cans pinto beans OR black beans, drained and rinsed (or 3 cups cooked from dried beans)
- 3 tablespoon olive oil
- 1 medium yellow onion, finely diced
- 4 garlic cloves, minced
- 1.5 teaspoon ground cumin
- 1.5 teaspoon chili powder
- 1 teaspoon smoked paprika
- ½ teaspoon salt (or to taste — adjust based on bean salt content)
- ½ teaspoon black pepper
- 2 tablespoon fresh lime juice (about ½ a lime)
- ¼ to ½ cup water or vegetable broth (for adjusting consistency)
- For Garnish and Serving:
- 2 tablespoon fresh cilantro, chopped
- 1 tablespoon olive oil (drizzle)
- Optional: ¼ cup crumbled queso fresco or feta
- Optional: 1 tablespoon pickled jalapeños (for adult portions)
- Tortilla chips, fresh vegetables (carrot sticks, cucumber rounds, bell pepper strips), warm pita, or naan triangles for dipping
Directions
- Step 1: Heat oil and sauté the aromatics (5 minutes). Heat olive oil in a medium skillet over medium heat. Add diced onion and cook for 3-4 minutes, stirring frequently, until softened and slightly translucent. Add minced garlic and cook for 30-60 seconds more, stirring constantly, until fragrant. Do NOT let the garlic brown — it will turn bitter. The goal is soft, fragrant aromatics that will form the flavor base of the entire dip.
- Step 2: Add beans and spices (2 minutes). Add the drained beans to the skillet along with cumin, chili powder, smoked paprika, salt, and pepper. Stir thoroughly to coat the beans with the seasoned oil and aromatics. Cook for 2 minutes, stirring occasionally, to allow the spices to bloom in the heat and integrate with the beans. The kitchen should smell incredible at this point — toasted spices and warm garlic and onion.
- Step 3: Transfer to blender or use immersion blender (2 minutes). Transfer the bean mixture to a food processor or blender (or use an immersion blender directly in a deep bowl). Add the lime juice and ¼ cup of water or vegetable broth to start. Blend in short pulses, scraping down the sides between pulses, until you reach your desired consistency. For chunky texture: blend for 30 seconds total. For smooth texture: blend for 60-90 seconds, adding more liquid in 2-tablespoon increments as needed.
- Step 4: Taste and adjust seasoning (2 minutes). Taste the dip and adjust as needed — more salt if it tastes flat, more lime juice if it needs brightness, more chili powder if it needs more depth, more water if it's too thick. The seasoning should be assertive enough to taste through the bean richness but not aggressive enough to overpower the natural bean flavor. This taste-and-adjust step is what separates a good dip from a great one.
- Step 5: Transfer to serving bowl and garnish (2 minutes). Transfer the finished dip to a wide shallow serving bowl. Drizzle with 1 tablespoon of olive oil for visual appeal. Sprinkle with chopped fresh cilantro. Add optional garnishes — crumbled queso fresco for richness, pickled jalapeños for spice, a few extra cumin seeds for visual interest. Serve immediately while warm, OR cover and refrigerate to serve cold later. Both temperatures work beautifully.
- Step 6: Serve with dippers (immediate). Arrange tortilla chips, fresh vegetable sticks, warm pita triangles, or naan around the bowl. For kid portions, plain salted tortilla chips work best. For adult portions, add hot sauce, extra lime wedges, and pickled jalapeños on the side for individual customization. The dip is ready to eat the moment it's plated — no resting time required, though flavors do deepen slightly if you make it 1-2 hours ahead of serving.
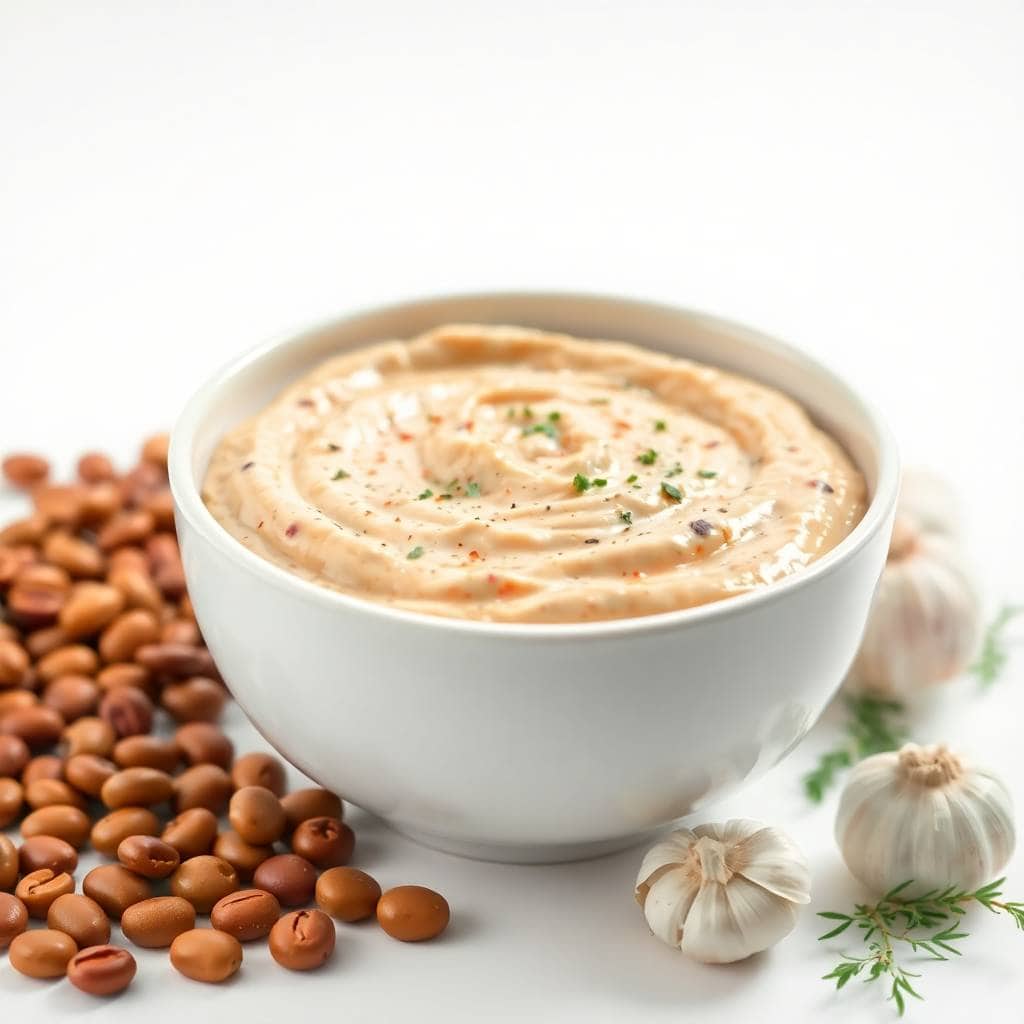
Tips for Success
- Drain AND rinse the canned beans — removes excess sodium and aquafaba slime. The single biggest mistake home cooks make with canned beans is just draining them without rinsing. The aquafaba (canned bean liquid) is salty, slimy, and adds unwanted flavor to the finished dip. Rinsing the beans under cold running water for 30 seconds removes the excess sodium and the slimy texture, which means you control the salt level of the final dip and the texture stays clean and creamy. Use a fine-mesh strainer for easy rinsing and let the beans drip-dry for 1-2 minutes before adding to the pan.
- Bloom the spices in oil BEFORE adding water — releases deeper flavor. The spices in this recipe (cumin, chili powder, smoked paprika) are oil-soluble flavor compounds that release their full aromatic potential when they're heated in fat. If you add the spices at the same time as water or broth, they don't bloom properly and the dip tastes flat. The proper technique is to add the spices to the beans-and-aromatics in the hot oil for 2 minutes before adding any liquid. This 2-minute spice-blooming step is the difference between a flat-tasting dip and a deeply flavored one — same ingredients, dramatically different result.
- Start with LESS liquid, add more as needed — easier to thin than thicken. Adding too much water or broth at the blending stage results in a runny dip that's hard to fix. Start with just ¼ cup of liquid, blend, then assess. Add more liquid in 2-tablespoon increments only if needed to reach your desired consistency. The ideal bean dip consistency holds its shape on a chip but spreads smoothly across the chip surface — about the thickness of room-temperature hummus. If you accidentally add too much liquid, you can simmer the finished dip uncovered for 5 minutes to evaporate excess moisture and re-thicken.
- Fresh lime juice is non-negotiable — bottled lime juice tastes wrong. The brightness from fresh lime juice is what lifts the heavy, earthy bean flavor and balances the spices. Bottled lime juice has a flat, slightly metallic taste that doesn't deliver the same brightness — it's noticeable even in small amounts. The 30 seconds it takes to squeeze half a fresh lime is genuinely worth it. If you only have bottled lime juice, the dip will still be edible, but the difference in finished quality is significant. Buy one lime when you're stocking ingredients for this recipe — it lasts a week in the fridge and elevates the entire dish.
- Blend in short pulses — protects the food processor and controls texture. Running the food processor or blender continuously for 60+ seconds can overheat the motor (especially for the budget appliances most home kitchens have), AND it removes your ability to control texture precisely. The proper technique is short 5-10 second pulses with scraping in between. This lets you check texture after each pulse and stop exactly when you've reached your desired consistency. For chunky dip: 3-4 short pulses. For smooth dip: 8-10 short pulses. The pulse technique also produces more even results because the motor doesn't fight against an overworked load.
Variations
- Pakistani-American masala bean dip (Sana's hybrid): Replace the cumin and chili powder with 1 tablespoon garam masala, 1 teaspoon chaat masala, and 1 teaspoon ground coriander. Add 2 teaspoons of ginger-garlic paste along with the regular garlic. Garnish with chopped fresh cilantro and mint instead of just cilantro. Serve with warm naan triangles and a small bowl of mint-cilantro chutney alongside the tortilla chips. The result is a Pakistani-American take on bean dip that bridges the Mexican-American base recipe with the spice profile my mother in Pakistan would recognize from her own dal mash and chana masala preparations. My husband requests this version specifically when his Pakistani-American cousins come over for dinner.
- Smoky chipotle version (adult bold flavor): Add 1-2 chipotle peppers in adobo sauce (finely minced) along with 1 tablespoon of the adobo sauce itself when you add the beans. Replace regular paprika with extra smoked paprika (2 teaspoons total). Add a pinch of ground cinnamon for warmth. The result is a deeply smoky, slightly spicy dip with Mexican-American cantina restaurant flavor. Skip this version for kids — chipotle is too spicy for most children. For adult parties, this is the version that earns "best dip I've ever had" compliments.
- White bean Mediterranean version (lighter, fresher): Replace the pinto or black beans with cannellini or great northern beans. Replace the cumin and chili powder with 1 tablespoon dried oregano, 1 teaspoon dried thyme, and 1 tablespoon fresh lemon zest. Replace the lime juice with fresh lemon juice. Garnish with chopped fresh parsley, crumbled feta cheese, and a few Kalamata olives. The result is a Greek/Italian-style white bean dip that pairs beautifully with warm pita and crudités. This is the version I make when serving an antipasto-style appetizer spread.
- Layered seven-layer dip foundation: Use the basic bean dip as the bottom layer of a classic seven-layer dip presentation. Layer on top: ½ cup sour cream, 1 cup guacamole, 1 cup shredded cheese, ½ cup diced tomatoes, ½ cup sliced black olives, and ¼ cup chopped scallions. Serve in a shallow glass dish to show off the layers. The result transforms this simple bean dip into a party-perfect appetizer centerpiece. Saad specifically requests this version for our family gatherings because of the visual appeal.
- Breakfast version with bacon and cheese: Add ½ cup of cooked crumbled bacon and ½ cup shredded sharp cheddar cheese to the dip after blending. Stir to combine — the residual heat will melt the cheese slightly. Serve warm with tortilla chips or stuffed inside breakfast burritos. The result is a breakfast-or-brunch version that works as a hearty morning dip with eggs on the side. My husband loves this version for weekend brunches.
Serving and Storage
How to Serve
Serve warm or at room temperature in a wide shallow serving bowl that maximizes surface area for easy chip-dipping. Drizzle with olive oil and garnish with fresh cilantro just before serving for visual appeal. Arrange tortilla chips (Tostitos, Mission, or whichever brand is on sale at your grocery store), fresh vegetable sticks (carrot, cucumber, bell pepper, celery), and warm pita triangles around the bowl. For drinks: iced tea, lemonade, sparkling water with lime for kids; beer, margaritas, or wine for adults. For multi-dip spreads: pair this bean dip alongside fresh salsa, guacamole, and queso for a complete dip board that feels abundant without requiring elaborate cooking. For Pakistani-American twist serving: include warm naan triangles, mint-cilantro chutney, and a side of raita. This dip works as the centerpiece of a casual snack table or as one component of a larger appetizer spread for parties. Each serving provides about ¼ cup of dip per person at a 6-8 person gathering, scaling up easily for larger crowds by doubling the recipe.
How to Store
Store leftovers in an airtight container in the refrigerator for up to 4 days. The flavor actually IMPROVES on day 2 as the spices penetrate more deeply into the beans (this is the rare dip that's genuinely better as leftovers). To reheat: warm in a saucepan over low heat for 5 minutes, stirring occasionally and adding a splash of water if it has thickened too much during storage. Alternative reheat: microwave individual portions in a microwave-safe bowl for 60 seconds, stir, then 30 more seconds if needed. Skip freezing — the texture becomes grainy and watery after thawing, and freshly-made bean dip takes only 15 minutes so freezer-stocking isn't worth the texture compromise. For meal-prep applications, this dip transforms into multiple weekday meal applications: pack ½ cup portions in lunch containers as a vegetable dip, spread on toasted bread for a quick lunch sandwich, fill into tacos or burritos with leftover proteins, top baked potatoes with the dip and shredded cheese, layer onto nachos with cheese and broil. One batch of bean dip easily transforms into 4-6 different meal applications across the week.
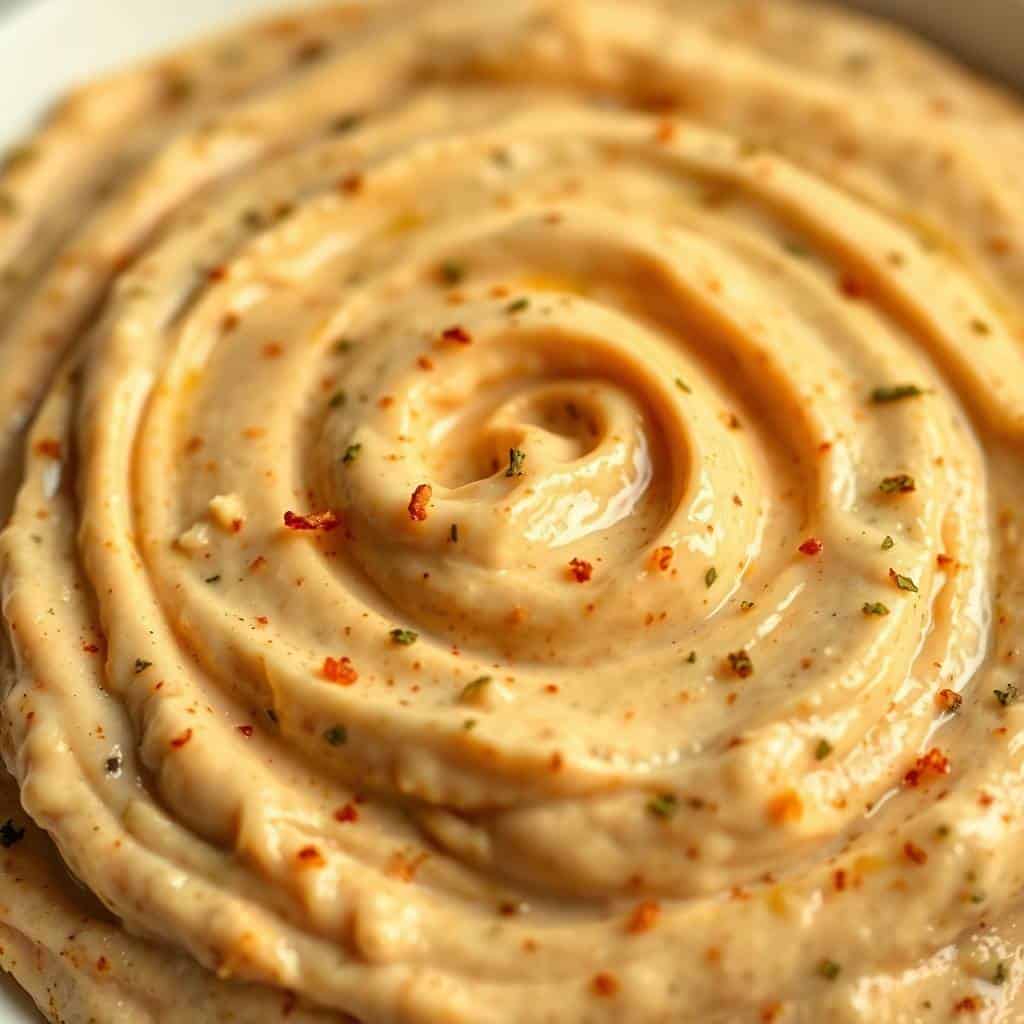
Related Recipes You Might Like
If you loved this easy homemade bean dip, here are more party appetizer and family snack recipe collections from the site that pair beautifully with casual entertaining and weeknight snacking:
- 35 Easy Dip Recipes — more dip inspiration for parties and snacks
- Caprese Skewers 10-Minute Appetizer — fresh starter for elegant dinners
- 25 Easy Chicken and Rice Recipes — family weeknight dinner pairings
- 15 Best Burger Toppings — backyard cookout inspiration
- Watermelon Feta Skewers — summer appetizer companion
Frequently Asked Questions
Can I use canned beans for this recipe?
Yes, canned beans work beautifully and are what I use most of the time. Two (15 oz) cans equal about 3 cups of cooked beans, which is the right amount for this recipe. The most important step with canned beans is to drain AND rinse them under cold running water for 30 seconds — this removes excess sodium and the slightly slimy aquafaba (canned bean liquid). Skipping the rinse step results in an overly salty dip with a less clean texture. Pinto, black, kidney, or great northern beans all work equally well for canned options. For homemade dried beans: cook 1.5 cups dried beans according to package directions, which yields about 3 cups cooked — the same amount as 2 cans.
Is this bean dip freezer-friendly?
I don't recommend freezing this bean dip. The texture becomes grainy and watery after thawing — the bean cells break down during freezing and release excess moisture that separates from the solids, creating a chalky-yet-runny texture that's noticeably worse than the fresh-made version. Since the recipe takes only 15 minutes from start to finish, freezer-stocking isn't worth the texture compromise. For making ahead: prepare the dip up to 24 hours before serving and refrigerate. The flavor actually improves overnight as the spices penetrate the beans more deeply. Just give it a stir before serving and adjust seasoning if needed.
Can I make this dip ahead of time?
Absolutely — and the flavor genuinely improves with overnight resting. Prepare the complete dip up to 24 hours before serving, transfer to an airtight container, and refrigerate. The spices deepen, the lime brightness mellows slightly, and the texture firms up to an even more spreadable consistency. To serve: bring to room temperature for 30 minutes OR warm gently in a saucepan over low heat for 5 minutes (add a tablespoon of water if it has thickened too much). Garnish with fresh cilantro and benefits of olive oil just before serving for the freshest visual appeal. For party hosting, the make-ahead approach is the best way to reduce day-of stress.
What beans work best for this recipe?
Pinto beans are the classic Tex-Mex choice and produce the creamiest texture and most authentic restaurant-style flavor. Black beans produce a darker dip with deeper earthy flavor that pairs beautifully with smoky paprika and chipotle variations. Cannellini or great northern beans produce a lighter, cream-colored Mediterranean-style dip that works well with the white bean Mediterranean variation in the Variations section. Kidney beans work in a pinch but have a slightly more assertive flavor than pinto. Mixed beans (pinto + black, for example) work beautifully and add visual interest. For first-time makers, pinto is the safe default that everyone enjoys.
How can I make it less spicy for kids?
The base recipe is genuinely mild and kid-friendly as written — Saad and Zainab both eat it without complaints. For ultra-mild kid versions: reduce the chili powder to ½ teaspoon and skip the smoked paprika (which adds depth more than heat but can be polarizing for some children). For maximum kid-friendliness, also skip the cumin and replace with ½ teaspoon of dried oregano, which produces a milder, more Italian-leaning flavor profile. For adult-and-kid serving at the same table: make the base recipe mild, set out hot sauce on the side for adults to customize their individual portions, and offer chopped pickled jalapeños as a topping for the spice-loving adults.
This easy homemade bean dip has earned its permanent rotation status in our household because of how genuinely it solves the actual problem most American kitchens face — needing a crowd-pleasing appetizer or family snack on short notice without elaborate cooking or expensive ingredients.
Saad's nickname "the brown dip" from that cultural foods potluck day has become permanent family vocabulary, and he requests this recipe for nearly every family gathering, weekday lunch, and movie night — which is the kind of kid-endorsement that confirms a recipe genuinely works for the actual situations it claims to serve.
My husband uses this dip as a sandwich spread for his lunch box throughout the week, which has made one batch stretch impressively across multiple meal applications — turning 15 minutes of cooking time into 4-6 different meals across the following days, which is the kind of recipe math that justifies permanent rotation in any real-world kitchen.
My mother in Pakistan's principle that "the best home cooking respects both the ingredients you actually have and the time you actually have" applies more universally than she could have imagined when she taught it to me decades ago — and this bean dip is the perfect embodiment of that principle. Pantry staples, 15 minutes, infinite variations, and a kid-approved result that satisfies adults too. The Pakistani-American masala variation deserves special mention because it bridges the Mexican-American base recipe with the spice profile my mother would recognize from her own kitchen, creating a cross-cultural hybrid that works beautifully when serving mixed audiences. 🫘🌶️🌿✨
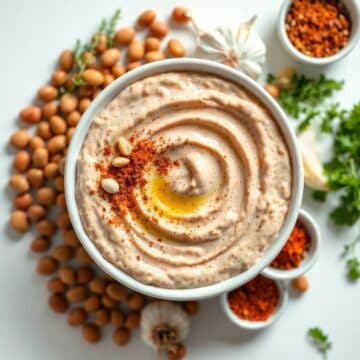
Easy Homemade Bean Dip Recipe (Creamy, 15 Minutes, Family-Approved)
Ingredients
- 2 cans (15 oz each) pinto beans drained and rinsed well
- ¼ cup tahini or Greek yogurt for creaminess
- 2 tablespoons fresh lemon juice or lime juice
- 2 cloves garlic minced or pressed
- 1 teaspoon ground cumin mild spice
- ½ teaspoon smoked paprika plus extra for garnish
- 2 tablespoons extra virgin olive oil plus more for drizzling
- ¼ teaspoon salt adjust to taste
- 2 tablespoons fresh parsley chopped for garnish, optional
Instructions
- Drain and rinse your canned pinto beans under cold running water for 30 seconds, using your fingers to gently rub the beans and remove excess starch and sodium. This step ensures a cleaner, less grainy texture in your final dip.
- Add drained beans, tahini (or Greek yogurt), fresh lemon juice, minced garlic, ground cumin, smoked paprika, olive oil, and salt to the bowl of a food processor. Pulse 5 to 6 times until roughly combined, then process for 60 to 90 seconds until the mixture reaches a creamy, spreadable consistency that still has a little texture.
- Taste and adjust seasonings as needed, adding more salt, lemon juice, or cumin depending on your preference and your family members who may prefer milder flavors. Remember that flavors develop and intensify as the dip sits.
- Transfer the bean dip to a serving bowl and create a shallow well in the center using the back of a spoon. Drizzle with a thin stream of extra virgin olive oil and sprinkle generously with smoked paprika and fresh chopped parsley if using.
- Serve immediately at room temperature with tortilla chips, pita bread, vegetable sticks, or whole grain crackers. This dip is best enjoyed fresh but will keep refrigerated in an airtight container for up to 4 days.
Notes





Comments
No Comments