
Red Velvet Cake Pops are a fun and elegant way to enjoy classic red velvet cake in bite-sized form. They are ideal for parties, holiday gatherings, or whenever you want a delicious, portable dessert that’s easy to serve and share.
This recipe is straightforward, combining homemade or store-bought cake with a simple frosting blend, making cake pops accessible even for beginners. The pops are fun to eat and visually impressive, making them crowd-pleasers.
These pops combine moist, rich red velvet cake crumbles with smooth cream cheese frosting, shaped into perfect spheres. Decorating options are endless — from sprinkles and drizzles to themed toppings — allowing you to customize.
The crisp outer shell of candy coating provides a satisfying contrast, adding to the overall sensory experience. Each pop is a miniature masterpiece, bursting with that distinct red velvet taste that has captivated dessert lovers for generations.
Whether you're a seasoned baker looking for a creative project or a beginner eager to try something new and impressive, this recipe offers a straightforward approach to creating professional-looking and tasting cake pops.
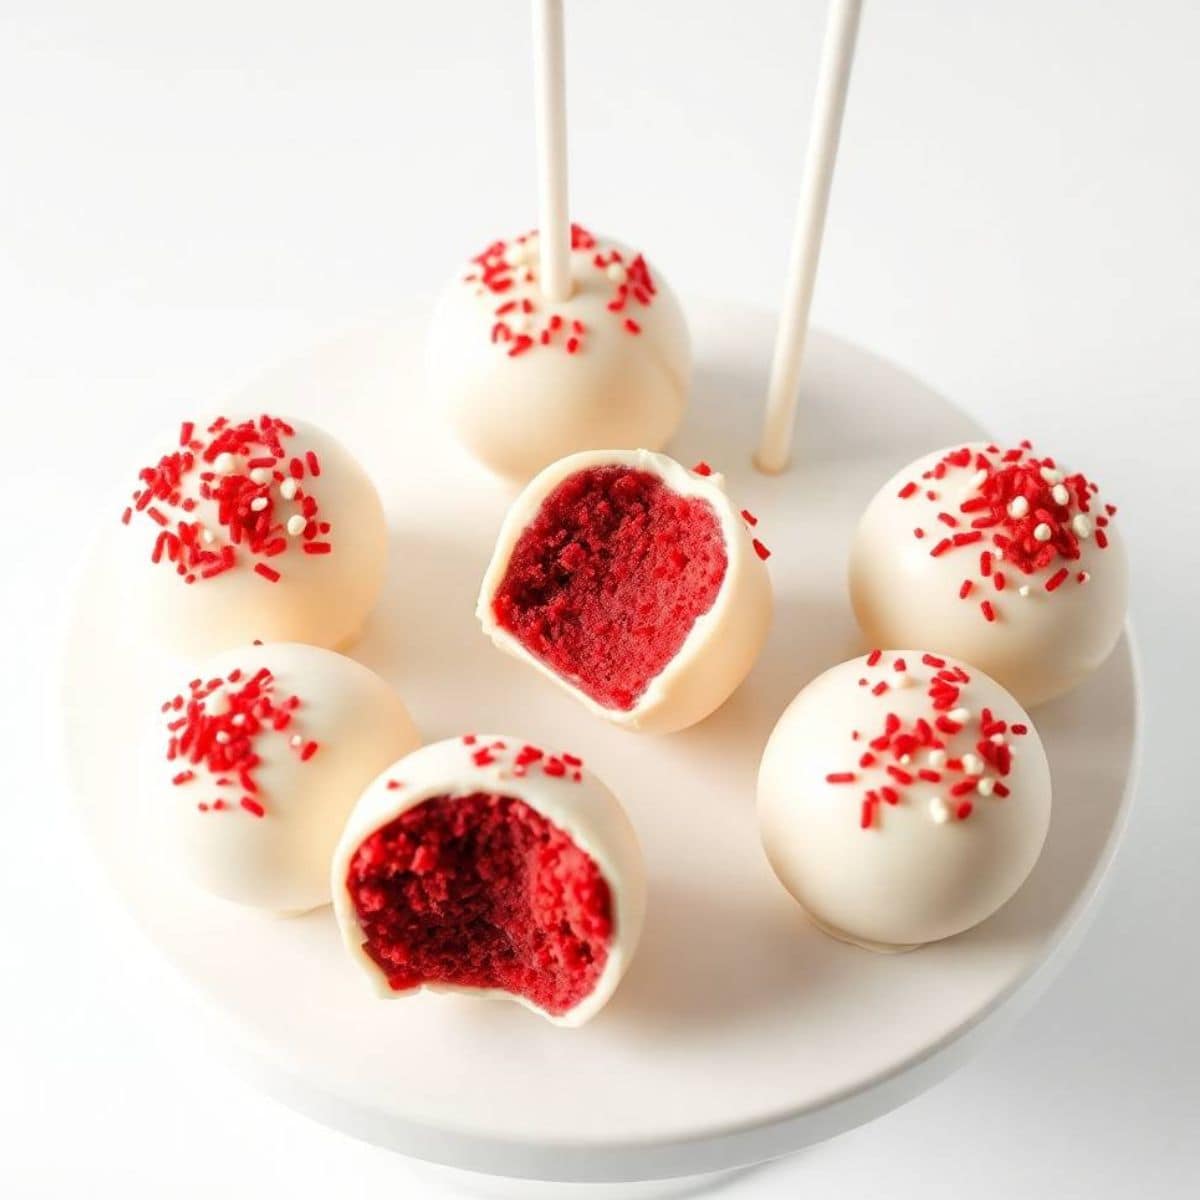
WHY YOU WILL LOVE THIS RECIPE
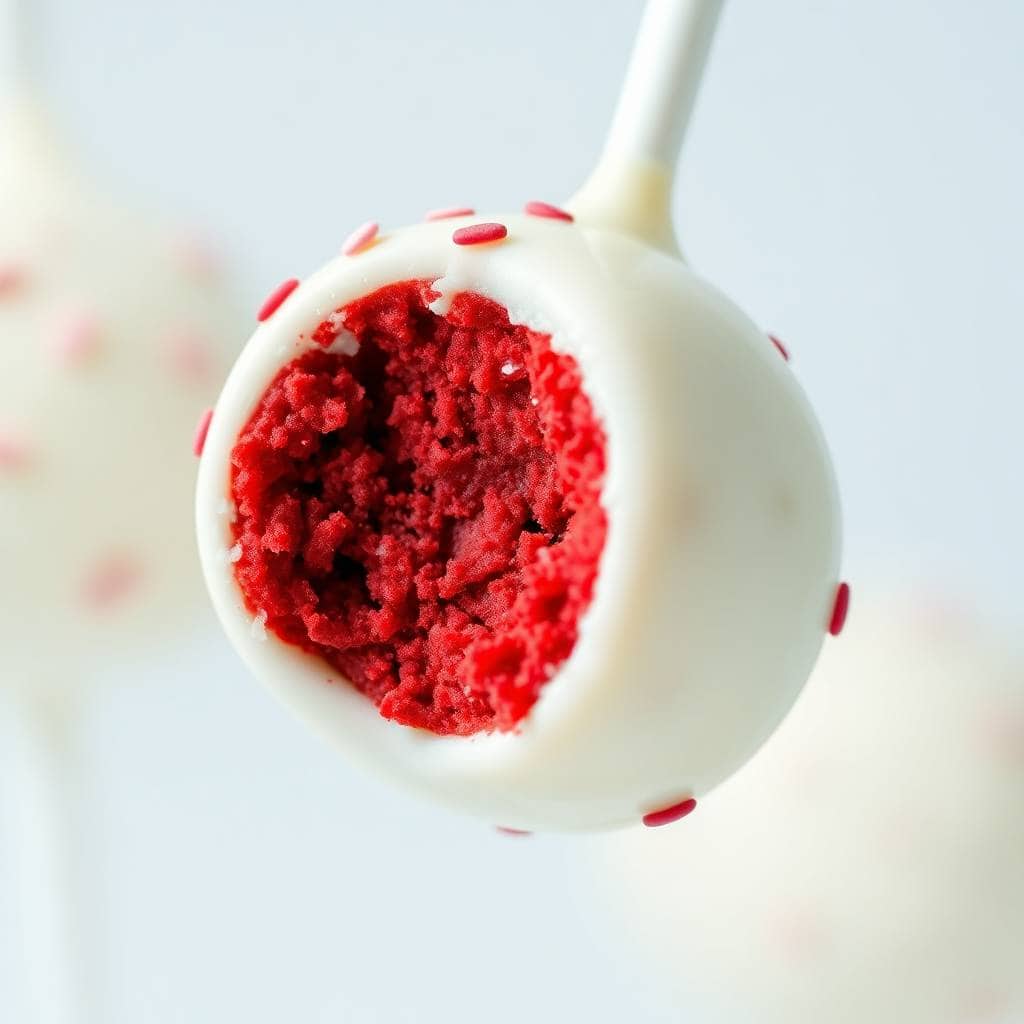
- Moist and Rich Cake: Made with classic red velvet cake, these pops have a deep cocoa flavour and velvety texture that melts in your mouth.
- Cream Cheese Frosting: The smooth frosting binds the cake crumbs perfectly, adding tangy sweetness and a creamy texture that enhances every bite.
- Bite-Sized Convenience: Cake pops are easy to serve and eat, making them perfect for parties, kids’ snacks, or elegant dessert tables.
- Customizable Decoration: Use sprinkles, candy melts, or edible glitter to create personalized designs for any celebration or theme.
- No Baking Required: Use store-bought cake or leftover cake, saving time while still enjoying homemade cake pop goodness.
- Fun and Festive: Their bright red colour and cute presentation make these pops festive and eye-catching treats for any event.
- Great for Gifting: Packaged in boxes or jars, cake pops make thoughtful, delicious gifts for friends and family.
DIRECTIONS
- Step No.1: Prepare the cake crumbs
Crumble cooled red velvet cake into a large bowl until fine and even. Avoid large chunks to ensure smooth pops.
- Step No.2: Mix with frosting
Add cream cheese frosting gradually to the cake crumbs, mixing gently until the mixture holds together when pressed.
- Step No.3: Shape the cake pops
Scoop small portions of the mixture and roll into 1-inch balls using your hands. Place on a parchment-lined baking sheet.
- Step No.4: Chill the pops
Refrigerate the shaped balls for at least 1 hour to firm up, making them easier to dip and decorate.
- Step No.5: Insert sticks and dip
Insert lollipop sticks into each chilled ball. Dip into melted candy coating until fully covered and let excess drip off.
- Step No.6: Decorate and set
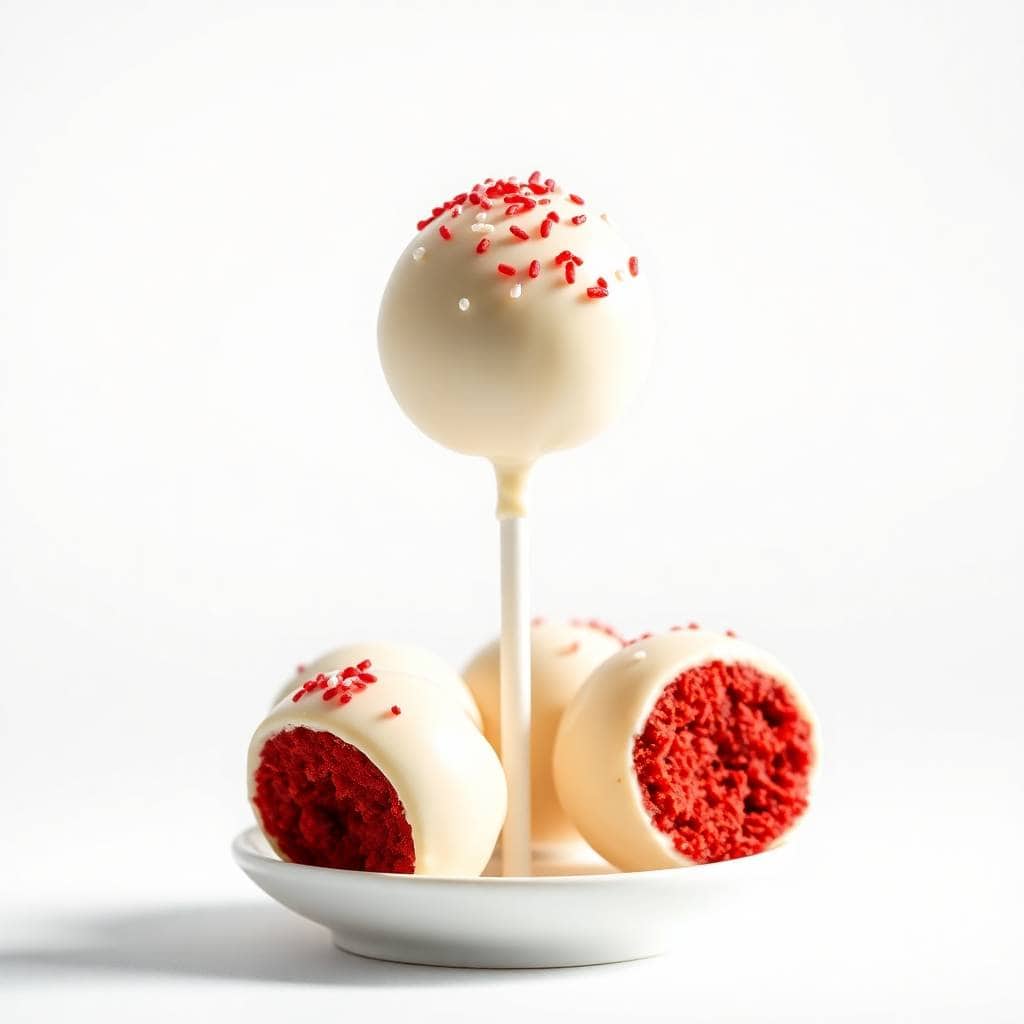
While coating is wet, add sprinkles or other decorations. Place pops upright in styrofoam or a stand to set completely.
TIPS FOR SUCCESS
- Use firm frosting: Cream cheese frosting should be chilled and thick enough to bind crumbs without making the mixture too sticky.
- Don’t overmix: Mix crumbs and frosting gently to maintain texture and prevent dense cake pops.
- Chill well: Proper chilling prevents pops from falling apart during dipping and helps candy coating set smoothly.
- Work quickly with coating: Candy melts harden fast; dip pops one at a time for best results.
- Secure sticks firmly: Dip the stick end in coating before inserting into the ball for better hold.
- Use a candy thermometer: If melting coating on the stove, keep temperature steady to avoid burning or clumping.
- Store pops upright: Use a stand or styrofoam block to keep pops upright until coating hardens completely.
VARIATIONS
- Chocolate Coating: Use dark or white chocolate melts instead of red candy coating for a flavour twist.
- Sprinkle Toppings: Add festive sprinkles, crushed nuts, or edible glitter while coating is still wet for added texture and colour.
- Flavored Frosting: Try flavored cream cheese frostings like orange or raspberry for a fruity variation inside.
- Mini Pops: Make smaller cake pops as bite-sized party favors or dessert accompaniments.
- Drizzled Decoration: Use contrasting melted chocolate to drizzle patterns over the coated pops for elegant design.
- Double Coating: Dip twice in coating for a thicker, crunchier shell and longer-lasting pops.
- gluten-free diet Option: Use gluten-free red velvet cake mix and suitable frosting for dietary needs.
SERVING AND STORAGE
Serving
Serve chilled or at room temperature as elegant bite-sized treats, perfect for parties, dessert tables, or gifting.
Storage
Store cake pops in an airtight container in the fridge for up to 5 days. Let come to room temperature before serving.
FAQ
Yes, store-bought cake works great; just crumble finely for best texture.
They stay fresh refrigerated for up to 5 days; avoid freezing to preserve texture.
Freezing is possible but may affect texture; freeze uncoated pops and thaw before dipping.
Chill the mixture longer and use enough frosting to bind crumbs firmly.
Yes, buttercream or mascarpone frostings can be substituted depending on flavour preference.
red velvet cake pops are a fun and delightful way to enjoy the classic red velvet flavour in a bite-sized, portable form.
Decorating options are endless, allowing you to customize each pop for your event or personal style.
These cake pops also make excellent gifts or party favors, packaged beautifully to impress friends and family.
They store well in the fridge and can be made ahead of time, making them a convenient option for busy hosts.
If you want, I can now provide the full recipe with the introduction, bullets, and all sections properly formatted.

RED VELVET CAKE POPS RECIPE
Ingredients
For the Cake:
- 1 box red velvet cake mix plus ingredients required on the box
For the Frosting:
- 8 oz cream cheese softened
- ½ cup unsalted butter softened
- 2 cups powdered sugar
- 1 teaspoon vanilla extract
For Decorating:
- 12 oz white chocolate or candy melts
- Sprinkles or crushed nuts optional
- Cake pop sticks
Instructions
Bake the Cake:
- Prepare the red velvet cake according to box instructions. Bake and cool completely.
Make the Frosting:
- Beat cream cheese and butter until smooth. Gradually add powdered sugar and vanilla extract; beat until creamy.
Form the Cake Pops:
- Crumble cooled cake into a large bowl. Add about half the frosting and mix until dough-like. Roll mixture into 1-inch balls. Place on a baking sheet and chill for 1 hour.
Coat the Pops:
- Melt white chocolate or candy melts. Dip the tip of each cake pop stick into melted chocolate, then insert into cake ball. Dip entire cake pop into melted chocolate, tap off excess.
Decorate:
- Before chocolate sets, add sprinkles or crushed nuts if desired. Let cake pops dry standing up in a styrofoam block or cake pop stand.
Serve:
- Serve chilled or at room temperature.
Notes





Comments
No Comments