
I made focaccia for the first time about four years ago and it was genuinely one of the better decisions I've made in my kitchen. I'd been intimidated by bread baking for years — yeast felt like something that could fail you at any moment — but focaccia turned out to be the most forgiving dough I've ever worked with. No shaping, no scoring, no bread pans required. You basically press it into a regular sheet pan and let the oven do the heavy lifting.
This version is loaded with slowly cooked caramelised onions and a double layer of cheese — mozzarella for that stretchy melt, Parmesan for the salty, crispy edges. The onions are the part people always ask about. You have to cook them low and slow, which I'll talk about more in the tips section, because the first time I tried to rush them I ended up with something halfway between raw and burnt and nothing in between.
My husband asked me to make this three weekends in a row after I first got the recipe right. He usually eats it alongside a big bowl of soup — something warm and brothy. Zainab pulls pieces off the corner where the cheese has gone all crispy and golden, which honestly is the best part. If you're looking for something to serve alongside a cozy dinner this week, this pairs really well with my cheesy baked ziti when you're feeding a crowd.
One thing to set expectations on: this is not a super fast recipe. The dough needs about an hour to rise, then another 20–30 minutes for a second proof in the pan. Plan for about 2 hours total, but most of that is hands-off waiting time. I usually start the dough in the afternoon when I know I want it for dinner, and it all comes together without stress.
Why You'll Love This Recipe
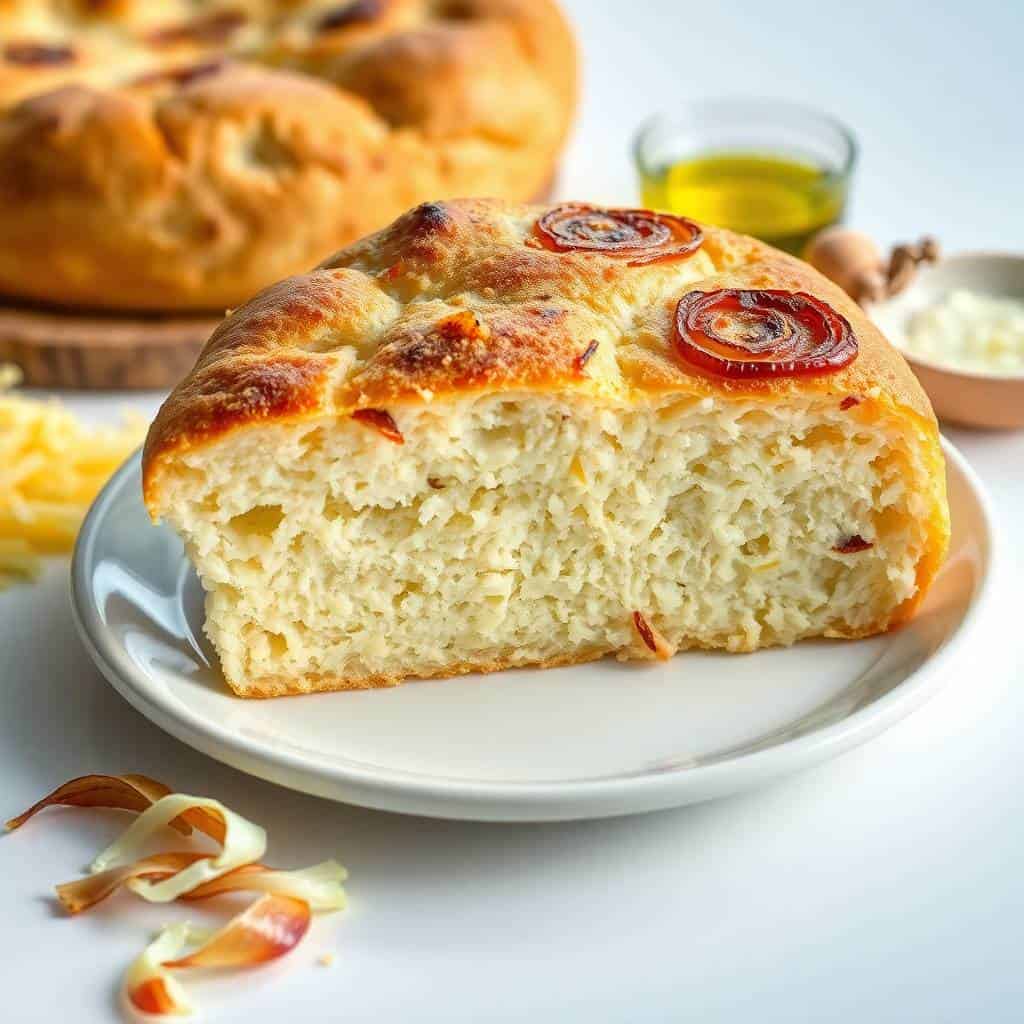
- No kneading required: I don't have a stand mixer and I'm not spending 10 minutes kneading dough by hand on a Tuesday evening. This focaccia dough comes together with a spoon — you just stir until combined, cover it, and leave it alone. The long rise does all the work of developing gluten, so you don't have to. It genuinely surprised me the first time how little effort goes into getting a proper bread texture.
- The edges go completely crispy: Because you're baking this in an olive-oil-greased metal pan, the bottom and sides of the focaccia get this incredible crunchy, almost fried texture. The inside stays fluffy and soft while the crust has real snap to it. That contrast is what makes focaccia different from any other bread I make, and it happens automatically — you don't have to do anything special to get it.
- Pantry ingredients, no specialty store needed: Everything here — flour, yeast, onion, mozzarella, Parmesan — is available at any Walmart, Aldi, or regular grocery store. I live in Pakistan but I write this for readers in the US, UK, Canada, and Australia, and I specifically tested this recipe with supermarket ingredients, not anything fancy. A block of pre-shredded mozzarella from the dairy aisle is perfectly fine.
- It's endlessly adaptable: Once you've made the base dough once, you can put almost anything on top. I've done cherry tomatoes and fresh basil, just rosemary and flaky salt, a version with sliced jalapeños. The onion and cheese version in this recipe is the one my family comes back to most, but it's really just a starting point. Think of the dough recipe as something you'll use over and over.
- Works as a side, a snack, or actual sandwich bread: I've cut this into squares and served it with soup. I've sliced it horizontally and used it as sandwich bread. Saad has eaten cold leftover pieces straight from the fridge for breakfast, which I normally wouldn't encourage but honestly the bread holds up overnight better than most. It's one of those recipes that earns its place in your rotation because it works in so many different situations.
Ingredients
- 2 ¼ teaspoons active dry yeast (1 standard packet)
- 1 teaspoon granulated sugar
- 1 cup warm water (around 110°F / 45°C — warm to the touch but not hot)
- 2 ½ cups all-purpose flour
- 1 teaspoon salt
- ¼ cup olive oil (plus a bit more for greasing the pan and drizzling on top)
- 1 large onion, thinly sliced
- 1 tablespoon olive oil (for cooking the onions)
- 1 cup shredded mozzarella cheese
- ¼ cup grated Parmesan cheese
- 1 teaspoon dried oregano (optional, but I usually add it)
- Coarse sea salt, for sprinkling on top
Directions
- Make the dough: In a large bowl, combine the warm water, sugar, and yeast. Stir briefly and let it sit for 5–10 minutes until it looks foamy on top — that foam tells you the yeast is alive and active. If nothing happens after 10 minutes, your water was probably too hot or too cold, and it's worth starting over with a fresh packet rather than wasting the rest of the ingredients.
- Bring the dough together: Add the flour, salt, and olive oil to the yeast mixture. Stir with a wooden spoon until a shaggy, sticky dough forms. It won't look smooth and that's completely fine — focaccia dough is supposed to be wetter than regular bread dough. Don't be tempted to add more flour. Cover the bowl with plastic wrap or a clean kitchen towel and leave it somewhere warm for about 1 hour, until it has roughly doubled in size.
- Caramelise the onions: While the dough rises, heat 1 tablespoon of olive oil in a skillet over medium-low heat. Add the sliced onions and cook, stirring every few minutes, for about 20–25 minutes until they're deeply golden and soft. Don't rush this by cranking up the heat — low and slow is what brings out that natural sweetness. Set them aside to cool slightly when done.
- Prepare the pan: Pour a generous glug of olive oil into a 9x13-inch metal baking pan and spread it around the bottom and up the sides. Transfer the risen dough into the pan and use your fingertips to press and stretch it out toward the edges. It might spring back a little — if it does, just wait 5 minutes and try again. Let the shaped dough rest in the pan for another 20–30 minutes so it puffs up slightly.
- Dimple and top: Press your fingers firmly into the dough all over to create those signature focaccia dimples — go deep, they help the toppings settle in. Drizzle lightly with olive oil, then scatter the caramelised onions evenly across the surface. Pile on the mozzarella and Parmesan, sprinkle with oregano if using, and finish with a pinch of coarse salt.
- Bake: Bake in a preheated oven at 400°F (200°C) for 20–25 minutes, until the cheese is bubbling and golden and the edges of the bread look deeply browned. I check mine at 22 minutes because my oven runs slightly hot. Let it cool in the pan for at least 10 minutes before slicing — this helps the bread set and makes cleaner cuts.
Tips for Success
- Check your water temperature: This is the step I messed up the first time I made yeasted bread. The water needs to be warm — around 110°F — which feels like warm bathwater, not hot. I just use a cheap kitchen thermometer I've had for years, but if you don't have one, stick your wrist under the tap. If it feels hot, it'll kill the yeast. If it feels barely warm, the yeast will be sluggish. Aim for that comfortable middle ground.
- Don't skip the second rise in the pan: I was impatient once and baked it straight after shaping without letting it rest again. The result was denser and more bready than focaccia should be. That 20–30 minute second proof is short but it matters — the dough relaxes and puffs up slightly, which is what gives you that airy interior texture once baked.
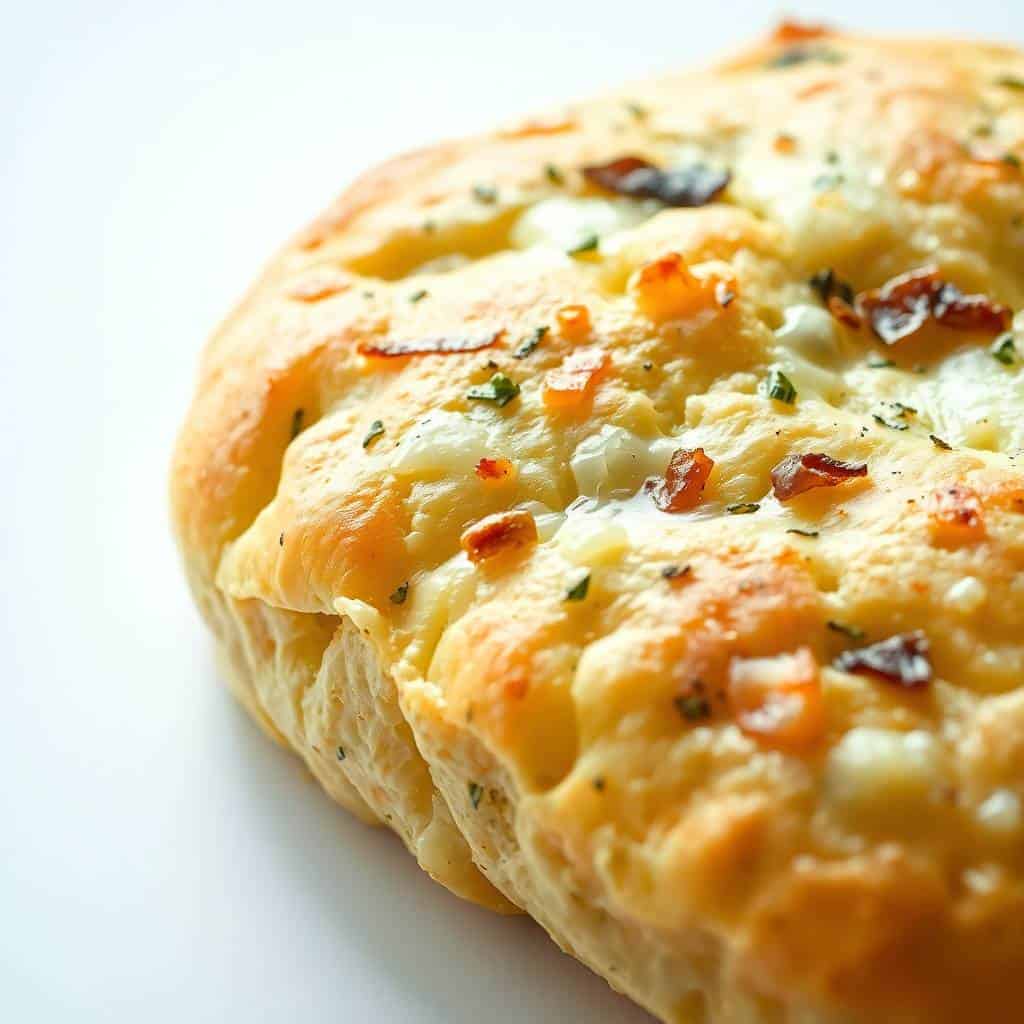
- Cook your onions properly low and slow: This is genuinely the most important part of the whole recipe. If you cook onions over high heat trying to save time, they'll soften unevenly and taste sharp instead of sweet. Medium-low, 20–25 minutes, stirring occasionally. The colour should be deep golden, almost amber. That's when they're ready. Rushing them is the single most common mistake I see people make with recipes like this.
- Use a metal pan, not glass or ceramic: Glass and ceramic don't conduct heat the same way metal does. For focaccia, you want a metal 9x13 pan — the kind that comes in any basic bakeware set or costs about $10 at Walmart. The metal gets hot fast and gives you that crispy, golden bottom crust that's one of the best parts of the whole bread. Glass baking dishes will give you a soft, pale bottom instead.
- Be generous with the olive oil: I know it feels like a lot when you're greasing the pan, but olive oil is what makes focaccia focaccia. It creates that crispy, almost fried bottom layer. Don't go minimal here — coat the pan properly and drizzle more on top before baking. This is not the recipe to use a light hand with oil.
Variations
- Add fresh herbs to the dough: Stir a tablespoon of finely chopped fresh rosemary or thyme directly into the dough before the first rise. It perfumes the whole bread from the inside, not just the top. Rosemary is the classic choice and works especially well with the onion-cheese topping. Dried herbs work too — use about a teaspoon of dried rosemary or thyme.
- Swap the cheese: The mozzarella-Parmesan combo is my standard, but fontina melts beautifully and has a slightly nuttier flavour. Gruyère is another good option if you want something more complex. I've even done a version with sharp white cheddar when that was all I had, and it worked. The main thing is to have at least one cheese that melts well and one that browns and crisps up at the edges.
- Cherry tomatoes on top: Scatter halved cherry tomatoes over the dough alongside the onions and cheese before baking. They soften and get slightly jammy in the oven, which adds a nice acidity that cuts through the richness of the cheese. This version reminds me a bit of a very thick Margherita pizza. If you enjoy that kind of thing, try it alongside my one pot lasagna pasta for a full Italian-inspired spread.
- Spicy version: Scatter red pepper flakes over the top before baking, or add a few slices of fresh jalapeño alongside the onions. The heat plays off the sweetness of the caramelised onions in a way I really like. My husband adds extra chili flakes to his slice at the table anyway, so I've started putting them on before baking to save him the step.
- Garlic butter finish: Melt 2 tablespoons of butter with a small clove of minced garlic and brush it over the top of the focaccia the moment it comes out of the oven. The butter soaks into all those dimples and makes the whole thing taste richer and more indulgent. I do this version when I'm serving it as a starter or alongside something simple like a green salad.
Serving and Storage
Serving
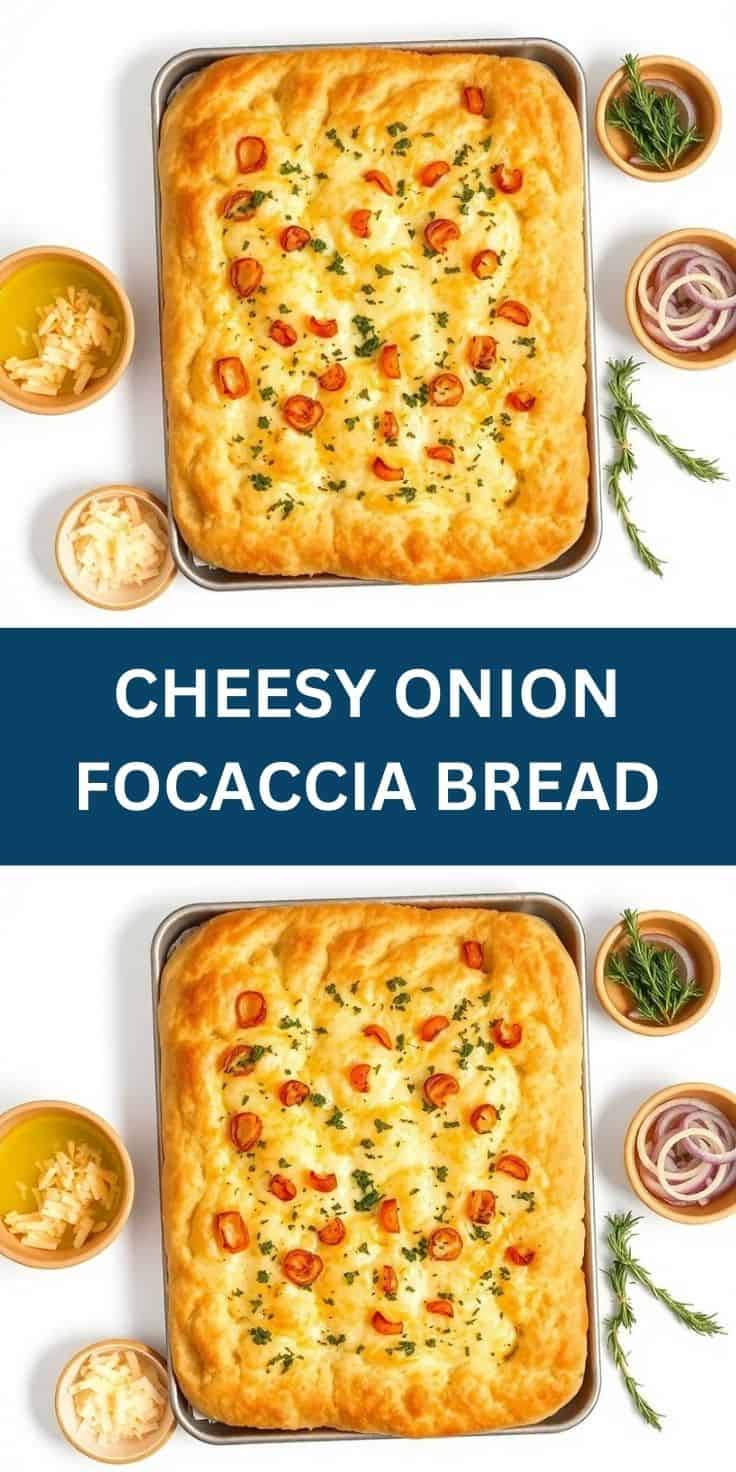
Serve warm, about 10 minutes out of the oven, when the cheese is still slightly gooey and the crust is at its crispiest. Cut into squares or rectangles — I usually do about 12 pieces from a 9x13 pan. It works as a side dish with soups or pastas, as a starter cut into smaller pieces for sharing, or honestly as the main event with a big salad alongside. It also makes good sandwich bread if you slice it horizontally through the middle and fill it with whatever's in the fridge. In Pakistan I'd serve it with a lentil soup; most of my readers in the US tend to pair it with tomato soup or a simple green salad.
Storage
Store leftover focaccia in an airtight container at room temperature for up to 2 days. After that it starts drying out. To reheat, put slices directly on a baking sheet in a 350°F (175°C) oven for about 8 minutes — this brings the crust back to life in a way that the microwave never will. The microwave makes it chewy and soft, which is fine if you're in a hurry but not ideal. You can also freeze baked and fully cooled focaccia: wrap it tightly in foil, then a freezer bag, and freeze for up to a month. Reheat straight from frozen in the oven at 375°F for 12–15 minutes.
Frequently Asked Questions
Can I use instant yeast instead of active dry yeast?
Yes, you can swap in instant yeast in the same quantity without changing anything else. With instant yeast you can skip the 10-minute proofing step — just mix it directly into the flour. Active dry yeast benefits from that initial bloom in warm water to confirm it's alive, which is why the recipe calls for that step. Either one will give you the same result in the end.
Can I make the dough ahead of time?
Yes, and actually the dough is really good made the night before. After mixing, cover the bowl and put it straight in the fridge instead of letting it rise at room temperature. It will rise slowly overnight. The next day, take it out about an hour before you want to bake, let it come to room temperature, then shape it in the pan and proceed with the second proof and toppings. The slow cold rise actually develops more flavour in the dough.
What type of onion works best for this focaccia?
Yellow onions are my default because they caramelise to the deepest, sweetest flavour. Red onions work too and give you a slightly more complex, almost winey taste — I like them when I want something a little different. Shallots are milder and sweeter, good if you want a more delicate onion presence. Whichever you use, the low-and-slow cooking method stays the same.
Can I freeze baked focaccia?
Yes. Let it cool completely first, then wrap individual pieces or the whole slab tightly in foil and place in a freezer bag. It keeps well for up to a month. To reheat, unwrap and bake at 375°F (190°C) for about 12–15 minutes straight from frozen. The crust comes back reasonably crispy. I wouldn't say it's quite as good as fresh-baked, but it's still very good and way better than letting it go stale.
My dough didn't rise — what went wrong?
Usually it's one of two things: the water was too hot and killed the yeast, or the yeast was old and no longer active. The foam test at the beginning is your safety net — if the yeast doesn't foam up in 10 minutes, don't proceed. Start fresh with a new packet. I keep my yeast in the freezer to extend its shelf life, which I'd recommend if you don't bake frequently. Also make sure you're rising the dough somewhere genuinely warm — in winter my kitchen is cold and I put the bowl in an unheated oven with just the oven light on.
CHEESY ONION FOCACCIA BREAD
Ingredients
For the Dough:
- 2 ¼ teaspoons active dry yeast 1 packet
- 1 teaspoon sugar
- 1 cup warm water about 110°F / 45°C
- 2 ½ cups all-purpose flour
- 1 teaspoon salt
- ¼ cup olive oil
For the Topping:
- 1 large onion thinly sliced
- 1 tablespoon olive oil for onions
- 1 cup shredded mozzarella cheese
- ¼ cup grated Parmesan cheese
- 1 teaspoon dried oregano optional
- Coarse sea salt for sprinkling
Instructions
Make the Dough:
- In a large bowl, dissolve yeast and sugar in warm water. Let sit for 5–10 minutes until foamy. Stir in flour, salt, and olive oil. Knead into a soft dough. Cover and let rise for 1 hour or until doubled.
Prepare the Onions:
- While the dough rises, sauté onions in 1 tablespoon olive oil over medium heat until golden and soft, about 10–12 minutes. Set aside.
Shape and Top:
- Punch down the dough and spread it in a greased 9x13-inch pan. Use fingers to dimple the surface. Top with caramelized onions, mozzarella, Parmesan, oregano (if using), and a sprinkle of coarse salt.
Bake:
- Bake at 400°F (200°C) for 20–25 minutes until golden brown and bubbly.
Cool and Serve:
- Let cool slightly before slicing and serving warm.
Notes
- Make Ahead:
Dough can be made and refrigerated overnight. Bring to room temperature before baking. - Flavour Additions:
Add garlic to the onions or sprinkle with red pepper flakes for a spicy twist. - Serving Suggestions:
Serve as a side to soups, salads, or cut into squares for party platters. - Allergy-Friendly Options:
Use dairy-free cheese alternatives and gluten-free flour mix if needed. - Storage Tips:
Store leftovers in an airtight container for up to 2 days. Reheat in the oven for best texture.





Comments
No Comments