
I made my first root beer float when Saad was about five years old, during a particularly brutal July heat wave. I had seen them in American movies for years — that tall glass, the foam spilling over, someone slurping through a straw with a huge smile — and I finally just did it. Two ingredients, thirty seconds of effort, and he looked at me like I had performed actual magic.
What makes a root beer float work is the contrast. The cold, dense ice cream slows the fizz just enough to create that thick, creamy foam layer on top, while the bottom stays icy and bubbly. It's not complicated. It doesn't need to be. What it does need is very cold root beer — I mean straight-from-the-fridge cold — and a decent scoop of vanilla ice cream. I use whatever brand is on sale at the grocery store and it always comes out right.
We make these every summer now, usually when I'm already putting together something like my wedding shower punch recipes or planning a backyard spread. The float is always the first thing to disappear. My husband, who didn't grow up with this drink either, now requests it specifically on hot Friday evenings. Saad insists on the cherry on top. Zainab skips the cherry but asks for extra whipped cream.
One thing I'll tell you upfront: this is a make-and-drink-immediately situation. You cannot assemble it ahead of time. The fizz dies, the ice cream melts into the soda, and you're left with something lukewarm and flat. Have your glasses ready, your root beer ice cold, and your ice cream already scooped. Then pour and serve fast.

Why You'll Love This Recipe
- Two ingredients, zero effort: There's no cooking, no prep, no equipment. You scoop ice cream into a glass and pour cold root beer over it. That's it. On days when I've been standing over a hot stove making dinner and the kids still want dessert, this is what I reach for. It feels like a treat without adding any extra work to my evening.
- Kids absolutely love it: The foaming and fizzing when the root beer hits the ice cream is genuinely exciting for children. Saad called it "a volcano drink" the first time and has never stopped asking for it. If you're looking for something fun to serve at a kids' birthday or a casual summer cookout, this is it — and you can set up a little DIY float station with different toppings so everyone customises their own.
- Endlessly customisable: The vanilla-and-root-beer combination is the classic, but once you've made it a few times you'll start experimenting. Chocolate ice cream, cherry soda, coconut milk ice cream for a dairy-free version — it all works. I've even done a coffee ice cream version with regular root beer and it tasted like a dessert I'd pay real money for at a café.
- Works for any summer occasion: Fourth of July, Memorial Day weekend, a random Tuesday when it's 95°F and everyone is melting — this drink fits every one of those moments. In Pakistan we didn't have this tradition, but I've fully adopted it. It's the kind of treat that feels festive without requiring any planning or special shopping.
- It's a drink AND a dessert: You eat it with a spoon and drink it through a straw at the same time. There's something uniquely satisfying about that. As the ice cream slowly melts into the root beer, the soda gets creamier and sweeter at the bottom. By the time you get to the last few sips, it tastes completely different from the first spoonful — and both stages are good.
Ingredients
- 2 cups root beer, well-chilled (I usually use A&W or Barq's — both work great)
- 4 scoops vanilla ice cream (about 1 cup total — use a creamy, dense variety if you can)
- Whipped cream, for topping (optional but Zainab insists on it)
- Maraschino cherries, for garnish (optional)
- Paper straws and a long spoon for serving
Directions
- Step 1: Pick your glass. Use a tall float glass, a pint glass, or even a mason jar — anything tall enough to hold the foam. A wide mouth helps because you need room for the spoon and the straw at the same time. I've used regular drinking glasses in a pinch and they work fine, though you do lose a little of the visual drama.
- Step 2: Scoop the ice cream. Place 2 scoops of vanilla ice cream into each glass. Lower them in gently rather than dropping them from a height — dropping causes immediate fizz chaos when the root beer goes in and you'll lose half your drink to foam. The ice cream should be cold but just soft enough to scoop cleanly.
- Step 3: Pour the root beer slowly. This is the step most people rush and then regret. Tilt the glass very slightly if you can, and pour the root beer down the inside edge rather than directly onto the ice cream. Go slowly. Pause if the foam rises too high, let it settle for a few seconds, then pour more. You'll fit more soda in the glass this way without overflow.
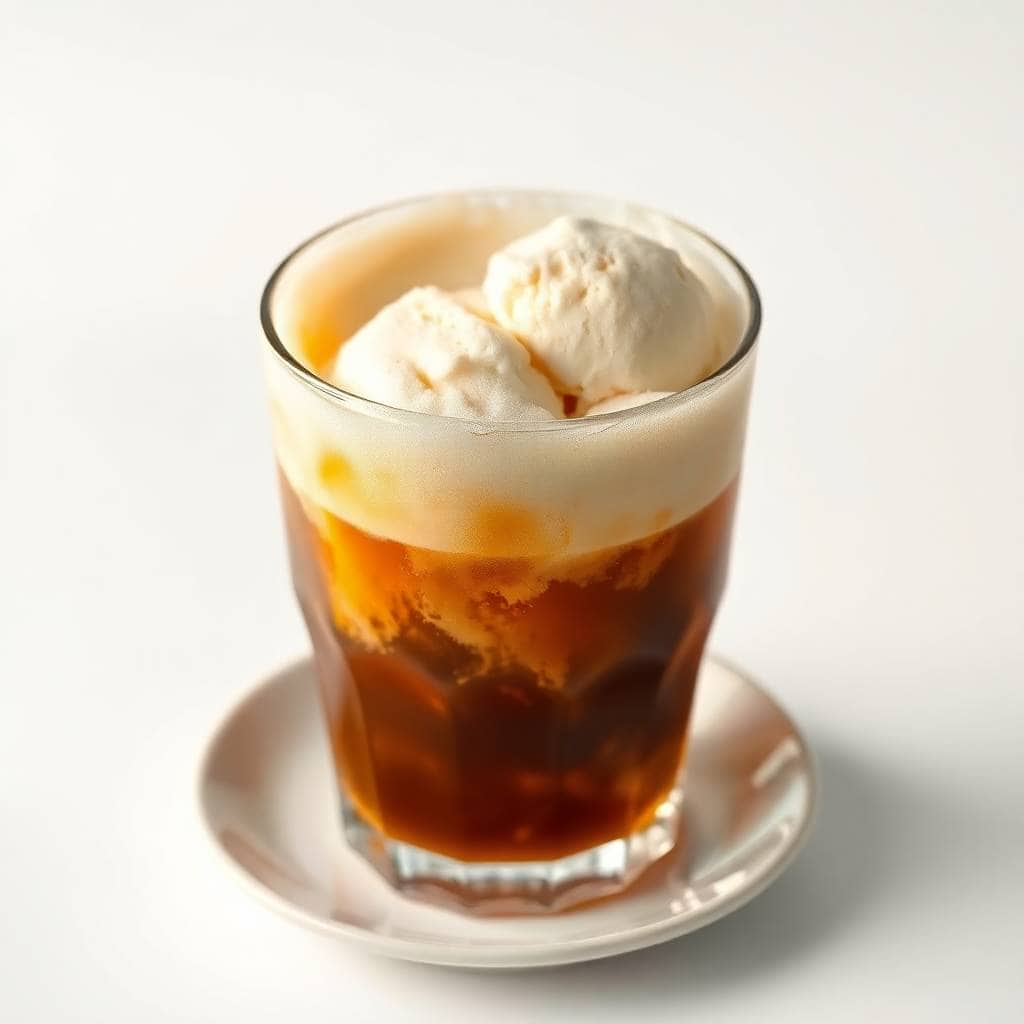
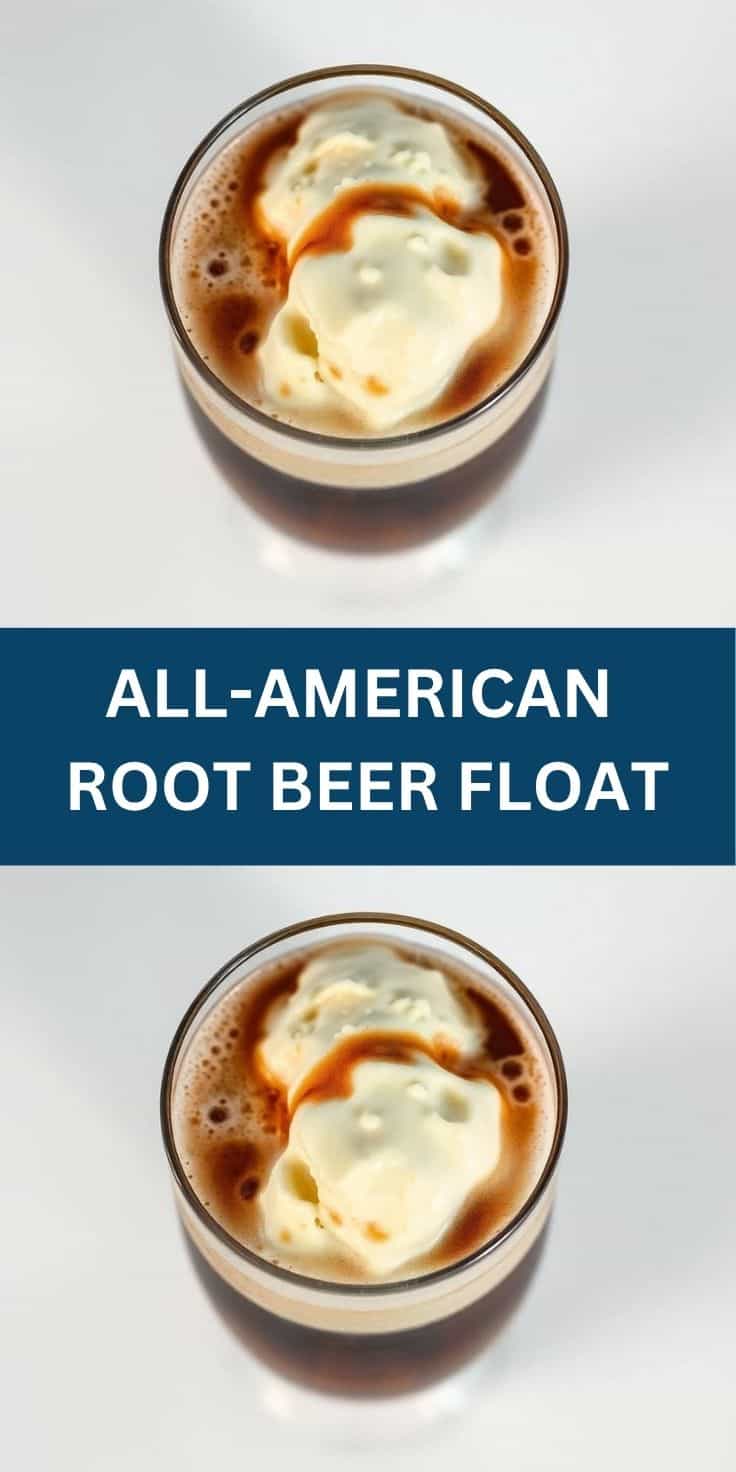
- Step 4: Let it foam and settle. Once the glass is full, give it a moment. The foam is part of the experience — don't skim it off. It'll settle on its own within 30 seconds into a creamy, billowy layer that's genuinely one of the best parts.
- Step 5: Add toppings and serve immediately. Add a swirl of whipped cream and a cherry if you're going all-in. Stick in a paper straw and a long spoon, and get it to whoever's drinking it right away. Root beer floats do not wait for anyone.
Tips for Success
- Cold root beer is non-negotiable: I learned this the first time I tried making floats with a can that had been sitting on the counter. The ice cream melted within two minutes, the fizz died almost immediately, and it was lukewarm and sad. Keep your root beer in the fridge right up until the moment you pour it. Room temperature soda ruins the whole thing.
- Use dense, creamy ice cream: The cheaper, airy ice creams melt almost instantly when the soda hits them. I go for a fuller-fat vanilla — something like Breyers Natural Vanilla or whatever Costco has in the big tub. The denser the ice cream, the slower it melts, which means you have more time to actually enjoy the float before it turns into soup.
- Pour down the side of the glass: I know I mentioned this in the directions, but it's worth repeating because it makes such a difference. Direct pouring onto the ice cream causes an immediate foam explosion. Side-pouring gives you control. If you're making multiple floats, do one at a time so you can give each one the slow pour it needs.
- Pre-scoop your ice cream if you're making several: If I'm serving floats to a group, I scoop the ice cream into the glasses first and put the glasses back in the freezer for up to 20 minutes. Then I can just pull them out and pour the root beer when it's time. This keeps the ice cream firm and speeds up the serving process so everything's ready at once.
- Have napkins ready: This sounds like obvious advice but floats are genuinely foamy and they drip. Especially if kids are involved. Put a folded paper towel or a coaster under each glass before you hand them over. I learned this at Saad's sixth birthday party when I had to wipe down the entire table twice.
Variations
- Chocolate float: Swap the vanilla for a good chocolate ice cream and the flavour completely changes — it's richer, more dessert-like, almost like a chocolate cream soda. My husband actually prefers this version. It pairs better with craft root beers that have a stronger, spicier flavour profile.
- Cherry soda float: Replace the root beer with cherry soda and keep the vanilla ice cream. It's lighter, fruitier, and a little less sweet. This is the version I make when root beer isn't what I'm feeling — it reminds me of a cherry cream soda and it's genuinely refreshing. Great option if anyone in your group doesn't love the root beer flavour.
- Dairy-free version: Use coconut milk ice cream or oat milk ice cream with natural root beer and it holds up surprisingly well. The coconut ice cream adds a subtle tropical note that actually works nicely with the vanilla flavour of the root beer. I've made this for guests who are dairy-free and they were genuinely happy with it.
- Coffee ice cream float: This is my personal favourite for when the kids are in bed. Scoop coffee ice cream into the glass, pour over the root beer, and skip the cherry. It tastes like a mocha dessert with fizz. Pair it with something like my Nutella truffles on the side and it becomes a proper dessert moment.
- Boozy float for adults: Add a small splash — about 1 tablespoon — of bourbon or spiced rum to the glass before adding the ice cream. The alcohol doesn't overpower the float, it just adds a warm depth underneath the sweetness. This is firmly an after-the-kids-are-in-bed recipe. Not something I'd document loudly but it's very good.
Serving and Storage
Serving
Serve immediately after assembling — this is not a drink that waits. Use a tall glass with both a long spoon and a straw so whoever's drinking it can alternate between scooping the ice cream and sipping the fizzy soda. Whipped cream and a maraschino cherry on top are optional but make the whole thing feel more like an occasion. If you're putting on a summer spread and need ideas for what else to serve, my crab rangoon dip works great as a savoury starter before you get to the floats for dessert.
Storage
There is no storage for a finished root beer float — once assembled, drink it. What you CAN do ahead of time is pre-scoop your ice cream into the glasses and keep them in the freezer for up to 30 minutes before guests arrive. Then just pull them out and pour the root beer when it's time. Keep your root beer cans or bottles in the fridge right up until serving. That's the extent of the prep you can do in advance.
Frequently Asked Questions
Can I make root beer floats ahead of time?
No — they need to be assembled right before serving. The fizz dies within minutes and the ice cream melts into the soda, leaving you with a flat, lukewarm drink. What you can do is pre-scoop the ice cream into glasses and freeze them for up to 30 minutes so you're ready to pour and serve quickly when the moment comes.
Can I use diet root beer?
Yes, diet root beer works fine. Just make sure it's very cold before you pour — diet sodas can sometimes go flat faster than regular, so keeping it refrigerated until the last second helps. The flavour is slightly different but not enough to ruin the float.
Is there a dairy-free option?
Yes. Coconut milk ice cream or oat milk ice cream both work well in a float. They melt a little faster than dairy ice cream, so pour your root beer even more slowly than usual and drink it quickly. The coconut version in particular has a nice flavour that pairs well with root beer.
What's the best ice cream flavour to use?
Classic vanilla is the standard for a reason — it's creamy, neutral, and lets the root beer flavour come through. That said, chocolate and coffee ice cream both make excellent floats with a richer, more dessert-like flavour. I'd start with vanilla the first time and experiment from there once you know what the base tastes like.
How do I stop it from overflowing?
Pour the root beer slowly down the inside edge of the glass rather than directly onto the ice cream. If the foam rises too high, stop pouring, wait 10 seconds for it to settle, then continue. Using a tall glass also helps because you have more room for the foam to rise before it spills. Don't rush this step — it takes maybe 20 extra seconds but saves you a sticky counter.
ALL-AMERICAN ROOT BEER FLOAT
Ingredients
- 2 cups root beer chilled
- 4 scoops vanilla ice cream
- Whipped cream optional
- Maraschino cherries optional
Instructions
Scoop Ice Cream:
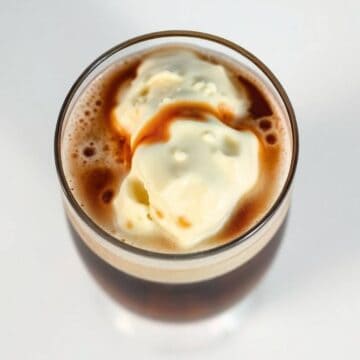
- Place 2 scoops of vanilla ice cream into each tall glass.
Pour Root Beer:
- Slowly pour chilled root beer over the ice cream, allowing the foam to rise.
Top & Serve:
- Top with whipped cream and a cherry if desired. Serve immediately with a straw and a spoon.
Notes
- Make Ahead: Assemble just before serving for best fizz and texture.
- Variations: Try with chocolate or strawberry ice cream for a fun twist.
- Serving Suggestions: Great for 4th of July parties, summer BBQs, or a quick classic dessert.
- Allergy-Friendly: Use dairy-free ice cream and soda for a vegan version.
This is one of those recipes I genuinely didn't expect to become a summer tradition in my house, but here we are. Every July, without fail, someone asks when we're making floats. It's become the kind of thing that signals warm weather the same way a certain smell or song does — deeply connected to a feeling, not just a flavour. I grew up with completely different summer treats, and now this one belongs to my kids' childhood memories too. I find that kind of thing quietly wonderful.
If you're putting together a bigger dessert spread, I'd pair this with something you can make ahead — my white chocolate raspberry tiramisu is a good option because it needs to chill overnight anyway, so you're not standing in the kitchen while everyone else is outside. The float can be your last-minute, two-minute finish to the whole meal.
Two ingredients. Thirty seconds of assembly. Make it cold, pour it slow, and serve it fast. That's the whole recipe. 🍦🥤
If you liked this, here are a few other things from my kitchen you might want to try next:
- Nutella Truffles — two-ingredient chocolate truffles that come together in about 20 minutes
- White Chocolate Raspberry Tiramisu — a make-ahead dessert that looks impressive and isn't difficult
- Wedding Shower Punch Recipes — 10 drink ideas for entertaining a crowd, including non-alcoholic options
- Crab Rangoon Dip — warm, cheesy party appetiser that disappears faster than I expect every single time
- Homemade Mexican Pizza — a fun weeknight dinner the whole family can build themselves



Comments
No Comments