
I made this for the first time on a Tuesday night when I had leftover rotisserie chicken, half a bag of Doritos my kids had been picking at, and zero energy to do anything complicated. I threw it together mostly out of desperation, and my husband came back for seconds before I'd even sat down. That doesn't happen often.
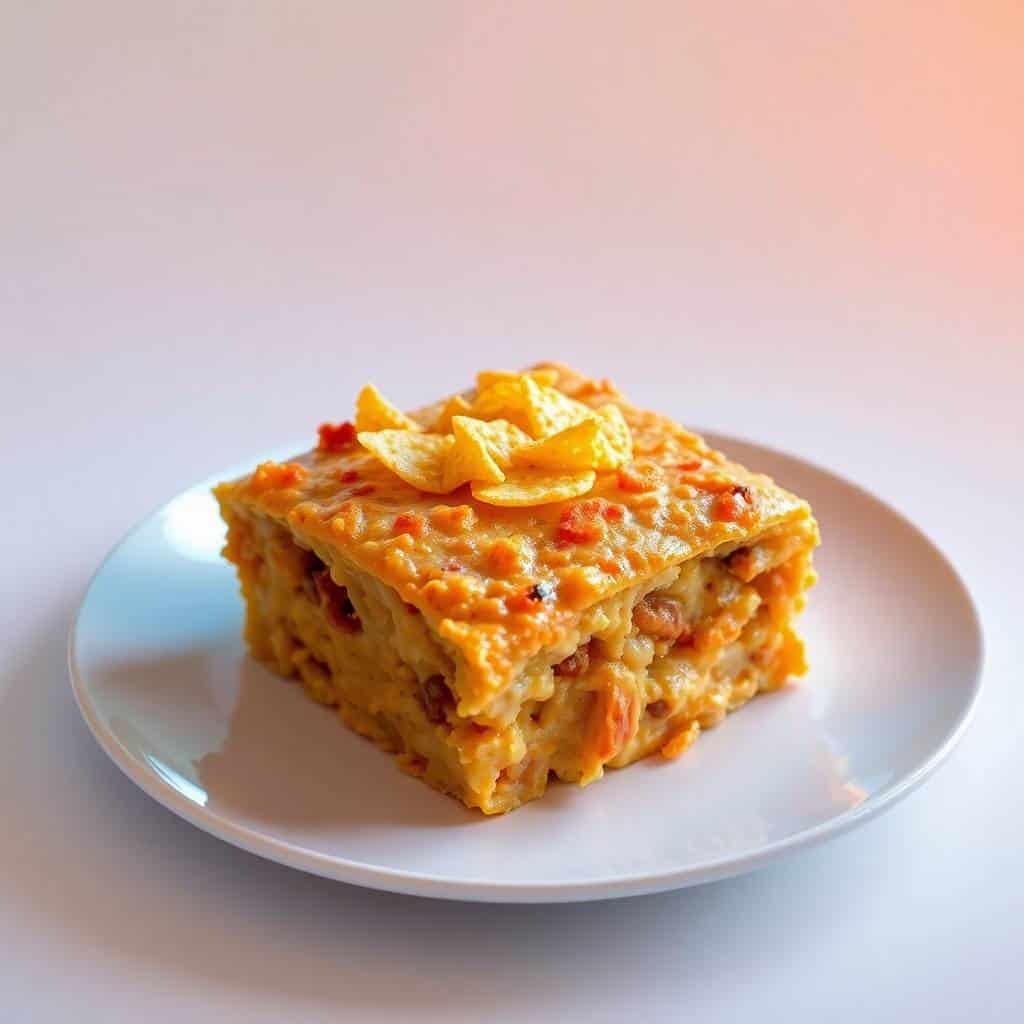
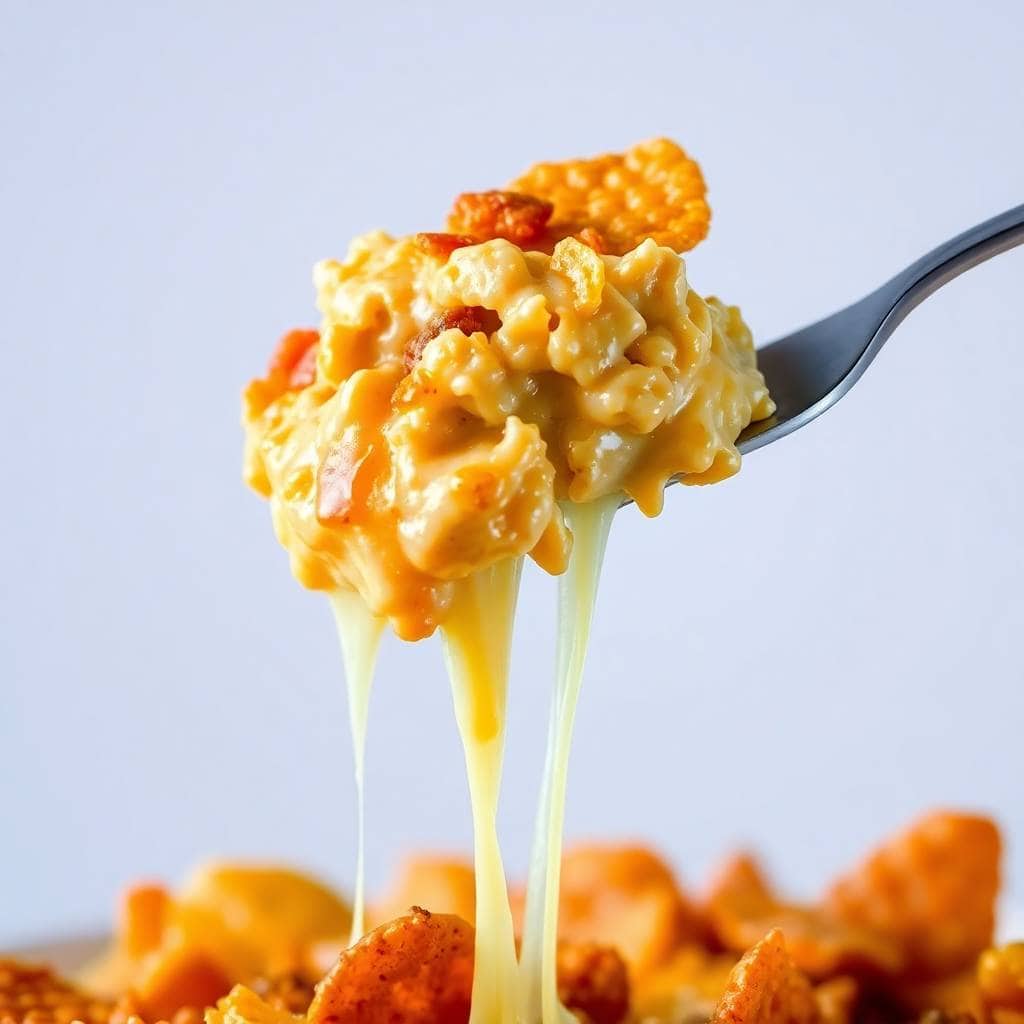
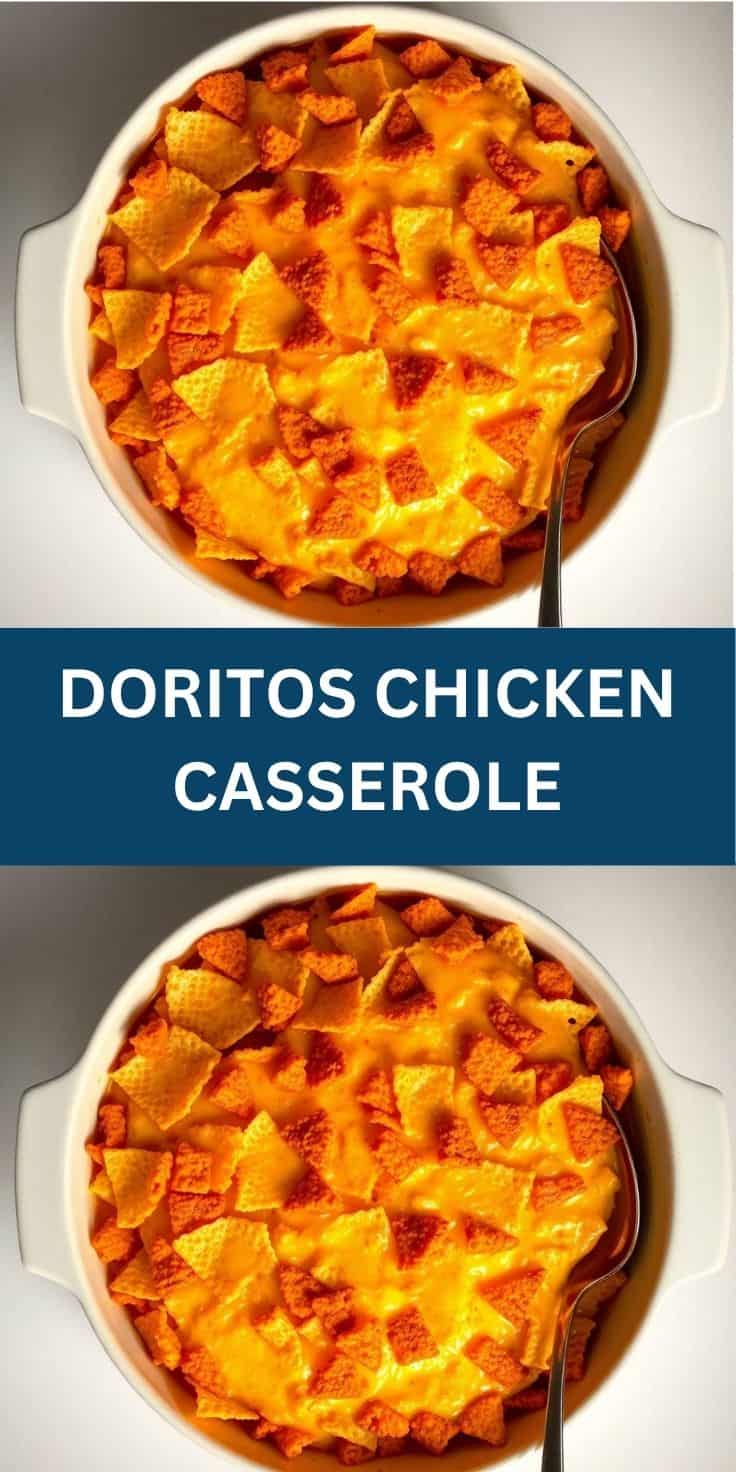
What makes this work is the layering. You put Doritos on the bottom, then the creamy chicken filling, then more Doritos on top. The bottom layer softens slightly in the oven and almost becomes part of the filling — in a good way. The top layer stays crunchy. That contrast is the whole point. I've tried versions where I just dumped chips on top and it wasn't the same. The double layer matters.
Saad asks for this at least twice a month now. I usually make it on Fridays when nobody wants anything that requires real effort. It's also one of those recipes that looks more impressive than it is — I've brought it to a couple of casual get-togethers and people always ask for the recipe, which is a little funny given how simple it actually is. If you like the Walking Taco Casserole I posted a while back, you'll feel right at home with this one.
One thing I'll warn you about: don't overbake it. I did that the first time — left it in for 40 minutes because I got distracted — and the top chips went from golden to borderline burnt. Twenty-five to thirty minutes is enough. Pull it out when it's bubbling around the edges and the cheese on top has melted and started to color. That's your signal.
Why You'll Love This Recipe
- It comes together in under an hour: The actual hands-on time is maybe 15 minutes — mix the filling, layer the chips, bake. I've made this on weeknights when I had 40 minutes between getting home and needing dinner on the table. The oven does most of the work while you're dealing with everything else happening in the house.
- Rotisserie chicken makes it almost effortless: I grab a rotisserie chicken from Costco or Walmart and shred it while it's still warm — takes about five minutes. No need to cook chicken separately. If you have leftover chicken from another meal, that works too. It's one of those recipes that actually benefits from having cooked chicken ready to go.
- Kids eat it without negotiation: There is something about Doritos baked into a cheesy casserole that bypasses every picky eater objection. Saad, who normally pushes things around his plate, cleans his portion every time. I won't overthink why it works. It just does.
- One dish, easy cleanup: Everything goes into a single 9×13 casserole dish. I line mine with foil sometimes if I'm feeling particularly tired, which makes cleanup genuinely trivial. There's the mixing bowl, the baking dish, and a spoon. That's it.
- The leftovers are legitimately good: I reheat it in the oven at 325°F for about 10 minutes rather than the microwave, which keeps the top chips from going completely soggy. My husband takes it to work for lunch the next day and says it's better than half the things he could buy. The filling gets a little more settled overnight and the flavors deepen.
Ingredients
- 2 cups cooked shredded chicken (rotisserie works great)
- 1 (10.5 oz) can cream of chicken soup
- 1 cup sour cream
- 1 cup shredded cheddar cheese
- ½ cup shredded mozzarella cheese
- 1 (10 oz) can diced tomatoes with green chilies, drained (Rotel is the most common brand)
- ½ teaspoon onion powder
- ½ teaspoon garlic powder
- Salt and pepper, to taste
- 4 cups crushed Nacho Cheese Doritos
- Extra shredded cheese and Doritos for topping (optional)
Directions
- Step 1: Preheat oven and prep the dish. Preheat your oven to 350°F (175°C) and grease a 9×13-inch baking dish with butter or non-stick spray. Getting the dish greased properly matters — the bottom Dorito layer can stick if you skip this.
- Step 2: Make the filling. In a large bowl, combine the shredded chicken, cream of chicken soup, sour cream, cheddar, mozzarella, drained diced tomatoes with green chilies, onion powder, garlic powder, salt, and pepper. Stir until everything is well mixed. Make sure it's evenly combined before you start layering — otherwise some bites are all chicken and some are all sauce.
- Step 3: Layer the bottom Doritos. Spread 2 cups of the crushed Doritos in an even layer across the bottom of your prepared baking dish. Don't crush them to dust — leave some bigger pieces for texture. This bottom layer will soften slightly as the casserole bakes, which is intentional.
- Step 4: Add the filling. Spoon the chicken mixture over the bottom Dorito layer and spread it out evenly with the back of a spoon. Try to get it all the way to the edges so every scoop has filling.
- Step 5: Top with remaining Doritos and cheese. Scatter the remaining 2 cups of crushed Doritos over the filling, then add any extra shredded cheese on top if you're using it. The top layer is what gives you the crunch, so don't be shy with it.
- Step 6: Bake. Bake uncovered for 25–30 minutes, until the filling is bubbling around the edges and the top is golden. Don't push it past 30 minutes — the chips on top can go from golden to burnt quickly toward the end.
- Step 7: Rest and garnish. Let the casserole sit for about 5 minutes before serving. It's molten hot right out of the oven and the layers need a moment to settle. Top with chopped green onions or fresh cilantro if you like.
Tips for Success
- Drain the tomatoes properly: I forgot to drain the Rotel the first time I made this and the filling turned out watery, which soaked into the bottom chip layer and made the whole thing soggy. Press the tomatoes gently against a strainer and let the liquid drain before adding them to the bowl. It takes 30 seconds and makes a real difference.
- Crush chips by hand, not with a rolling pin: You want irregular pieces — some smaller, some the size of a quarter. If you use a rolling pin or food processor you'll end up with chip dust, which doesn't give you the same crunch. I just crush them through the bag with my hands before opening it.
- Use full-fat sour cream: I've tried this with light sour cream and the filling comes out thinner and slightly grainy after baking. Full-fat holds together better and gives you that creamy, scoopable texture. Same goes for the cheese — pre-shredded from a bag works fine, but block cheese you shred yourself melts a little more smoothly.
- Watch it in the last five minutes: Every oven runs a little differently. I check mine at 22 minutes and then keep an eye on it. The moment I see the cheese on top fully melted and the edges bubbling steadily, I pull it. The chips will continue to crisp slightly as it rests out of the oven.
- Let it rest before scooping: Five minutes out of the oven makes a difference. If you try to scoop it immediately it falls apart and the filling runs. Give it a few minutes and the layers hold together much better when you serve it.
Variations
- Add black beans and corn: Stir in half a cup of drained canned black beans and half a cup of corn kernels with the filling. This makes the casserole heartier and adds a little color to each scoop. My husband prefers this version — he likes the extra texture and it stretches the casserole to feed more people.
- Turn up the heat: Add a tablespoon of pickled jalapeño slices to the filling, or swap the regular cheddar for pepper jack. If your crowd likes spicy food, you can also use Spicy Nacho Doritos instead of the classic Nacho Cheese. Start with a little heat and adjust — it builds fast once baked.
- Cool Ranch Doritos version: Swap the Nacho Cheese Doritos for Cool Ranch. The flavor profile shifts from Tex-Mex cheesy to something a little tangier and more herb-forward. It's a surprisingly good change if you're making this for someone who isn't a Nacho Cheese person. I've done this when that's the only bag I had left.
- Make it vegetarian: Skip the chicken entirely and use a can of drained black beans plus a cup of frozen corn as the base. The cream of chicken soup does contain chicken — swap it for cream of mushroom soup to keep it fully meat-free. It's a completely different dish but honestly a good one in its own right.
- Serve it taco-bar style: Put out small bowls of sour cream, guacamole, fresh salsa, and sliced jalapeños alongside the casserole. Everyone builds their own plate how they like it. This is how I serve it when friends come over — it feels more like a spread than just a casserole, and people tend to eat more when they can customize.
Serving and Storage
Serving
Serve it straight from the baking dish while it's hot. A simple green salad alongside is enough — the casserole is rich and filling on its own. If you want something to drink that goes with the Tex-Mex vibe, I've served it with a cold lemonade in summer and it works really well. For a bigger spread, this sits nicely next to an antipasto pasta salad if you want a second dish that's easy to prep ahead.
Storage
Leftovers keep in an airtight container in the fridge for up to 3 days. To reheat, I recommend the oven at 325°F for 10–12 minutes rather than the microwave — the microwave makes the chip topping chewy, while the oven revives some of the crunch. If you're reheating a full portion, cover it loosely with foil for the first 8 minutes and then uncover for the last few. To freeze: transfer to a freezer-safe container and freeze for up to 2 months. Thaw overnight in the fridge and reheat in the oven.
Frequently Asked Questions
Can I assemble this casserole ahead of time?
Yes — put the filling together, layer it with the Doritos, cover the dish tightly with foil, and refrigerate for up to 24 hours before baking. Add 5 extra minutes to the bake time since you're starting from cold. I'd hold off on the top Dorito layer until right before it goes in the oven so they don't get soggy from sitting against the filling overnight.
Which Doritos flavor works best?
Classic Nacho Cheese is my go-to — the flavor is familiar and works with the cheese and tomato filling without competing. Cool Ranch is a solid second option if you want something a little different. Spicy Nacho works if your household likes heat. I'd avoid anything with a very sweet flavor profile; savory and cheesy is the direction you want.
Can I freeze this casserole?
You can freeze it, though the chip topping will soften significantly after freezing and reheating. I'd suggest freezing just the filling (without the chips) in a freezer-safe container for up to 2 months, then adding fresh crushed Doritos when you're ready to bake. That way the crunch isn't lost. Thaw the filling overnight in the fridge, assemble, and bake as directed.
What can I use instead of cream of chicken soup?
Cream of mushroom soup is the easiest swap and works well — it keeps the creaminess without changing the texture much. Cream of celery also works. If you'd rather avoid canned soup altogether, you can make a quick substitute by whisking together 1 cup of chicken broth with 3 tablespoons of flour and 3 tablespoons of butter over medium heat until it thickens, then cool it slightly before adding it to the filling.
Is this recipe gluten-free?
Not automatically — the cream of chicken soup typically contains wheat, and you'd need to verify the Doritos variety you're using. Gluten-free cream of chicken soup is available at Walmart and many grocery stores, and some Doritos varieties are labeled gluten-free. Check both labels carefully if you're cooking for someone with celiac disease or a gluten sensitivity.
DORITOS CHICKEN CASSEROLE
Ingredients
- 2 cups cooked shredded chicken
- 1 10.5 oz can cream of chicken soup
- 1 cup sour cream
- 1 cup shredded cheddar cheese
- ½ cup shredded mozzarella cheese
- 1 10 oz can diced tomatoes with green chilies, drained
- ½ teaspoon onion powder
- ½ teaspoon garlic powder
- Salt and pepper to taste
- 4 cups crushed Nacho Cheese Doritos
- Extra cheese and Doritos for topping optional
Instructions
Preheat Oven:
- Preheat oven to 350°F (175°C). Grease a 9×13-inch baking dish.
Make the Filling:
- In a large bowl, mix together chicken, cream of chicken soup, sour cream, cheeses, diced tomatoes, and seasonings until well combined.
Assemble:
- Spread half of the crushed Doritos in the bottom of the baking dish. Top with the chicken mixture. Sprinkle remaining Doritos on top and extra cheese if desired.
Bake:
- Bake for 25–30 minutes, or until bubbly and golden on top.
Serve:
- Let it cool slightly before serving. Garnish with chopped green onions or cilantro if desired.
Notes
- Shortcut Tip: Use rotisserie chicken for quick prep.
- Customise It: Add black beans or corn for a heartier casserole.
- Make Ahead: Assemble ahead and refrigerate unbaked for up to 1 day.
- Storage: Store leftovers in the fridge for up to 3 days. Reheat in the oven for best texture.
- Spice Level: Use spicy Doritos or add jalapeños for a kick.
This is genuinely one of those recipes I keep coming back to because it asks almost nothing of me and delivers every time. On the nights where I'm tired and the fridge has a random chicken and a half-eaten bag of chips in it, this casserole is the answer. I've made it probably fifteen times now and I still look forward to it.
It's not an elaborate dinner. It's not trying to be. But it's warm, satisfying, and my family eats every last scoop — which is the actual metric I care about. If you're the kind of person who likes having a reliable weeknight recipe that never disappoints, this earns a permanent spot in your rotation. The Walking Taco Casserole I make is in the same family and just as easy if you want something similar to rotate in.
If you make it, let me know which chip flavor you used — I'm curious whether anyone has tried the Flamin' Hot version and survived. And if you're serving this for a group, I'd double the batch. It disappears faster than you'd expect. 🧀🍽️✨
If you liked this, here are a few other recipes worth trying:
- Walking Taco Casserole — same Tex-Mex energy, just as easy to throw together
- Antipasto Pasta Salad — a great make-ahead side if you're feeding a crowd alongside the casserole
- Sausage Rolls — another crowd-friendly recipe that disappears fast at gatherings
- Cranberry Bacon Jam — surprisingly good as a topping alongside this if you want a sweet-savory contrast
- Croissant Bread Pudding — if you need a dessert after this dinner, this one is worth the extra effort




Comments
No Comments