
I made these for Zainab's birthday last year when I realized the day before that I had no time to bake an actual cake. One pan, basic pantry ingredients, a handful of sprinkles — done in under an hour. She was so happy with them that she asked for the same thing again this year instead of a "real" cake.
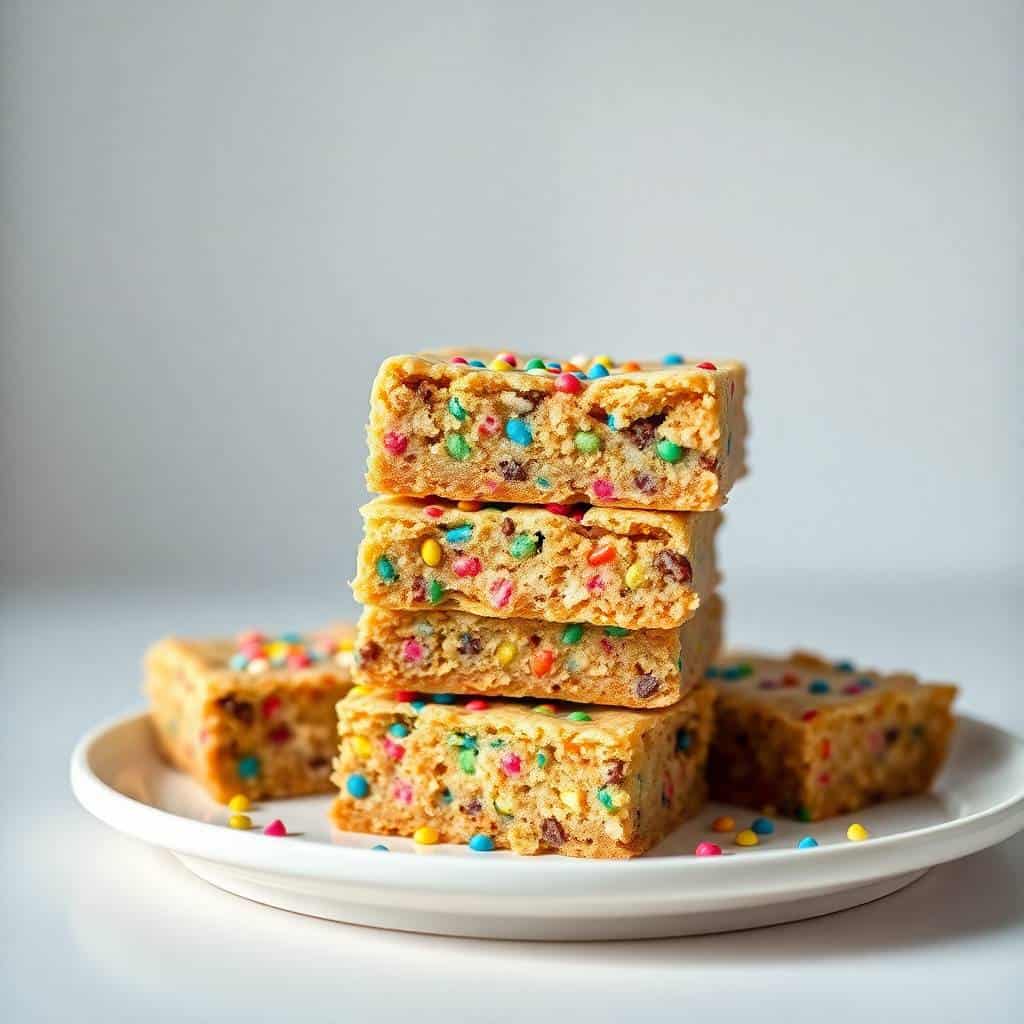
What I like about this recipe is how unfussy it is. You melt the butter — no waiting for it to soften, no creaming for five minutes. The dough comes together fast, you press it into an 8x8 pan, scatter some extra sprinkles on top, and bake. The edges go golden while the center stays a little soft and dense, which is exactly what you want in a cookie bar. It's closer to a thick, chewy cookie than a cake, and that's the whole point.
I make these whenever we need a quick party dessert that's easy to transport and doesn't require plates or forks — just squares wrapped in parchment and stacked in a container. They travel well to school events, work gatherings, or potlucks. If you've made my Elvis Presley Cake and loved it, you'll find these a lot more low-maintenance for last-minute occasions.
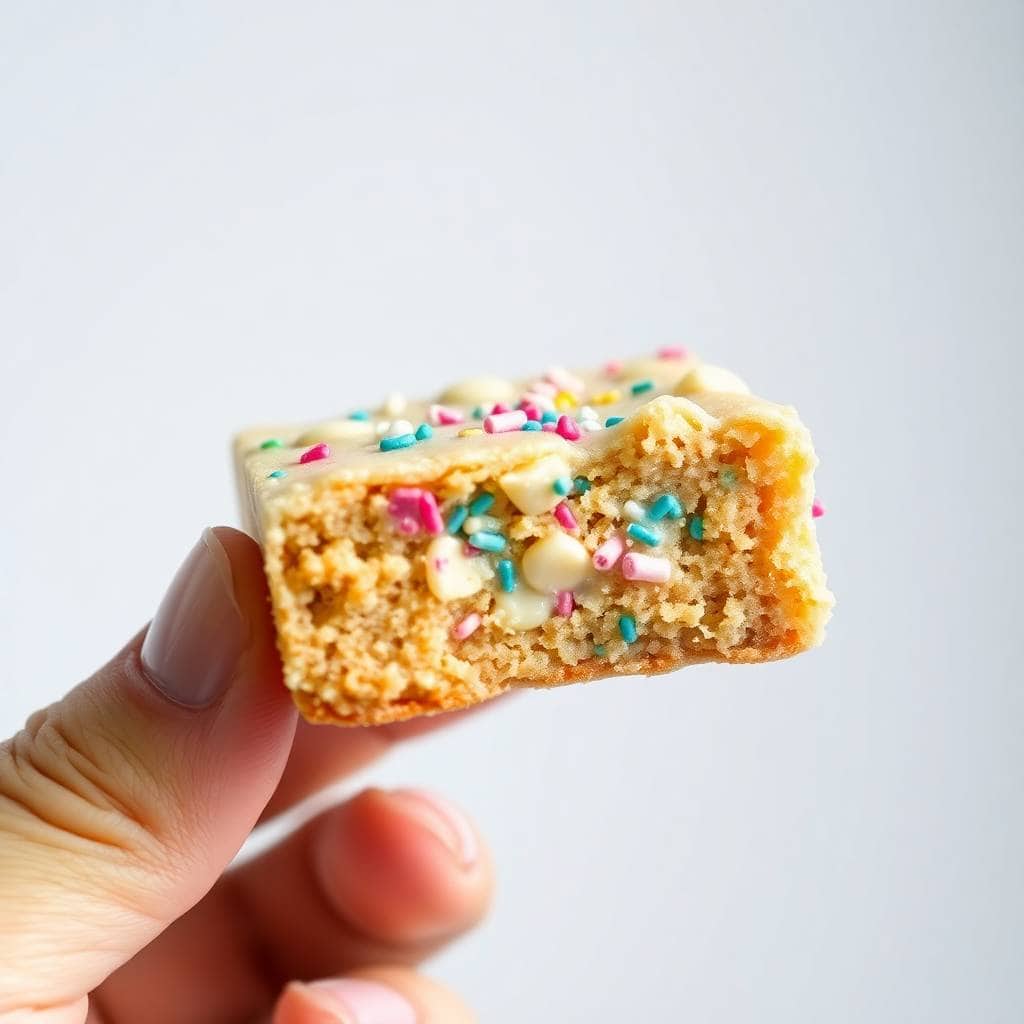
One thing to know going in: don't overbake them. The first time I made these, I left them in until the center looked completely set — they came out a bit dry and crumbly by day two. Pull them out when the edges are golden and the center still has the tiniest wobble. They'll firm up as they cool and stay soft for days.
Why You'll Love This Recipe
- No softening butter: This recipe uses melted butter, which means you can go from "I want to bake something" to dough in about five minutes. I used to plan baking sessions around butter temperature — not anymore. Melted butter also gives the bars a slightly denser, chewier texture compared to creamed butter, which I actually prefer in a cookie bar.
- One pan, minimal cleanup: You mix everything in one bowl and bake in one pan. I usually line the pan with parchment so I can lift the whole slab out to slice on a cutting board — cleanup is a sheet of parchment and one bowl. On a busy weeknight or the day before a party, that matters.
- Stays soft for days: Stored in an airtight container at room temperature, these bars hold their soft, chewy texture for 4 days easily. I've made them the night before school events and they've been just as good the next morning. The brown sugar is doing a lot of work here — it keeps moisture in the bar longer than white sugar alone would.
- Easy to customize: The base dough is simple and neutral enough that you can fold in whatever you have — white chocolate chips, mini M&Ms, chopped candy bars. Every time I make these I seem to add something slightly different depending on what's in my pantry, and they always work out.
- Kids go completely unreasonable for sprinkles: There's something about rainbow sprinkles in a baked good that makes kids lose their minds in the best way. I've brought these to Zainab's class parties and they disappear before anything else on the table. Adults eat them too — just with slightly more composure.
Ingredients
- ½ cup unsalted butter, melted
- ¾ cup light brown sugar, packed
- ¼ cup granulated sugar
- 1 large egg
- 1 teaspoon vanilla extract
- 1¼ cups all-purpose flour
- ½ teaspoon baking powder
- ¼ teaspoon salt
- ½ cup white chocolate chips (optional, but I usually add them)
- ⅓ cup rainbow sprinkles, plus a little extra for the top
Directions
- Preheat and prep the pan: Heat your oven to 350°F (175°C). Line an 8x8-inch baking pan with parchment paper, letting a bit hang over the sides so you can lift the bars out cleanly. This makes slicing so much easier — I skipped the parchment once and regretted it.
- Mix the wet ingredients: In a large bowl, whisk together the melted butter, brown sugar, and granulated sugar until smooth and combined — about a minute by hand. Add the egg and vanilla extract and whisk again until everything looks glossy and uniform.
- Add the dry ingredients: Stir in the flour, baking powder, and salt. Mix until just combined and no dry streaks remain. Don't overmix here — once the flour is in, a light hand keeps the bars tender.
- Fold in the chips and sprinkles: Add the white chocolate chips (if using) and the rainbow sprinkles. Fold them in gently with a spatula or wooden spoon. If you stir aggressively the sprinkles will bleed color into the dough — gentle folding keeps them mostly intact.
- Bake: Spread the dough evenly into your prepared pan — it'll be thick, so use your hands or the back of a spoon to press it into the corners. Scatter a handful of extra sprinkles across the top. Bake for 20–25 minutes, until the edges are golden and the center looks just set.
- Cool completely, then slice: Let the bars cool fully in the pan before lifting out and slicing into squares. I know it's hard to wait, but cutting them too early means crumbly, messy edges. Give them at least 45 minutes.
Tips for Success
- Pull them out before they look done: The biggest mistake I made my first time was waiting for the center to look fully baked. Cookie bars carry-cook as they cool, so if the center looks completely set in the oven, they'll be overdone by the time they're cool. Take them out when the edges are golden and the center has just the slightest give when you press it lightly.
- Measure flour properly: Scoop flour with a spoon into your measuring cup and level it off — don't scoop directly with the cup. Packing in too much flour makes the bars dry and dense rather than soft and chewy. I've made this mistake enough times to be annoying about it now.
- Fold sprinkles gently: Rainbow sprinkles can bleed their dye into the dough if you mix too hard. I stir just until they're distributed — 8 to 10 turns of the spatula. The dough might have a faint pink or blue tinge and that's fine, but you don't want the whole thing turning grey.
- Use the parchment overhang: Leaving an inch or two of parchment hanging over each side of the pan means you can lift the entire slab out in one piece and slice on a flat surface. Trying to cut bars inside the pan always ends with uneven squares and dented pan corners.
- Don't skip the brown sugar: The combination of brown and white sugar isn't just about sweetness — the molasses in brown sugar keeps the bars moist and contributes to that chewy texture. If you substitute all white sugar, the bars will be crisper and drier. Stick to the ratio in the recipe.
Variations
- Add frosting on top: Once the bars are fully cooled, spread a thin layer of vanilla buttercream or cream cheese frosting over the top and add more sprinkles. This is how I make them feel more "birthday cake" — Zainab prefers them this way. It adds an extra step but makes them feel proper festive for a party.
- Swap in mini M&Ms: Replace the white chocolate chips with mini M&Ms for more color and a candy crunch. The M&Ms hold their shape through baking and add a slight crispness in every bite. Kids go particularly wild for this version — it looks like a party even before you cut them.
- Double batch for a crowd: Double the recipe and bake in a 9x13-inch pan. Increase the bake time to 28–33 minutes and check the center at 28. I do this whenever I'm bringing them somewhere — a single 8x8 cuts into 9 bars, which disappears in about two minutes at any gathering. A 9x13 gives you 16-20 squares and feels more reasonable.
- Add almond extract: Replace half the vanilla extract with almond extract (so ½ teaspoon vanilla, ½ teaspoon almond). It gives the bars a distinctly "bakery" flavor that a lot of people find nostalgic — it's subtle but noticeable. Don't go full almond extract though; it's strong and can overwhelm everything else.
- Gluten-free version: A 1:1 gluten-free baking flour (like Bob's Red Mill or King Arthur's GF blend, both available at Walmart) works well here. The texture is slightly more dense but still chewy and good. I've made this for a friend's daughter who has a wheat allergy and she couldn't tell the difference.
Serving and Storage
Serving
Slice into squares once fully cooled — I usually cut a 4x4 grid for 16 modest squares, or a 3x3 for 9 generous ones. These work well at room temperature as-is, or you can warm individual squares in the microwave for 10 seconds if you want that fresh-baked feel. They're also good alongside a scoop of vanilla ice cream if you're serving them as a proper dessert. For parties, I stack them in a container with parchment between layers so they don't stick to each other.
Storage
Store in an airtight container at room temperature for up to 4 days — they stay soft throughout. For longer storage, wrap individual bars in plastic wrap and freeze for up to 2 months. Thaw at room temperature for about 30 minutes before eating. I've frozen a half batch plenty of times when I made too many and didn't want them sitting out all week.
Frequently Asked Questions
Can I make these birthday cookie bars ahead of time?
Yes, and they're actually great made a day ahead. Bake them, let them cool completely, then store them in an airtight container at room temperature overnight. By the next day they've settled into themselves and the texture is even better — more fudgy and cohesive than the day they're baked.
Can I freeze birthday cookie bars?
Yes. Wrap individual squares in plastic wrap and store in a zip-lock bag in the freezer for up to 2 months. Thaw at room temperature for 30 minutes — they come back to soft and chewy without any noticeable drop in quality. I do this when I've doubled the batch and have more than we'll eat in a few days.
Why are my sprinkles bleeding color into the dough?
This usually happens when you overmix after adding the sprinkles, or when you use cheap sprinkles with waxy coatings that dissolve easily. Fold them in with just a few gentle turns of the spatula. If color bleeding bothers you, look for "nonpareils" style sprinkles rather than the large jimmy-style ones — they tend to hold their color better in baking.
Can I use salted butter instead of unsalted?
Yes. If salted butter is what you have, just skip the added salt in the recipe. The bars will still taste good — salted butter adds a slightly more complex flavor that actually works well in sweet baked goods. I've done this plenty of times when I ran out of unsalted and it was fine.
My bars came out dry — what went wrong?
Almost certainly one of two things: too much flour, or overbaking. Make sure you're spooning flour into the measuring cup rather than scooping with it (scooping packs in up to 20% more flour). And pull the bars out before the center looks completely set — they continue to cook in the pan as they cool. If the center wobbles slightly when you take them out, that's the right call.
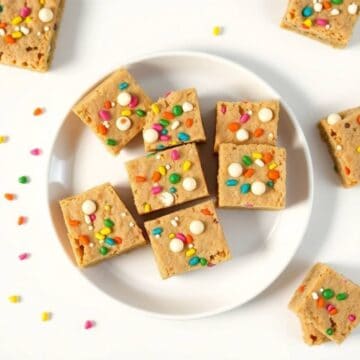
BIRTHDAY COOKIE BARS
Ingredients
- ½ cup unsalted butter melted
- ¾ cup light brown sugar packed
- ¼ cup granulated sugar
- 1 large egg
- 1 teaspoon vanilla extract
- 1 ¼ cups all-purpose flour
- ½ teaspoon baking powder
- ¼ teaspoon salt
- ½ cup white chocolate chips optional
- ⅓ cup rainbow sprinkles
Instructions
Preheat Oven:
- Preheat oven to 350°F (175°C). Line an 8×8-inch baking pan with parchment paper or grease lightly.
Mix Wet Ingredients:
- In a large bowl, whisk melted butter with both sugars until smooth. Add egg and vanilla; mix well.
Add Dry Ingredients:
- Stir in flour, baking powder, and salt until combined. Gently fold in white chocolate chips and sprinkles.
Bake:
- Spread the batter evenly into the prepared pan. Bake for 20–25 minutes or until edges are golden and centre is set.
Cool and Slice:
- Let bars cool completely in the pan before slicing into squares.
Notes
- Storage: Store in an airtight container at room temperature for up to 4 days.
- Make Ahead: Can be made 1 day in advance and stored wrapped tightly.
- Add-Ins: Try adding mini M&Ms or coloured frosting for extra birthday flair.
- Double Batch: Easily doubled for a 9×13-inch pan—just adjust bake time slightly.
- Serving Tip: Serve with ice cream or candles for a festive birthday dessert.
These bars have become my go-to when someone needs a birthday dessert and I don't have a full day to spend on a layered cake. The ingredient list is short, the process is genuinely quick, and the result looks festive enough that nobody feels like they got shortchanged on a celebration. I've made them for school events, last-minute office birthdays, and family get-togethers, and they always go.
If you want to go bigger on the dessert spread, these bars pair well alongside something richer — I sometimes put them out next to slices of my Coconut Cream Pie when I'm doing a proper party table, and the two together cover the "fun and festive" side of dessert really well. Or keep it simple and just make a double batch of these — honestly, that's usually what I do.
The recipe is forgiving, the bars travel well, and they stay soft for days. That combination is hard to beat when you're baking for other people. Make them once and you'll know exactly what to bring next time someone texts asking "can you bring dessert?" 🎂🍪✨
If you liked these, here are a few more recipes from my kitchen worth bookmarking:
- Elvis Presley Cake — banana cake with pineapple and cream cheese frosting, a serious crowd situation
- Coconut Cream Pie — silky, not-too-sweet, and the one my husband requests most often
- Old Fashioned Raisin Pie — unexpectedly good, especially if you grew up eating this kind of thing
- Mini Meatloaf Muffins with Mashed Potato Frosting — when you need a savory counterpart to all this sweetness





Lily Grace says
goody