
I made these black bean tacos for the first time on a Thursday night when I had nothing planned and a can of beans sitting in the pantry. Fifteen minutes into cooking, my kitchen smelled like a taqueria and Saad was already hovering near the stove asking when they'd be done. That's usually a good sign.
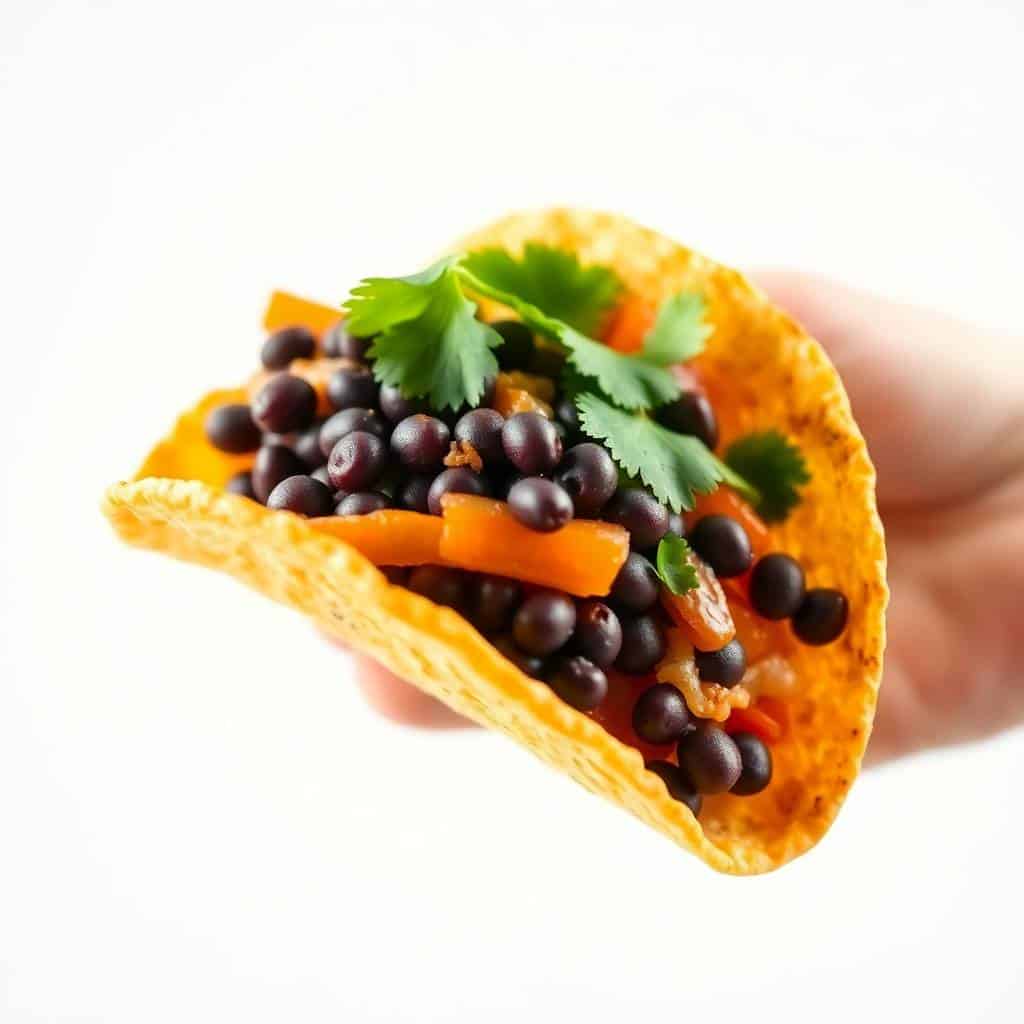
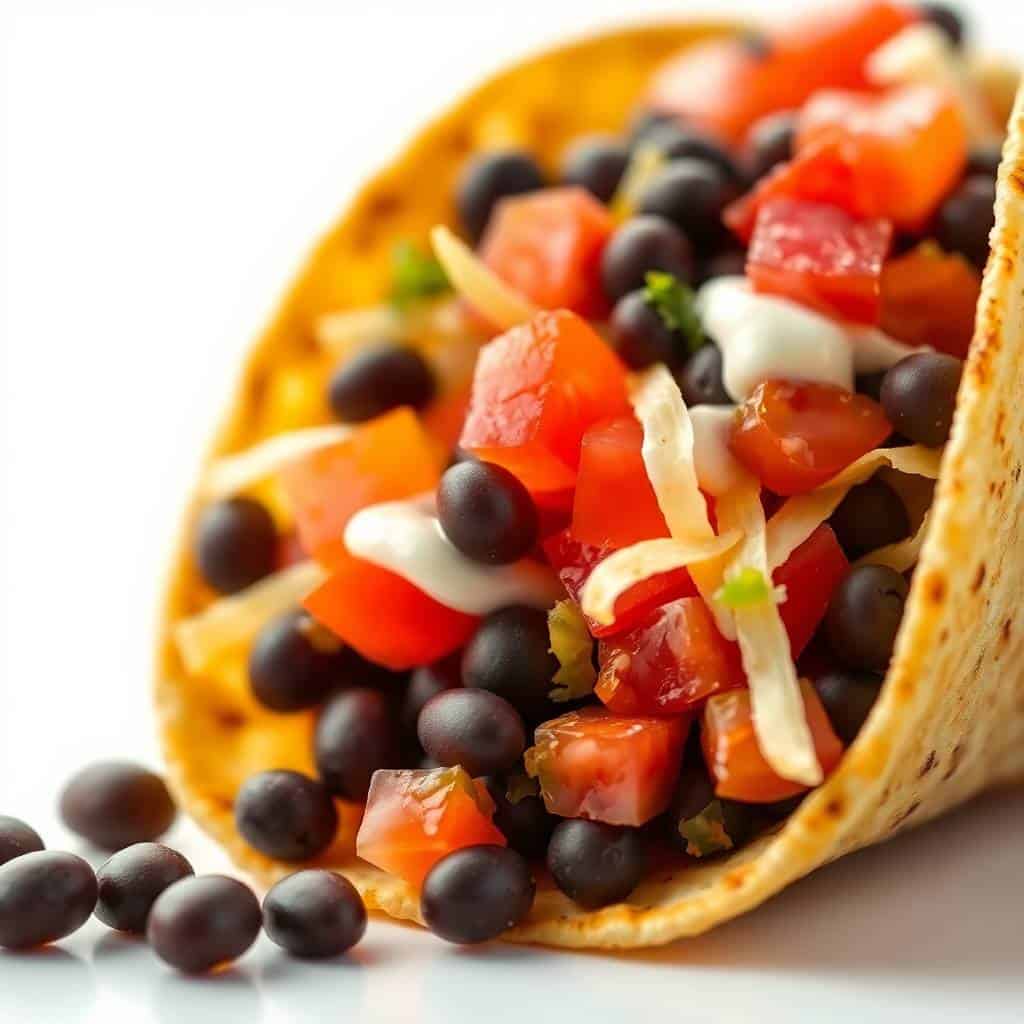
What makes these work is the pan-frying. You mash the beans with a few spices, fold them into tortillas with cheese, and then cook them in a hot skillet until the outside is genuinely crispy — not just warm, actually crispy. The cheese melts inside while the tortilla gets golden and a little crunchy, and the whole thing holds together in a way that soft tacos never quite do. I've tried baking them too, and the skillet method wins every time.
I make these on weeknights when I don't have the energy for anything complicated. My husband, who will happily eat Bruschetta Chicken Pasta one night and tacos the next, genuinely loves these — which surprised me the first time because I wasn't sure beans-only would satisfy him. They do. The seasoning and the cheese do a lot of heavy lifting here.
One thing to know upfront: these are best eaten immediately. I've tried saving them for later and reheating in the microwave — don't do that. The skillet is the only thing that brings the crispiness back. If you're making them for a group, cook in batches and serve straight from the pan.
Why You'll Love This Recipe
- Genuinely crispy shell: The first time I made pan-fried tacos I didn't believe they'd actually get crispy — I thought it was just marketing language. But if you use enough oil and don't crowd the pan, the tortilla goes properly golden and crunchy. It's a different experience from soft tacos entirely, and once you've had it this way it's hard to go back.
- Done in 30 minutes from a cold start: I've timed it. Mashing the beans takes maybe five minutes, assembling takes another five, and the rest is just standing at the stove flipping tacos. On a weeknight when everyone's hungry and I haven't thought ahead, this is the recipe I reach for.
- Pantry-friendly: Canned black beans, shredded cheese, tortillas, and a few spices you almost certainly already have. I've made these when I thought I had nothing in the house. A can of beans from Walmart or Aldi, a bag of shredded cheese from the fridge, and you're most of the way there.
- Meat-free but actually filling: I know that sounds like something people say about every vegetarian recipe, but the beans plus the cheese genuinely satisfies. My husband is not a light eater and he finished three of these without complaining he was still hungry. The cumin and chili powder give the filling enough flavor that you're not thinking about what's missing.
- Flexible toppings: Sour cream and salsa are the obvious choices, but I've also done sliced avocado, a squeeze of lime, pickled jalapeños from a jar, shredded lettuce — whatever's in the fridge. The taco itself is simple enough that it works as a base for almost anything.
Ingredients
- 1 can (15 oz) black beans, drained and rinsed
- ½ teaspoon cumin
- ½ teaspoon chili powder
- ¼ teaspoon garlic powder
- ¼ teaspoon salt
- 1 tablespoon lime juice
- 1 cup shredded cheese — cheddar, Monterey Jack, or a blend (freshly shredded melts better than pre-shredded)
- 8 small corn or flour tortillas
- 2 tablespoons oil for frying (vegetable or olive oil both work)
- Optional toppings: sour cream, salsa, avocado, shredded lettuce, hot sauce, pickled jalapeños
Directions
- Step 1: Mash the beans. Drain and rinse the black beans, then tip them into a bowl and mash with a fork until mostly smooth — a few whole beans left in is fine, it gives the filling some texture. Add the cumin, chili powder, garlic powder, salt, and lime juice, and stir everything together. Taste it and adjust seasoning here; the filling should be well-seasoned on its own before the cheese goes in.
- Step 2: Add the cheese. Stir the shredded cheese into the mashed bean mixture until it's evenly distributed. This way every bite gets some cheese rather than it all pooling in one spot when it melts.
- Step 3: Fill and fold the tortillas. Spread 2–3 tablespoons of filling onto one half of each tortilla. Fold it over to form a half-moon shape and press gently to flatten. Don't overfill — it makes them hard to seal and the filling spills out when you flip them.
- Step 4: Heat the skillet. Heat 1 tablespoon of oil in a heavy skillet over medium heat. You want the oil hot before the tacos go in — if it's not hot enough, the tortilla absorbs the oil and goes soggy instead of crisping. A regular cast iron or non-stick skillet both work fine.
- Step 5: Pan-fry in batches. Cook 2–3 tacos at a time, 2–3 minutes per side, until each side is golden and crispy. Press down lightly with a spatula while they cook — it helps the tortilla make full contact with the pan. Add more oil between batches as needed; the pan dries out after the first round.
- Step 6: Serve immediately. Plate the tacos straight from the skillet and add your toppings right before eating. They lose their crispiness fast, so don't let them sit.
Tips for Success
- Drain the beans really well: I learned this the hard way — the first time I rushed it and the filling was watery. Watery filling makes the tortilla soggy before it even hits the pan, and you end up with tacos that are soft in the middle and falling apart. Drain, rinse, and give them a minute in the colander before mashing.
- Shred your own cheese if you can: Pre-shredded cheese from the bag has a starchy coating that keeps it from clumping in the package, but it also means it doesn't melt as smoothly. A block of cheddar or Monterey Jack and a box grater takes two extra minutes and makes a real difference in how gooey the inside gets.
- Don't crowd the pan: I know it's tempting to cook them all at once, but when tacos touch each other in the skillet they trap steam between them and the edges don't crisp properly. Two or three at a time, with a little space between them, is what actually gets you the golden crust.
- Warm corn tortillas before folding: If you're using corn tortillas (which get extra crispy and are worth trying), warm them in a dry skillet for 20–30 seconds per side first. Cold corn tortillas crack right down the middle when you fold them and you lose half your filling. Flour tortillas are more forgiving, but the warmth helps with those too.
- Keep the heat at medium, not high: High heat burns the outside before the cheese inside has time to melt. Medium heat gives you about 2–3 minutes per side, which is enough time for the tortilla to go golden and the cheese to get properly gooey. If you notice the first batch burning before the time is up, turn it down a notch for the rest.
Variations
- Add corn and jalapeños: Stir ¼ cup of drained canned corn and a tablespoon of chopped pickled jalapeños into the bean mixture before assembling. The corn adds a little sweetness and the jalapeños bring heat. This is the version I make when my husband wants something with more kick — he adds extra hot sauce on top and it keeps him happy.
- Sweet potato and black bean: Mix ½ cup of mashed cooked sweet potato into the beans before adding the cheese. It makes the filling creamier and slightly sweet, which works surprisingly well against the cumin and chili powder. I've made this version when I had a leftover sweet potato sitting around and it's become a regular.
- Vegan version: Skip the dairy cheese and use a plant-based shredded cheese — the kind from Trader Joe's or Whole Foods melts reasonably well in a hot pan. Alternatively, mash in half an avocado instead of cheese for a completely different but still creamy filling. It won't crisp the same way, but the flavor is good.
- Spicier filling: Add ½ teaspoon of smoked paprika and a small chopped chipotle pepper in adobo sauce to the bean mash. The chipotle adds smokiness and genuine heat — not just spice. If you've never cooked with chipotle in adobo, you can find it in a small can at most grocery stores near the Mexican ingredients aisle.
- Taco bar setup: Make a double batch of filling (it uses two cans of beans) and set out the tortillas, cheese, and toppings separately so people can assemble their own. I do this when we have friends over — it's easy to scale up and everyone gets exactly what they want. Pair it with a side of something hearty if you need to stretch the meal further.
Serving and Storage
Serving
Serve straight from the skillet with sour cream, salsa, and lime wedges on the side. Sliced avocado or a quick guacamole works really well here too. If you're making these for a group, I'd suggest cooking in batches and keeping finished tacos on a baking sheet in a 200°F (93°C) oven while the rest cook — they stay warm and hold their crispiness for about 10 minutes that way. In Pakistan we'd probably serve something like this alongside rice, but here I usually pair them with a simple green salad or just eat them as they are.
Storage
Leftover assembled tacos can go in an airtight container in the fridge for up to 2 days, but they will be soft by the next day. To revive them, put them back in a dry skillet over medium heat for 2–3 minutes per side — it brings back most of the crispiness. Do not microwave them; they come out limp and a little sad. The filling on its own (before being folded into tortillas) keeps well in the fridge for up to 3 days, so if you're prepping ahead, make the filling and fry the tacos fresh when you're ready to eat.

Frequently Asked Questions
Can I use refried black beans instead of whole canned beans?
Yes, refried black beans work well and skip the mashing step entirely. Just mix them with the spices and lime juice, then add the cheese and assemble as normal. The texture is smoother than the hand-mashed version, which some people prefer — Saad actually likes it that way because there are no chunks.
Can I bake these instead of frying them?
You can. Brush both sides of the assembled tacos with oil and bake at 400°F (200°C) for 10–12 minutes, flipping once halfway through. They get crispy but not quite as deeply golden as the pan-fried version. I use the oven method when I'm making a large batch and can't stand at the stove flipping tacos for 20 minutes.
Do corn tortillas work better than flour?
Corn tortillas actually get crispier than flour ones and the flavor is more authentic, but they crack if you fold them cold. Warm them in a dry skillet for 20–30 seconds per side before filling and folding. Flour tortillas are more forgiving and easier to work with if you're making these for the first time.
Can I make the filling ahead of time?
Yes — the bean and cheese filling keeps in the fridge for up to 3 days in a sealed container. When you're ready to cook, just assemble and fry. This is what I do on busy weeknights: make the filling on Sunday, and dinner is mostly done by the time I get to it on Tuesday or Wednesday.
Are these freezer-friendly?
Honestly, not really. The crispy tortilla doesn't survive freezing and reheating — it goes soft and a bit rubbery. I'd freeze the filling only (without cheese mixed in) and add the cheese fresh when you're ready to assemble. The assembled tacos are genuinely best made fresh.
CRISPY BLACK BEAN TACOS
Ingredients
- 1 15 oz can black beans, rinsed and drained
- ½ teaspoon cumin
- ½ teaspoon chili powder
- ¼ teaspoon garlic powder
- ¼ teaspoon salt
- 1 tablespoon lime juice
- 1 cup shredded cheese cheddar, Monterey Jack, or a blend
- 8 small corn or flour tortillas
- 2 tablespoons oil vegetable or olive oil
- Optional toppings: sour cream salsa, avocado, shredded lettuce, hot sauce
Instructions
Prepare Filling:
- In a bowl, mash black beans with cumin, chili powder, garlic powder, salt, and lime juice until chunky but spreadable.
Assemble Tacos:
- Spread 2–3 tablespoons of the bean mixture onto half of each tortilla. Sprinkle with cheese and fold in half.
Pan-Fry Tacos:
- Heat 1 tablespoon oil in a skillet over medium heat. Cook folded tacos 2–3 at a time, 2–3 minutes per side until golden and crispy. Add more oil as needed.
Serve:
- Serve warm with desired toppings or dipping sauces.
Notes
- Cheese Tip: Use freshly shredded cheese for better melt and texture.
- Air Fry Option: Cook at 375°F (190°C) for 6–8 minutes, flipping halfway.
- Add-Ins: Add corn, sautéed onions, or jalapeños to the filling for extra flavour.
- Meal Prep: Make filling in advance and refrigerate for up to 3 days.
- Vegan Swap: Use plant-based cheese or omit cheese for a fully vegan version.
These black bean tacos have become one of those recipes I don't even think about anymore — they're just part of the rotation. When I'm standing in the kitchen at 6pm with no plan, a can of beans and a block of cheese is usually enough to get dinner on the table before anyone gets too impatient. That's a real thing, and I don't take it for granted.
What I like most about them is how they scale. If it's just me and the kids, one can of beans makes plenty. If my husband's coworkers are coming over, I double the filling, set out toppings on the counter, and let people build their own. Either way the recipe holds up. I've also found that the filling itself — just the mashed beans and spices, before the cheese goes in — is good enough to eat with rice or wrap into a flatbread when I want something different.
If you're looking for something to round out the meal on the sweet side, I sometimes make Red Velvet Bear Cookies for dessert when the kids are around — they're easy enough that I can put them in the oven while the tacos are being eaten and everything times out nicely.
Give these a go on a weeknight when you want something real without a lot of effort. The pan does most of the work. 🌮🧀✨
If you liked this, here are a few more recipes from my kitchen you might want to try next:
- Bruschetta Chicken Pasta — a quick weeknight pasta with big flavor
- Million Dollar Spaghetti Squash Pasta — hearty and satisfying without the heavy carb load
- Breakfast Fried Rice — another great use-what-you-have recipe for busy mornings
- Red Velvet Bear Cookies — soft, cocoa-rich, and always a hit with the kids
- Country Apple Fritter Bread — cinnamon-swirled and absolutely worth making on a slow weekend



Comments
No Comments