
If you're looking for the easiest way to make a rich and indulgent dessert, this Peanut Butter Cup Dump Cake is your answer. With minimal prep and maximum flavour, it's a chocolate-and-peanut-butter lover’s dream.
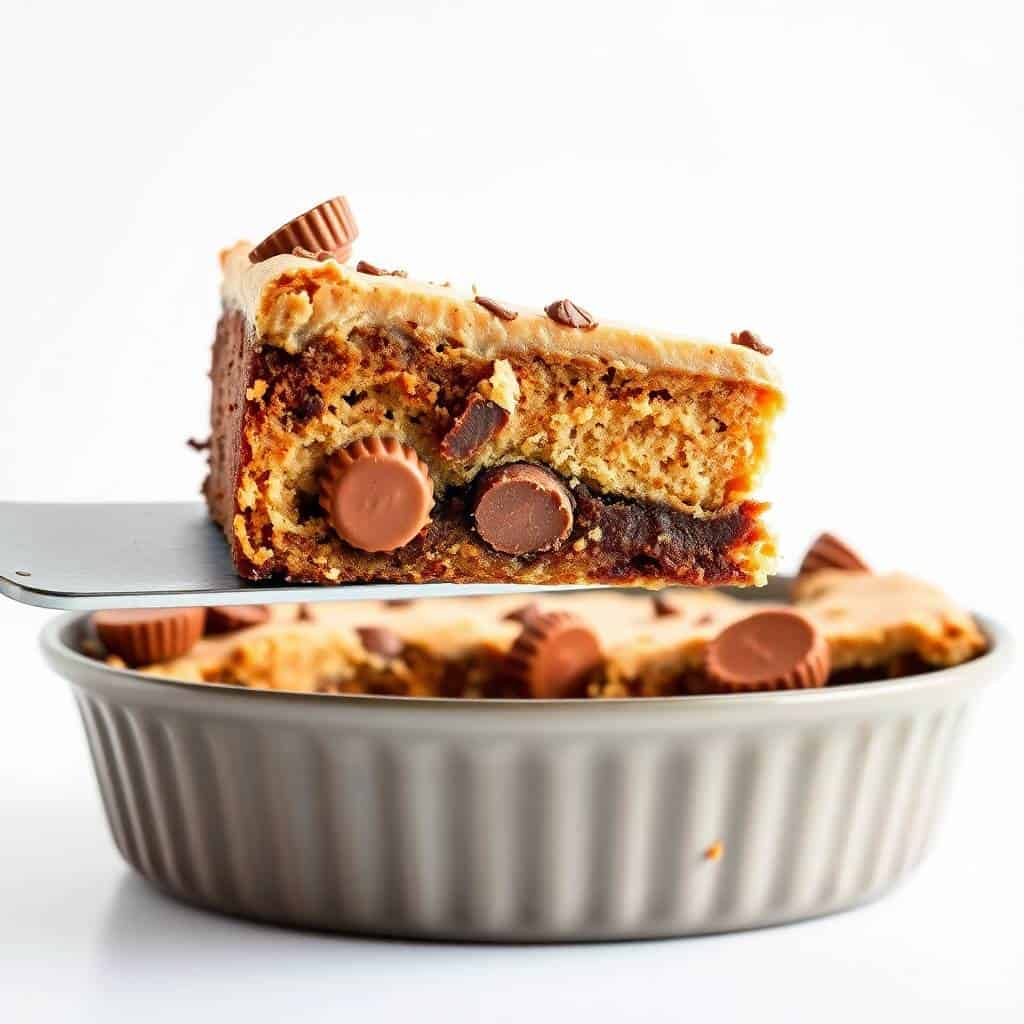
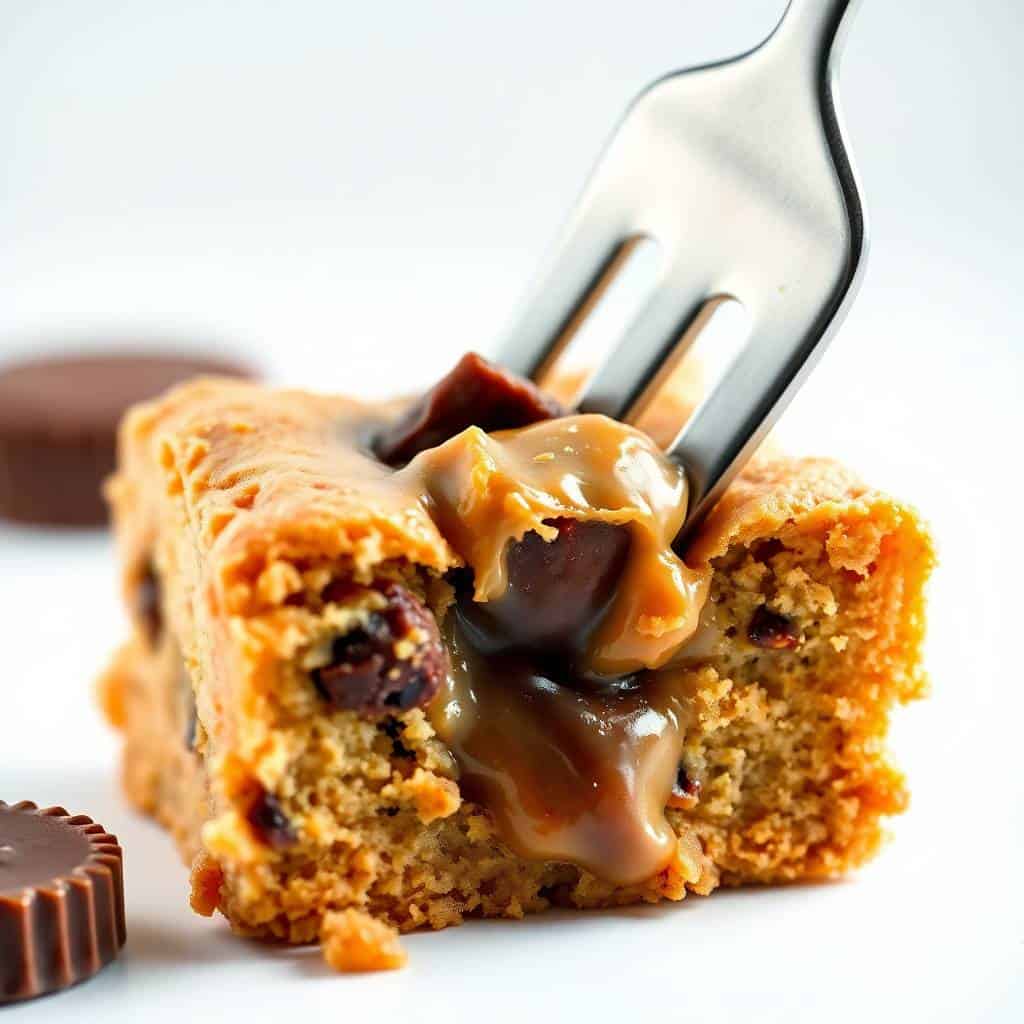
This cake combines the deep richness of chocolate with the creamy, nutty goodness of peanut butter cups. Each bite is warm, gooey, and perfectly sweet, with a soft cake-like top and melted candies throughout.
Whether you're baking for a potluck, family dinner, or last-minute craving, this dump cake won’t disappoint. It’s quick to assemble and feeds a crowd, with leftovers (if you have any!) that taste just as good the next day.
You don’t need to be a pro in the kitchen—this recipe is virtually failproof. Just dump, bake, and dig in. Serve it warm with a scoop of vanilla ice cream for the ultimate treat. It’s comfort food, party food, and crave-worthy dessert all in one.
You just layer the ingredients, bake, and let the oven do all the work—no mixing bowls required! It's the kind of dessert that feels fancy but is shockingly simple to make. You’ll love how simple it is—and how quickly it disappears from the pan.
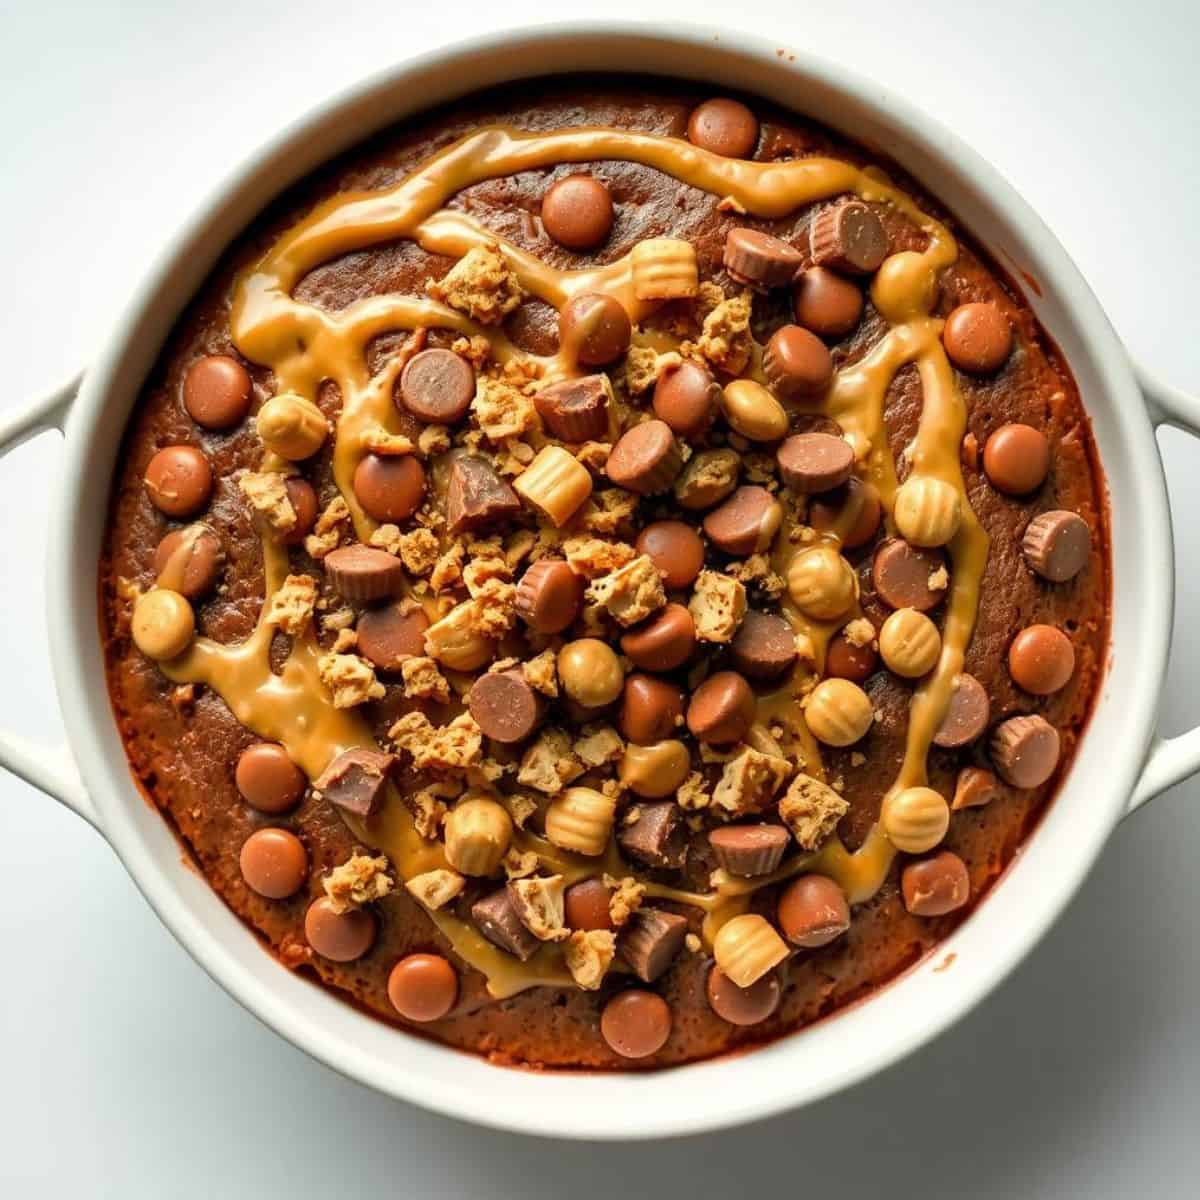
WHY YOU WILL LOVE THIS RECIPE
- Minimal Prep Required: You don’t need to mix a thing—just dump the ingredients into a pan and bake. It’s super easy and fast.
- Incredible Texture: The cake has a soft, gooey centre with crispy edges and melty peanut butter throughout for pure dessert perfection.
- Peanut Butter Lovers’ Dream: Every bite is loaded with peanut butter cups and creamy peanut butter—perfect for fans of rich, nutty treats.
- Crowd-Pleasing Dessert: Whether for potlucks or parties, this dessert is always a hit and disappears fast from the serving dish.
- Great with Ice Cream: A warm slice served with a scoop of vanilla ice cream creates a dessert experience everyone will remember.
- Kid-Friendly and Fun: Kids love helping layer the ingredients, and they definitely love eating it—it’s fun and satisfying for the whole family.
INGREDIENTS
- 1 box chocolate cake mix (15.25 oz)
- 1 can sweetened condensed milk (14 oz)
- 1 jar peanut butter (¾ cup)
- 1½ cups chopped peanut butter cups
- 1 stick unsalted butter (½ cup), melted
- ½ cup milk chocolate chips (optional)
- Non-stick spray for greasing
DIRECTIONS
- Step No.1: Preheat and prepare
Preheat your oven to 350°F (175°C). Lightly grease a 9x13-inch baking dish with non-stick spray.
- Step No.2: Add base layer
Pour the sweetened condensed milk into the greased dish and spread it evenly over the bottom.
- Step No.3: Add peanut butter
Gently dollop peanut butter across the top, then swirl slightly with a spatula or knife for even flavour.
- Step No.4: Add chopped candy
Scatter chopped peanut butter cups evenly across the surface of the mixture.
- Step No.5: Add cake mix
Sprinkle the dry chocolate cake mix evenly over everything—do not stir.
- Step No.6: Add butter and chocolate chips
Pour melted butter over the top of the cake mix, trying to cover as much as possible. Add chocolate chips if using.
- Step No.7: Bake to perfection
Bake for 35–40 minutes, or until the top is set and bubbly. Let cool slightly before serving warm.
TIPS FOR SUCCESS
- Use quality candy: Choose good-quality peanut butter cups for maximum flavour and melty texture in every delicious bite of your dump cake.
- Don’t mix the layers: The magic of a dump cake lies in the layers—resist the urge to stir after adding the dry cake mix.
- Pour liquids evenly: Make sure the milk and melted butter are distributed across the top to ensure even baking and proper moisture.
- Let it rest: Let the cake cool for at least 10 minutes after baking so the layers set and the texture becomes gooey but sliceable.
- Try crunchy peanut butter: If you prefer a little texture, swap creamy peanut butter for crunchy—it adds a nutty crunch throughout.
- Serve warm: This cake is best enjoyed warm when the peanut butter and chocolate are still melty and gooey for full indulgence.
VARIATIONS
- Add chocolate chips: Sprinkle chocolate chips on top of the cake mix before baking for an even more indulgent chocolatey experience.
- Switch the candy: Use chopped Snickers, Reese’s Pieces, or your favourite candy instead of peanut butter cups for a fun twist.
- Add banana slices: Add sliced bananas between the candy and cake mix layers for a delicious flavour pairing with the peanut butter.
- Use white cake mix: Try white or yellow cake mix instead of chocolate for a lighter take that still delivers incredible peanut butter taste.
- Top with whipped cream: For extra decadence, top each serving with whipped cream or drizzle with chocolate syrup before serving.
- Make it gluten-free diet: Use a gluten-free cake mix to make this recipe suitable for guests with dietary restrictions or gluten sensitivity.
SERVING AND STORAGE
Serving
Serve warm in a bowl with a scoop of vanilla ice cream or a drizzle of melted chocolate for extra indulgence.
Storage
Store covered at room temperature or in the fridge for up to 3 days. Reheat individual servings in the microwave.
FAQ
Yes, bake and cool it in advance. Reheat gently before serving for best texture and flavour.
No! Just sprinkle the dry mix over the top. That’s the magic of a dump cake.
Absolutely. It adds a nice texture to the soft, gooey layers.
Yes, freeze in an airtight container for up to 1 month. Thaw and reheat before serving.
Sure! Try chopped Snickers, Reese’s Pieces, or chocolate chunks instead of peanut butter cups.
This Peanut Butter Cup Dump Cake is your go-to dessert for when you need something quick, decadent, and outrageously good.
With layers of chocolate, peanut butter, and candy, it’s like a candy bar transformed into a warm, scoopable dessert.
The result is an ooey-gooey treat with a perfect balance of sweet and salty, creamy and crunchy.
Whether you’re hosting friends or just treating yourself, this cake delivers on all fronts.
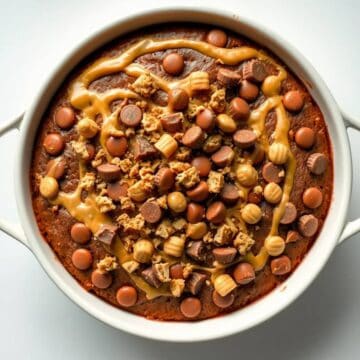
PEANUT BUTTER CUP DUMP CAKE
Ingredients
- 1 box chocolate cake mix 15.25 oz
- 1 box instant chocolate pudding mix 3.9 oz
- 2 cups milk
- 1 cup peanut butter chips
- 1 cup chopped mini peanut butter cups plus extra for topping
- ½ cup unsalted butter melted
- Optional: whipped cream or vanilla ice cream for serving
Instructions
Preheat Oven:
- Preheat your oven to 350°F (175°C). Grease a 9x13-inch baking dish.
Layer Ingredients:
- In the prepared baking dish, whisk together pudding mix and milk until smooth. Sprinkle chocolate cake mix evenly over the top (do not mix in).
Add Toppings:
- Evenly scatter peanut butter chips and chopped peanut butter cups over the dry cake mix. Drizzle melted butter over the top.
Bake:
- Bake for 35–40 minutes or until the top is bubbly and slightly crisp. The center should be gooey.
Cool & Serve:
- Let cool slightly. Top with more peanut butter cups if desired. Serve warm with whipped cream or ice cream.
Notes
Flavour Tip: Add a layer of sliced bananas or drizzle with caramel for extra indulgence.
Serving Suggestions: Serve warm with ice cream or a cold glass of milk.
Allergy-Friendly Tips: Use a dairy-free cake mix and milk alternative for lactose-sensitive versions.
Storage Tips: Store leftovers in the refrigerator for up to 4 days. Reheat in the microwave.





Comments
No Comments