
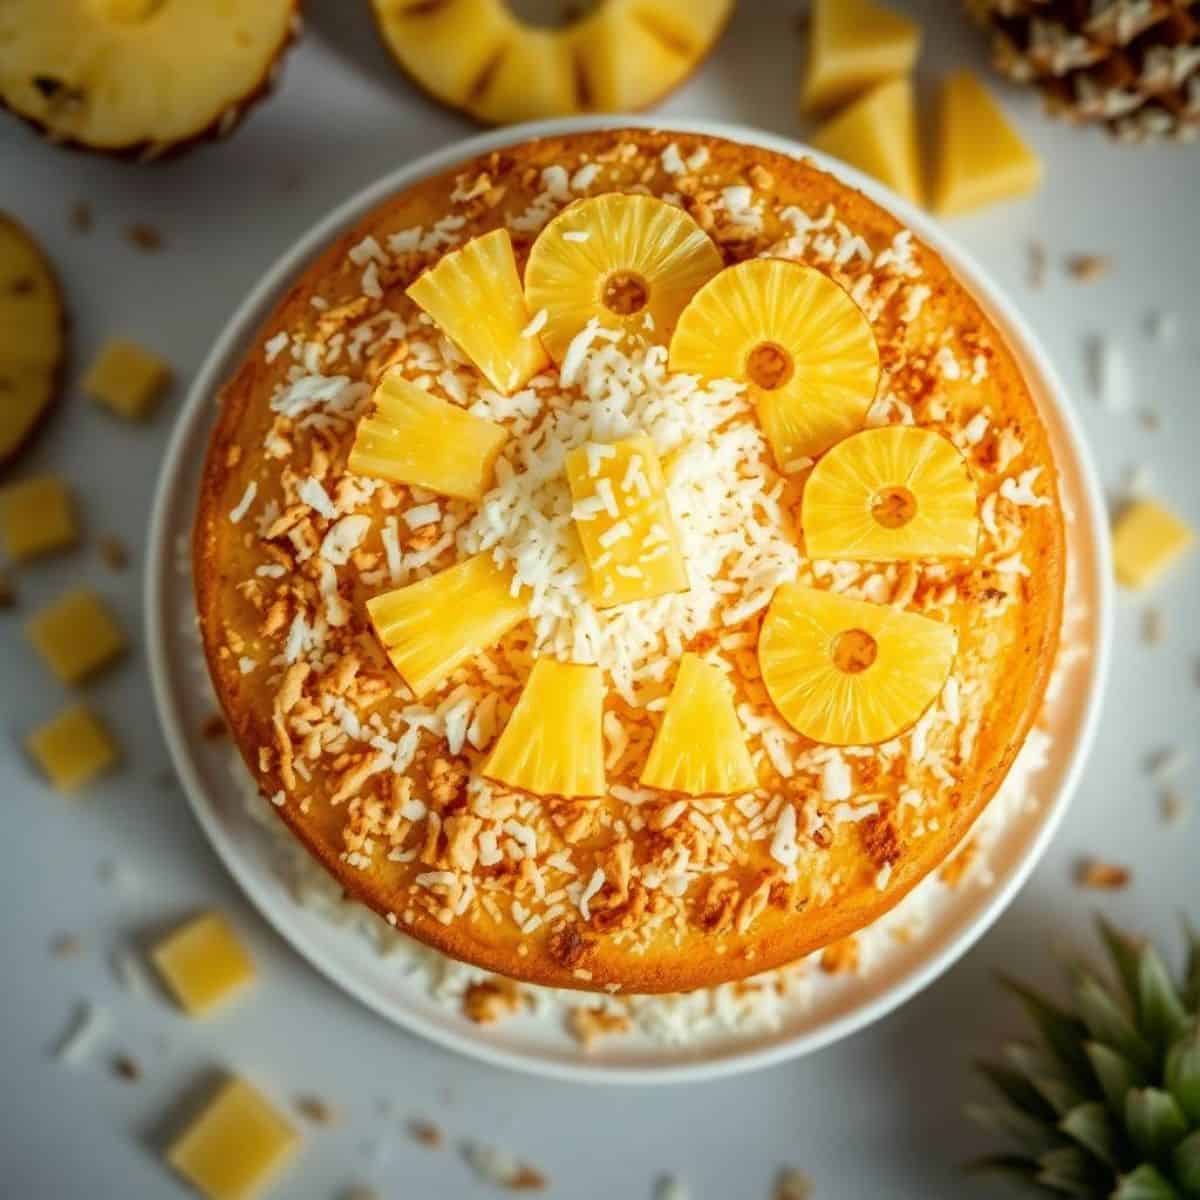
This Hawaiian Pineapple Coconut Dream Cake is the perfect tropical dessert that brings sunshine and sweetness to every bite. Topped with a whipped cream frosting and toasted coconut, this cake is as beautiful as it is delicious.
Perfect for summer gatherings, family get-togethers, or any time you want a refreshing treat, this cake is easy to make using basic ingredients. You don’t need any fancy equipment or skills—just one bowl, a baking pan, and a big appetite.
Whether you’re new to baking or a seasoned pro, this cake delivers results that look and taste amazing. It’s soft, fluffy, and infused with crushed pineapple and shredded coconut, creating a dreamy texture and irresistible flavour.
The tropical flavours of pineapple and coconut give it a unique charm that sets it apart from regular sheet cakes. It’s the kind of cake that leaves everyone asking for seconds. Every bite is light yet satisfying, with a moist crumb.
Try this Hawaiian dream cake once, and it’ll become a regular favourite. It’s the ultimate combination of easy preparation and unforgettable taste—just what every home baker needs in their collection. It’s a slice of paradise you can enjoy all year round.
WHY YOU WILL LOVE THIS RECIPE
- Tropical flavors: Sweet pineapple and creamy coconut combine to create a delicious island-inspired cake perfect for any occasion.
- Moist and tender: The cake layers soak in pineapple juice, resulting in a wonderfully moist and tender texture every time.
- Easy to prepare: Simple ingredients and clear instructions make this cake accessible for all skill levels in baking.
- Versatile dessert: Great for summer parties, birthdays, or holiday gatherings, impressing guests with vibrant tropical flavors.
- Beautiful presentation: The layered look with shredded coconut topping makes it visually appealing and festive on any table.
- Crowd-pleaser: Everyone loves the sweet, creamy, and fruity combination, making it a guaranteed hit at any event.
INGREDIENTS
- 1 box yellow cake mix (15.25 oz)
- 1 can (20 oz) crushed pineapple in juice, undrained
- ½ cup granulated sugar
- 1 package (3.4 oz) instant vanilla pudding mix
- 1 container (8 oz) whipped topping, thawed
- ½ cup shredded sweetened coconut
- ½ cup chopped pecans or walnuts (optional)
- 1 teaspoon vanilla extract
- ½ cup milk
DIRECTIONS
- Step No.1: Prepare the cake base
Preheat oven to 350°F (175°C). Grease a 9x13-inch baking pan. In a large bowl, mix cake mix with eggs, pineapple (with juice), and vanilla until well combined.
- Step No.2: Bake the cake
Pour the batter into the prepared pan and spread evenly. Bake for 30–35 minutes or until a toothpick comes out clean. Let cool completely.
- Step No.3: Prepare the pudding layer
In a bowl, whisk pudding mix with cold milk until smooth. Let it thicken for 5 minutes, then spread evenly over the cooled cake.
- Step No.4: Add whipped topping
Gently spread the whipped topping over the pudding layer. Make sure to cover the entire cake evenly.
- Step No.5: Add coconut and nuts
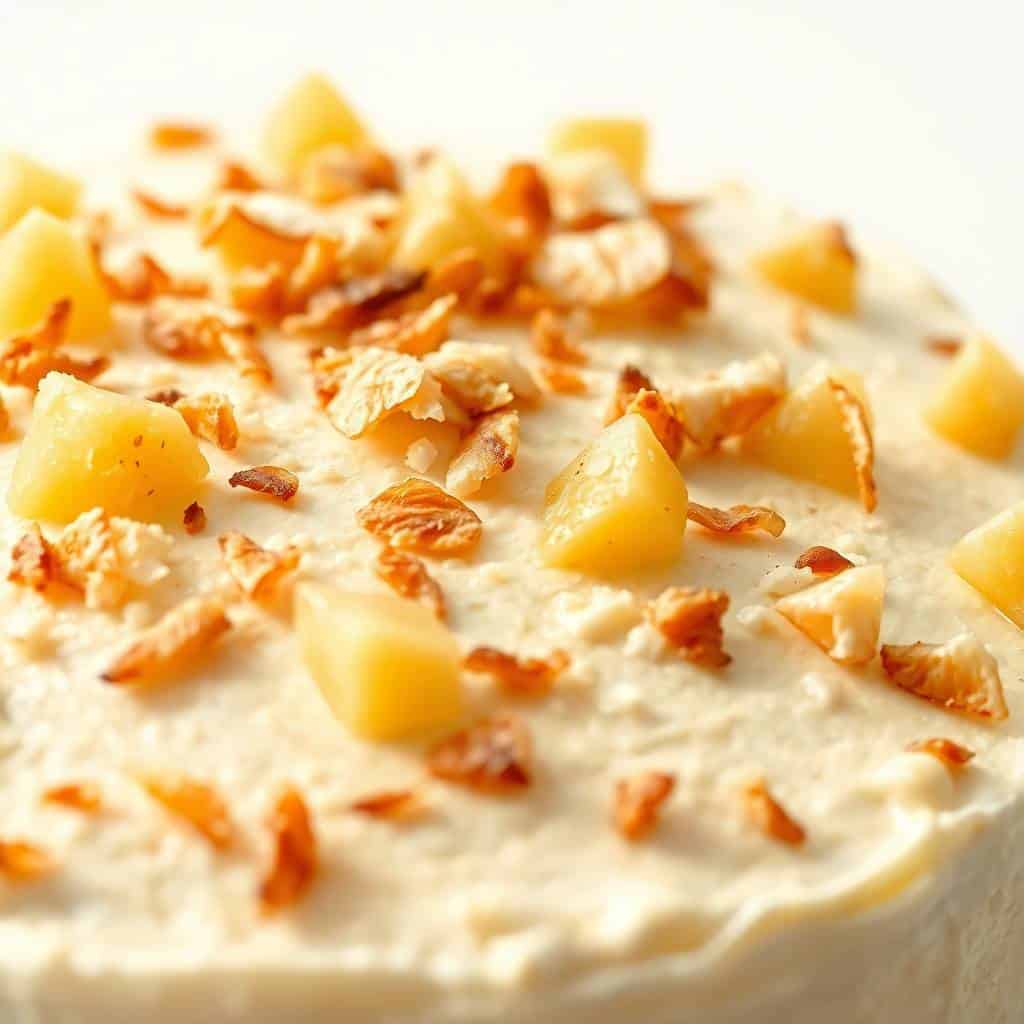
Sprinkle shredded coconut and chopped nuts (if using) evenly over the whipped topping. Toast coconut for a few minutes beforehand if desired.
- Step No.6: Chill before serving
Refrigerate the cake for at least 2 hours before slicing to allow all layers to set nicely.

TIPS FOR SUCCESS
- Use Fresh or High-Quality Coconut: Freshly shredded coconut or good-quality packaged coconut enhances the flavor and texture, giving a rich coconut aroma to your cake.
- Avoid Overmixing Batter: Stir the batter just until ingredients are combined to keep the cake light and prevent it from becoming dense or tough.
- Ensure Complete Cooling: Let the cake layers cool fully before frosting to avoid melting the cream cheese frosting and preserve its fluffy texture.
- Reserve Pineapple Juice: Use the juice from crushed pineapple in the batter or frosting to boost moisture and intensify pineapple flavor naturally.
- Room Temperature Ingredients: Soften butter and cream cheese beforehand to help create a smooth, creamy frosting without lumps or graininess.
- Chill Cake Before Serving: Refrigerate the assembled cake for at least an hour to set the frosting properly and make slicing easier.
VARIATIONS
- Toasted Coconut Topping: Sprinkle toasted coconut flakes on top for added crunch and a deeper, nutty flavor that enhances the overall texture.
- Add Coconut Extract: Boost the coconut flavor by adding a teaspoon of coconut extract to the frosting or cake batter for an extra tropical punch.
- Use Homemade Cake Mix: Replace the boxed cake mix with your favorite homemade yellow cake recipe to personalize the flavor and texture.
- Include Pineapple Chunks: Fold small pineapple chunks into the batter for bursts of juicy fruit inside each slice, adding texture and sweetness.
- Turn Into Cupcakes: Bake the batter in cupcake liners, adjusting the baking time to create individual servings perfect for parties or snacks.
- Tropical Fruit Garnish: Decorate with fresh pineapple slices, mango pieces, or passion fruit seeds to add vibrant color and enhance tropical flavors.
SERVING AND STORAGE
Serving
Serve chilled with a fork and fresh pineapple garnish for a refreshing tropical dessert everyone will love.
Storage
Cover tightly and refrigerate for up to 4 days. Best enjoyed within 2 days for freshest taste.
FAQ
Yes, it’s perfect for making a day in advance—just refrigerate until ready to serve.
You can, but be sure to use juice and mash it well for proper texture.
Yes, freeze without topping for up to one month. Thaw, then add whipped topping and coconut before serving.
Absolutely! Substitute your favourite yellow cake recipe in place of the boxed mix.
Spread it on a baking sheet and bake at 325°F for 5–8 minutes, stirring occasionally, until golden.
This hawaiian pineapple Coconut Dream Cake is an easy, tropical dessert that delivers big flavour with minimal effort.
Whether you’re serving it for a summer barbecue, a holiday gathering, or just a weekday treat, it’s sure to impress.
Each bite brings a burst of pineapple sweetness and coconut crunch, balanced by the soft cake and creamy topping.


HAWAIIAN PINEAPPLE COCONUT DREAM CAKE
Ingredients
For the Cake:
- 1 box yellow cake mix 15.25 oz
- 3 large eggs
- ½ cup vegetable oil
- 1 cup crushed pineapple with juice
- ¾ cup water
For the Topping:
- 1 can 20 oz crushed pineapple (with juice)
- ½ cup granulated sugar
- 1 package 3.4 oz instant vanilla pudding mix
- 1 cup cold milk
- 1 container 8 oz whipped topping (like Cool Whip)
- 1 cup shredded sweetened coconut
Instructions
Make the Cake:
- Preheat oven to 350°F (175°C). Grease a 9x13-inch baking pan.
In a large bowl, mix cake mix, eggs, oil, water, and 1 cup crushed pineapple with juice. Beat for 2 minutes until smooth.
- Pour into prepared pan and bake for 30–35 minutes, or until a toothpick comes out clean. Let cool completely.
Prepare the Pineapple Layer:
- In a saucepan over medium heat, combine the 20 oz can of crushed pineapple with juice and sugar. Bring to a boil, then remove from heat and let cool slightly. Spread over cooled cake.
Make the Cream Topping:
- Whisk together pudding mix and cold milk until thickened. Fold in whipped topping. Spread over pineapple layer.
Add the Coconut:
- Sprinkle shredded coconut evenly over the top. Chill the cake for at least 2 hours before serving.
Notes
Flavour Tip: Add a splash of coconut extract to the cake batter for extra tropical flavour.
Serving Suggestions: Serve cold with extra whipped topping or a cherry on top.
Allergy-Friendly Tips: Use dairy-free whipped topping and pudding mix for a lactose-free version.
Storage Tips: Store covered in the refrigerator for up to 4 days.





Comments
No Comments