
I made this Blueberry Yum Yum Cake for a neighbor's backyard get-together last summer, and I genuinely didn't expect it to disappear as fast as it did. I set it on the dessert table next to a fancy layered torte someone else brought, and this one was gone in about twenty minutes. It's a no-bake layered dessert — graham cracker crust, creamy cream cheese filling, and a blueberry pie filling on top — and it comes together with almost no effort once you know what you're doing.
What I like about this recipe is that it doesn't try to be anything complicated. There's no oven, no fussy decoration, and no special equipment. I make it in a 9x13-inch dish, press in the crust, layer the filling, spoon on the blueberries, and let the fridge do the rest of the work. The cream cheese layer is what holds it all together — it's slightly tangy, just sweet enough, and it pairs really well with the blueberry topping that comes from a can of pie filling. I'm not pretending this is a from-scratch fruit compote situation. It's a can of blueberry filling from the baking aisle at Walmart. Works beautifully.
Zainab has requested this at least four times since I first made it. She loves anything cold and creamy, and this one hits that spot completely. I usually make it the night before we need it — the layers firm up overnight and the slices come out clean. If you're planning a potluck or a summer party, this is the kind of thing you can prep on a Thursday night for a Saturday gathering with zero stress. If you're looking for something to serve alongside savory snacks, my Crackers Party Sandwiches make a great pairing on the same table.
One honest thing to know going in: the first time I made this, I didn't chill it long enough. I gave it two hours and tried to slice it — the layers kind of slid apart and it looked like a mess. Four hours minimum, and overnight is genuinely better. Set it up the night before and you'll thank yourself the next day when it slices cleanly into neat squares.
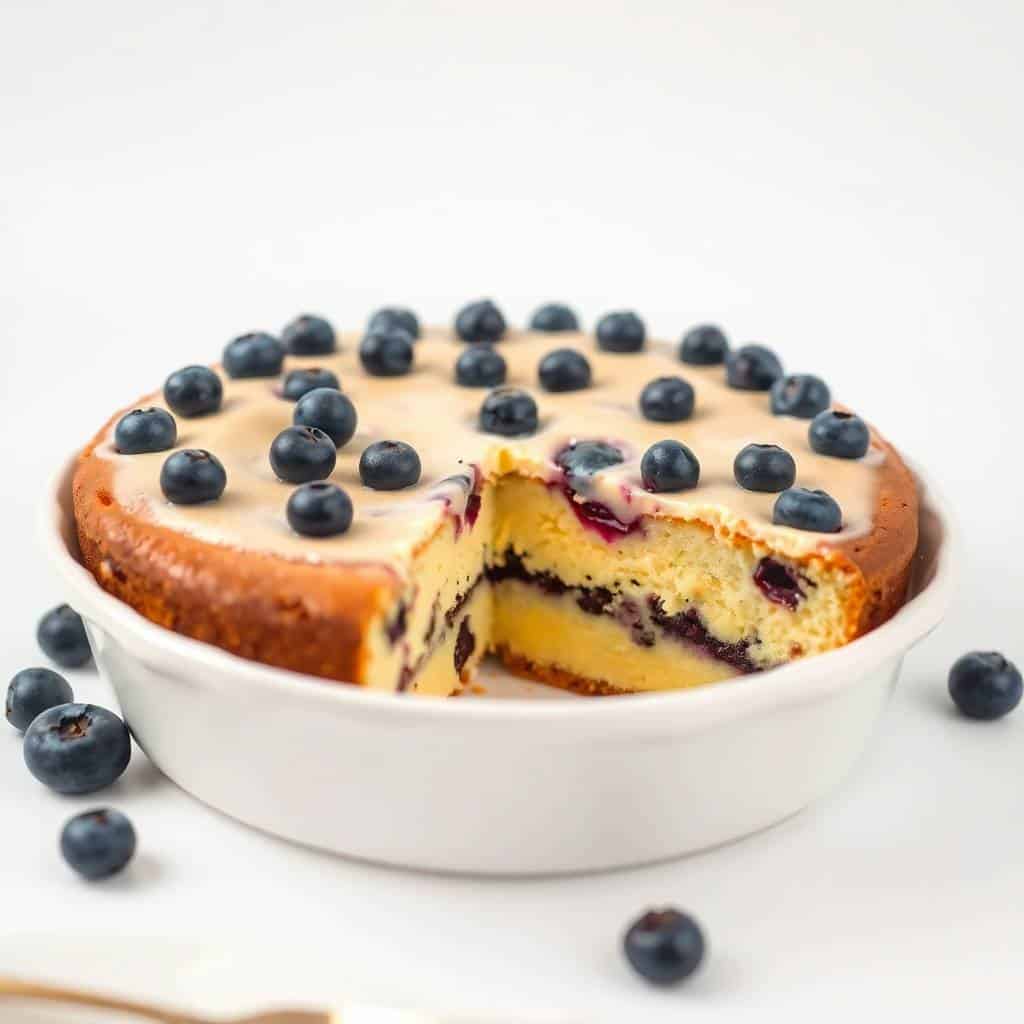
Why You'll Love This Recipe
- No oven required: The whole thing comes together without turning on the oven, which is a genuine relief in summer. I live in a part of Pakistan where summers are brutal, and no-bake desserts are basically survival. If you're in a hot climate or just don't want to heat up your kitchen, this is your recipe. There's no baking, no temperature watching, no toothpick test — just layering and chilling.
- Make-ahead by design: This dessert actually gets better the longer it sits in the fridge. I always make it the night before I need it, which means the day of the party I have one less thing to think about. The crust firms up, the cream cheese layer sets, and the blueberry filling settles into place. Morning-of you just pull it out, slice it, and serve.
- Feeds a crowd from one dish: A 9x13-inch dish gives you about 12-15 squares depending on how you cut it. I always make a double batch for big gatherings because one dish disappears before half the guests have had a chance to try it. It travels well too — just cover the dish with foil and bring it cold.
- Basic grocery store ingredients: Everything you need is at a regular grocery store — graham crackers, cream cheese, Cool Whip, and a can of blueberry pie filling. No specialty stores, no hard-to-find ingredients. I've made this with store-brand everything and it turns out just as good. Aldi or Walmart will have everything on this list.
- Flexible with fruit: Blueberry is my go-to, but this base works with almost any canned pie filling. I've made it with cherry and with peach, and both were well-received. The cream cheese layer is neutral enough that it pairs with whatever fruit you put on top. It's one of those recipes you can adapt based on what's on sale or what your family prefers.
Ingredients
- For the Crust:
- 1 ½ cups graham cracker crumbs
- ½ cup unsalted butter, melted
- For the Cream Cheese Layer:
- 8 oz cream cheese, softened (leave it out on the counter for at least 15 minutes before you start)
- 1 cup powdered sugar
- 1 teaspoon vanilla extract
- 1 cup whipped topping, like Cool Whip (thawed)
- For the Topping:
- 1 can (21 oz) blueberry pie filling
- Additional whipped topping for the top layer (optional)
Directions
- Make the crust: Mix the graham cracker crumbs and melted butter together in a bowl until the crumbs are evenly coated. Press the mixture firmly into the bottom of a 9x13-inch baking dish — use the back of a measuring cup to get it flat and even. Stick it in the fridge while you work on the filling. That short chill helps it hold together when you add the layers on top.
- Make the cream cheese layer: Beat the softened cream cheese with a hand mixer until it's completely smooth — no lumps. Cold cream cheese will leave lumps no matter how long you beat it, so don't skip the softening step. Add the powdered sugar and vanilla and beat again until combined, then fold in the Cool Whip gently with a spatula. You want it to stay fluffy, so don't overmix once the Cool Whip goes in.
- Spread the cream layer: Spoon the cream cheese mixture over the chilled crust and spread it into an even layer. Take your time here — an offset spatula or the back of a spoon works well. Try not to pull up the crust as you spread.
- Add the blueberry topping: Open the can of blueberry pie filling and spoon it evenly over the cream cheese layer. Spread it gently so you don't drag the cream layer underneath. The filling is thick enough that it sits nicely on top without mixing in.
- Top and chill: If you want a top layer of whipped topping, add it now and spread it over the blueberries. Cover the dish with plastic wrap or foil and refrigerate for at least 4 hours, though overnight is better. Don't rush this part — it's the difference between clean squares and a sliding mess.
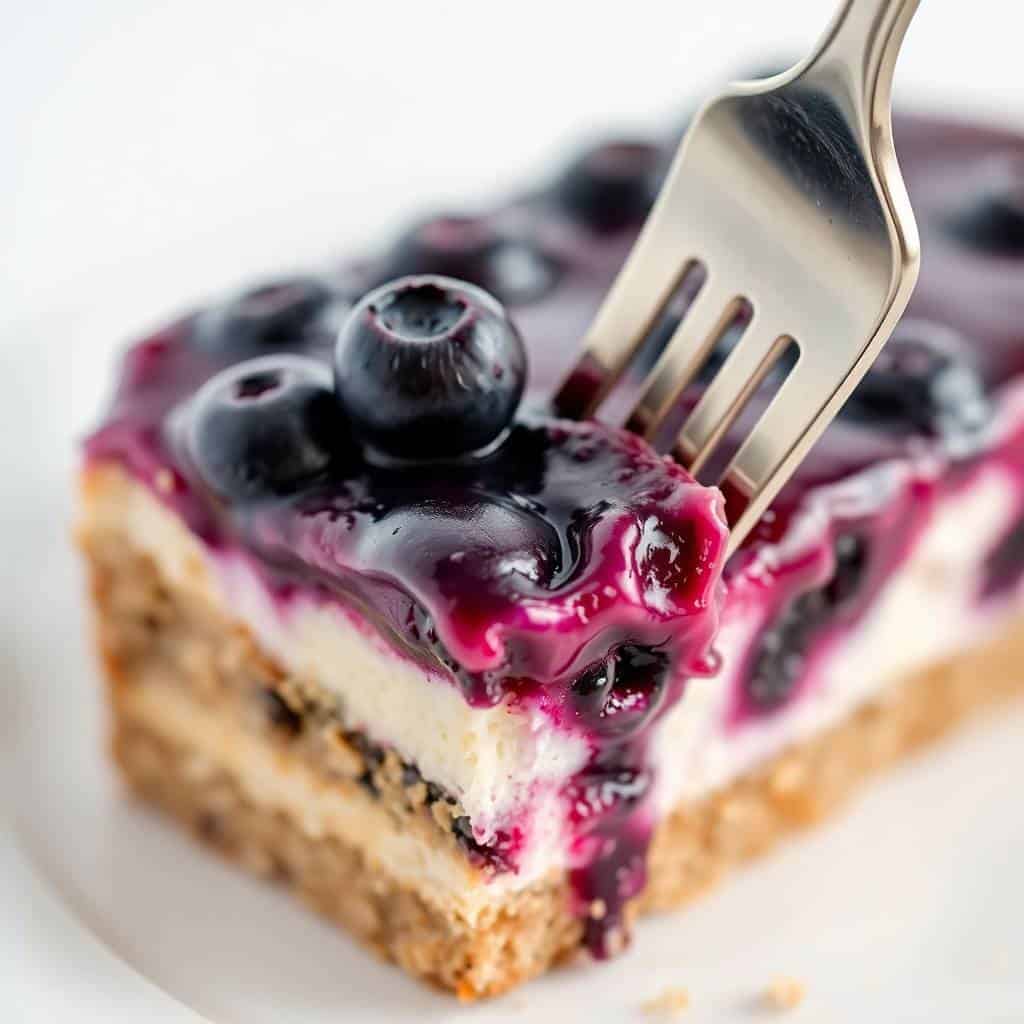
Tips for Success
- Soften the cream cheese completely: I learned this the hard way my first time. I tried to beat cold cream cheese straight from the fridge and ended up with a lumpy filling that looked curdled. Leave the cream cheese out on the counter for at least 15 minutes before you start — 30 is even better. It should feel soft and give easily when you press it. Once it's smooth, everything else comes together fast.
- Fold the Cool Whip, don't beat it: Once you add the whipped topping to the cream cheese mixture, switch from the mixer to a spatula. Beating it deflates the air and you lose that light, fluffy texture. A gentle fold — just until you don't see streaks — is all you need. The lighter the filling, the better the texture in each bite.
- Press the crust firmly: A loose crust means the squares fall apart when you serve them. Press it down really well with the back of a measuring cup or a flat-bottomed glass. You want it compact and even across the whole dish, including the edges. This is one of those steps that takes thirty extra seconds and makes a noticeable difference in how the finished dessert holds together.
- Chill overnight if you can: Four hours is the minimum, but overnight is when this dessert really hits its stride. The crust absorbs just enough moisture to soften slightly without going soggy, the cream layer firms up, and everything holds together when you cut it. I always make this the evening before I need it — it's one less thing to worry about on the day.
- Use full-fat cream cheese: I've tested this with reduced-fat and the filling is noticeably softer — it doesn't hold its shape as well and the layers look less defined when you slice it. Full-fat gives you a richer filling that sets properly and slices clean. Philadelphia or any store-brand full-fat block cream cheese works fine. Just not the spreadable tub kind — that's too soft.
Variations
- Switch the fruit filling: Cherry pie filling is my second favorite after blueberry — it's a little more tart and the color is gorgeous. Peach works beautifully in summer if you can find peach pie filling. Mixed berry is another good option. The cream cheese layer pairs well with almost any fruit filling, so use whatever looks good at the store or whatever your family prefers.
- Add lemon zest to the cream layer: Stir in the zest of one lemon when you're beating the cream cheese. It cuts through the sweetness and adds a fresh note that makes the blueberry flavor pop even more. I started doing this after the third time I made the recipe and now I almost always include it. It's a small change that makes a real difference.
- Try a different crust base: If you don't have graham crackers, crushed vanilla wafers work well and give a slightly sweeter base. Shortbread cookies crushed up are also good — a little more buttery. If you need a gluten-free version, gluten-free graham crackers are available at most larger supermarkets and swap in directly. The butter-to-crumb ratio stays the same.
- Make individual portions: Spoon the layers into small mason jars or clear cups instead of a 9x13-inch dish. This is a good option for parties where you want individual servings — people can just grab a jar and go. The layers look pretty through the glass too. Same chill time applies.
- Add a crunchy top: Sprinkle chopped pecans or walnuts over the blueberry layer before chilling, or add them right before serving if you want them to stay crunchy. My husband likes a bit of texture in desserts so I sometimes do this for him. It's a nice contrast against the creamy layers underneath. If you're serving people with nut allergies, skip this and use crushed graham crackers on top instead.
Serving and Storage
Serving
Serve this cold, straight from the fridge. I cut it into squares with a sharp knife — wipe the blade clean between cuts for neater edges. If you want to dress it up a little, scatter a few fresh blueberries on top right before serving, or add a small sprig of mint. It doesn't need it, but it looks nice for a party table. This pairs well as a dessert after something savory — if you're feeding a crowd, my Caramel Chocolate Crunch Bars also work well alongside this for a dessert spread with some variety.
Storage
Cover the dish with plastic wrap or foil and keep it in the fridge. It holds well for up to 4 days, though in my house it rarely lasts past day two. The crust gets a little softer over time but it still tastes good. I wouldn't freeze this one — the cream cheese layer doesn't thaw well and the texture gets grainy. Best to just make it fresh a day or two before you need it.
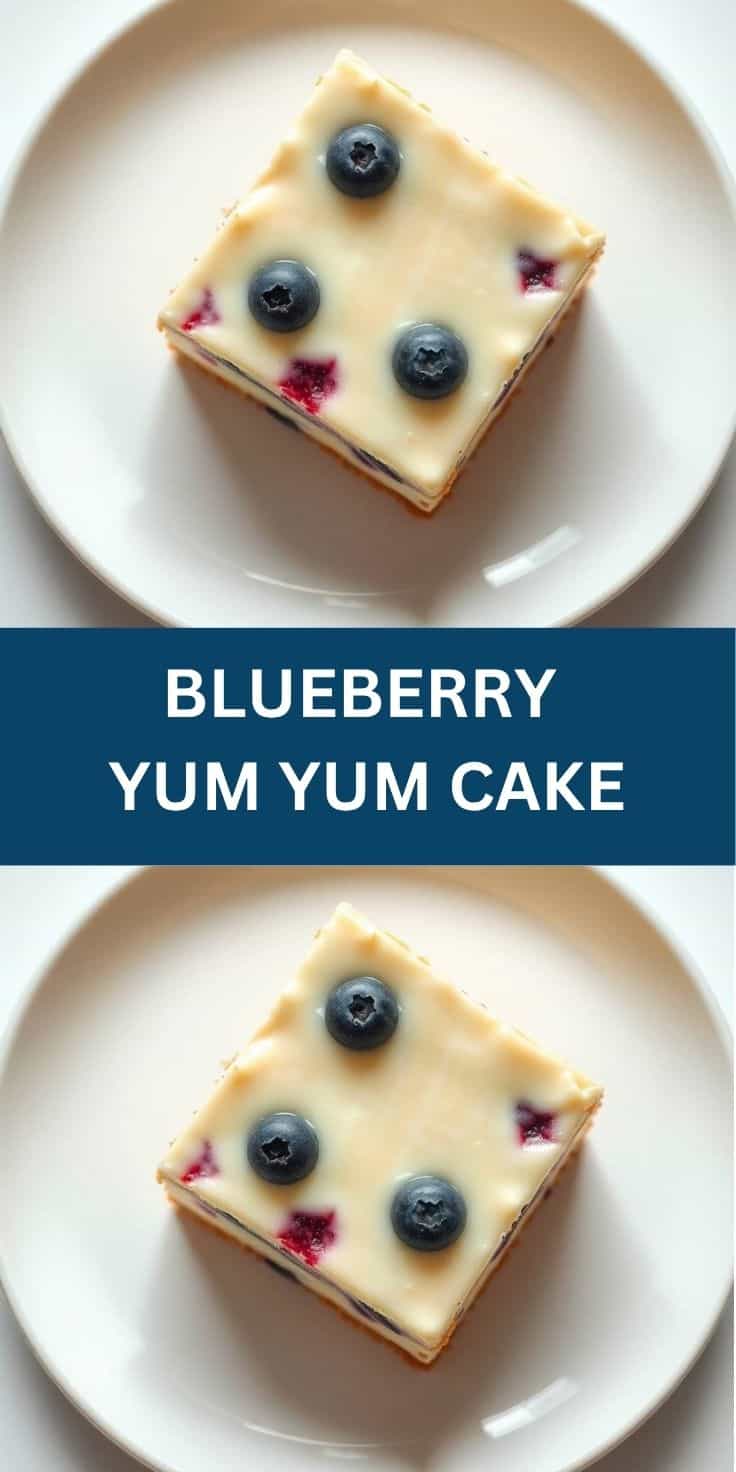
Frequently Asked Questions
Can I use frozen blueberries instead of canned pie filling?
You can, but you'll need to cook them down first. Frozen blueberries have a lot of water in them — if you just thaw and spoon them on, the liquid will bleed into the cream cheese layer and make a watery mess. Cook them with a couple tablespoons of sugar and a teaspoon of cornstarch over medium heat until they thicken into a jammy consistency, then let it cool completely before adding it to the dessert. Honestly, the canned pie filling is easier and the result is very similar.
Can I make this a day ahead?
Yes, and honestly you should. Making it the night before gives the layers time to fully set, which means cleaner slices and better texture. I almost always make it the evening before I need it. Just cover it tightly with plastic wrap and keep it in the fridge. Pull it out right before serving — no need to let it sit at room temperature first.
Can I freeze Blueberry Yum Yum Cake?
I don't recommend it. The cream cheese and Cool Whip layer doesn't freeze well — when it thaws, the texture gets grainy and watery and the layers separate. This dessert is best made fresh and kept refrigerated. Since it only takes about 15 minutes of active prep, it's easy enough to make a day or two before you need it without freezing.
What can I substitute for Cool Whip?
Heavy cream whipped to stiff peaks works as a substitute — use about 1 cup of heavy cream and whip it until it holds its shape, then fold it into the cream cheese mixture the same way. The flavor is slightly richer than Cool Whip and it works well. Just make sure it's whipped to stiff peaks, not soft, or the filling won't hold up. If you're in the UK or Australia and Cool Whip isn't available, this is the way to go.
How do I get clean slices when serving?
Make sure the dessert is fully chilled — at least 4 hours, preferably overnight. Use a sharp knife and wipe it clean with a damp cloth between each cut. Don't press down with a sawing motion — just push straight down through the layers. If the cream cheese layer is still sticking to the knife, it probably needs more chill time. Running the knife briefly under warm water before cutting can also help.
BLUEBERRY YUM YUM CAKE
Ingredients
For the Crust:
- 1 ½ cups graham cracker crumbs
- ½ cup unsalted butter melted
For the Cream Cheese Layer:
- 8 oz cream cheese softened
- 1 cup powdered sugar
- 1 teaspoon vanilla extract
- 1 cup whipped topping like Cool Whip
For the Topping:
- 1 21 oz can blueberry pie filling
- Additional whipped topping for top layer, optional
Instructions
Make the Crust:
- Combine graham cracker crumbs and melted butter in a bowl. Press into a 9x13-inch dish to form an even layer. Chill in the fridge while preparing the next layer.
Make the Cream Layer:
- In a bowl, beat cream cheese until smooth. Add powdered sugar and vanilla; beat until combined. Fold in 1 cup whipped topping. Spread over the chilled crust.
Add Blueberry Layer:
- Spoon blueberry pie filling evenly over the cream cheese layer. Spread gently to avoid mixing.
Top and Chill:
- (Optional) Add another layer of whipped topping. Cover and chill for at least 4 hours or overnight before serving.
Notes





Comments
No Comments