
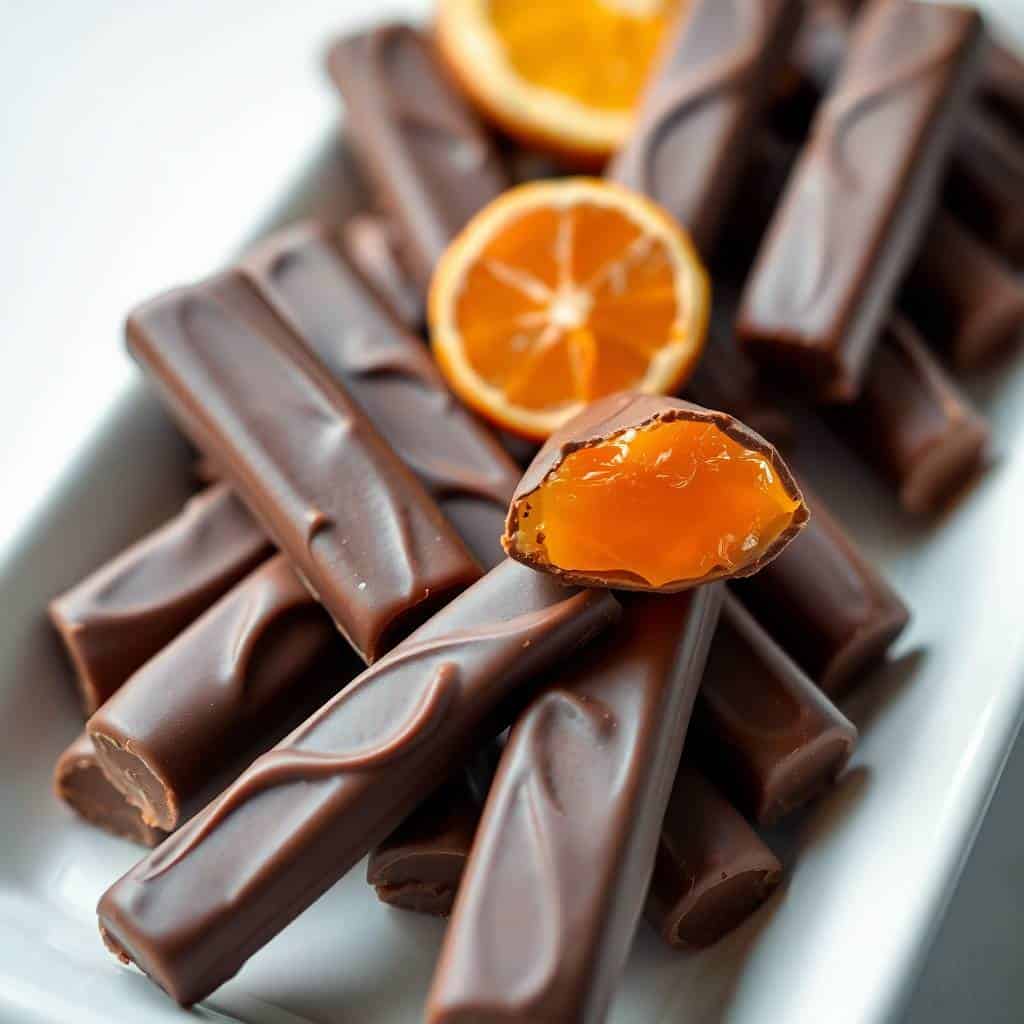
Homemade Chocolate Orange Sticks are a delightful treat you can easily make at home using fresh orange zest and rich chocolate. They have a chewy, citrus center coated in smooth, melted chocolate that sets perfectly.
Each bite delivers the refreshing taste of real oranges combined with the decadence of dark or milk chocolate. You won’t need fancy tools or complicated steps—just basic ingredients and a little patience while they set.
Making them from scratch means you control the flavor and sweetness, making them even better than store-bought versions. These homemade sweets are great for gifting, snacking, or adding to a festive dessert platter.
They are naturally gluten-free and can be made vegan with the right chocolate. These sticks also store well and travel great, so you can make them ahead for holidays or special events. You can wrap them beautifully for edible gifts too.
Whether you're craving a fruity twist on chocolate or want to impress guests with a handmade treat, these Chocolate Orange Sticks are simple yet special. Get ready to enjoy a citrusy delight wrapped in creamy, dreamy chocolate goodness.

WHY YOU WILL LOVE THIS RECIPE
- Bright Citrus Taste: The orange filling offers a natural, refreshing flavour that pairs beautifully with the rich outer chocolate shell.
- Chocolate Coating Bliss: Dipping the sticks in melted chocolate adds a luscious, satisfying texture and indulgent finish to each bite.
- Easy to Make: With just a few ingredients and simple steps, this recipe is perfect for both beginners and experienced cooks.
- Perfect for Gifting: These sticks make charming holiday gifts wrapped in cellophane or boxes with a festive ribbon for presentation.
- Great Texture: The chewy center contrasts nicely with the snap of chocolate, creating a balanced and enjoyable mouthfeel.
- Customisable Flavour: Use dark, milk, or white chocolate and add extracts like vanilla or peppermint for flavour variations.
- Naturally gluten-free diet: No flour is needed, making it an excellent sweet option for those with gluten sensitivities.
INGREDIENTS
- ½ cup fresh orange juice
- 2 tablespoons grated orange zest
- ¾ cup granulated sugar
- ⅓ cup corn syrup
- ⅛ teaspoon salt
- 1¼ cups cornstarch
- ½ cup water (for cornstarch slurry)
- 1 teaspoon orange extract
- 1½ cups chocolate chips (dark, milk, or white)
- 1 teaspoon coconut oil (optional, for melting chocolate)
DIRECTIONS
- Step No.1: Prepare the orange base
In a saucepan, combine orange juice, zest, sugar, corn syrup, and salt. Heat over medium until mixture comes to a light boil.
- Step No.2: Make the cornstarch slurry
In a small bowl, mix cornstarch and water until smooth. Gradually pour this into the boiling orange mixture while stirring constantly.
- Step No.3: Cook until thickened
Continue stirring the mixture over low heat for about 10–15 minutes until it becomes thick and glossy like a gel.
- Step No.4: Add flavour and set
Stir in orange extract. Pour the hot mixture into a parchment-lined square dish and spread evenly. Let it cool and set for 3 hours.
- Step No.5: Cut into sticks
Once firm, lift from dish and slice into thin sticks using a greased knife or scissors. Wipe blade between cuts to reduce sticking.
- Step No.6: Melt the chocolate
In a microwave or double boiler, melt the chocolate chips with coconut oil until smooth. Stir frequently to avoid burning.
- Step No.7: Dip and set the sticks
Dip each orange stick halfway into melted chocolate. Place on parchment paper to cool. Let chocolate harden completely before serving.
TIPS FOR SUCCESS
- Use Fresh Zest: Grating fresh orange zest enhances aroma and flavour for a more vibrant and natural citrus note.
- Avoid Overcooking: Remove the orange gel from heat once thickened to avoid a rubbery or overly stiff texture.
- Grease Utensils: Lightly oil your knife or scissors before cutting to make slicing cleaner and easier.
- Cool Fully Before Dipping: Allow the orange mixture to set completely to avoid breaking or melting during chocolate dipping.
- Use Quality Chocolate: Choose high-quality chocolate for better flavour and a smoother dipping experience.
- Dry Well After Dipping: Let dipped sticks rest on parchment to dry fully; rushing may cause smudges or melting.
- Store in Layers: Place parchment between layers in storage to prevent sticking or smudging the chocolate coating.
VARIATIONS
- dark chocolate Coating: Use 70% dark chocolate for a rich, bittersweet contrast that enhances the citrus filling.
- Add Nuts: Sprinkle crushed pistachios or almonds on top of the chocolate before it sets for crunch and added flavour.
- White Chocolate Version: Dip the sticks in white chocolate for a creamier and sweeter contrast with the zesty center.
- Spicy Orange: Add a pinch of cayenne pepper to the filling for a subtle spicy-sweet kick in every bite.
- Minty Orange Twist: Use peppermint extract in place of orange extract for a cool, refreshing citrus-mint combo.
- Citrus Combo: Add a little lemon or lime zest with the orange for a more complex citrus profile.
- Drizzle Instead of Dip: Drizzle chocolate over the top instead of full dipping for a decorative and lighter chocolate touch.
SERVING AND STORAGE
Serving
Serve chilled or at room temperature on a platter with other candies or cookies for a festive homemade sweet treat.
Storage
Store in an airtight container with parchment layers at room temperature for 5 days or refrigerate up to two weeks.

FAQ
Fresh juice is best for flavour, but bottled can be used in a pinch—make sure it’s 100% juice without added sugar.
It may need more cooking time. Ensure the mixture thickens fully on the stove and cools completely before cutting.
Yes, freeze them in a sealed container with parchment between layers. Thaw at room temperature before serving.
Dark chocolate works beautifully, but milk and white chocolate are also delicious. Use what fits your taste and dietary needs.
Yes! Use dairy-free chocolate and ensure the corn syrup and sugar are vegan-friendly to keep the recipe plant-based.
From the moment you start cooking the fragrant orange filling, your kitchen fills with an inviting citrus aroma.
Once dipped in melted chocolate and cooled, the sticks become an elegant and indulgent treat perfect for sharing or gifting.
They are a great alternative to store-bought sweets and feel homemade in the best way—rustic but beautiful.
Their firm but chewy texture holds up well and pairs perfectly with coffee, tea, or other holiday desserts.
Making them yourself adds a personal touch to your dessert table or edible gift box.
So, grab your oranges and chocolate, and let’s make a batch of these unforgettable homemade treats.

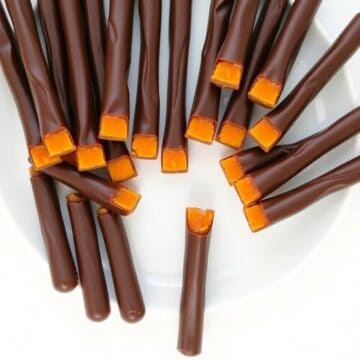
HOMEMADE CHOCOLATE ORANGE STICKS
Ingredients
For the Orange Jelly:
- 1 cup orange juice freshly squeezed or store-bought
- 2 tablespoons orange zest
- ¾ cup granulated sugar
- 2 tablespoons unflavored gelatin
- ¼ cup water
For the Chocolate Coating:
- 1½ cups dark or semi-sweet chocolate chips
- 1 teaspoon coconut oil or butter optional, for shine
Instructions
Prepare the Jelly:
- In a small bowl, sprinkle gelatin over water and let bloom (5 minutes). In a saucepan, heat orange juice, zest, and sugar over medium heat until steaming. Add bloomed gelatin and stir until fully dissolved.
Set the Jelly:
- Pour into a parchment-lined loaf pan or small baking dish. Chill for 4 hours or until fully set.
Cut into Sticks:
- Once firm, remove jelly from the pan and slice into stick shapes using a sharp knife. Pat with paper towel to remove moisture.
Melt the Chocolate:
- Melt chocolate and coconut oil in a heatproof bowl over simmering water (or in short bursts in the microwave), stirring until smooth.
Dip and Set:
- Dip each orange stick halfway or fully into the chocolate. Place on parchment paper to set. Chill until chocolate is firm.
Notes
- Make Ahead: These candies can be made up to 1 week in advance and stored in the fridge or a cool place.
- Customizing the Flavor: Swap orange for lemon or grapefruit juice for a tangy twist. Use milk chocolate if you prefer a sweeter version.
- Serving Suggestions: Serve with tea, on dessert trays, or wrap in clear bags with ribbon for holiday gifts.
- Allergy-Friendly Options: Use dairy-free chocolate for a vegan-friendly version.
- Storage Tips: Store in an airtight container between layers of parchment at room temp (cool environment) or refrigerate for up to 7 days.





Comments
No Comments