
Every December I end up making at least one batch of these chocolate-dipped pretzel rods, usually because Zainab sees them at a school bake sale and comes home convinced we need to make our own. And honestly? She's right. The store-bought ones never taste as good, and making them at home means we can pile on twice the toppings.
What I love about this recipe is how little it asks of you. No oven, no stand mixer, no pastry skills. You melt chocolate, you dip, you decorate. That's it. The first time I made these I was skeptical that something so simple could look as festive as it does — but when you lay them out on a tray covered in red and green sprinkles and crushed candy canes, they genuinely look like something from a holiday market stall.
We usually make these in the last week before Christmas. The kids do the decorating — I handle the chocolate melting because burned chocolate is a real tragedy and it's happened to me more than once. If you're looking for more no-fuss holiday snacks to make alongside these, my puff pastry pecan pie bites are another one we keep coming back to this time of year.
One thing to know going in: work fast once the chocolate is melted. It starts setting quickly, especially in a cool kitchen, and you want your sprinkles and toppings to actually stick. I usually set up my decorating station before I even start melting the chocolate so everything is within reach.
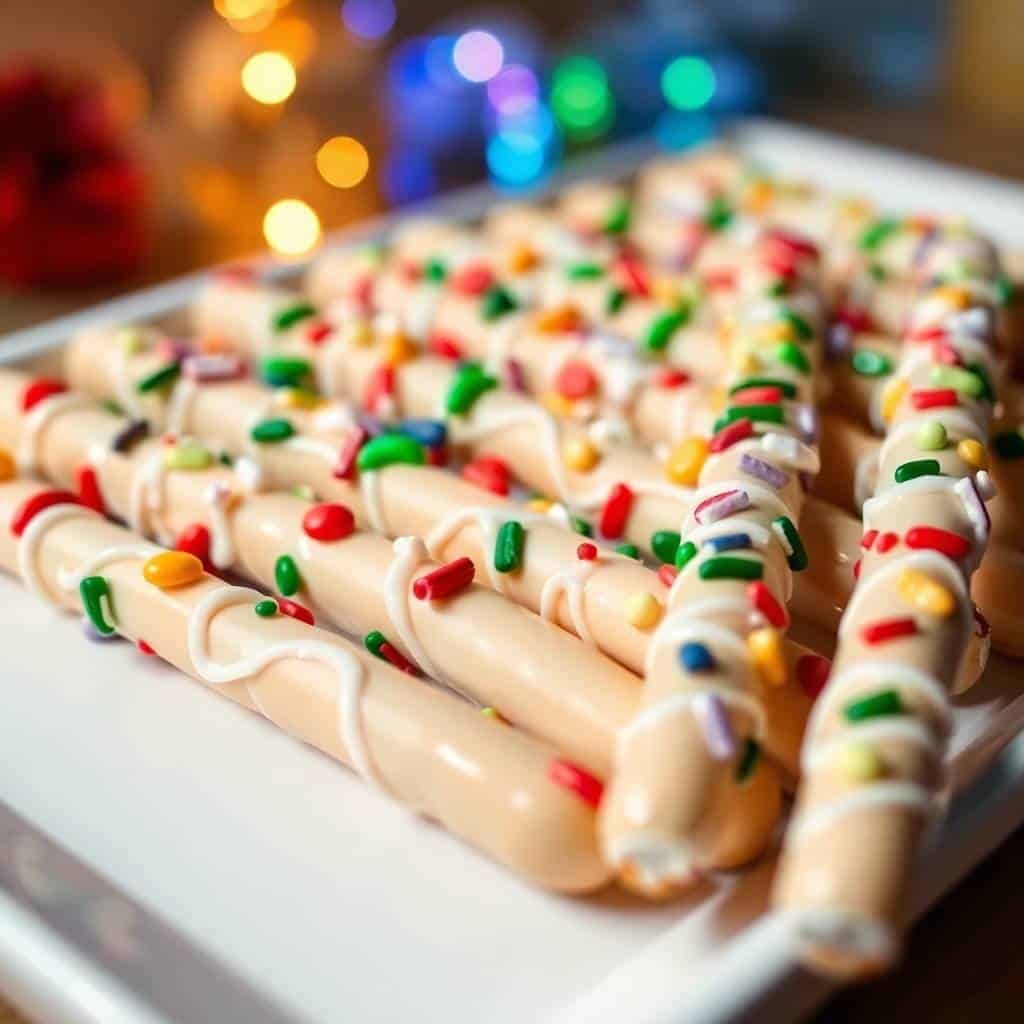
Why You'll Love This Recipe
- No oven required: Everything happens on your countertop. You melt the chocolate in the microwave in two-minute bursts, dip the pretzels, decorate, and leave them to set. On days when I already have the oven going for a glazed ham or a casserole, it's a relief not to need another rack of space.
- Great for gifting: I make a double batch every year because one batch disappears before I can wrap any of them. Slide four or five rods into a cellophane bag, tie it with a red ribbon, and you have a gift that looks like you put in real effort. They keep well for up to two weeks in an airtight container, which means you can make them ahead of the holiday rush.
- Kids can actually help: Zainab and Saad fight over who gets to do the sprinkling. The dipping I keep to myself because hot chocolate and small hands is a combination I've learned to avoid, but once the rods are on the parchment paper, they can decorate to their hearts' content. The more chaotic the sprinkle situation, the more they love it.
- Completely customizable: You're not locked into any specific toppings. Crushed candy canes for peppermint flavor, mini M&Ms for color, chopped pistachios for crunch — all of it works. I've done a white chocolate and red sprinkle version that looked stunning on a Christmas cookie tray next to some darker chocolate ones.
- That salty-sweet thing is real: I know "salty-sweet" gets thrown around a lot, but with pretzel rods it's genuinely the point. The pretzel is properly salty, the chocolate is sweet, and together they're the kind of snack where you eat one and then immediately reach for another. My husband is not a sweets person at all, but he eats these without complaint — that tells me something.
Ingredients
- 15 large pretzel rods
- 1 cup white chocolate chips or melting wafers
- 1 cup semi-sweet or milk chocolate chips or melting wafers
- Assorted Christmas sprinkles
- Crushed peppermint candies or mini M&Ms (optional)
- Wax paper or parchment paper for lining
Directions
- Prepare your workspace: Line a baking sheet or large cutting board with wax paper or parchment. Set out all your toppings in small bowls before you start melting anything. I learned this the hard way — once scrambling for the sprinkle jar while the chocolate was already setting on a half-dipped pretzel rod. Now everything goes out first.
- Melt the chocolate: Place the white chocolate chips in one microwave-safe bowl and the milk or semi-sweet chocolate in another. Microwave each in 30-second intervals, stirring between each round, until completely smooth. Usually takes 60 to 90 seconds total. Don't rush it — chocolate scorches fast if you blast it on high for too long.
- Dip the pretzel rods: Hold each pretzel rod by the uncoated end and dip the bottom half into the melted chocolate. Tilt the bowl if you need to — I use a tall mug instead of a shallow bowl sometimes, which makes the dipping easier. Let the excess drip back into the bowl for a few seconds before moving on.
- Decorate immediately: While the chocolate is still wet, add your sprinkles, crushed candy canes, or mini M&Ms. You have maybe 30 to 45 seconds before the chocolate starts to skin over, so move with intention. If you're doing both white and dark chocolate, you can drizzle one over the other at this stage for a marbled look.
- Set to harden: Place the decorated rods on your lined sheet and leave them alone. At room temperature in a cool kitchen they'll be firm in about 20 to 30 minutes. If your kitchen is warm, pop the tray in the fridge for 15 minutes instead — they'll set faster and the chocolate will have a nicer snap.
- Package or serve: Once fully set, serve them on a holiday platter or slide them into cellophane bags tied with ribbon. They look great standing upright in a tall glass or jar on a dessert table too.
Tips for Success
- Don't overheat the chocolate: The first time I made these I got impatient and microwaved the white chocolate for a full two minutes without stirring. It seized up into a grainy, unusable lump and I had to start over with a new bag. Thirty-second intervals with stirring in between is the only way to go. White chocolate is especially sensitive — it burns faster than dark.
- Use melting wafers if you can find them: Chocolate chips have stabilizers that can make them thicker when melted, which makes dipping harder. Melting wafers (Ghirardelli and Wilton both make them — available at Walmart, Michaels, or Joann) melt smoother and give you a cleaner coat. If chips are all you have, they work fine, just expect the coating to be slightly thicker.
- Work in small batches: Don't dip ten rods and then try to decorate all ten. Dip two or three, decorate those, then move to the next few. By the time you finish the tenth rod, the first three will already have chocolate that's too set for toppings to stick. Small batches keep the process manageable.
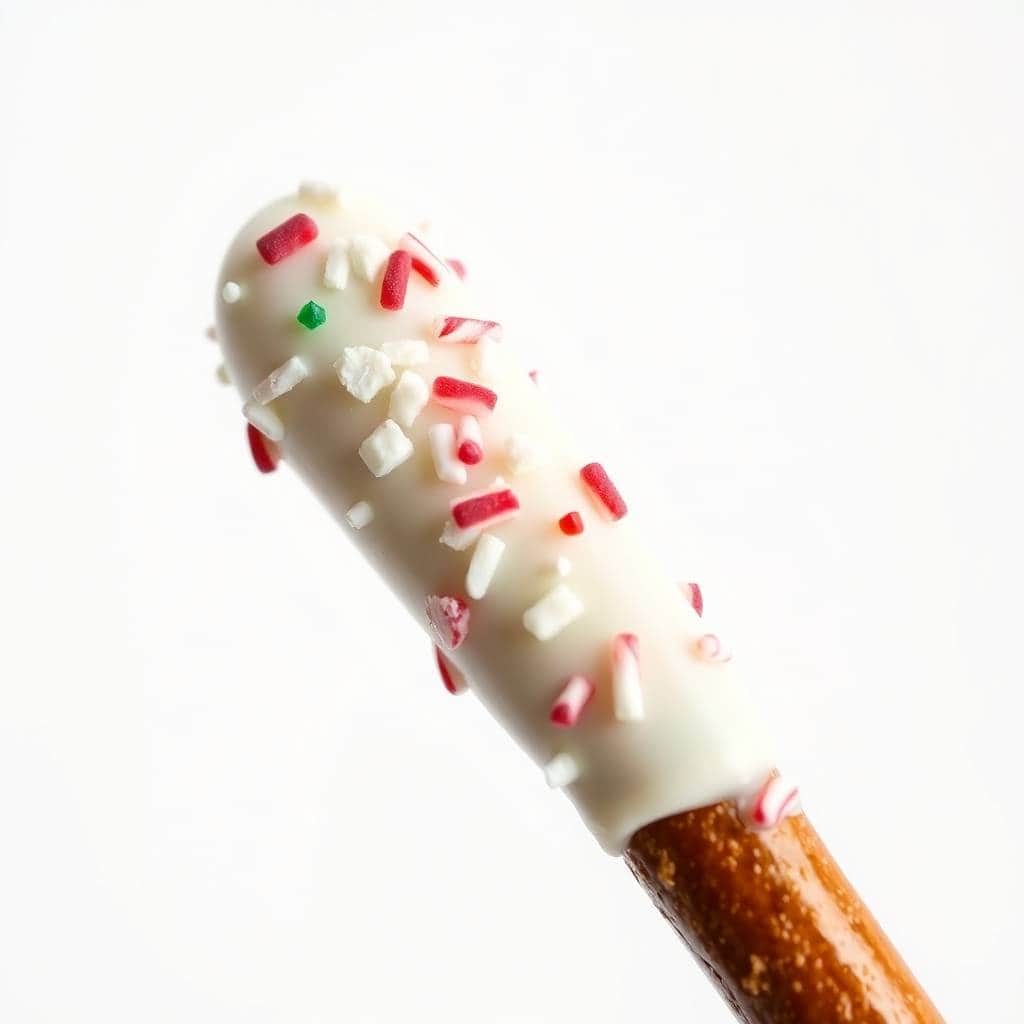
- Crush the candy canes in a bag: Put the candy canes in a zip-lock bag and bang them with a rolling pin or the bottom of a heavy mug. You want a mix of small pieces and fine dust — not a powder, not giant shards. Takes about 30 seconds and saves you from candy cane splinters flying across your kitchen counter.
- Store at room temperature, not the fridge: Once set, keep these in an airtight container at room temperature. The fridge can cause condensation when you bring them back out to room temp, which makes the chocolate surface look spotty and dull. A cool spot on the counter or a pantry shelf is ideal — they'll stay crisp and fresh for up to two weeks.
Variations
- Marble swirl: Dip the rod in dark chocolate, then immediately drizzle white chocolate over it with a spoon in a zig-zag motion. Use a toothpick to drag through the two colors while they're still wet. The result looks like a lot more effort than it takes, and it's genuinely beautiful on a holiday plate.
- Peppermint white chocolate: Add two drops of peppermint extract to the melted white chocolate before dipping, then top with crushed candy canes. This is the version Zainab requests every single year. It tastes like a candy cane and hot chocolate had a snack-sized child.
- Nutty topping: Finely chop roasted pecans or pistachios and press them into the wet chocolate instead of sprinkles. Pecans give a warmer, more grown-up flavor that works really well with dark chocolate. This is the version I'd bring to an adult holiday gathering rather than a kids' party.
- Colored candy melts: Swap the chocolate entirely for red or green candy melts for a fully themed holiday look. Candy melts are sold at Walmart and craft stores in holiday colors every December — they melt even more easily than chocolate and the color is vivid. I'm not going to say they taste better than real chocolate, but the kids don't care.
- Spiced dark chocolate: Stir a small pinch of cayenne and a quarter teaspoon of cinnamon into melted dark chocolate before dipping. The heat is subtle — you notice it after the sweetness fades. It's not a version for kids, but it's the one my husband actually gets excited about. This isn't some traditional thing; it's just something I stumbled into one December when I was low on toppings and high on curiosity.
Serving and Storage
Serving
Stand them upright in a tall glass or mason jar on your dessert table — they look impressive that way and take up less surface space than a flat platter. For a holiday cookie exchange, lay them on a tray lined with parchment alongside other treats like crispy cottage cheese treats. If you're gifting them, three to five rods per cellophane bag tied with a ribbon looks clean and intentional.
Storage
Once the chocolate is fully set, layer the rods in an airtight container with parchment paper between layers so they don't stick together or scratch. Keep them at room temperature — not in the fridge, not near a heat source like the stove. They'll stay fresh and the chocolate will stay snappy for up to two weeks. If your kitchen is particularly warm, a cool pantry or cupboard works better than leaving them on the counter.

Frequently Asked Questions
Can I make these pretzel rods ahead of time?
Yes, and I actually recommend it. You can make and decorate them up to 3 to 5 days in advance and store them in an airtight container at room temperature. I usually make them on the 20th or 21st of December so they're ready for Christmas week without any last-minute stress.
Can I use pretzel twists or mini pretzels instead of rods?
You can, but the rods are much easier to dip and they look better for gifting. Pretzel twists are harder to coat evenly and trickier to pick up cleanly. If rods aren't available at your store, a bag of thick pretzel sticks is the next best option.
Can I melt the chocolate on the stove instead of the microwave?
Absolutely. Use a double boiler — a heatproof bowl set over a pot of barely simmering water, making sure the bottom of the bowl doesn't touch the water. Stir constantly and keep the heat low. This method gives you more control and is actually more forgiving than the microwave if you're new to melting chocolate.
How long do these stay fresh?
Stored in an airtight container at room temperature, they stay fresh for up to two weeks. The pretzel starts to lose its crunch closer to that two-week mark, so if you want maximum crunch, aim to eat them within the first week.
Are these gluten-free?
Standard pretzel rods contain gluten. If you need a gluten-free version, look for gluten-free pretzel rods — Snyder's of Hanover makes a gluten-free pretzel stick that works well here. Just check that your chocolate chips and sprinkles are also certified gluten-free, since cross-contamination can be an issue with those too.
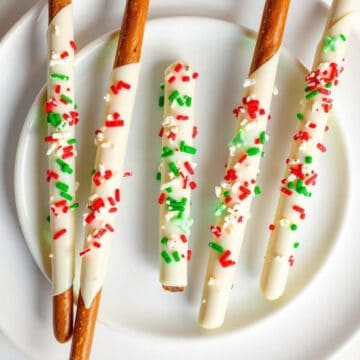
CHRISTMAS PRETZEL RODS RECIPE
Ingredients
- 15 large pretzel rods
- 1 cup white chocolate chips or melting wafers
- 1 cup semi-sweet or milk chocolate chips or melting wafers
- Assorted Christmas sprinkles
- Crushed peppermint candies or mini M&Ms optional
- Wax paper or parchment paper for lining
Instructions
Prepare Chocolate:
- Melt the white and milk chocolate separately in microwave-safe bowls in 30-second intervals, stirring between each, until smooth.
Dip Pretzel Rods:
- Dip half of each pretzel rod into the melted chocolate, letting excess drip off. Use a spoon to help coat evenly if needed.
Decorate:
- Place dipped pretzels on wax paper and immediately add sprinkles, peppermint, or toppings while the chocolate is still wet.
Chill to Set:
- Let the pretzel rods set at room temperature or chill in the fridge for 15 minutes until chocolate is firm.
Notes
- Make Ahead: Can be made 3–5 days in advance and stored in an airtight container.
- Flavor Tip: Add a drop of peppermint or vanilla extract to the melted chocolate for extra flavor.
- Gifting Idea: Wrap each pretzel in cellophane and tie with ribbon for festive gifts.
These pretzel rods have become one of those December constants in my house — not because they're complicated or impressive, but because they're genuinely fun to make and everyone eats them. I like that there's no real skill ceiling. Whether you do a careful marble drizzle or just let a six-year-old go wild with green sprinkles, the end result is always something you're happy to put on a plate.
For a full holiday snack spread, I'd pair these with something savory to balance all the sweetness. My honey garlic butter corn sounds like an odd pairing on paper, but at a holiday party where people are grazing, having something warm and savory next to the chocolate-dipped sweets works really well. People always come back for more of both.
If you make these, the only thing I'd tell you is: make more than you think you need. One batch of 15 rods sounds like plenty until four people are standing in your kitchen helping themselves. I always make at least 30 now, keep half for the house, and wrap the rest for gifts. Works out much better that way. 🎄🍫✨
If you liked this, here are a few more recipes worth checking out:
- Irresistible Puff Pastry Pecan Pie Bites — another no-fuss holiday treat that looks fancier than it is
- Crispy Cottage Cheese Treats — great for snack trays alongside the sweet stuff
- Liège Waffle Recipe — a weekend morning treat the whole family loves
- Baked Ham with Pineapple and Brown Sugar Glaze — for the main event when you need the centerpiece sorted
- Honey Garlic Butter Corn — a savory side that balances out all the holiday sweetness





Comments
No Comments