
Every December I end up making at least three batches of these peppermint Oreo truffles, and I'm not even exaggerating. The first time I made them was on a whim — I had a package of Oreos sitting in the pantry and a block of cream cheese that needed to be used up. Two hours later, my husband had eaten four of them before they were even fully set.
What makes these work is how the ratio of cream cheese to Oreos keeps the inside soft and fudgy without being too rich. The peppermint extract does the heavy lifting for flavor — but I'll warn you now, start with less than you think you need. I overdid it my first batch and it tasted more like toothpaste than a truffle. Half a teaspoon is the sweet spot for this amount of Oreos.
Zainab has declared these her official Christmas contribution — she rolls every single ball herself, very seriously, while I handle the chocolate dipping. We make them the week before the holidays and stash them in the fridge. They honestly get better after a day, once everything firms up and the flavors settle. If you're making a holiday dessert spread, these sit nicely alongside something like a Baked Cream Cheese Cranberry Dip for a full table of no-fuss, crowd-friendly options.
One practical thing to know going in: don't skip the chilling step before you dip them in chocolate. I've tried to rush it and the balls start falling apart in the warm chocolate. Give them at least an hour in the fridge, or 15–20 minutes in the freezer if you're impatient like me. Also, let your cream cheese sit at room temperature for at least 15 minutes before mixing — cold cream cheese clumps and you end up with lumpy truffles.
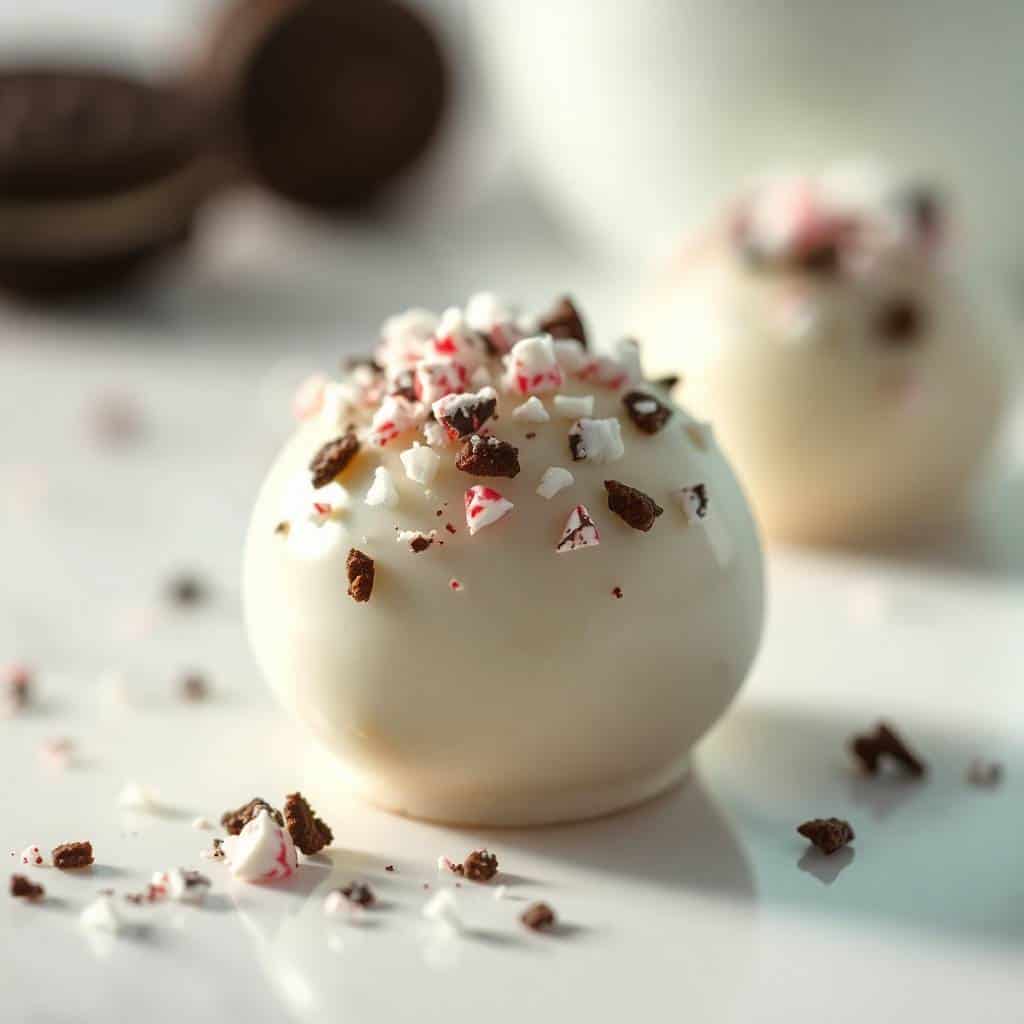
Why You'll Love This Recipe
- No oven, no stress: I make these during the holidays specifically because I don't want to deal with baking sheets and timers on top of everything else December throws at me. You crush, mix, roll, dip, and you're done. The whole active process takes maybe 30 minutes — the rest is just chilling time in the fridge. On the days I've got soup simmering (like my Cheesy Sausage Potato Soup) and laundry going, this is exactly the kind of dessert I reach for.
- Only 5 real ingredients: One package of Oreos, cream cheese, chocolate chips, peppermint extract, and crushed candy canes for the top. That's it. No specialty items, no trips to a baking supply store — everything is at Walmart or Aldi. I usually grab a bag of candy canes from the holiday section and crush them in a zip-top bag.
- They hold up beautifully in the fridge: I make a double batch every time because one batch disappears before I can even arrange them on a plate. They keep for up to two weeks refrigerated, which means you can make them days before a party or a cookie exchange and they'll still taste fresh. The chocolate shell actually keeps the inside from drying out.
- They look fancier than they are: A drizzle of white chocolate on top and a pinch of crushed candy cane and suddenly these look like something from a bakery display. I've gifted these in small boxes tied with ribbon and people always think I spent hours on them. I never correct them.
- Kids can actually help: Zainab rolls every single truffle ball herself. The rolling step is very forgiving — if a ball isn't perfectly round, it doesn't matter once it's dipped in chocolate. The decorating part (sprinkling candy cane on top) is genuinely fun for kids and there's zero risk of burning anything.
Ingredients
- 1 package (14.3 oz) Oreo cookies
- 8 oz cream cheese, softened to room temperature
- ½ teaspoon peppermint extract (start with ¼ teaspoon if you're sensitive to mint)
- 1½ cups semi-sweet chocolate chips
- ½ cup crushed peppermint candies or candy canes (for topping)
- ½ cup white chocolate chips (optional, for drizzle)
- Holiday sprinkles (optional)
Directions
- Crush the Oreos: Add the whole package of Oreos to a food processor and pulse until you get fine, even crumbs — no big chunks. If you don't have a food processor, just seal them in a zip-top bag and go at them with a rolling pin for about 3–4 minutes. Either way works fine; the bag method just takes a bit more arm work.
- Mix with cream cheese: Transfer the crumbs to a large bowl and add the softened cream cheese. Mix until fully combined and there are no streaks of white left. This is easiest with a hand mixer, but a wooden spoon and some patience works too — just make sure your cream cheese is genuinely soft or it won't blend smoothly.
- Shape into balls: Roll the mixture into 1-inch balls (roughly the size of a large grape) and place them on a parchment-lined baking sheet. Don't worry if they're not perfectly round. Refrigerate for at least 1 hour, or freeze for 15–20 minutes if you're short on time — you want them firm before dipping.
- Melt the chocolate: Add the semi-sweet chocolate chips to a microwave-safe bowl and melt in 30-second intervals, stirring between each. Once the chocolate is smooth, stir in the peppermint extract. Work quickly after this step — the chocolate starts to thicken as it cools.
- Dip and decorate: Using a fork, dip each chilled truffle into the melted chocolate, tap the fork gently on the edge of the bowl to let excess drip off, and set back on the parchment. Immediately sprinkle with crushed candy cane before the chocolate sets. Repeat with all the truffles.
- Optional white chocolate drizzle: Melt the white chocolate chips the same way and use a spoon or a small piping bag to drizzle over the set truffles. This step is entirely optional but it makes them look genuinely pretty. Let everything set completely in the fridge for 30 minutes before serving.
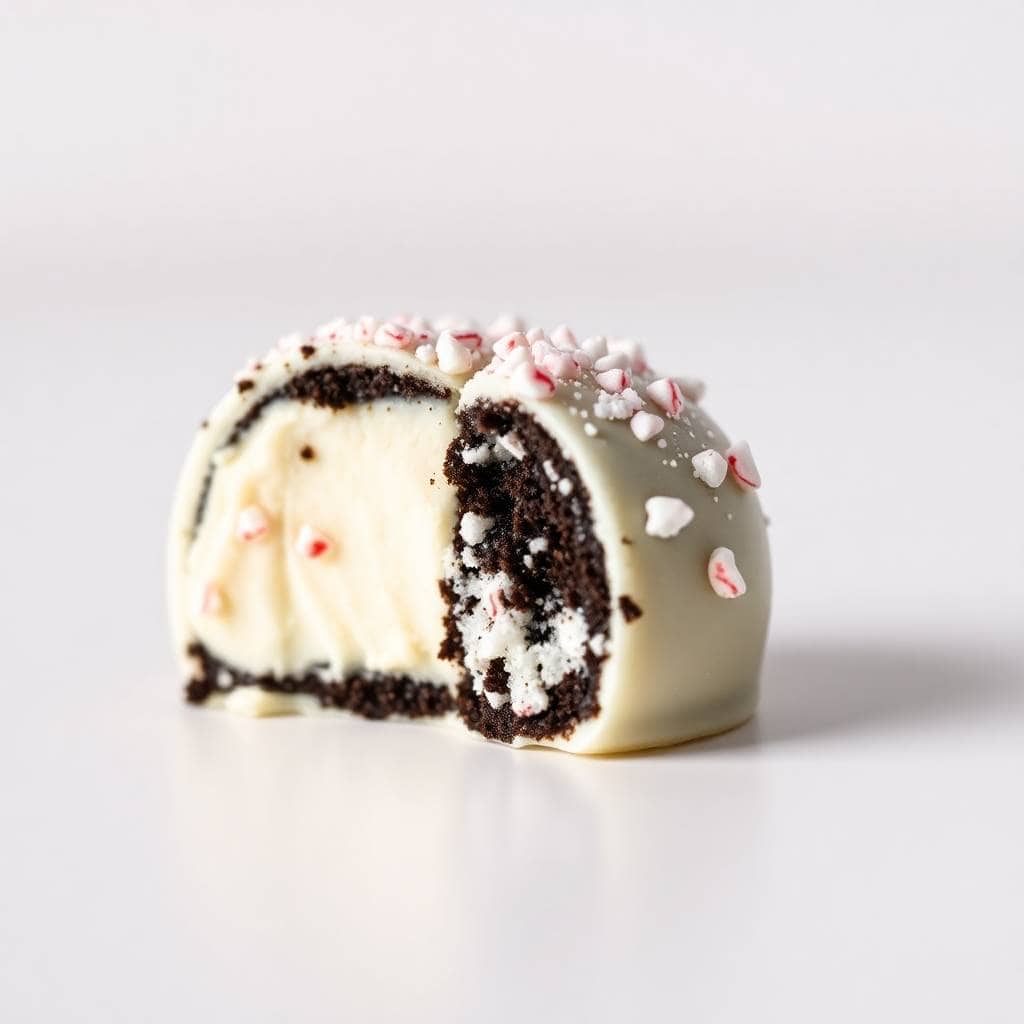
Tips for Success
- Don't skip chilling the balls before dipping: I learned this the hard way on my very first batch. I was impatient, skipped the fridge time, and within seconds of lowering a ball into warm chocolate, it started crumbling apart. Cold truffle + warm chocolate = clean, smooth coating. Room temperature truffle + warm chocolate = disaster. An hour in the fridge is ideal; 15–20 minutes in the freezer works if you're in a hurry.
- Peppermint extract is very strong — measure carefully: The first time I made these I thought half a teaspoon sounded conservative, so I added a full teaspoon. The whole batch tasted aggressively minty, like a candy cane factory. Start at ¼ teaspoon, taste the chocolate before dipping, and add more only if you want a stronger hit. The crushed candy cane on top also adds mint flavor, so factor that in.
- Use full-fat cream cheese: I've tried the low-fat version twice and both times the mixture was wetter and harder to roll. Full-fat cream cheese blends more smoothly, holds its shape better, and gives you a richer interior. The standard 8 oz block from any grocery store is what you want — not the spreadable kind in the tub.
- Sprinkle the toppings immediately after dipping: Chocolate sets fast, especially if your kitchen is cool. Have your crushed candy cane right next to you while you're dipping so you can sprinkle each truffle within a few seconds of coating it. If you try to decorate a truffle that's already set, the toppings just slide off.
- Work in small batches when dipping: Take only 5–6 truffles out of the fridge at a time while you dip them. The rest stay cold until you need them. If they all sit out together while you work through them one by one, the later ones will be too soft by the time you get to them.
Variations
- Mint Oreo version: Skip the peppermint extract entirely and use Mint Oreos instead of regular ones. The mint flavor baked into those cookies is actually more subtle and balanced than extract, and my husband prefers this version — he finds the extract version a little sharp. It also simplifies the recipe to literally 3 main ingredients.
- Golden Oreo vanilla truffles: Swap the regular Oreos for Golden Oreos and replace the peppermint extract with ½ teaspoon of vanilla extract. The result is a completely different, lighter truffle that doesn't scream Christmas but is genuinely good year-round. Coat in white chocolate and skip the candy cane for a simpler look.
- Dark chocolate coating: Use dark chocolate chips (70% or higher) instead of semi-sweet. The slight bitterness of the dark chocolate balances the sweetness of the Oreo filling really well. This is my personal favorite version — I find semi-sweet a little one-note. Trader Joe's has a good dark chocolate chip that works perfectly here.
- Dairy-free version: Use a dairy-free cream cheese (Violife or Kite Hill both work) and dairy-free chocolate chips. I haven't tried every brand, but the Violife version holds together well and you genuinely can't tell the difference once it's dipped in chocolate. This is worth knowing if you're making these as gifts for friends with dairy restrictions.
- Colorful candy melt coating: Replace the chocolate chips with red or green candy melts for a more visually festive look. Candy melts are available at Walmart in the baking section around the holidays. They don't taste quite as good as real chocolate, but they set faster, they're easier to work with, and the color payoff is dramatic if you're making these for a kids' party or a cookie tray.
Serving and Storage
Serving
Serve these cold, straight from the fridge. They soften quickly at room temperature, so I don't put them out more than 30 minutes before people arrive. On a holiday table I usually arrange them on a small plate alongside something warm like my No-Bake Pineapple Heaven Cheesecake Dessert for a contrast of flavors. For gifting, I stack them in small paper candy cups inside a box — they look much more put-together that way and the cups keep them from rolling around.
Storage
Store in an airtight container in the fridge for up to 2 weeks. Layer them between sheets of parchment paper so the chocolate coating doesn't get scratched up. For longer storage, freeze them on a tray first (so they don't stick together), then transfer to a freezer-safe container or zip-top bag. They'll keep frozen for up to 3 months. Thaw overnight in the fridge — don't try to rush it at room temperature or the coating can get a little weepy.

Frequently Asked Questions
Can I use Mint Oreos instead of regular Oreos and peppermint extract?
Yes, and honestly it's a great swap. Mint Oreos already have a balanced mint flavor built in, so you can skip the extract entirely. The result is a slightly milder mint truffle, which some people actually prefer. My husband is firmly in that camp.
Why did my truffles crack when I dipped them?
This usually happens when the truffles are frozen solid rather than just firm-cold. A fully frozen truffle and warm chocolate create a temperature extreme that causes the coating to crack as it sets. Stick to fridge-cold (1 hour) or very briefly frozen (15–20 minutes max). Also make sure you're not overheating the chocolate — it should be melted and smooth, not steaming hot.
Can I make these ahead of time?
These are one of my favorite make-ahead desserts for exactly this reason. You can make them up to 2 weeks ahead and keep them refrigerated, or freeze them for up to 3 months. I usually make my holiday batch the first weekend of December and pull them out as needed. The flavor actually improves after a day in the fridge.
Can I make these without a food processor?
Absolutely. Put the Oreos in a large zip-top bag, seal it, and crush them with a rolling pin. It takes about 3–4 minutes of rolling to get fine, even crumbs. Just make sure there are no large chunks left — big pieces make the balls hard to roll smoothly and they tend to fall apart when you dip them.
Can I use chocolate melting wafers instead of chocolate chips?
Yes, and in some ways they're easier to work with. Melting wafers (like Ghirardelli or Wilton candy melts, available at Walmart) are designed to melt smoothly and set with a glossy finish. They don't require tempering and they're more forgiving to reheat if the chocolate starts to thicken on you mid-dip. The flavor is slightly different from real chocolate but perfectly good for truffles.
PEPPERMINT OREO TRUFFLES
Ingredients
- 1 package 14.3 oz Oreo cookies
- 8 oz cream cheese softened
- 1 ½ cups semi-sweet chocolate chips
- ½ teaspoon peppermint extract
- ½ cup crushed peppermint candies or candy canes for topping
Instructions
Prepare the Oreo Mixture:
- Crush the Oreo cookies in a food processor until finely ground (or place in a zip-top bag and crush with a rolling pin). Transfer to a bowl and mix with softened cream cheese until well combined.
Shape the Truffles:
- Roll the Oreo-cream cheese mixture into 1-inch balls and place them on a baking sheet lined with parchment paper. Chill in the refrigerator for at least 1 hour.
Coat the Truffles:
- Melt the chocolate chips in a heatproof bowl over simmering water or in the microwave, stirring every 30 seconds until smooth. Stir in peppermint extract. Dip each truffle into the melted chocolate, coating completely, and return to the parchment paper.
Decorate:
- While the chocolate is still soft, sprinkle crushed peppermint on top of each truffle. Let the truffles set in the fridge for an additional 30 minutes or until firm.
Notes
Truffles can be made ahead and stored in the fridge for up to 1 week or frozen for up to 1 month. Customizing the Flavour:
For a richer flavour, use dark chocolate or add a splash of peppermint liqueur to the chocolate coating. Serving Suggestions:
Serve these truffles at holiday parties, pack them in gift boxes, or enjoy them as a treat after a festive meal. Allergy-Friendly Options:
For a dairy-free version, use non-dairy cream cheese and dark chocolate. Storage Tips:
Store truffles in an airtight container in the refrigerator for up to 1 week.
I've made a lot of holiday desserts over the years — some involving multiple components, hours of work, and at least one near-disaster — and these peppermint Oreo truffles remain the ones I make the most reliably. They're not complicated and they're not trying to be. They're just a good, no-fuss no-bake treat that delivers every single time, which is exactly what I need in December when the to-do list is already long.
If you're putting together a full holiday spread, these pair really well with savory things — I like setting out a plate of truffles while something hearty like my Slow Cooker Garlic Herb Pot Roast is the main event. People graze on the truffles while they're waiting and somehow that works perfectly. The cold, sweet truffle against something warm and savory is a combination I didn't plan but fully endorse.
The batch I made last Christmas was gone within 24 hours — I had 36 truffles and somehow they just vanished. I'm making a double batch this year, stashing half in the freezer from the start so I actually have some left for Christmas Day. If you try these, I genuinely hope Zainab's rolling technique gives you the same perfectly imperfect results it gives us every year. 🍫❄️
If you liked these, here are a few more recipes from my kitchen worth bookmarking:
- Baked Cream Cheese Cranberry Dip — a warm, festive appetizer that disappears as fast as these truffles do
- No-Bake Pineapple Heaven Cheesecake Dessert — another no-oven dessert that's worth knowing about
- Slow Cooker Garlic Herb Pot Roast — my go-to when I need a hands-






Comments
No Comments