
Zainab asked me to make "the Oreo cookies" four weekends in a row before I finally wrote down exactly what I was doing. I'd been eyeballing amounts, changing things slightly each time, and she was very clear that the third batch was her favorite and I needed to stop experimenting. So here we are.
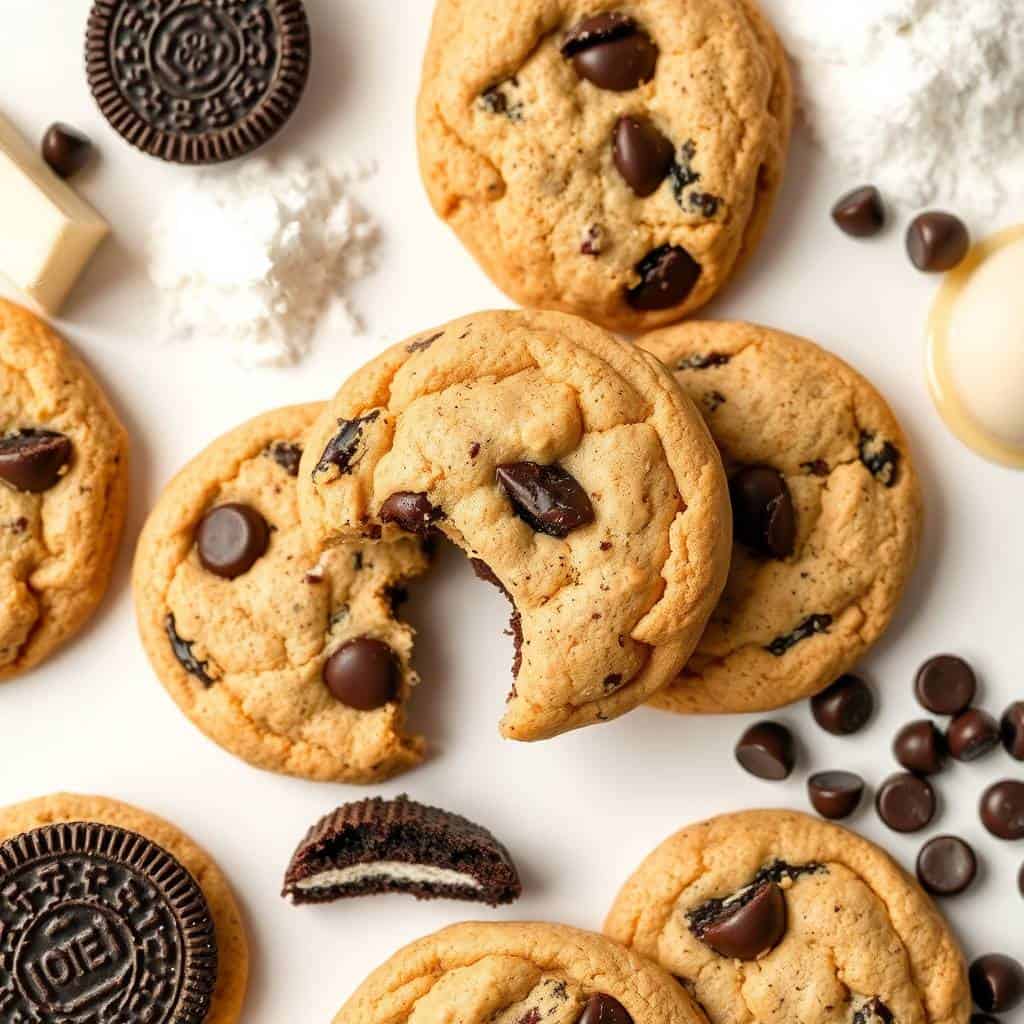
What makes these work is pretty simple: you're not just tossing crushed Oreos into a basic cookie dough. You're using both white chocolate chips and milk chocolate chips together, which gives you this layered sweetness that plays really well against the slightly bitter chocolate wafer pieces. The brown sugar keeps things chewy in the middle. The crushed Oreo bits don't disappear into the dough — they stay as recognizable little chunks, and you get a piece of cookie in almost every bite.
I make these when the kids have friends over, and they're gone within the hour. I also make them when I need something easy that I know will work — if you've ever tried my chocolate chip cookie dough twists, you know I take my cookie baking seriously, and these are right up there. The whole batch takes about 25 minutes from bowl to oven, and cleanup is minimal.
One thing I want to flag: the Oreos need to be chopped, not pulverized. I made the mistake of blending them too fine the first time and they just dissolved into the dough. You want actual chunks — rough chop with a knife or seal them in a zip-lock bag and press with a rolling pin. Leave some pieces big enough that you can see them in the finished cookie.

Why You'll Love This Recipe
- Real Oreo flavor in every bite: Using both chopped cookie pieces and the cream filling (which stays attached when you rough-chop) means you get that actual cookies-and-cream taste, not just a hint of it. The cream filling melts into the dough slightly and adds a vanilla sweetness you can't get from extract alone. It's the detail that makes these taste different from generic chocolate chunk cookies.
- Soft and chewy center, slight crisp edge: The ratio of brown sugar to white sugar in this recipe is what gives you that chewy middle. I've tested this enough times to know that if you swap to all white sugar, you get a crispier, flatter cookie — fine, but not what I'm going for here. Pull them out when the edges are just set and the centers still look slightly underdone. They finish on the pan.
- Two chocolates instead of one: White chocolate chips and milk chocolate chips together sounds like overkill until you taste it. The white chocolate adds creaminess and sweetness; the milk chocolate adds depth. I tried this with just milk chocolate once and it was fine, but once I added white chocolate chips I never went back. You can find both at any grocery store — I usually grab them from Walmart or Aldi.
- Done in under 30 minutes: No chilling required if your butter is properly softened and your kitchen isn't hot. I can have these mixed, scooped, and baked while the kids finish their homework. It's genuinely one of the faster cookie recipes I make, and the results don't look like a shortcut.
- Works with any Oreo variety: Regular Oreos, Double Stuf, Golden, mint — they all work here because the structure of the dough stays the same. I've made these with mint Oreos and they were genuinely great, especially in December. The recipe is flexible in the best way.
Ingredients
- 1 ½ cups all-purpose flour
- ½ teaspoon baking soda
- ¼ teaspoon salt
- ½ cup unsalted butter, softened (not melted — leave it out for 30-45 minutes)
- ¾ cup granulated sugar
- ¼ cup brown sugar, packed
- 1 large egg
- 1 teaspoon vanilla extract
- ½ cup chocolate sandwich cookies like Oreo, roughly chopped into small pieces (about 5-6 cookies)
- ½ cup white chocolate chips
- ½ cup milk chocolate chips
Directions
- Preheat the oven: Set your oven to 350°F (175°C) and line a baking sheet with parchment paper. Parchment paper is worth it here — the chocolate chips can stick and a silicone mat or parchment makes cleanup easy.
- Mix the dry ingredients: In a medium bowl, whisk together the flour, baking soda, and salt. Whisking (rather than just stirring) makes sure the baking soda is evenly distributed, which means more even rise across the batch.
- Cream the butter and sugars: In a large bowl, beat the softened butter with both the granulated and brown sugar until the mixture is light and fluffy — about 3 to 4 minutes if you're doing it by hand, less with an electric mixer. This step matters for texture; don't rush it. I don't have a stand mixer, I use a wooden spoon and put in the arm work.
- Add the egg and vanilla: Beat in the egg, then stir in the vanilla extract. The mixture should look smooth and slightly glossy at this point.
- Add the dry ingredients: Gradually add the flour mixture to the butter mixture, stirring until just combined. Stop as soon as you don't see dry flour streaks anymore — overmixing makes the cookies tough.
- Fold in the mix-ins: Gently fold in the chopped Oreo pieces, white chocolate chips, and milk chocolate chips. Try to distribute them evenly through the dough so every cookie gets a bit of everything.
- Scoop the dough: Use a tablespoon or small cookie scoop to portion the dough into balls and place them about 2 inches apart on your prepared baking sheet. I usually get about 18-20 cookies from this batch.
- Bake: Bake for 10 to 12 minutes, until the edges are just golden and the centers still look slightly underset. They will firm up as they cool — pulling them early is the key to that soft middle.
- Cool: Let them sit on the baking sheet for 5 minutes before moving them to a wire rack. Moving them too soon means they'll fall apart; give them that time to set.
Tips for Success
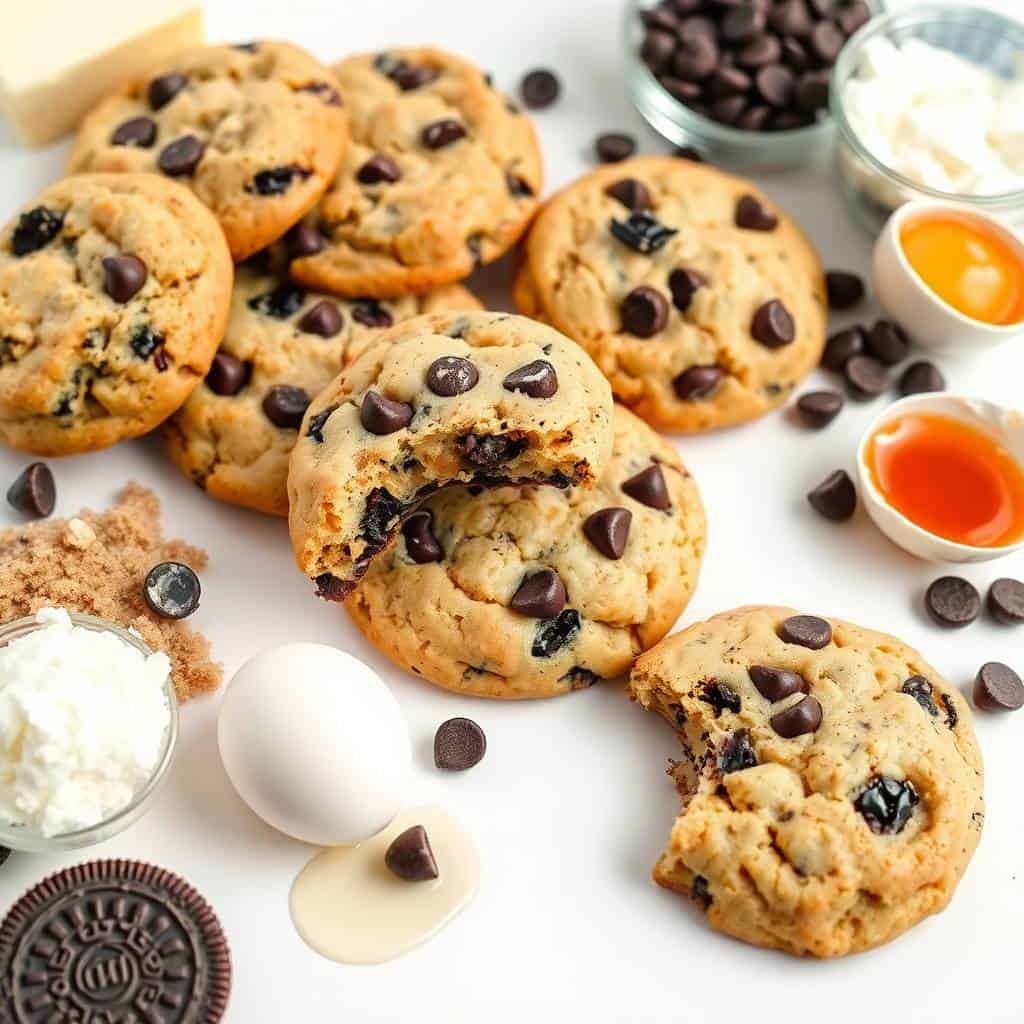
- Butter temperature actually matters: I know everyone says this and it sounds fussy, but cold butter won't cream properly and melted butter makes the cookies spread too flat. You want it at room temperature — press your finger in and it should leave an indent without resistance. I've ruined batches by being impatient and using butter straight from the fridge. It's not worth it.
- Chop the Oreos, don't pulverize them: The goal is irregular pieces — some small, some slightly bigger. I put mine in a zip-lock bag and press with the back of a measuring cup. Takes about 30 seconds and gives you the right texture. If you blend them into a powder, they just disappear into the dough and you lose the crunch.
- Don't overmix once the flour goes in: Mix until the flour just disappears — literally stop there. I've overmixed before and the cookies came out dense and a little tough. The gluten develops fast once you start stirring, so less is more at this stage.
- If your dough feels too soft to scoop, chill it: On warm days or if your kitchen runs hot, the dough can get sticky and spread more than you want. Stick the bowl in the fridge for 20-30 minutes and it firms right up. I don't always need to do this, but in summer I almost always do.
- Press a few extra Oreo pieces on top before baking: This is more visual than functional, but when you press 2-3 extra pieces onto the tops of the dough balls before they go in the oven, the finished cookies look much more impressive. Guests always notice and it takes about 30 extra seconds.
Variations
- Mint Oreo version: Swap the regular Oreos for mint-flavored ones and keep everything else exactly the same. The mint and chocolate combination in a warm cookie is genuinely great — I make this version around the holidays. My husband prefers these over the original, which surprised me. The mint flavor isn't overwhelming; it just gives the cookies a slightly cool finish.
- Double Stuf for extra cream filling: Use Double Stuf Oreos instead of regular. The extra filling melts into the dough slightly and adds more of that vanilla cream flavor. It's a small change but it makes the cookies noticeably richer. Worth it if you can find them at your store.
- Peanut butter chips instead of white chocolate: Swap the white chocolate chips for peanut butter chips. The peanut butter and Oreo combination works really well — it tastes a bit like a Reese's cookie. I've made this version a couple of times when I had peanut butter chips left over from another recipe and it disappeared faster than the original batch.
- Extra chocolate dough: Add 2 tablespoons of cocoa powder to the dry ingredients for a darker, more chocolatey base. This turns the whole cookie into a double-chocolate experience. I'd use dark chocolate chips instead of milk chocolate chips in this version too — it's a lot of chocolate, but in a good way.
Serving and Storage
Serving
These are best eaten slightly warm, about 10-15 minutes out of the oven when the chocolate chips are still a little melty. We eat them as-is, but a cold glass of milk alongside is genuinely the right call. If I'm serving them for guests, I warm them briefly in a 300°F oven for about 5 minutes — they come out tasting freshly baked. If you want to go the extra mile on a dessert spread, pair them with something like my vanilla bean crème brûlée cheesecake cupcakes for a proper occasion.
Storage
Store cooled cookies in an airtight container at room temperature for up to 5 days. I usually put a piece of bread in the container with them — it sounds odd but it keeps cookies soft because the bread gives up its moisture before the cookies do. For longer storage, you can freeze the baked cookies in a zip-lock bag for up to 2 months; thaw at room temperature for about 30 minutes. You can also freeze the raw dough balls and bake them straight from frozen — just add 1-2 minutes to the baking time.

Frequently Asked Questions
Can I make the dough ahead of time?
Yes, and honestly the dough gets better after a night in the fridge. The flavors develop and the cookies bake up slightly thicker. I often make the dough the evening before and bake in the morning. It keeps refrigerated for up to 2 days, covered tightly.
Can I freeze the cookie dough?
Absolutely. Scoop the dough into balls, freeze them on a baking sheet until solid (about an hour), then transfer to a freezer bag. They keep for up to 3 months. Bake straight from frozen at 350°F and add 1-2 minutes to the baking time. I keep a bag in the freezer most of the time so I can bake a few whenever we want them.
Can I use Golden Oreos or other flavors?
Yes, any flavor works. Golden Oreos give you a vanilla-forward cookie that's a bit different from the classic version but really good. Mint Oreos are my husband's favorite swap. The dough itself doesn't change — just the flavor profile shifts depending on what you use.
My cookies are spreading too flat — what went wrong?
Usually it's the butter. If it was too warm or partially melted when you creamed it, the cookies won't hold their shape in the oven. Chill the dough for 20-30 minutes before baking if this happens. Also make sure you're measuring flour correctly — spoon it into the measuring cup and level it off rather than scooping directly, which packs in too much.
How do I get chewier cookies?
Two things: slightly underbake them (pull them when the centers still look a little underdone) and let them finish setting on the hot pan for 5 minutes before moving. You can also increase the brown sugar slightly — swap 2 tablespoons of the granulated sugar for brown sugar. Brown sugar has more moisture than white sugar, which keeps cookies softer longer.

COOKIES & CREAM COOKIES
Ingredients
- 1 ½ cups all-purpose flour
- ½ teaspoon baking soda
- ¼ teaspoon salt
- ½ cup unsalted butter softened
- ¾ cup granulated sugar
- 1 large egg
- 1 teaspoon vanilla extract
- ½ cup chocolate sandwich cookies like Oreo, chopped into small pieces
- ½ cup white chocolate chips
- ½ cup milk chocolate chips
- ¼ cup brown sugar packed
Instructions
- Preheat the oven to 350°F (175°C). Line a baking sheet with parchment paper or a silicone baking mat.
- In a medium bowl, whisk together the flour, baking soda, and salt. Set aside.
- In a large bowl, cream together the softened butter, granulated sugar, and brown sugar until light and fluffy, about 3-4 minutes.
- Add the egg and vanilla extract to the butter mixture and beat until well combined.
- Gradually add the dry ingredients to the wet ingredients, mixing until just combined.
- Gently fold in the chopped chocolate sandwich cookies, white chocolate chips, and milk chocolate chips.
- Scoop tablespoon-sized portions of dough and roll them into balls. Place them on the prepared baking sheet about 2 inches apart.
- Bake for 10-12 minutes or until the edges are golden and the centers are soft.
- Allow the cookies to cool on the baking sheet for 5 minutes before transferring them to a wire rack to cool completely.
Notes
- You can use any brand of chocolate sandwich cookies for the cookies & cream flavor.
- For an extra chocolatey version, add a handful of cocoa powder to the dough or substitute half the flour with cocoa powder.
- These cookies can be stored in an airtight container at room temperature for up to 5 days.
- If you like your cookies extra chewy, underbake them slightly and let them rest on the baking sheet.
- You can freeze the dough by rolling it into balls, freezing them on a baking sheet, and transferring them to a freezer-safe container for up to 3 months. Bake them directly from the freezer, adding an extra minute or two to the baking time.
This is one of those recipes I keep coming back to because it requires very little and delivers a lot. One bowl, common ingredients, no equipment beyond a wooden spoon and a baking sheet. I've made these for school events, for Eid trays, for Tuesday nights when someone needed a cookie — they work every time. The double chocolate chips thing is not optional in my kitchen anymore; that combination is what makes them taste like they came from a proper cookie shop.
If you're looking for more baking ideas that are similarly low-effort and high-reward, my deep-fried strawberry cheesecake wonton bites are a fun one to try when you want something a little more showstopper. And if you're in a full baking mood and want to do a proper layer cake alongside cookies, the lemon zucchini cake with cream cheese filling on this site is genuinely one of my favorites — surprisingly good and it keeps well.
The next time Zainab requests "the Oreo cookies," I'll be ready. And if you make these, I hope they disappear just as fast at your place. 🍪✨
If you liked this recipe, you'll probably like these too:
- Chocolate Chip Cookie Dough Twists
- Deep-Fried Strawberry Cheesecake Wonton Bites
- Vanilla Bean Crème Brûlée Cheesecake Cupcakes
- Lemon Zucchini Cake with Cream Cheese Filling
- 6 No-Bake Energy Ball Recipes





Comments
No Comments