
My husband doesn't really love casseroles — except for this one. The first time I put this Mexican lasagna on the table, he had two servings and then asked me what it was called. I said I wasn't sure yet. He said, "Whatever it is, make it again." So I did.
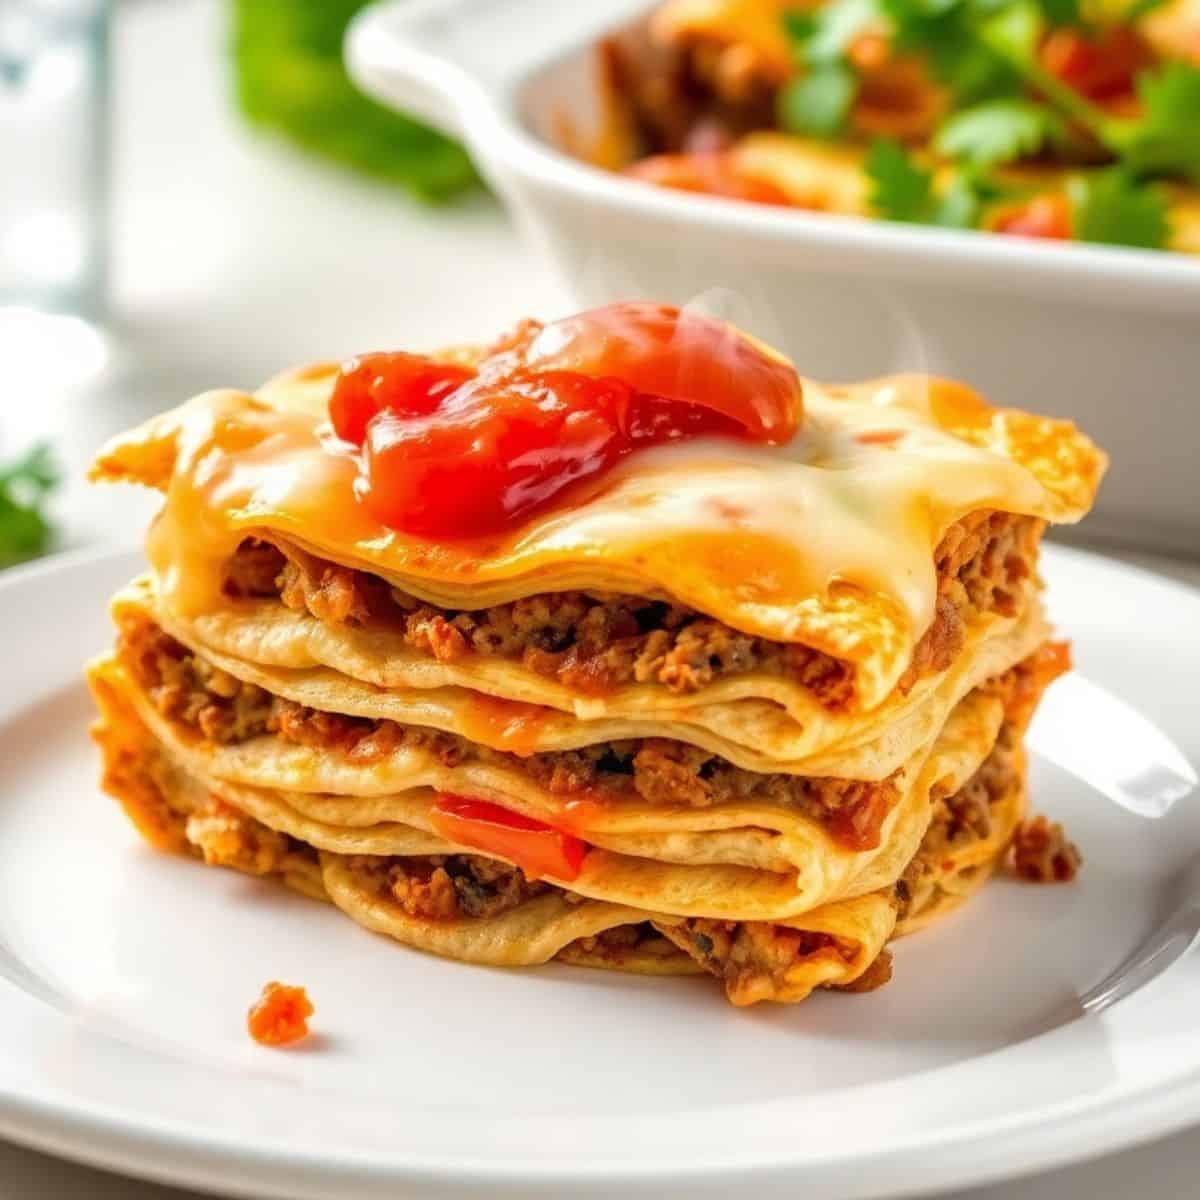
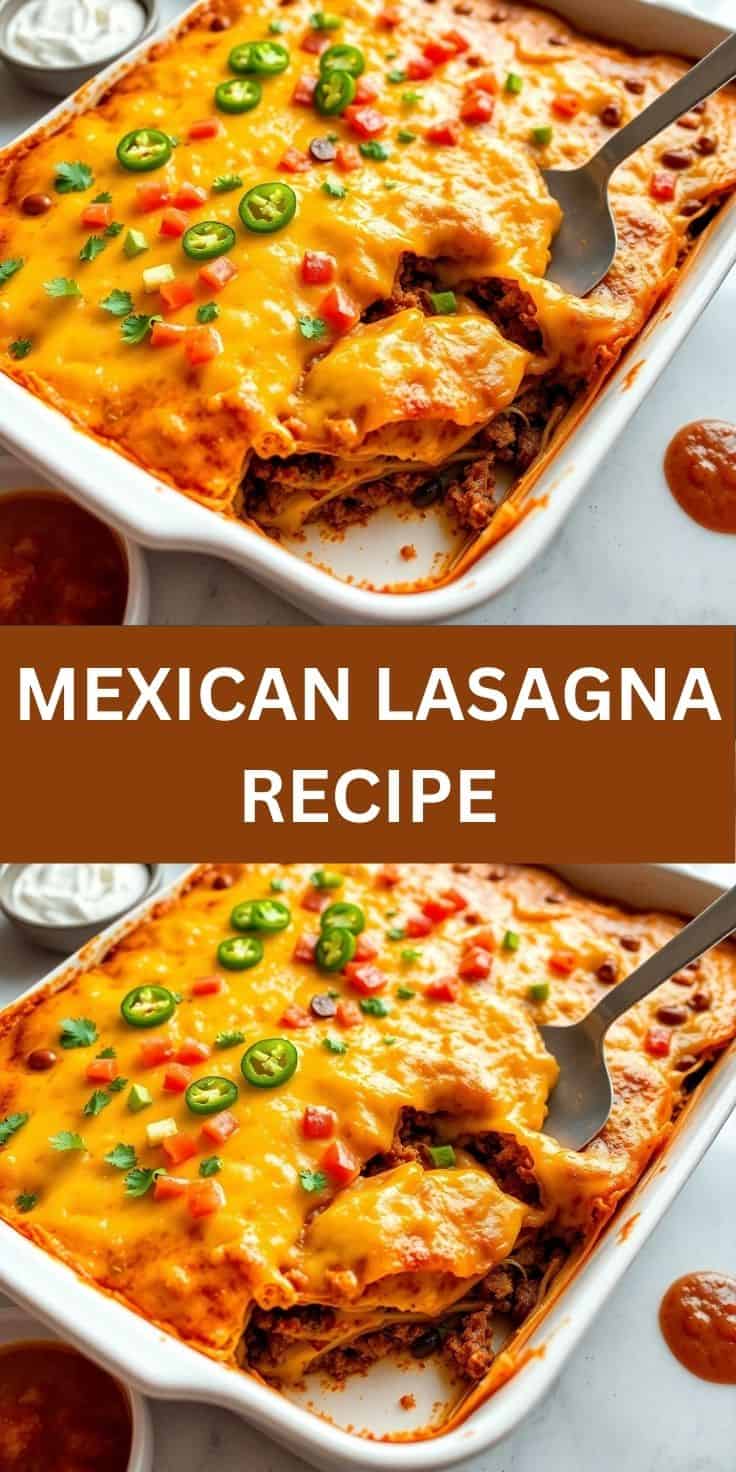
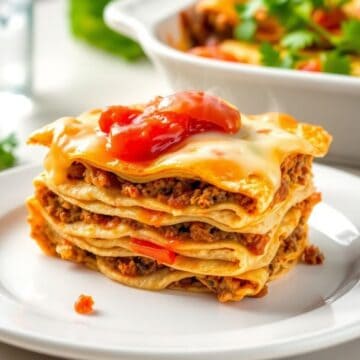
What makes this work is the layering. You get seasoned ground beef with taco spices, black beans, corn, salsa, and a generous amount of shredded cheese — all stacked between soft flour tortillas instead of pasta sheets. No boiling noodles, no complicated sauce-making, no equipment you don't already have. A 9x13 baking dish, a skillet, and you're most of the way there. It's not traditional Italian lasagna and it's not a classic Mexican dish either — it's somewhere comfortably in between, and my family has adopted it as their own.
This is a solid weeknight dinner when I've already used up my creative energy for the day. I usually pair it with my cheesy rice on the side, which Zainab loves, and the whole meal comes together in under an hour. I make a double batch when I know we have a busy week ahead because the leftovers hold up surprisingly well — the flavors actually deepen overnight.
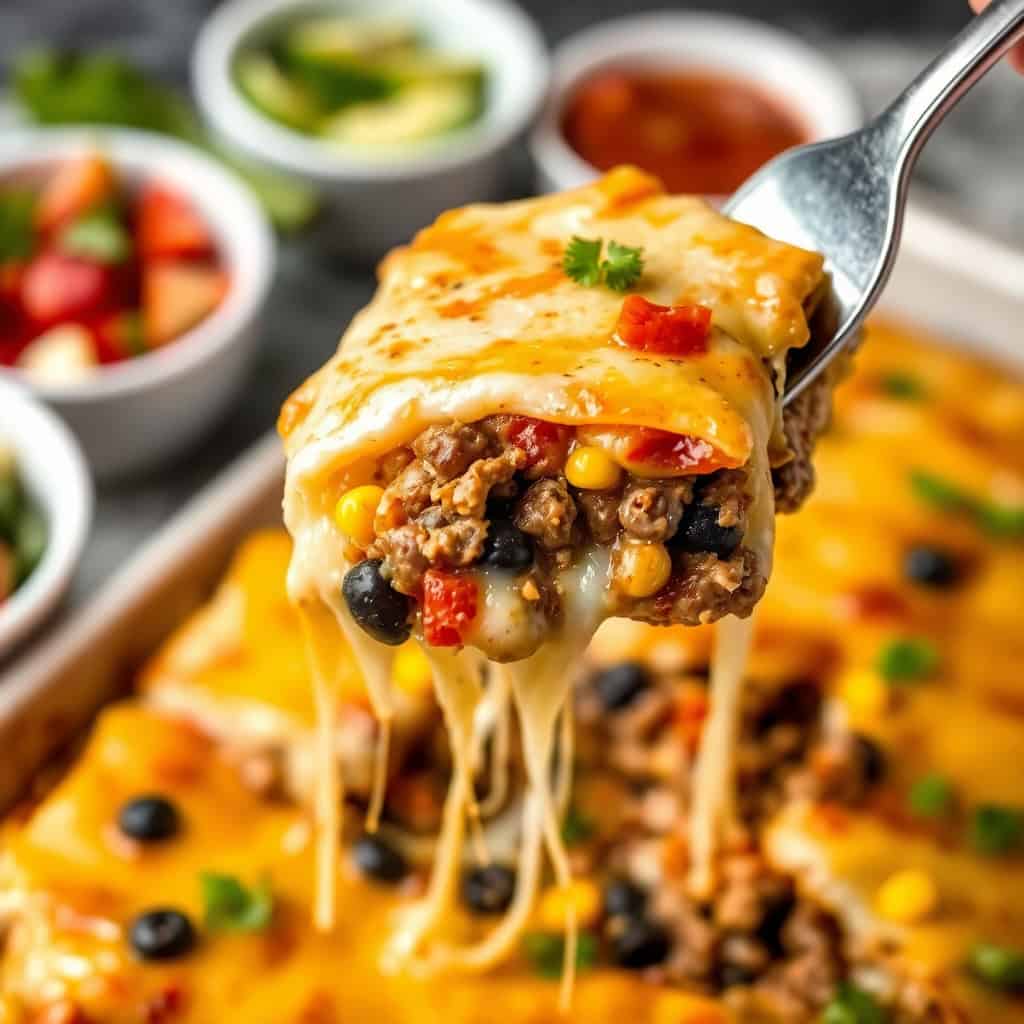
One thing to set your expectations on: the tortillas will soften as the casserole bakes, which is exactly what you want. If you're hoping for crispy layers, this isn't that recipe. This is saucy, cheesy, and a little messy to slice — and that's the point. Let it rest for at least 5 minutes before cutting or it'll fall apart on you. I learned that the hard way the first time.
Why You'll Love This Recipe
- No noodles to boil: Tortillas do exactly what lasagna noodles do, but without the pot of boiling water and the waiting around. I keep a stack of flour tortillas in my fridge most weeks anyway, so this is a genuinely low-effort swap. It also means less cleanup, which matters on a Wednesday night.
- Holds up well for meal prep: I make this on Sunday sometimes and we eat from it through Tuesday. The layers stay intact in the fridge and reheat cleanly in the microwave or oven. It actually tastes better on day two once everything has had time to settle together.
- Feeds a crowd without fuss: A 9x13 dish serves six to eight people comfortably, which means it's the kind of thing I bring to potlucks or make when family visits. You can assemble it the night before, cover it with foil, and bake it the next day — no last-minute stress.
- Endlessly customizable: The base recipe is a framework. I've made it with shredded rotisserie chicken when I didn't have ground beef. I've added diced green chilies when I wanted more heat. Once I even stirred a bit of cream cheese into the beef mixture and it was richer and creamier than usual — my husband's preferred version now.
- One dish, minimal cleanup: You brown the beef in a skillet, layer everything in the baking dish, and bake it. That's your whole kitchen mess right there. I'm not fighting with a colander or scrubbing a pasta pot at 8pm, and that alone makes this a recipe I return to.
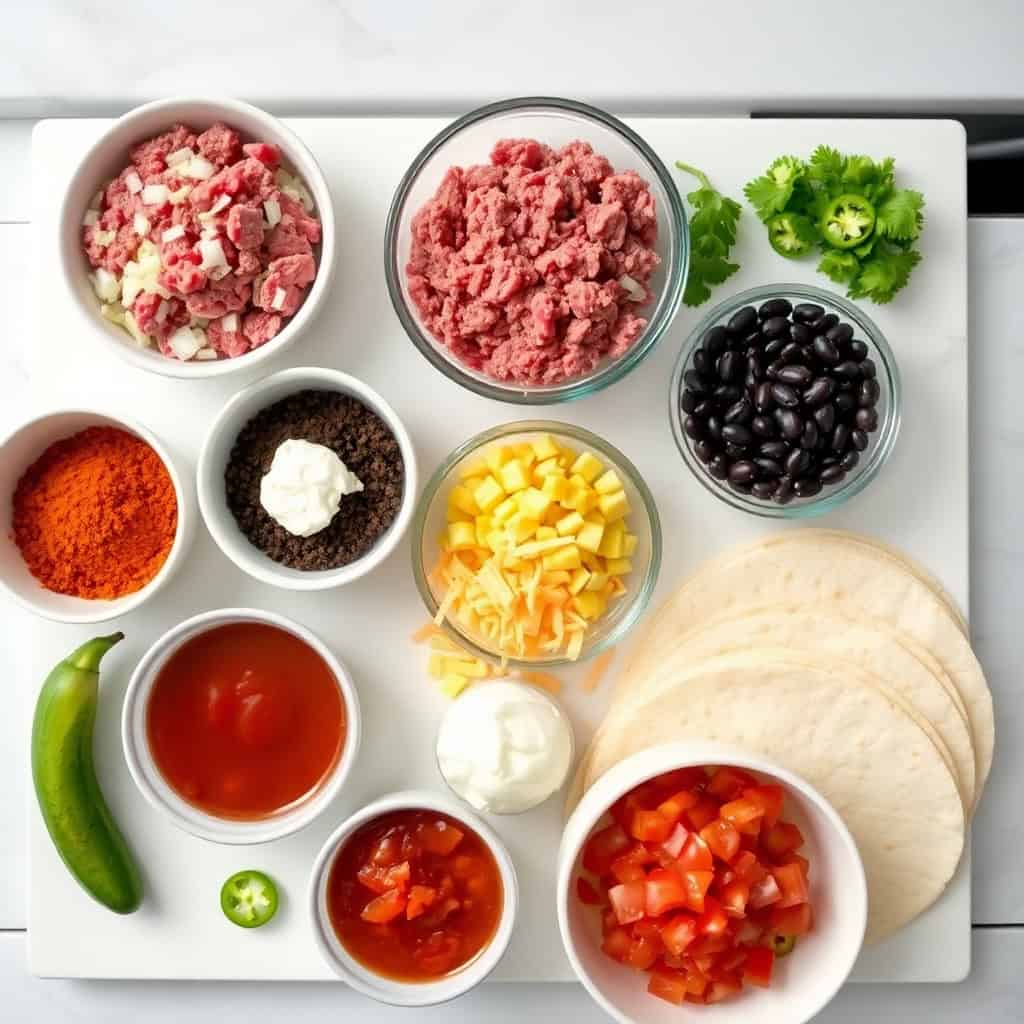
Ingredients
- Beef Filling:
- 1 pound ground beef
- 1 small onion, diced
- 2 cloves garlic, minced
- 1 packet taco seasoning (or about 2 tablespoons homemade)
- 1 can (14 oz) black beans, drained and rinsed
- 1 can (14 oz) corn, drained
- 1 cup salsa
- ½ cup water
- For Layering:
- 6 large flour tortillas (or corn tortillas for a firmer, slightly more traditional texture)
- 2 cups shredded Mexican cheese blend
- 1 can (10 oz) enchilada sauce
- Toppings (Optional):
- Sour cream
- Chopped cilantro
- Diced tomatoes
- Sliced jalapeños
Directions
- Preheat the oven: Set your oven to 375°F (190°C) and grease a 9x13-inch baking dish with nonstick spray. Getting the dish greased before you start layering saves you from a sticky mess at the bottom.
- Brown the beef: In a large skillet over medium heat, cook the ground beef until no pink remains. Add the diced onion and minced garlic and cook for another 2-3 minutes until softened. Drain any excess grease — skipping this step is what makes casseroles greasy, and I say this from experience.
- Season and build the filling: Stir in the taco seasoning, black beans, corn, salsa, and water. Let everything simmer together for about 5 minutes until the mixture thickens slightly. Remove from heat — you don't want it soupy when you layer it.
- Start the layers: Spread a thin layer of enchilada sauce on the bottom of the baking dish. This keeps the first tortilla layer from sticking and adds flavor all the way to the bottom. Lay two tortillas over it, overlapping slightly to cover the surface.
- Layer the filling and cheese: Spread roughly a third of the beef mixture over the tortillas, then top with a third of the shredded cheese. Repeat this sequence twice more — tortillas, beef, cheese — finishing with cheese on the very top.
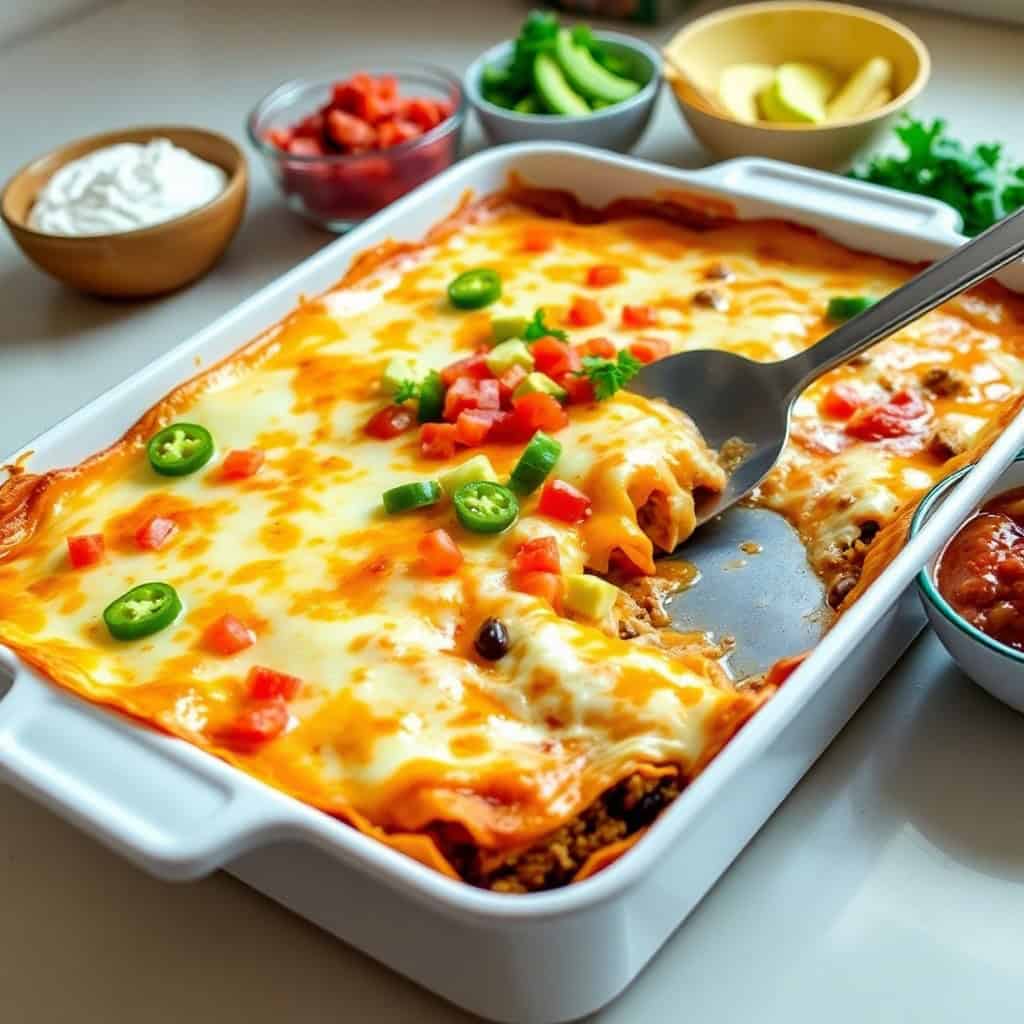
- Bake it: Cover tightly with foil and bake for 20 minutes. Remove the foil and bake for another 10-15 minutes until the cheese is melted and starting to brown at the edges. You'll know it's done when you can see it bubbling around the sides of the dish.
- Rest before slicing: Let the casserole sit for at least 5 minutes before you cut into it. I know it's hard to wait, but if you slice it straight out of the oven it collapses into a pile. Give it a few minutes and it holds its shape. Top with sour cream, cilantro, tomatoes, or jalapeños and serve warm.
Tips for Success
- Drain the beef properly: I tilted the skillet and used a spoon to scoop out the grease the first few times before I got a fat separator. Whatever method you use, get that extra fat out. A greasy filling means a greasy casserole, and no amount of cheese fixes that.
- Don't oversauce the layers: The original version I tried had too much sauce between the layers and the tortillas turned to mush. A thin layer of enchilada sauce on the bottom is enough — the salsa in the beef mixture provides plenty of moisture. Restraint here makes the layers hold together when you slice it.
- Corn vs. flour tortillas: Flour tortillas give you softer, almost pasta-like layers. Corn tortillas hold their shape a bit more and have a slight firmness that some people prefer. I usually use flour because that's what I have on hand, but if you like a more traditional Mexican flavor in every bite, corn is worth trying.
- Make it ahead and refrigerate: You can assemble the whole casserole up to 24 hours before baking and keep it covered in the fridge. When you're ready to bake, add about 5-10 extra minutes to the covered baking time since it's going in cold. This is genuinely useful when you're hosting and want dinner to be zero-stress.
- Let it rest — I mean it: Five minutes minimum, ten is better. I've cut into it too early twice and both times I ended up with a cheesy, saucy landslide on the plate instead of a clean slice. Set a timer if you need to. It's worth the wait.
Variations
- Rotisserie chicken version: Swap the ground beef for shredded rotisserie chicken. I pick one up from Costco when they're fresh and it takes ten minutes off the prep time since there's nothing to brown. The chicken soaks up the taco seasoning really nicely and makes the whole dish feel a little lighter.
- Vegetarian version: Skip the meat entirely and double up on the beans — a mix of black beans and pinto beans works well. Add sautéed bell peppers and zucchini to bulk it out. It's filling enough that nobody at my table has ever complained about missing the beef.
- Cream cheese filling: Stir 4 oz of softened cream cheese into the beef mixture after it comes off the heat. It melts in and makes the filling richer and creamier, almost like a queso filling in every layer. My husband requests this version specifically now.
- Extra spicy: Add a small can of diced green chilies to the beef mixture and top with pickled jalapeños before baking. If you want real heat, stir in a chipotle pepper in adobo sauce — just one, finely chopped. It adds smokiness on top of the spice which changes the whole character of the dish.
- Low-carb swap: Use thin zucchini slices in place of tortillas. Slice them lengthwise about ¼ inch thick and pat them dry before layering — excess moisture will make everything watery. It's a different texture but the flavors work just as well. I've served this version alongside my shrimp lettuce wraps for a lighter spread that doesn't feel like it's missing anything.
Serving and Storage
Serving
Serve it warm, straight from the baking dish, with sour cream, diced tomatoes, and cilantro on top. We usually have it alongside cheesy rice or tortilla chips and a simple salad. If you're feeding kids, set the jalapeños and hot sauce on the side so people can heat their own portion. For adults, a cold drink like a tall glass of lemonade cuts through the richness nicely.
Storage
Store leftovers in an airtight container in the refrigerator for up to 4 days. Individual portions reheat well in the microwave in about 90 seconds — cover with a damp paper towel so the tortilla layers don't dry out. If you're reheating the whole dish, cover it with foil and warm it in the oven at 350°F (175°C) for about 15 minutes. To freeze: assemble the casserole without baking, wrap it tightly, and freeze for up to 3 months. Bake straight from frozen at 375°F for 45-50 minutes, keeping the foil on for the first 30 minutes.
Frequently Asked Questions
Can I assemble this the night before and bake it the next day?
Yes, and honestly I prefer it that way when I'm hosting. Assemble everything, cover tightly with foil, and refrigerate overnight. When you're ready to bake, pull it from the fridge while the oven preheats and add about 5-10 extra minutes to the covered baking time to account for it going in cold.
Can I use ground turkey instead of ground beef?
Ground turkey works well here. It's leaner, so you may need a small splash of oil in the pan when you brown it. The taco seasoning does a lot of heavy lifting on the flavor, so the swap is mostly seamless. Shredded rotisserie chicken is another easy substitute if you want to skip browning meat altogether.
Why are my tortilla layers getting soggy?
Usually it's too much sauce. Keep the enchilada sauce to a thin layer on the bottom of the dish — the salsa already in the beef mixture provides enough moisture for the tortillas to soften as they bake. Also make sure your beef filling has simmered down enough before layering; if it's too liquidy going in, the extra moisture has nowhere to go.
Can I freeze Mexican lasagna after baking?
You can, though I find the texture is better if you freeze it before baking. If you do freeze it after baking, let it cool completely, portion it into airtight containers, and freeze for up to 2 months. Reheat individual portions covered in the microwave, adding a splash of water or enchilada sauce to keep it from drying out.
How do I make this less spicy for kids?
Use a mild salsa and a mild taco seasoning packet — most grocery store brands like Old El Paso have a mild version. Skip the jalapeños in the filling entirely and serve them on the side for the adults. The base recipe without any additions is pretty approachable for kids who aren't into heat.
MEXICAN LASAGNA RECIPE
Ingredients
Beef Filling:
- 1 pound ground beef
- 1 small onion diced
- 2 cloves garlic minced
- 1 packet taco seasoning
- 1 can 14 oz black beans, drained and rinsed
- 1 can 14 oz corn, drained
- 1 cup salsa
- ½ cup water
Other Layers:
- 6 large flour tortillas or corn tortillas for a gluten-free version
- 2 cups shredded Mexican blend cheese
- 1 can 10 oz enchilada sauce
Toppings (Optional):
- Sour cream
- Chopped cilantro
- Diced tomatoes
- Sliced jalapeños
Instructions
Step No.1: Preheat Oven
- Preheat your oven to 375°F (190°C). Grease a 9x13-inch baking dish with nonstick spray.
Step No.2: Cook the Beef Mixture
- In a large skillet, cook ground beef over medium heat until browned. Add onions and garlic, cooking for 2-3 minutes. Stir in taco seasoning, black beans, corn, salsa, and water. Simmer for 5 minutes, then remove from heat.
Step No.3: Assemble the Layers
- Spread a thin layer of enchilada sauce on the bottom of the baking dish. Place two tortillas over it, slightly overlapping. Spread ⅓ of the beef mixture over the tortillas, followed by ⅓ of the cheese. Repeat the layers twice, finishing with cheese on top.
Step No.4: Bake Until Bubbly
- Cover with foil and bake for 20 minutes. Remove foil and bake for an additional 10-15 minutes, until the cheese is melted and bubbly.
Step No.5: Rest and Serve
- Let the lasagna rest for 5 minutes before slicing. Garnish with sour cream, cilantro, tomatoes, or jalapeños if desired.
Notes
- Tortilla Choice: Flour tortillas make softer layers, while corn tortillas add a traditional texture.
- Make-Ahead: Assemble and refrigerate up to 24 hours before baking.
- Freezing Tip: Freeze unbaked for up to 3 months, then bake straight from frozen at 375°F for 45-50 minutes.
- Chicken Mexican Lasagna: Swap ground beef for shredded rotisserie chicken.
- Vegetarian Option: Use extra beans and bell peppers instead of meat.
- Extra Spicy: Add chipotle peppers or extra hot sauce to the beef mixture.
- Cheesy Upgrade: Mix cream cheese into the beef filling for a creamy texture.
- Low-Carb Version: Use low-carb tortillas or layer with thin zucchini slices instead.
This is one of those dinners that's become a permanent rotation in my house — not because I planned it that way, but because my family just kept asking for it. It's the kind of recipe that looks impressive enough to serve to guests but takes no real effort to pull together on a weeknight. If you've been wanting a casserole





Comments
No Comments