
This Creamy Baked Mac and Cheese recipe takes that classic dish to new heights.
We're not talking about the boxed stuff here; this is homemade mac and cheese, crafted with a luscious, velvety cheese sauce that lovingly envelops every elbow macaroni, then baked to a golden, bubbly masterpiece.
It's the kind of dish that warms you from the inside out, perfect for a cozy weeknight dinner, a festive holiday gathering, or simply a well-deserved indulgence.
This recipe is a celebration of simple ingredients transformed into something truly extraordinary.
It's a testament to the power of homemade cooking and the joy of sharing a delicious meal with loved ones.
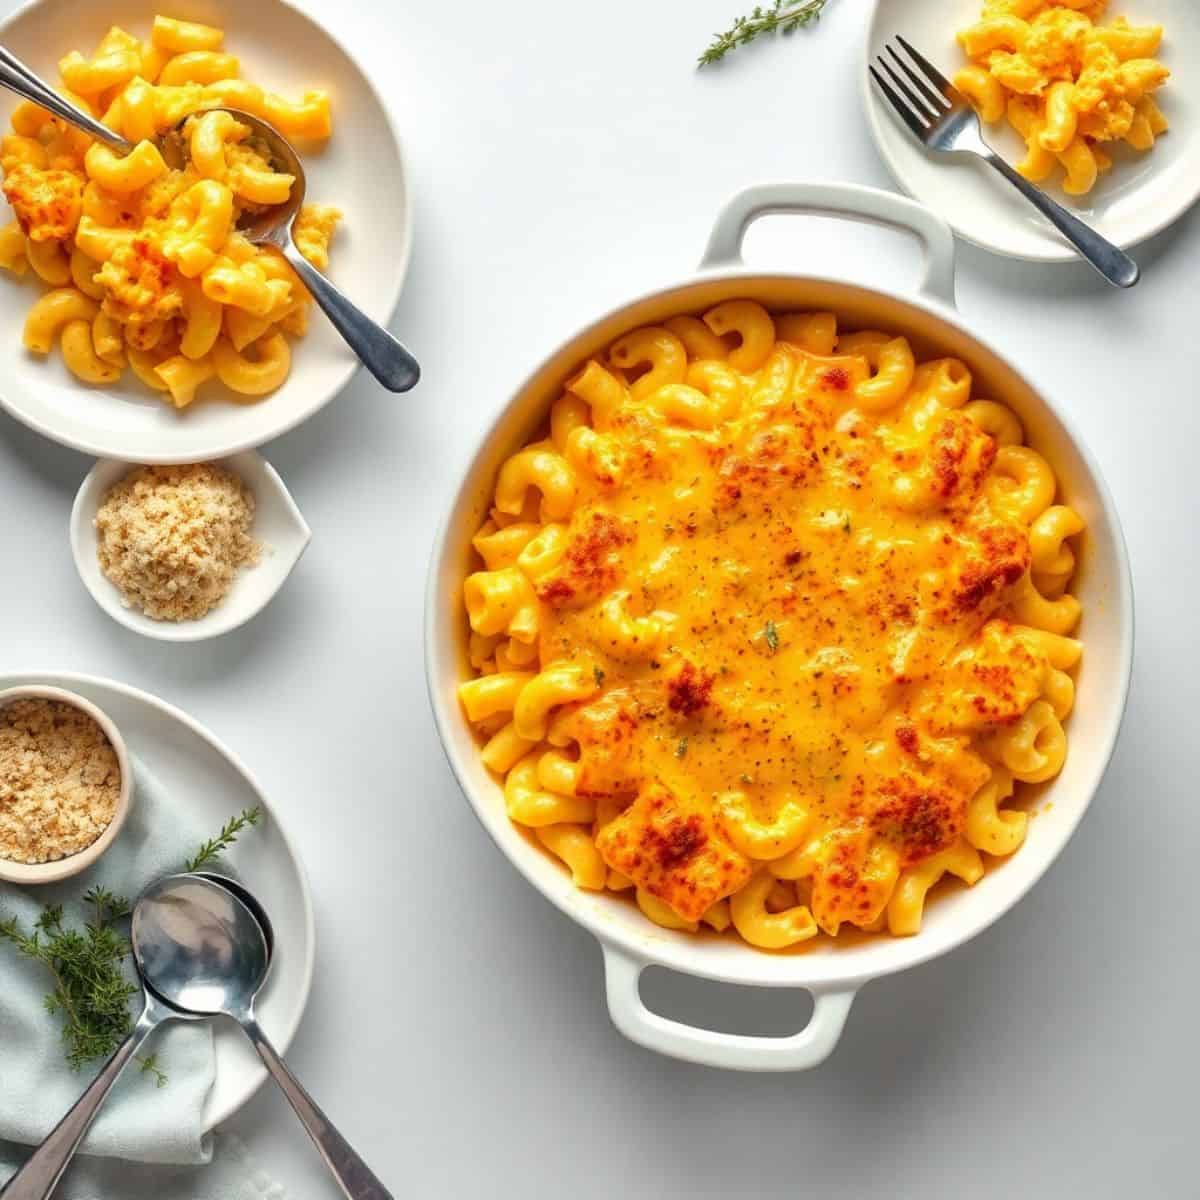
Why You'll Love This Recipe:
- Unbelievably Creamy Sauce: The secret to this mac and cheese lies in the rich, velvety cheese sauce. It's not grainy or thin; it's perfectly smooth and clings to the pasta like a warm hug.
- Maximum Cheesy Flavor: We don't skimp on the cheese! This recipe uses a generous amount of a blend of cheeses, guaranteeing every single bite is bursting with cheesy goodness.
- Surprisingly Easy to Make: While it tastes like a gourmet creation, this mac and cheese is surprisingly simple to make.
- Endlessly Customizable: This recipe is a fantastic base that you can easily customize with different cheeses, additions, or toppings.
- A Guaranteed Crowd-Pleaser: Mac and cheese is a universally loved comfort food for a reason – everyone adores it!
Ingredients:
- 1 pound elbow macaroni
- ½ cup (1 stick) unsalted butter
- ½ cup all-purpose flour
- 4 cups whole milk
- 1 teaspoon salt
- ½ teaspoon black pepper
- ¼ teaspoon nutmeg (optional, adds a subtle warmth)
- 1 pound sharp cheddar cheese, shredded, divided (you can also use a mix of cheddar and another cheese like Monterey Jack, Gruyere, or Colby)
- Optional: ½ cup grated Parmesan cheese for topping
Directions:
- Step 1: Cook the Pasta:
Preheat your oven to 375°F (190°C). Bring a large pot of salted water to a boil.
- Add the macaroni and cook according to the package directions until slightly less than al dente.
- Remember, the pasta will continue to cook in the oven, so slightly undercooking it prevents it from becoming mushy.
- Drain the pasta and set it aside. Running cold water over the pasta after draining can help stop the cooking process.
- Step 2: Make the Cheese Sauce:
In a large saucepan, melt 4 tablespoons of butter over medium heat.
- Whisk in the flour and cook for 1 minute, stirring constantly, to create a roux.
- This roux is the foundation of your creamy sauce, so make sure it's smooth and golden brown. Gradually whisk in the milk, a little at a time, until smooth.
- Make sure each addition of milk is fully incorporated before adding more to prevent lumps.
- Bring the mixture to a simmer, stirring constantly, until it thickens slightly. This will take a few minutes.
- Stir in the dry mustard, salt, and pepper. Reduce heat to low and stir in 3 cups of the cheddar cheese and ¾ cup of the Gruyere cheese until melted and smooth.
- Don't let the sauce boil, as this can cause it to separate. Keep the heat low and stir frequently to ensure a smooth, creamy sauce.
- Step 3: Combine Pasta and Sauce:
Add the cooked macaroni to the cheese sauce and stir until every noodle is coated in the cheesy goodness.
- Make sure the pasta is evenly distributed in the sauce, ensuring every bite is as cheesy as the last.
- Step 4: Assemble the Mac and Cheese:
Pour the mac and cheese mixture into a greased 9x13 inch baking dish.
- A ceramic or glass baking dish works best for even heat distribution. Sprinkle evenly with the remaining cheddar and Gruyere cheese.
- Melt the remaining 4 tablespoons of butter and drizzle it evenly over the top, ensuring all the cheese is coated for maximum browning and flavor.
- Step 5: Bake:
If using the panko breadcrumb topping, combine the panko breadcrumbs and the 2 tablespoons of melted butter in a small bowl.
- Sprinkle the panko mixture evenly over the mac and cheese. This adds a delightful crunch to the creamy dish.
- Bake for 20-25 minutes, or until the top is golden brown and bubbly and the cheese is melted and slightly browned.
- Keep a close eye on it during the last few minutes of baking to prevent burning.
- Step 6: Cool and Serve:
Let the mac and cheese cool for a few minutes before serving.
- This allows the sauce to set slightly and makes it easier to serve.
- It also prevents it from being too runny and allows the flavors to meld together.
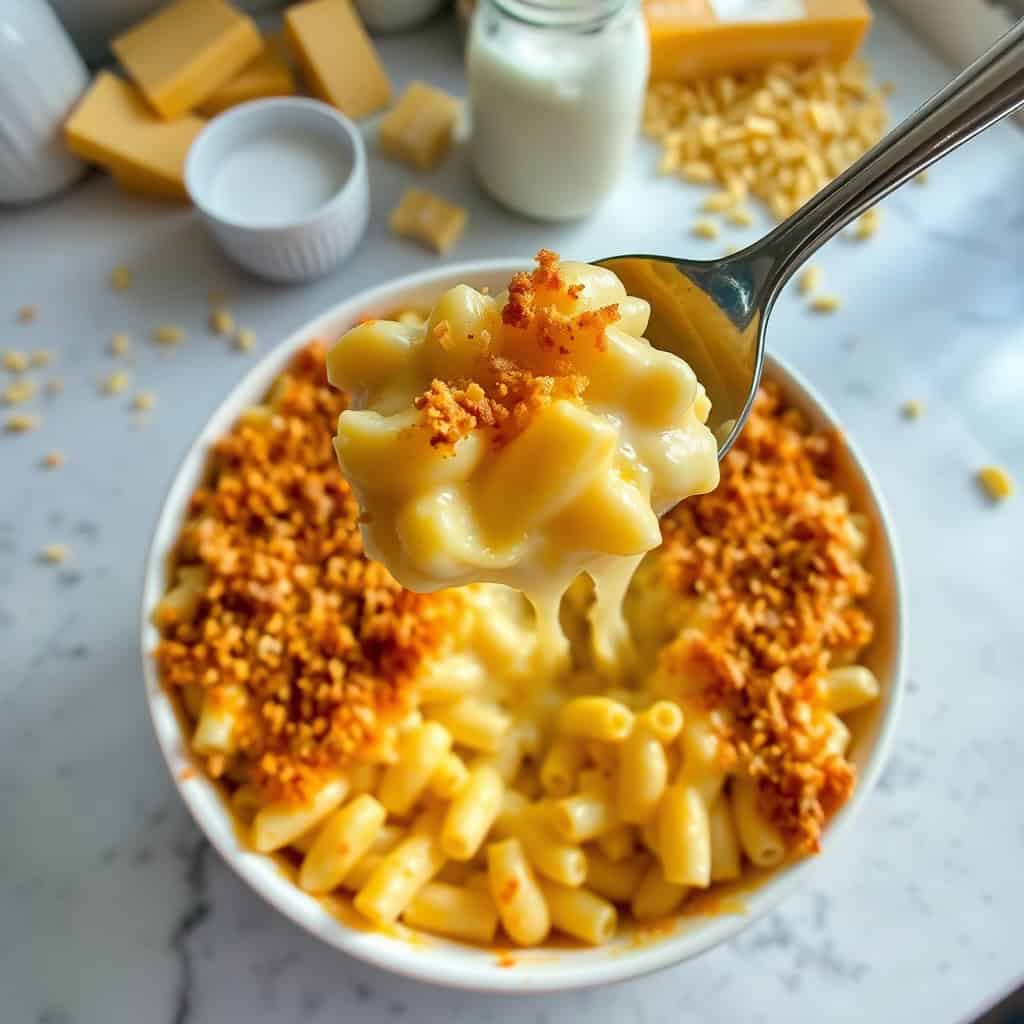
Serving and Storage:
Serving:
- Classic Side Dish: This mac and cheese is the perfect side dish for any meal, especially during holidays, potlucks, barbecues, or weeknight dinners.
- Satisfying Main Course: It's also delicious as a main course, especially when paired with a side salad, steamed vegetables, or grilled chicken.
Storage:
- Refrigerate: Store leftover mac and cheese in an airtight container in the refrigerator for up to 4 days. It's best to store it as soon as it has cooled to room temperature to prevent bacterial growth and maintain its quality.
- Reheating: Reheat the mac and cheese in the microwave or oven. For microwave reheating, add a splash of milk or cream to keep it creamy and prevent it from drying out. Heat in short bursts, stirring in between, until heated through.
Tips for Success:
- Use High-Quality Cheese: The quality of the cheese significantly impacts the flavor of the mac and cheese.
- Don't Overcook the Pasta (Initially): It's crucial to slightly undercook the pasta before adding it to the cheese sauce, as it will continue to cook in the oven.
- Make a Smooth Sauce: Whisk the milk into the roux gradually to prevent lumps from forming.
- Use Whole Milk (or Cream): Whole milk will make the sauce richer and creamier.
- Taste and Adjust Seasonings: Before baking, taste the cheese sauce and adjust the seasonings as needed.
Variations:
- Add Vegetables: Add cooked vegetables, such as broccoli florets, cauliflower florets, peas, or spinach, to the mac and cheese for added nutrition information and flavor.
- Spicy Mac and Cheese: Add a pinch of red pepper flakes, a few dashes of hot sauce, or some chopped jalapeños to the cheese sauce for a spicy kick.
- Bacon Mac and Cheese: Cook and crumble some bacon and add it to the mac and cheese for a smoky, savory flavor.
- Lobster Mac and Cheese: For a truly luxurious treat, add cooked lobster meat to the mac and cheese.
- Four-Cheese Mac and Cheese: Experiment with different cheese combinations! Try using a blend of cheddar, Gruyere, Parmesan, mozzarella, or fontina.
FAQ:
Absolutely! While elbow macaroni is classic, you can use other short pasta shapes, such as penne, shells, rotini, or cavatappi. The key is to choose a pasta with ridges or grooves that will hold onto the cheese sauce well, ensuring every bite is coated in cheesy goodness.
Yes, you can assemble the mac and cheese ahead of time and store it, covered, in the refrigerator for up to 24 hours before baking. Add about 10-15 minutes to the baking time if baking from cold, as the dish will need longer to heat through.
Freezing baked mac and cheese is not generally recommended, as it can alter the texture of the sauce and pasta. The sauce may separate, and the pasta can become mushy upon thawing and reheating. However, you can freeze the unbaked mac and cheese. Assemble the dish as directed, but do not bake it. Wrap it tightly with plastic wrap and foil, then freeze for up to 3 months. Thaw overnight in the refrigerator before baking.
This Creamy Baked Mac and Cheese is the ultimate comfort food, a warm and cheesy embrace in every bite.
This Creamy Baked Mac and Cheese is the ultimate comfort food, a warm and cheesy embrace in every bite.
With its rich, velvety cheese sauce, perfectly cooked pasta, and endless customization options, this recipe is sure to become a staple in your kitchen.
Whether you're making it for a casual weeknight dinner, a festive holiday gathering, or simply as a special treat for yourself, this mac and cheese is guaranteed to be a hit.
It's a celebration of cheesy goodness, a testament to the power of simple ingredients transformed into something truly special.
So gather your ingredients, preheat your oven, and get ready to indulge in the best mac and cheese you've ever tasted!

CREAMY BAKED MAC AND CHEESE
Ingredients
- 1 pound elbow macaroni
- ½ cup 1 stick unsalted butter
- ½ cup all-purpose flour
- 4 cups whole milk
- 1 teaspoon salt
- ½ teaspoon black pepper
- ¼ teaspoon nutmeg optional, adds a subtle warmth
- 1 pound sharp cheddar cheese shredded, divided (you can also use a mix of cheddar and another cheese like Monterey Jack, Gruyere, or Colby)
- Optional: ½ cup grated Parmesan cheese for topping
Instructions
- Preheat oven and cook pasta: Preheat oven to 375°F (190°C). Cook the macaroni according to package directions, about 2-3 minutes less than al dente. Drain and set aside.
- Make the roux: In a large saucepan over medium heat, melt the butter. Whisk in the flour and cook for 1-2 minutes, stirring constantly, until a smooth paste forms (this is the roux).
- Add milk and seasonings: Gradually whisk in the milk, making sure there are no lumps. Continue whisking until the sauce thickens slightly. Stir in the salt, pepper, and nutmeg (if using). Reduce heat to low.
- Add cheese: Add most of the shredded cheddar cheese (reserve about 1 cup for topping) to the sauce. Stir constantly until the cheese is melted and the sauce is smooth and creamy.
- Combine pasta and sauce: Add the cooked macaroni to the cheese sauce and stir until well coated.
- Transfer to baking dish: Pour the mac and cheese mixture into a greased 9x13 inch baking dish.
- Add remaining cheese and Parmesan (optional): Sprinkle the reserved cheddar cheese and Parmesan cheese (if using) over the top.
- Bake: Bake for 20-30 minutes, or until the top is golden brown and the mac and cheese is bubbly.
- Let rest: Let the mac and cheese rest for 5-10 minutes before serving. This will help it set and make it easier to serve.
Notes
- Cheese: Use high-quality cheeses for the best flavor. Pre-shredded cheese often contains cellulose, which can prevent it from melting smoothly. For best results, shred your own cheese. You can adjust the types of cheese to your preference, but make sure they are good melting cheeses.
- Milk: Whole milk will give the sauce the richest flavor and creamiest texture. You can use 2% milk, but the sauce won't be as rich.
- Roux: Cooking the roux properly is important for preventing a lumpy sauce.
- Baking Time: Baking times may vary slightly depending on your oven. Keep an eye on the mac and cheese and remove it when the top is golden brown and bubbly.






Comments
No Comments