
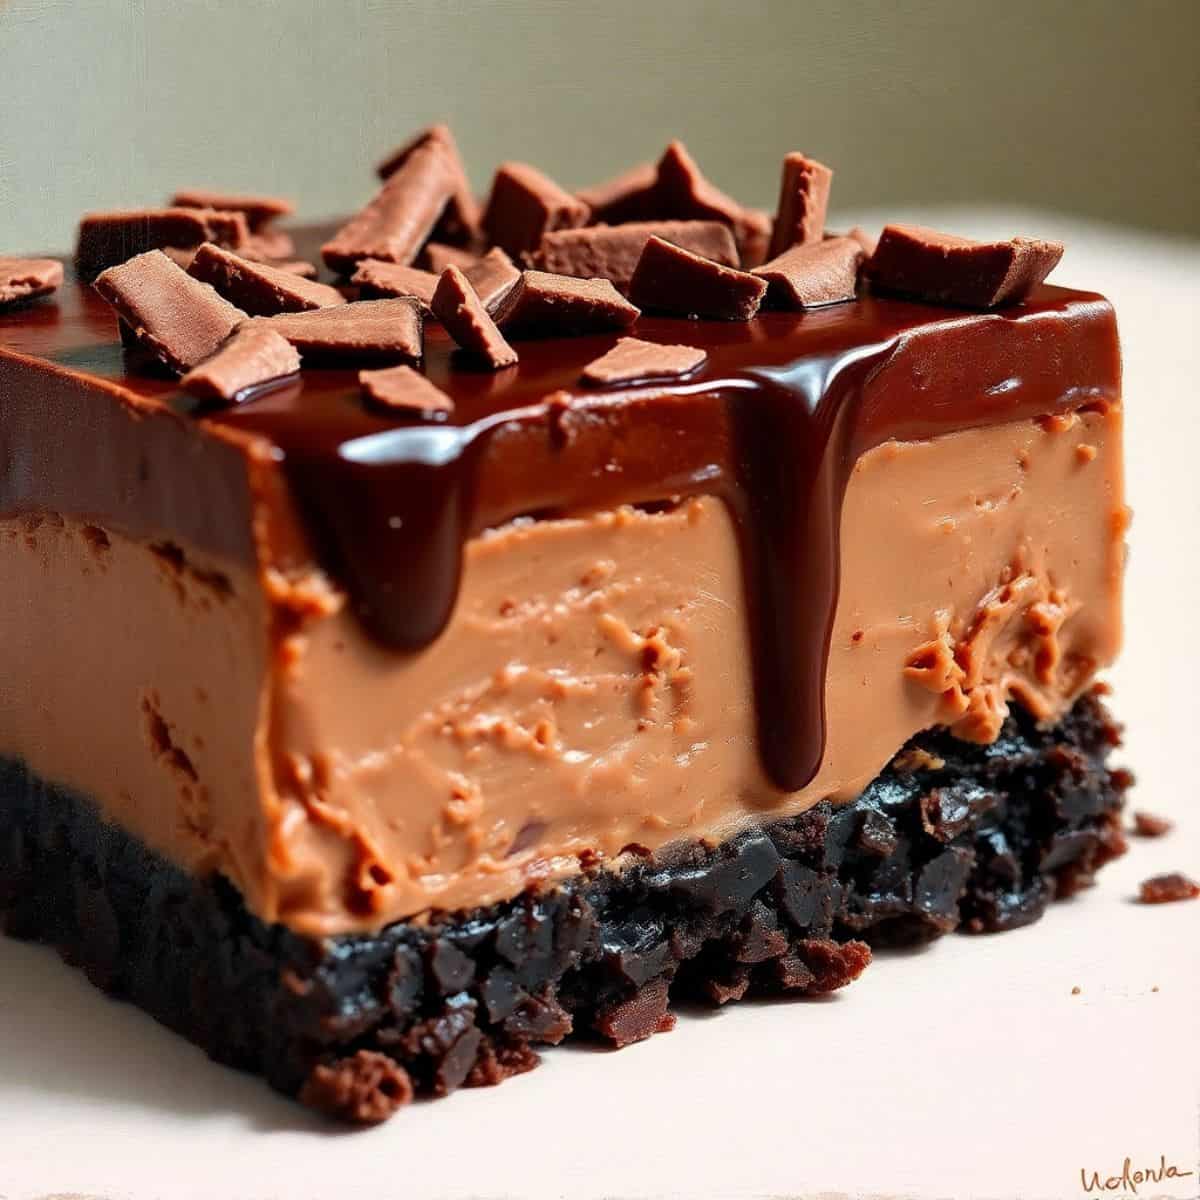
These Chocolate No-Bake Cheesecake Bars are a chocolate lover's dream come true.
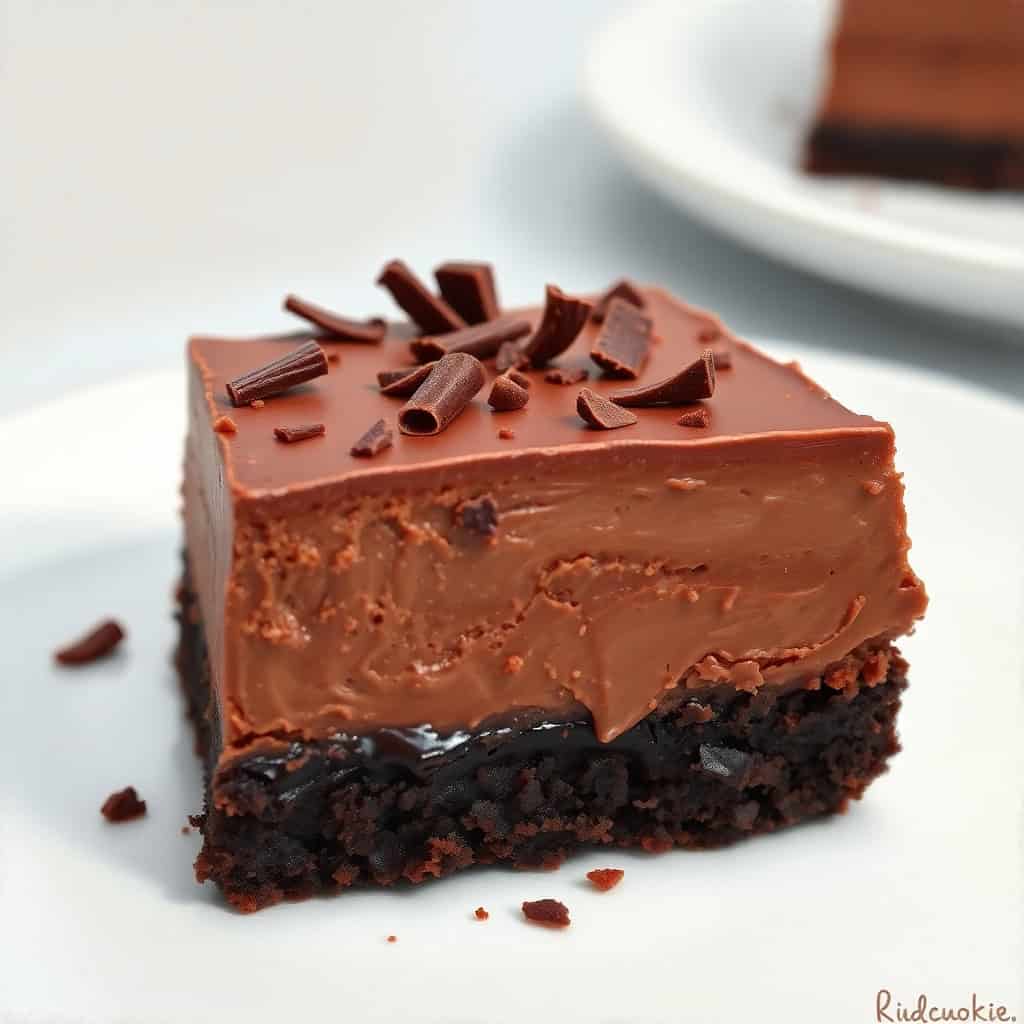
Imagine a rich, chocolatey cookie crust sturdy enough to hold a luscious, creamy chocolate cheesecake filling. No baking is required!
These bars are the epitome of easy indulgence, perfect for parties, potlucks, or when you simply crave a decadent treat without spending hours in the kitchen.
The combination of textures, from the crunchy crust to the smooth filling, makes these bars utterly irresistible.
This recipe breaks down the process into simple steps, ensuring that even beginner bakers can create these impressive and delicious bars.
Why You'll Love This Recipe:
- No-Bake Convenience: No oven required! These bars are perfect for hot days or when you're short on time.
- Intense Chocolate Flavor: From the crust to the filling, these bars are packed with rich chocolate flavour.
- Easy to Make: This recipe is straightforward and simple, making it perfect for beginner bakers.
- Make-Ahead Friendly: These bars can be made ahead of time and stored in the refrigerator, making them ideal for entertaining.
- Customizable: You can easily customize the toppings and decorations to suit your taste and occasion.
Ingredients:
For the Chocolate Cookie Crust:
- 1 ½ cups chocolate wafer crumbs (Oreo cookies without the filling work well)
- ¼ cup (½ stick) unsalted butter, melted
For the Chocolate Cheesecake Filling:
- 16 ounces cream cheese, softened
- 1 cup powdered sugar
- ¾ cup unsweetened cocoa powder
- ½ cup heavy cream
- 1 teaspoon vanilla extract
For the Topping (Optional):
- Chocolate shavings
- Whipped cream
- Fresh berries
- Chocolate sauce
Directions:
- Step 1: Make the Chocolate Cookie Crust
In a medium bowl, combine the chocolate wafer crumbs and melted butter.
- Mix well until the crumbs are evenly moistened.
- Press the mixture firmly into the bottom of a 9x13-inch baking dish lined with parchment paper.
- Step 2: Make the Chocolate Cheesecake Filling
In a large bowl, beat the softened cream cheese until smooth.
- Add the powdered sugar and cocoa powder and beat until well combined.
- In a separate chilled bowl, beat the heavy cream until stiff peaks form.
- Gently fold the whipped cream into the cream cheese mixture. Stir in the vanilla extract.
- Step 3: Assemble the Bars
Pour the chocolate cheesecake filling over the chocolate cookie crust. Smooth the top.
- Step 4: Chill
Cover the dish and refrigerate for at least 4 hours, or preferably overnight, to allow the filling to set completely.
- Step 5: Garnish and Serve
Before serving, garnish the bars with chocolate shavings, whipped cream, fresh berries, chocolate sauce, or any other toppings you desire. Cut into bars and serve chilled.
Serving and Storage:
Serving:
Chocolate No-Bake Cheesecake Bars are best served chilled, straight from the refrigerator.
Storage:
- Refrigerating: Store leftover bars in an airtight container in the refrigerator for up to 5 days.
Tips for Success:
- Soften Cream Cheese: Ensure the cream cheese is fully softened for a smooth and creamy filling.
- Chill the Bowl: Chilling the bowl before whipping the heavy cream will help it whip up faster and create more stable whipped cream.
- Don't Overmix: Overmixing the filling can cause it to become dense. Mix until just combined.
- Chill Thoroughly: Chilling the bars for a sufficient amount of time is crucial for allowing the filling to set properly.
- Use Parchment Paper: Lining the baking dish with parchment paper makes it easy to remove the bars and prevents them from sticking.
Variations:
- Oreo Crust: Use Oreo cookies (without the filling) for the crust for an extra chocolatey base.
- Different Toppings: Top the bars with other candies, such as chopped Reese's cups, M&Ms, or sprinkles.
- Swirled Topping: Swirl melted chocolate or peanut butter into the cheesecake filling for a decorative touch.
- Flavour Variations: Add flavourings to the cheesecake filling, such as mint extract, coffee extract, or a liqueur.
- Individual Bars: Use a muffin tin lined with cupcake liners to make individual cheesecake bars.
FAQ:
A 9x13-inch pan is recommended for this recipe. Using a different size pan may affect the thickness of the bars and the setting time.
Freezing is not recommended as it can affect the texture of the filling.
Pressing the crust firmly into the pan and chilling it before adding the filling can help prevent it from becoming soggy.
Use a sharp knife and wipe it clean between cuts for clean slices.
If your filling is too thick, you can add a tablespoon or two of milk or cream to thin it out slightly.
These Chocolate No-Bake Cheesecake Bars are a decadent and easy treat that's perfect for any occasion.
The rich chocolate flavour, creamy texture, and no-bake convenience make them a crowd-pleasing favourite.
Indulge in these irresistible bars and prepare to be amazed by their deliciousness and ease of preparation.
They're a perfect way to satisfy your chocolate cravings and impress your friends and family with minimal effort.
CHOCOLATE NO BAKE CHEESECAKE BARS
Ingredients
- 1 ½ cups chocolate wafer cookies (Oreo without filling, or similar), finely crushed
- 6 tablespoons (¾ stick) unsalted butter, melted
- 1 (8 ounce) package cream cheese, softened
- ½ cup unsweetened cocoa powder
- 1 cup powdered sugar
- 1 teaspoon vanilla extract
- ½ cup semi-sweet chocolate chips
- ¼ cup heavy cream
- ½ cup heavy cream
Instructions
- Make the crust: In a medium bowl, combine the crushed chocolate wafer cookies and melted butter. Mix well until the crumbs are evenly moistened. Press the mixture into the bottom of an 8x8 inch or 9x9 inch baking dish, creating a firm crust. You can use the back of a spoon or your hands to press it firmly.
- Make the cheesecake filling: In a large bowl, beat the softened cream cheese until smooth. Add the powdered sugar and cocoa powder and beat until well combined. In a separate bowl, beat the heavy cream until stiff peaks form. Gently fold the whipped cream into the cream cheese mixture along with the vanilla extract.
- Assemble the bars: Pour the cheesecake filling over the prepared crust and spread evenly.
- Make the chocolate ganache topping (optional): In a medium saucepan, combine the chocolate chips and heavy cream. Heat over low heat, stirring constantly, until the chocolate is melted and the mixture is smooth. Alternatively, you can melt these ingredients in the microwave in short bursts, stirring between each burst.
- Pour ganache over filling (optional): Pour the chocolate ganache over the cheesecake filling and spread evenly.
- Chill: Cover the dish and refrigerate for at least 4 hours, or preferably overnight, to allow the filling to set.
- Cut and serve: Cut the cheesecake into bars and serve chilled.
Notes
- Cookie Crust: You can use other chocolate cookies for the crust, such as chocolate graham crackers.
- Cocoa Powder: Use good quality unsweetened cocoa powder for the best flavor.
- Whipped Cream: Don't overbeat the heavy cream. You want stiff peaks, but not butter!
- Chocolate Chips: You can use dark chocolate chips or milk chocolate chips for the ganache.
- Chill Time: The chill time is important for the cheesecake to set properly. Don't rush it!
- Storage: Store leftover bars in the refrigerator for up to 4 days.





Comments
No Comments