
S'mores cookie cups are a delightful twist on the classic campfire treat.
Combining the rich flavors of graham crackers, melted chocolate, and gooey marshmallows in a bite-sized cookie cup.
These treats are perfect for any occasion, from family gatherings to bake sales, and they capture all the nostalgia of traditional s'mores without the need for a fire.
This recipe is simple to follow and delivers soft, chewy, and slightly crisp cookie cups filled with a luscious combination of chocolate and marshmallow.
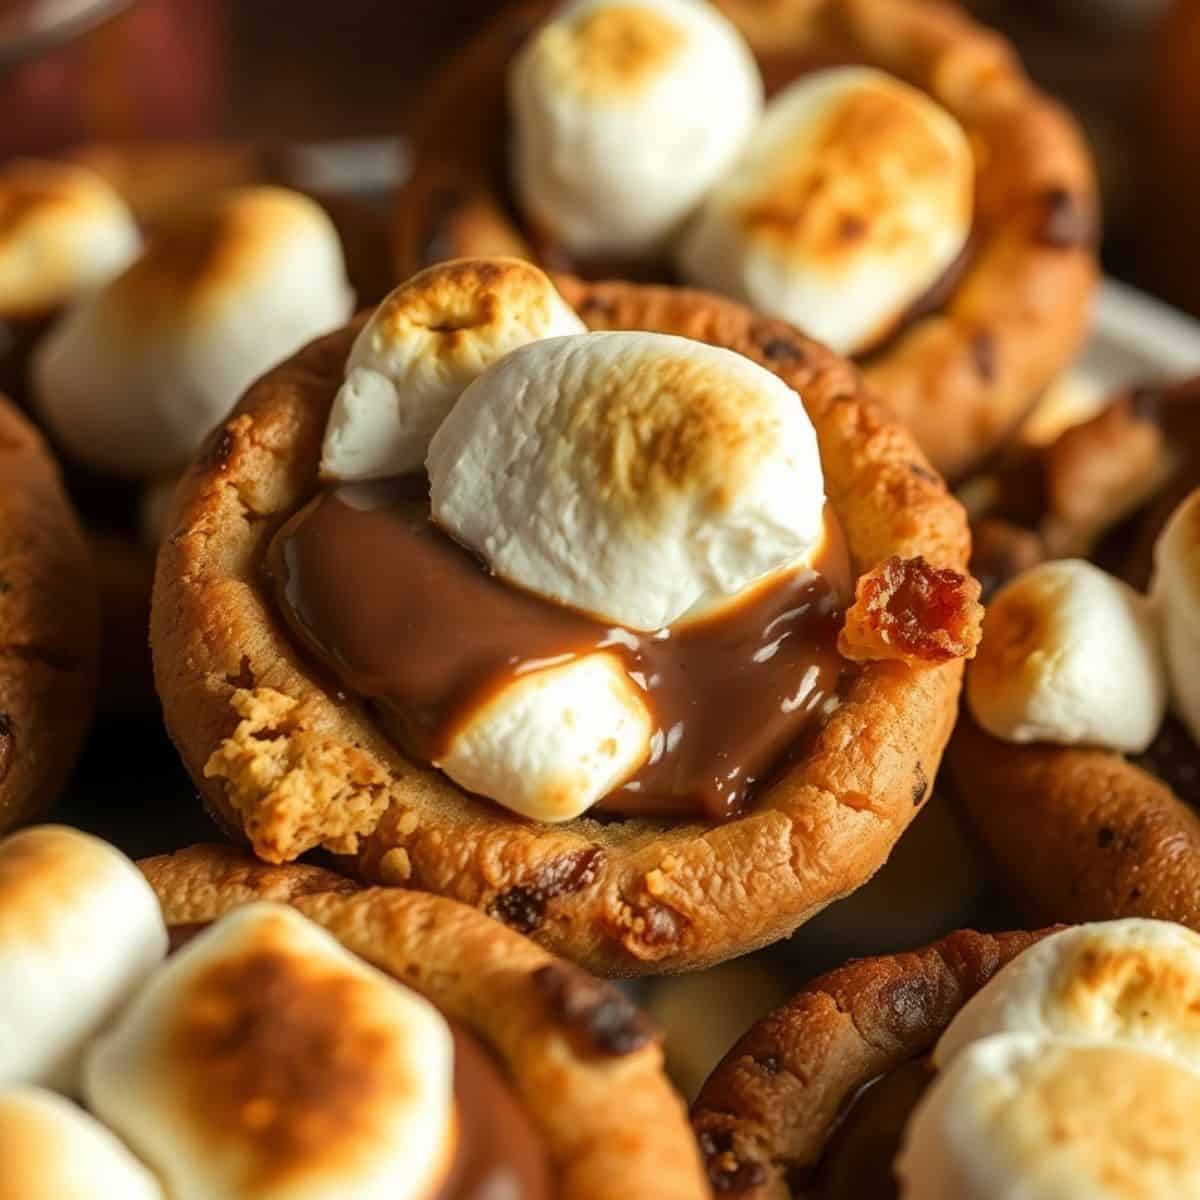
Whether you're a fan of s'mores or simply love indulgent desserts, these cookie cups are sure to become a favorite!
Why You'll Love This Recipe
- Classic S'mores Flavor: Enjoy the delicious combination of graham crackers, chocolate, and marshmallow in a new form.
- Bite-Sized and Fun: Perfectly portioned for easy serving and snacking.
- No Campfire Needed: Get all the flavors of s'mores without the mess or fire.
- Easy to Make: Simple ingredients and steps make this recipe accessible to all skill levels.
- Great for Gatherings: A hit at parties, potlucks, and family events.
Ingredients
For the Cookie Cups:
- 1 ½ cups graham cracker crumbs
- 1 cup all-purpose flour
- ½ teaspoon baking soda
- ½ teaspoon salt
- ½ cup unsalted butter, softened
- ½ cup brown sugar, packed
- ¼ cup granulated sugar
- 1 large egg
- 1 teaspoon vanilla extract
- 6 mini chocolate bars divided
- 12 large marshmallows, halved
Directions
- Step 1: Preheat the Oven
Preheat your oven to 350°F (175°C) and lightly grease a mini muffin tin to prevent sticking.
- Step 2: Prepare the Cookie Dough
In a medium bowl, whisk together graham cracker crumbs, flour, baking soda, and salt. Set aside.
- Step 3: Cream Butter and Sugars
In a large mixing bowl, beat softened butter, brown sugar, and granulated sugar until light and fluffy.
- Add the egg and vanilla extract, mixing until fully incorporated.
- Step 4: Combine Ingredients
Gradually add the dry ingredient mixture to the wet ingredients, stirring until a cohesive dough forms.
- Step 5: Form the Cookie Cups
Scoop about 1 tablespoon of dough into each mini muffin tin cup, pressing down slightly to form a small well in the center.
- Step 6: Bake the Cookie Cups
Bake for 8-10 minutes or until the edges are golden brown and slightly firm.
- Remove from the oven and immediately press a piece of chocolate into the center of each cup.
- Step 7: Add the Marshmallows
Top each cookie cup with a halved marshmallow, cut side down.
- Return the tray to the oven and bake for an additional 2-3 minutes or until the marshmallows are slightly puffed.
- Step 8: Broil for the Perfect Toast
For a toasted marshmallow effect, switch the oven to broil for 30-60 seconds, watching carefully to prevent burning.
- Step 9: Cool and Serve
Allow the cookie cups to cool in the muffin tin for 5 minutes before transferring them to a wire rack. Serve warm or at room temperature.
Serving and Storage
Serving Suggestions
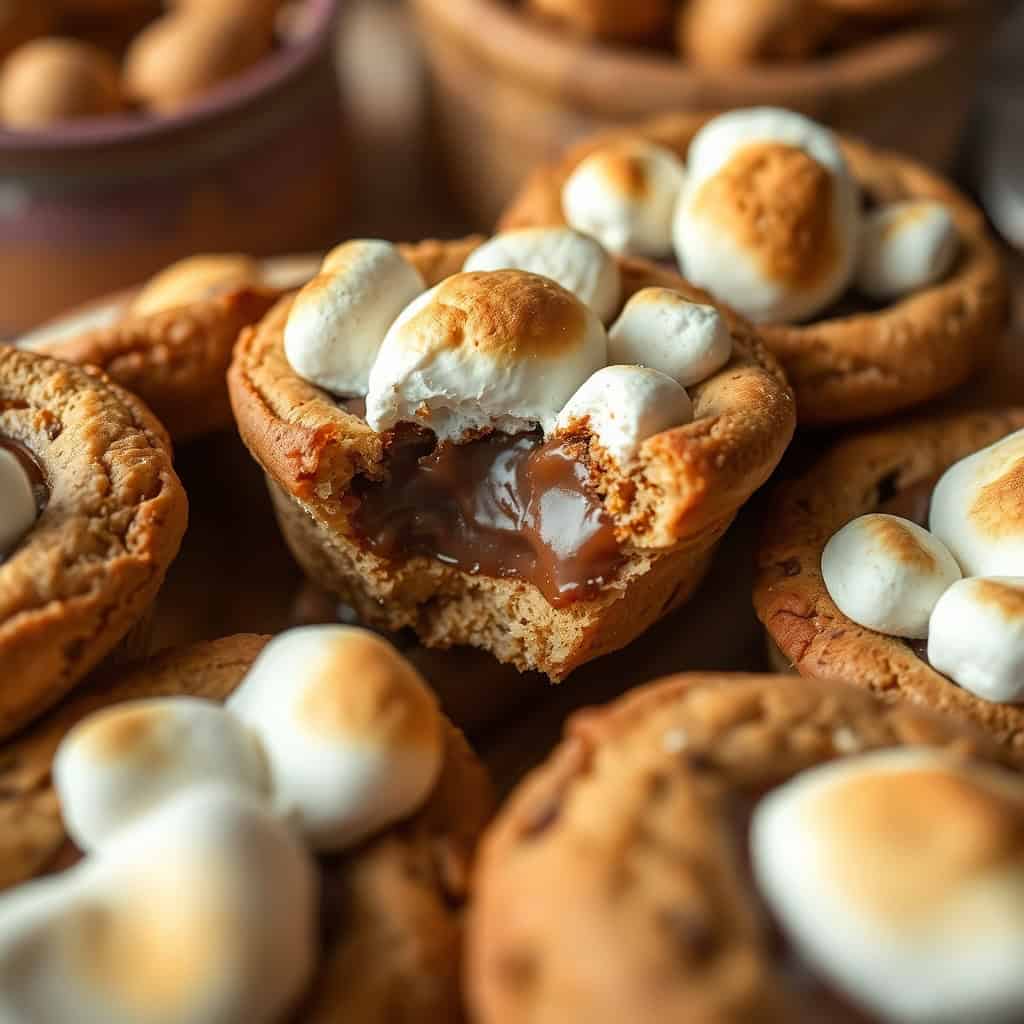
- These cookie cups are best enjoyed fresh out of the oven while the chocolate is melted and the marshmallow is gooey.
- Pair with a cold glass of milk for the ultimate treat.
- Serve at parties or pack them for a sweet picnic snack.
Storage
- Room Temperature: Store in an airtight container for up to 3 days.
- Reheating: Warm in the microwave for 10-15 seconds to soften the chocolate and marshmallow.
- Freezing: Freeze cookie cups in an airtight container for up to 2 months. Thaw before serving.
Tips for Success
- Use High-Quality Chocolate: A good-quality chocolate bar melts better and enhances the overall flavor.
- Press the Dough Firmly: Creating a well in the dough ensures space for the chocolate and marshmallow.
- Monitor the Broiling Time: The marshmallows toast quickly, so keep a close eye to prevent burning.
- Use a Mini Muffin Tin: This shape helps the cookie cups hold their filling perfectly.
- Let Them Set Slightly: Allowing them to cool a little before serving helps the chocolate firm up slightly without losing its gooeyness.
Variations
- Peanut Butter S’mores Cups – Add a small spoonful of peanut butter before placing the chocolate inside.
- Nutella S’mores Cups – Swap the chocolate for Nutella for a rich, hazelnut flavor.
- Dark Chocolate Lovers – Use dark chocolate instead of milk chocolate for a deeper cocoa taste.
- Gluten-Free Option – Use gluten-free graham crackers and a 1:1 gluten-free flour blend.
FAQs
A: Yes! These cookie cups store well and can be reheated before serving.
A: You can, but the graham cracker-infused dough in this recipe gives a more authentic s’mores flavor.
A: Yes, but large marshmallow halves create the perfect golden top. Mini marshmallows can be used as a substitute if needed.
A: Serve warm or briefly reheat before enjoying for the best texture.
A: Yes, but you will need to increase the dough and filling amounts for larger portions.
S'mores cookie cups are a fun and delicious way to enjoy all the best parts of s'mores in a convenient, mess-free treat.
With their buttery graham cracker base, rich chocolate center, and perfectly toasted marshmallow top, these cookie cups are sure to be a crowd-pleaser.
Whether you're making them for a special occasion or simply satisfying a s'mores craving, this easy recipe delivers a bite of nostalgic goodness in every cup.
So, grab your ingredients and bake up a batch of these irresistible s'mores cookie cups today!

S’mores Cookie Cups
Ingredients
- 1 ½ cups all-purpose flour
- ½ teaspoon baking soda
- ¼ teaspoon salt
- ½ cup unsalted butter, softened
- ½ cup granulated sugar
- ½ cup packed brown sugar
- 1 large egg
- 1 teaspoon vanilla extract
- 1 cup graham cracker crumbs
- ½ cup mini marshmallows
- ¼ cup chocolate chips (or chopped chocolate)
Instructions
- Prepare Dough: Preheat oven to 350°F (175°C) and grease a muffin tin. In a bowl, mix flour, baking soda, and salt. Set aside.
- Cream Butter & Sugar: In another bowl, beat together butter, granulated sugar, and brown sugar until creamy. Add egg and vanilla extract, and mix until combined.
- Combine Wet & Dry Ingredients: Gradually add the dry ingredients to the wet mixture. Stir in graham cracker crumbs until fully incorporated.
- Form Cookie Cups: Press a small amount of dough into each muffin tin cup, creating a well in the center.
- Fill the Cups: Place a few mini marshmallows and chocolate chips into each well.
- Bake: Bake for 12-15 minutes, until the edges are golden and marshmallows are slightly toasted.
- Cool & Enjoy: Allow to cool slightly before removing from the muffin tin. Serve warm or at room temperature.
Notes
- Make Ahead: Cookie dough can be made ahead and stored in the fridge for up to 24 hours before baking.
- Customizing the Flavor: For extra richness, add a drizzle of melted chocolate over the top of the baked cookie cups or substitute dark chocolate chips for milk chocolate.
- Serving Suggestions: These cookie cups are great for parties, potlucks, or as a fun treat after a BBQ. Serve warm with a scoop of vanilla ice cream for an extra indulgent dessert.
- Storage Tips: Store in an airtight container at room temperature for up to 5 days. For longer storage, freeze for up to 2 months and thaw before serving.





Comments
No Comments