
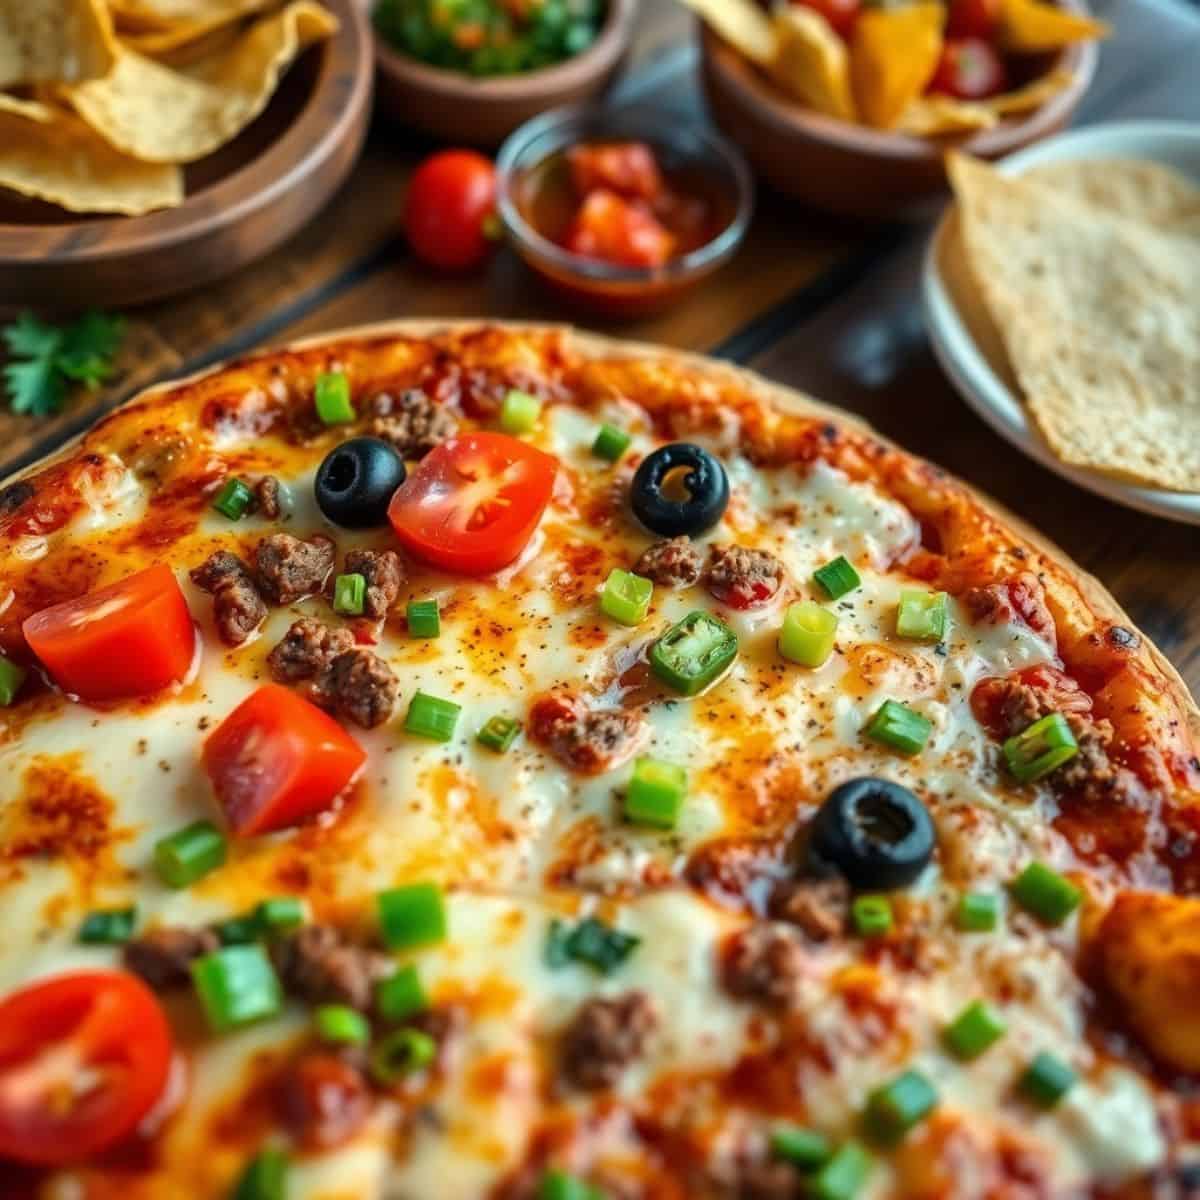
I made this Mexican pizza for the first time on a Tuesday night when I had ground beef to use up and absolutely no energy to make anything complicated. I had tortillas, a can of refried beans, and cheese — and that was basically it. Twenty-five minutes later we had dinner on the table and both kids were asking if we could have it again on Friday.
What makes this work is the pre-crisping step. The first time I skipped it — just assembled everything on a raw tortilla and stuck it in the oven — and the base came out soft and kind of sad. Once I started brushing the tortillas with oil and giving them a quick 3-minute bake before adding the toppings, everything changed. You get this genuinely crispy, almost cracker-like base that holds up to all the beef and cheese without going limp. That one change made all the difference.
This has become my go-to on nights when I have nothing planned. It uses ingredients I almost always have — ground beef in the freezer, a can of refried beans in the pantry, a block of cheese in the fridge. My husband eats it straight up with hot sauce. Saad picks off the olives (every single time) but eats everything else. Zainab asked me to pack the leftovers in her lunchbox, which I thought was a little ambitious but she was right, it was fine cold too. If you're already making a Tex-Mex kind of week, pair this with my cheesy taco casserole for another night — both use similar pantry staples so you can shop once and cook twice.
One thing to set expectations on: this is Tex-Mex, not traditional Mexican food. It's inspired by the Taco Bell Mexican pizza — the kind that became an internet sensation when they brought it back. It's not authentic, it's not trying to be, and that's completely fine. It's a fun, fast, cheesy weeknight dinner and it delivers exactly that.
Why You'll Love This Recipe
- It's genuinely fast: Start to finish, this takes about 25 minutes — maybe 30 if you're moving slowly. I've made it after picking the kids up from school with zero prep done beforehand and still had it on the table before anyone started whining about being hungry. The active cooking time is mostly just browning the beef, which you can do while the oven preheats.
- The pantry does most of the work: Everything here — tortillas, canned beans, taco seasoning, shredded cheese — lives in my pantry or fridge on a normal week. I don't need to make a special grocery run. If you have ground beef in the freezer and a packet of taco seasoning in the spice drawer, you already have most of this recipe covered.
- Two tortillas, double the crunch: Stacking two pre-crisped tortillas with cheese between them and cheese on top means every bite has this satisfying crunch that a single tortilla can't give you. It's the thing that makes this feel like more than just a quesadilla. The layers of bean, beef, salsa, and melted cheese all hold together when you slice it into wedges.
- Easy to adapt for picky eaters: I have one kid who picks off the olives and another who wants extra salsa. Because the fresh toppings go on after baking, everyone can customize their own slice. You can put out small bowls of toppings and let people add what they want — diced tomatoes, green onions, jalapeños, sour cream — and no one fights about it.
Ingredients
- 2 large flour tortillas (8-inch)
- 1 lb ground beef
- 1 packet taco seasoning
- ½ cup water
- ½ cup refried beans
- ½ cup salsa (use your favorite jarred salsa, or homemade)
- 1 cup shredded cheddar cheese
- 1 cup shredded mozzarella cheese
- ½ cup diced tomatoes
- ¼ cup sliced black olives (optional — Saad leaves these on the side anyway)
- ¼ cup green onions, sliced
- 1 tablespoon olive oil, for brushing
- Sour cream and extra salsa, for serving (optional)
Directions
- Step 1: Brown the beef. In a large skillet over medium heat, cook the ground beef, breaking it up as you go, until no pink remains — about 8 to 10 minutes. Drain the excess fat; I tilt the pan and use a spoon to scoop it out into a small bowl. Add the taco seasoning and water, stir to combine, and let it simmer for 4 to 5 minutes until the liquid absorbs and the beef looks saucy and thick. Set it aside.
- Step 2: Pre-crisp the tortillas. Preheat your oven to 400°F (200°C). Brush both sides of each tortilla with olive oil — don't skip this step. Place them directly on the oven rack or on a baking sheet and bake for 3 to 5 minutes until they just start to go golden and firm up. This is the step I skipped the first time and regretted immediately. A soft tortilla under all those toppings turns into something closer to a sad, soggy sandwich.
- Step 3: Build the first layer. Place one pre-crisped tortilla on a parchment-lined baking sheet. Spread the refried beans over the surface in an even layer, leaving a small border around the edge. Spoon the seasoned beef over the beans, then spoon the salsa over the beef. Sprinkle half the combined cheddar and mozzarella cheese over everything.
- Step 4: Add the second tortilla and bake. Place the second tortilla on top and press down gently to compact everything. Brush the top with olive oil. Sprinkle the remaining cheese evenly over the top. Bake for 10 to 12 minutes, until the cheese is fully melted and bubbling and the edges of the tortillas are deep golden and crispy.
- Step 5: Add the fresh toppings and slice. Pull it out of the oven and immediately scatter the diced tomatoes, black olives, and green onions over the top. Add a spoonful of sour cream in the center if you like, or serve it on the side. Use a sharp knife or a pizza cutter to slice into wedges and serve right away while the cheese is still hot.

Tips for Success
- Pre-crisp both tortillas, not just one: I know I keep saying this but it really does matter. Three minutes in the oven before assembling means the base stays crispy even after the toppings go on and the whole thing bakes for another 12 minutes. Without that step, the bottom tortilla absorbs moisture from the beans and salsa and you lose the crunch that makes this dish what it is.
- Don't skip draining the beef: I learned this the hard way. Excess fat from the beef makes the interior soggy — same problem as not pre-crisping the tortillas. After the beef is browned, tilt the pan and spoon out the fat before adding the seasoning. Even with lean ground beef, there's usually more fat than you'd expect.
- Mix the cheeses together before sprinkling: I combine the cheddar and mozzarella in a bowl first, then divide and sprinkle. Cheddar melts better and has more flavor; mozzarella stretches and gives you that pull when you pick up a slice. Using both together is what makes the cheese layer work so well. Using just one or the other gives you either flavor without stretch or stretch without flavor.
- Add the fresh toppings immediately after baking: The diced tomatoes and green onions go on right when it comes out of the oven so they stay fresh and don't cook down. If you put them on before baking, the tomatoes turn watery and the onions get soft. The contrast between the hot cheesy base and the cool fresh toppings is what makes each bite interesting.
- Don't overload with salsa: Half a cup is the right amount for two tortillas. More than that and the interior gets wet and the whole thing is harder to slice cleanly. If you love extra salsa (I do), serve it on the side for dipping rather than piling more on before baking.
Variations
- Vegetarian version: Skip the ground beef entirely and replace it with a can of seasoned black beans or pinto beans — just drain, rinse, and toss them in a pan with taco seasoning and a splash of water for a few minutes. Or sauté diced bell peppers, mushrooms, and onion with the same seasoning. It's hearty enough that no one will miss the meat, and it's ready even faster than the beef version.
- Rotisserie chicken version: Use shredded rotisserie chicken instead of ground beef. Pull the chicken off the bones, toss it in a pan with taco seasoning and a few tablespoons of water, and heat it through — takes about 3 minutes. This is my go-to on nights when I haven't thawed anything and I have a store-bought rotisserie chicken in the fridge. Costco rotisserie chickens work perfectly here.
- Spicier version: Add half a teaspoon of chipotle chili powder to the taco beef while it simmers, and lay sliced fresh jalapeños on top after baking. My husband makes his own plate this way every single time. The smokiness from the chipotle works really well with the beef and beans. You can also use a spicy jarred salsa instead of mild.
- Gluten-free version: Swap the flour tortillas for corn tortillas. Corn tortillas actually get crispier in the oven than flour ones — more like a tostada. The only difference is they're smaller, so you'll need 3 or 4 per pizza instead of 2, and the pizzas will be individual-sized rather than one large one to share. Just make sure your taco seasoning packet is certified gluten-free.
Serving and Storage
Serving
Slice into 6 wedges with a sharp knife or a pizza cutter and serve immediately while the cheese is still hot and the tortilla is at peak crispiness. I put small bowls of sour cream, extra salsa, and sliced jalapeños on the table so everyone can finish their own slice however they like. A simple green salad on the side — or my easy Cobb salad if you want something more filling — rounds it out into a proper dinner. These also work as an appetizer cut into smaller pieces if you're feeding a crowd.
Storage
Store leftover slices in an airtight container in the refrigerator for up to 3 days. To reheat, put the slices on a baking sheet in the oven at 375°F for 5 to 8 minutes. The tortilla won't be quite as crispy as fresh, but it's close — much better than microwaving, which makes the base chewy and soft. I don't recommend freezing this one; the tortilla texture doesn't hold up well after thawing.
Frequently Asked Questions
Can I make the beef filling ahead of time?
Yes — the seasoned beef keeps in the fridge for up to 2 days in an airtight container. When you're ready to make dinner, just reheat it in a pan with a splash of water for a minute or two and assemble from there. I do this on Sundays sometimes when I'm prepping for the week — having the beef already done makes this a 15-minute dinner on a weeknight.
Can I use a different protein instead of ground beef?
Absolutely. Ground turkey, ground chicken, shredded rotisserie chicken, or even ground pork all work well here. Season whatever you use with taco seasoning and a little water, let it simmer until the liquid absorbs, and use it exactly the same way. Ground turkey is my go-to when I want something a bit lighter — it takes on the taco spices really well.
Why is my tortilla going soft in the middle?
Almost always it's one of two things: you didn't pre-crisp the tortillas before assembling, or you used too much salsa. The pre-crisping step is what protects the base from moisture in the beans and salsa. And keeping the salsa to about half a cup total (not more) makes a real difference. If you like things saucy, serve extra salsa on the side for dipping rather than loading more in before baking.
Can I make this gluten-free?
Yes — corn tortillas work as a direct substitute for flour tortillas and they actually get crispier in the oven. Because corn tortillas are smaller, you'll end up with individual-sized pizzas rather than one large one to share, which honestly makes serving easier. Just double-check that your taco seasoning packet doesn't contain any wheat starch — some brands do.
Can I make smaller individual-sized versions?
Yes, and this is actually a great idea for kids or parties. Use 6-inch tortillas and make two separate smaller pizzas instead of one large one. Reduce the baking time slightly — check at around 8 minutes. You can customize each one differently, which is how I handle it when Zainab wants no olives and my husband wants double jalapeños.
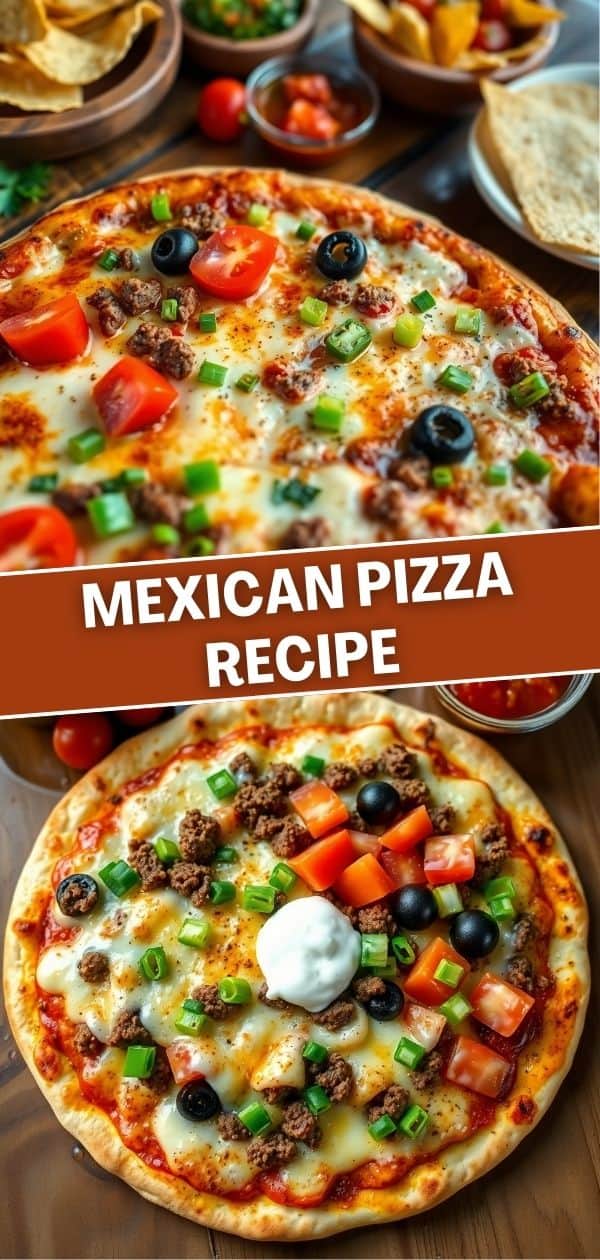
This Mexican pizza has become one of those recipes I don't even think about anymore — it's just what happens when I open the fridge on a Tuesday and spot ground beef and a block of cheese. The whole thing takes less time than ordering delivery, which matters more than I expected once I started actually tracking how long delivery takes in our area. Spoiler: it's always longer than the app says.
I make a double batch at least once a month because one pizza between four people disappears faster than you'd think. Two pizzas means actual leftovers, which reheat surprisingly well in the oven the next day. If you're cooking a Tex-Mex week and want something to follow this up, my cheesy taco casserole uses a lot of the same ingredients and is just as easy to pull together on a weeknight.
And if you want something sweet to finish the meal — because my family always wants something sweet — I've been making hot fudge pudding cake on these nights because it goes into the oven right as we sit down to eat and it's ready by the time the plates are cleared. It's become a bit of a routine now. 🌮🍕✨
If you liked this recipe, here are a few more from the site that are worth bookmarking:
- Cheesy Taco Casserole — another easy Tex-Mex weeknight dinner with a similar pantry-friendly ingredient list
- Easy Cobb Salad Meal Prep — a great side or light meal to go alongside this pizza on a busy week
- Pesto and Mozzarella Pinwheels — if you have leftover tortillas and want a quick snack or appetizer the next day
- Hot Fudge Pudding Cake — the dessert I make on the same night as this pizza; it bakes while we eat dinner
- Melt in Your Mouth Shortbread — simple, reliable, and good to have in the cookie tin on a Tex-Mex kind of week





Comments
No Comments