
I made this for the first time on a Tuesday night when my kids were asking for Chinese takeout and I genuinely didn't want to spend the money or wait 45 minutes for delivery. I had chicken in the fridge, cornstarch in the pantry, and a vague memory of watching someone make sweet and sour chicken on YouTube. So I figured — let's try it. The first batch came out pale and limp because I skipped the browning step. The second batch I burned the sauce. The third time I got it right, and honestly, it's been on regular rotation ever since.
What makes this version work is the combination of a quick stovetop brown before it goes into the oven. That's the step that gives you the crispiness — not the oven alone. The oven does something different: it drives the sauce into the coating over a long slow bake, turning it thick and sticky and almost caramelized around the edges. You stir it every 15 minutes or so, and by the end you've got this glossy, tangy chicken that tastes like it came from a restaurant. It doesn't take any special equipment — just a heavy skillet and a baking dish.
My kids eat this over rice without complaint, which is saying something. Saad in particular will demolish a plate of this, then ask if there's more. My husband likes to add a pinch of chili flakes to his bowl because he always wants more heat. I serve it alongside something simple — usually steamed broccoli or a quick stir-fry of whatever vegetables I have — similar to how I'd put together my lemon garlic butter chicken and green beans skillet on busy nights when dinner needs to be on the table without a lot of fuss.
One thing to set expectations on: this isn't deep-fried Chinese restaurant style. It's baked, so the texture is different — more of a tender chew with crispy edges rather than a shattery crust. The sauce is genuinely good though, and it absolutely coats the chicken the way you want it to. Give yourself the full hour in the oven and don't skip the stirring. That's where the magic happens.
Why You'll Love This Recipe
- No deep fryer needed: I don't own a deep fryer and honestly don't want one — they're messy, they smell up the whole house, and they make me nervous. This method gets you the same sticky, saucy result using a regular skillet for browning and a standard baking dish. You get the coating without a vat of oil, and cleanup is genuinely not bad.
- The sauce is incredibly simple: I was surprised the first time I made this how few ingredients went into the sauce. Sugar, vinegar, ketchup, soy sauce, garlic powder — that's it. Everything comes together in one bowl before you pour it over the chicken. No reducing on the stove, no cornstarch slurry, no complicated steps. The oven does the work of thickening it.
- It actually reheats well: A lot of chicken dishes lose their texture overnight. This one holds up surprisingly well in the fridge. The sauce re-softens the coating in the best way — it gets stickier and more glazed the next day. I've eaten it cold straight from the container and it's still good, which is rare for baked chicken.
- Weeknight-friendly timing: You do about 15 minutes of active work — cutting the chicken, dredging it, giving it a quick brown — and then the oven runs the rest of the show. While it bakes I have time to make rice, clean up the kitchen, help with homework, and still have dinner ready at a reasonable hour.
- Customizable for your family: The base recipe is mild enough that even picky eaters will eat it, but it's easy to adjust. Add bell peppers and pineapple if you want more texture. Stir in sriracha if your family likes heat. Swap white rice for cauliflower rice if you're trying to eat lighter. I've made probably six different versions of this and it handles changes well.
Ingredients
- 1½ lbs boneless, skinless chicken breasts, cut into bite-size chunks
- Salt and pepper to taste
- 1 cup cornstarch
- 2 large eggs, beaten
- ¼ cup vegetable oil (for browning)
- For the Sauce:
- ¾ cup granulated sugar
- ½ cup white vinegar (apple cider vinegar works too)
- ¼ cup ketchup
- 1 tablespoon soy sauce
- 1 teaspoon garlic powder
- ¼ teaspoon ground ginger (optional, but I usually add it)
Directions
- Preheat and prep: Preheat your oven to 325°F (165°C) and lightly grease a 9x13-inch baking dish. Lower and slower than you'd expect, but that long bake is what thickens the sauce into a proper glaze without burning the sugar.
- Dredge the chicken: Season your chicken pieces with salt and pepper. Toss them in the cornstarch until fully coated, then dip each piece in the beaten egg. Make sure you get even coverage — bare patches won't pick up the sauce the same way.
- Brown in the skillet: Heat the vegetable oil in a heavy skillet over medium heat. Brown the chicken pieces in batches — about 1 to 2 minutes per side — just until they get some color. You're not cooking them through here, just setting the coating. Don't crowd the pan or they'll steam instead of brown.
- Transfer to baking dish: Arrange the browned chicken in a single layer in your prepared baking dish. Try to keep the pieces from overlapping so the sauce can reach every surface.
- Make the sauce: Whisk together the sugar, vinegar, ketchup, soy sauce, garlic powder, and ginger in a bowl until the sugar is mostly dissolved. Pour it evenly over the chicken — it'll look thin right now, but it thickens significantly in the oven.
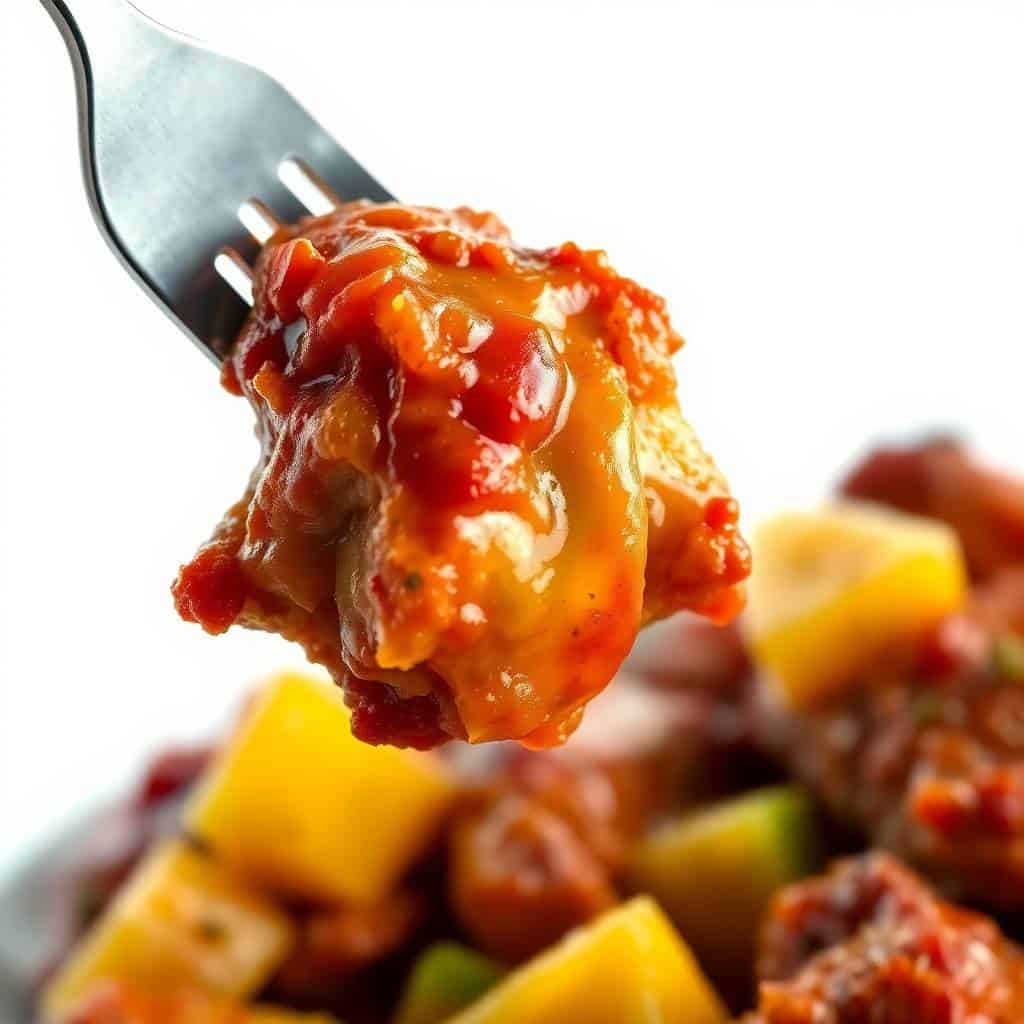
- Bake and stir: Bake uncovered for 1 hour, turning and stirring the chicken every 15 to 20 minutes. This step is not optional — the stirring is how you get even caramelization on all sides. By the last turn, the sauce should be thick and glossy and the edges of the chicken should look slightly darkened and sticky.
- Rest and serve: Let it sit for 5 minutes out of the oven before serving. The sauce tightens up a bit more as it cools slightly. Serve over rice.
Tips for Success
- Don't skip the browning step: I tried skipping it once to save time and the chicken came out pale and soft — not bad exactly, but not the same. Those 1 to 2 minutes per side in the skillet set the coating and give you the crispier edges that hold up through the long bake. It adds maybe 8 minutes total and it's worth every one of them.
- Cut the chicken evenly: Uneven pieces mean some will be overcooked before others are done. I aim for roughly 1-inch chunks. If you're working with thick chicken breasts, slice them in half horizontally first before cutting into pieces — it makes the sizing much more consistent without any extra effort.
- Use a light hand with the cornstarch: You want a thin, even coating — not a thick batter. Toss the chicken in the cornstarch and then shake off the excess before dipping in egg. Too much cornstarch creates a gummy layer that doesn't crisp up properly. The egg helps it adhere, but the coating should still feel relatively light.
- Actually stir it every 15 minutes: I know it feels like a lot, but set a timer and do it. The sugar in the sauce will caramelize unevenly if you don't redistribute it. The pieces on the edges of the pan cook faster than the ones in the middle. Stirring keeps everything coated and prevents the bottom from scorching.
- Let the sauce rest before serving: Pull the dish from the oven and give it 5 minutes before you plate it. The sauce goes from loose and bubbling to thick and sticky as it cools slightly. If you serve it immediately right out of the oven, the sauce will run off. A short rest makes a real difference in how it clings to the chicken.
Variations
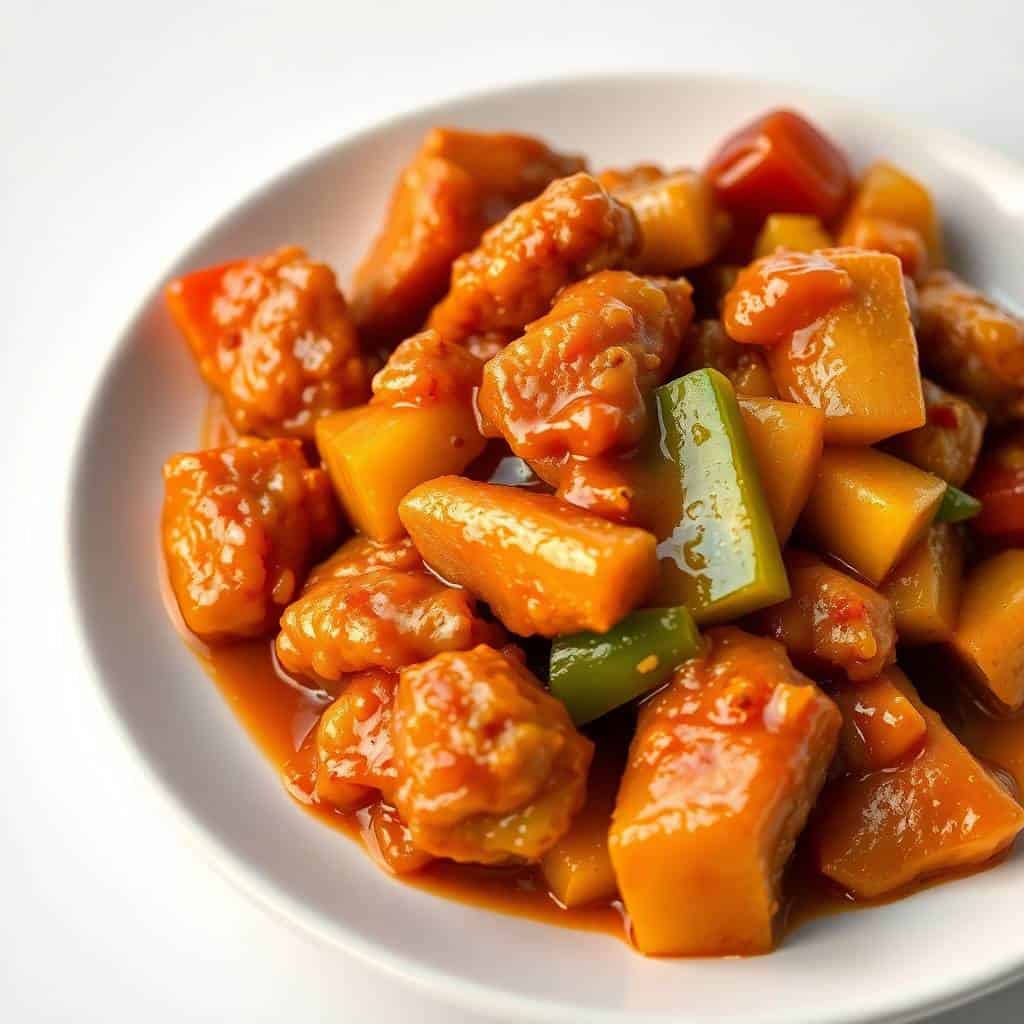
- Add pineapple and bell peppers: This is the most common version I make when I have extra time. Scatter chunks of pineapple (canned in juice, drained — not in syrup) and sliced bell peppers over the chicken before you pour the sauce. They soften in the oven and add color and texture. My husband actually prefers it this way.
- Use chicken thighs: Boneless, skinless thighs work beautifully here — they stay juicier than breasts through the long bake and have a bit more flavor. The texture of the final dish is slightly richer. I switch between thighs and breasts depending on what I have on hand, and both work well.
- Make it spicy: Add 1 to 2 teaspoons of sriracha or a good pinch of red pepper flakes to the sauce before pouring it over the chicken. The heat balances really well against the sweetness of the sugar. My husband does this every single time without fail — he can't eat sweet and sour chicken without some heat in it.
- Double-dip for extra crunch: If you want a thicker, crispier coating, dredge the chicken in cornstarch, dip in egg, then dredge in cornstarch again before browning. It adds a bit more chew to the exterior and the coating holds up even better through the long bake. I don't always bother, but when I have an extra few minutes it's a nice upgrade.
- Vegetarian version with tofu or cauliflower: Press extra-firm tofu well, cut it into cubes, and coat it the same way as the chicken. It absorbs the sauce beautifully. Cauliflower florets also work — they won't get quite as crispy but the sauce flavor is excellent. This isn't something my kids ask for, but it's a solid option if you're cooking for someone who doesn't eat meat.
Serving and Storage
Serving
Serve it hot over steamed white rice — that's the classic move and the rice soaks up any extra sauce beautifully. I usually make a simple side of steamed broccoli or whatever stir-fried vegetables I have going. If you want to round out the meal with something heartier, my cheesy chicken broccoli rice casserole is another weeknight chicken dinner that works well for the same kind of crowd. For garnish, a scatter of sesame seeds and sliced green onions makes it look properly finished without any extra effort.
Storage
Leftovers keep well in an airtight container in the refrigerator for up to 3 days. The sauce actually thickens further overnight, which I think makes it taste even better the next day. Reheat in the microwave in 90-second bursts, stirring in between, or spread it back in a baking dish and warm it at 300°F for about 10 to 15 minutes. For freezing, cool completely first, then freeze in an airtight container for up to 1 month. Thaw overnight in the fridge before reheating. The coating softens after freezing but the flavor is fully intact.
Frequently Asked Questions
Can I use frozen chicken for this recipe?
Yes, but thaw it completely first and pat it very dry with paper towels before dredging. Excess moisture from frozen chicken will make the cornstarch coating gummy and prevent it from browning properly in the skillet. A quick 10-minute press with paper towels makes a noticeable difference.
Can I prep this ahead of time?
Yes. You can brown the chicken and mix the sauce up to a day ahead, then store them separately in the fridge. When you're ready to eat, layer the chicken in your baking dish, pour the sauce over, and bake as directed. I've done this on Sunday evenings to get ahead of Monday night dinner and it works perfectly.
What's the best vinegar to use?
White vinegar gives you a clean, sharp tang and is what I usually reach for. Apple cider vinegar works well too and adds a very slight fruitiness that's actually nice in this dish. I wouldn't use balsamic or red wine vinegar here — the flavor is too strong and takes the sauce in a completely different direction.
Can I double the recipe?
Absolutely. I make a double batch regularly because it disappears in one meal at my house. Use a larger roasting pan or two 9x13 dishes so the chicken is still in a single layer — stacking it will prevent even cooking. You may need to add an extra 10 minutes to the bake time, but keep stirring every 15 to 20 minutes regardless.
Why is my sauce not thickening?
Two likely culprits: you covered the pan with foil (always bake uncovered so moisture can escape), or you didn't stir often enough and the sauce pooled at the bottom instead of coating the chicken. Make sure you're baking uncovered and turning the chicken every 15 minutes. By the 45-minute mark the sauce should be visibly thicker and stickier.
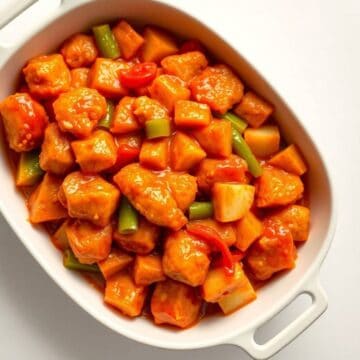
BAKED SWEET AND SOUR CHICKEN
Ingredients
For the Chicken:
- 1½ lbs boneless skinless chicken breasts, cut into bite-size chunks
- Salt and pepper to taste
- 1 cup cornstarch
- 2 large eggs beaten
- ¼ cup vegetable oil for browning
For the Sauce:
- ¾ cup granulated sugar
- ½ cup white vinegar
- ¼ cup ketchup
- 1 tablespoon soy sauce
- 1 teaspoon garlic powder
- ¼ teaspoon ground ginger optional
Instructions
Preheat & Prep:
- Preheat oven to 325°F (165°C). Lightly grease a 9x13-inch baking dish.
Coat & Brown Chicken:
- Season chicken with salt and pepper. Dredge pieces in cornstarch, then dip in beaten egg. Lightly brown in oil in a skillet over medium heat—about 1–2 minutes per side. Transfer to prepared baking dish.
Make the Sauce:
- In a bowl, whisk together sugar, vinegar, ketchup, soy sauce, garlic powder, and ginger until smooth.
Bake:
- Pour sauce evenly over chicken. Bake uncovered for 1 hour, turning chicken pieces every 15–20 minutes to coat well in sauce.
Serve:
- Serve hot over rice with steamed vegetables or stir-fry on the side.
Notes
Vegetarian Option: Substitute chicken with cauliflower florets or tofu.
Crispier Version: Double-dip in cornstarch and egg for a thicker coating.
Meal Prep: Sauce and browned chicken can be prepped a day ahead.
Topping Idea: Garnish with sesame seeds and chopped green onions.
This is one of those recipes I keep coming back to not because it's the most elaborate thing I make, but because it delivers reliably and the whole family eats it without negotiation. The sauce is genuinely good — tangy and sweet and thick in a way that makes the rice underneath just as satisfying as the chicken on top. I know real Chinese-American sweet and sour chicken is deep-fried, so I won't pretend this is identical — but as a baked version that comes together on a Tuesday night, it more than holds its own.
The thing I appreciate most about this recipe is how forgiving it is. I've made it with thighs when I was out of breasts, forgotten the ginger, added too much vinegar once — it still worked. The sauce ratios are flexible and the long bake time means small mistakes tend to sort themselves out. If you want something different on the dessert end of your meal, I sometimes follow this with my chocolate oatmeal carmelitas — they're simple to put in the oven while we eat and everyone looks forward to them.
If you make this, scatter some green onions and sesame seeds on top before serving — it takes 30 seconds and the contrast of fresh green against all that dark sticky glaze looks really good. Let me know in the comments how it turned out. 🍗🥢✨
If you liked this, here are a few more chicken dinners I think you'll reach for on weeknights:
- Lemon Garlic Butter Chicken and Green Beans Skillet — a one-pan dinner that comes together in under 30 minutes
- Easy Cheesy Chicken Broccoli Rice Casserole — the kind of comfort food my kids request on cold nights
- Creamy Chicken Enchilada Soup — a weeknight soup that's hearty enough to be a full meal
- Chocolate Oatmeal Carmelitas — for when dinner was good and dessert needs to match



Comments
No Comments