
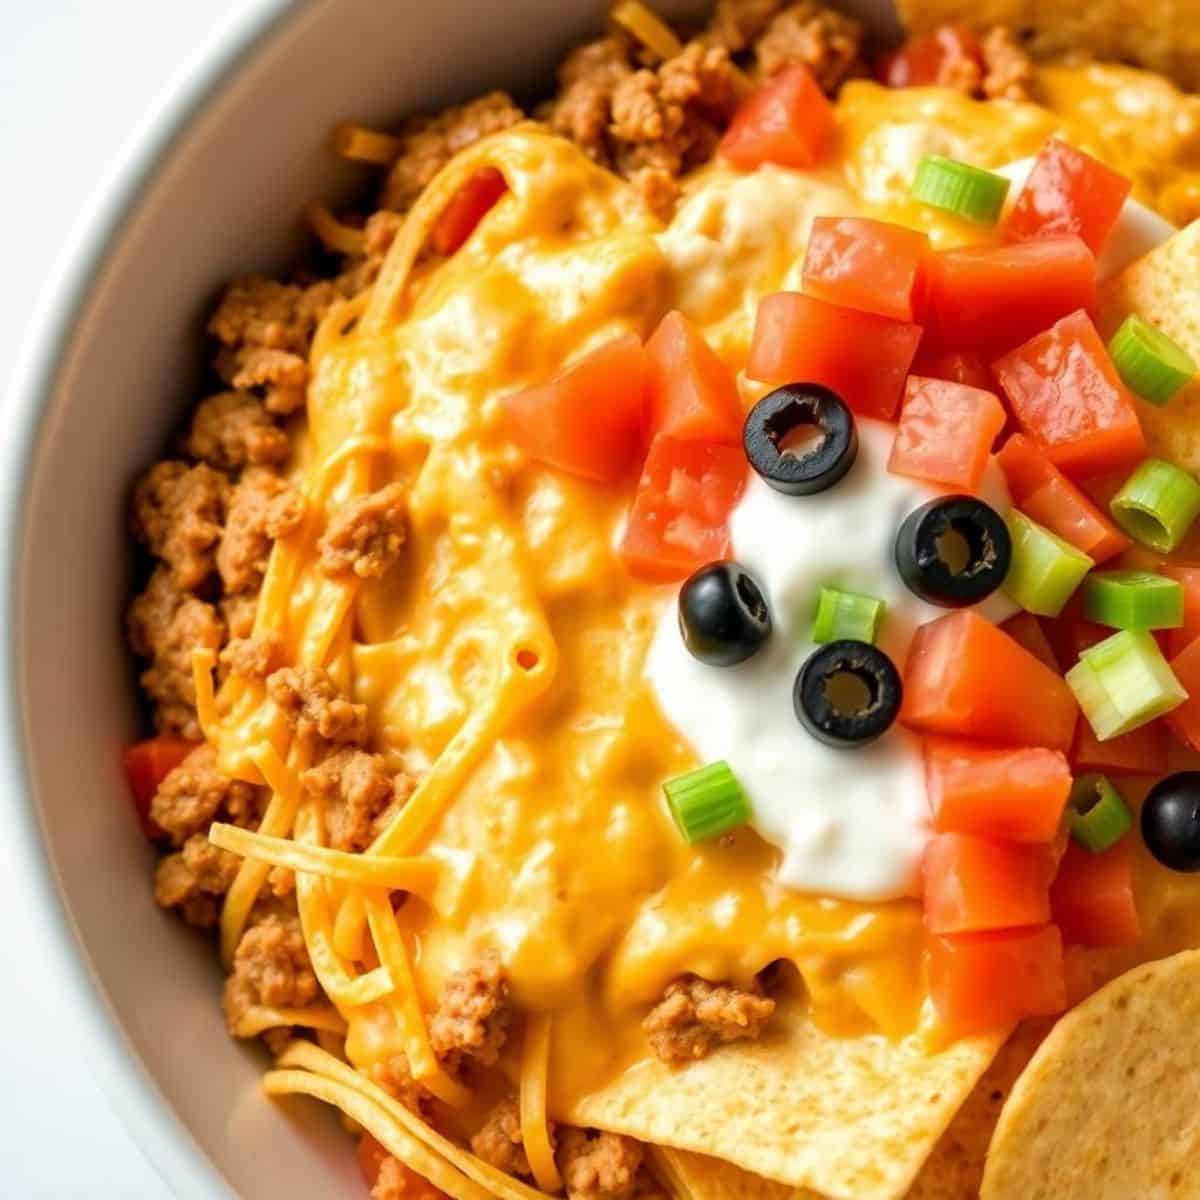
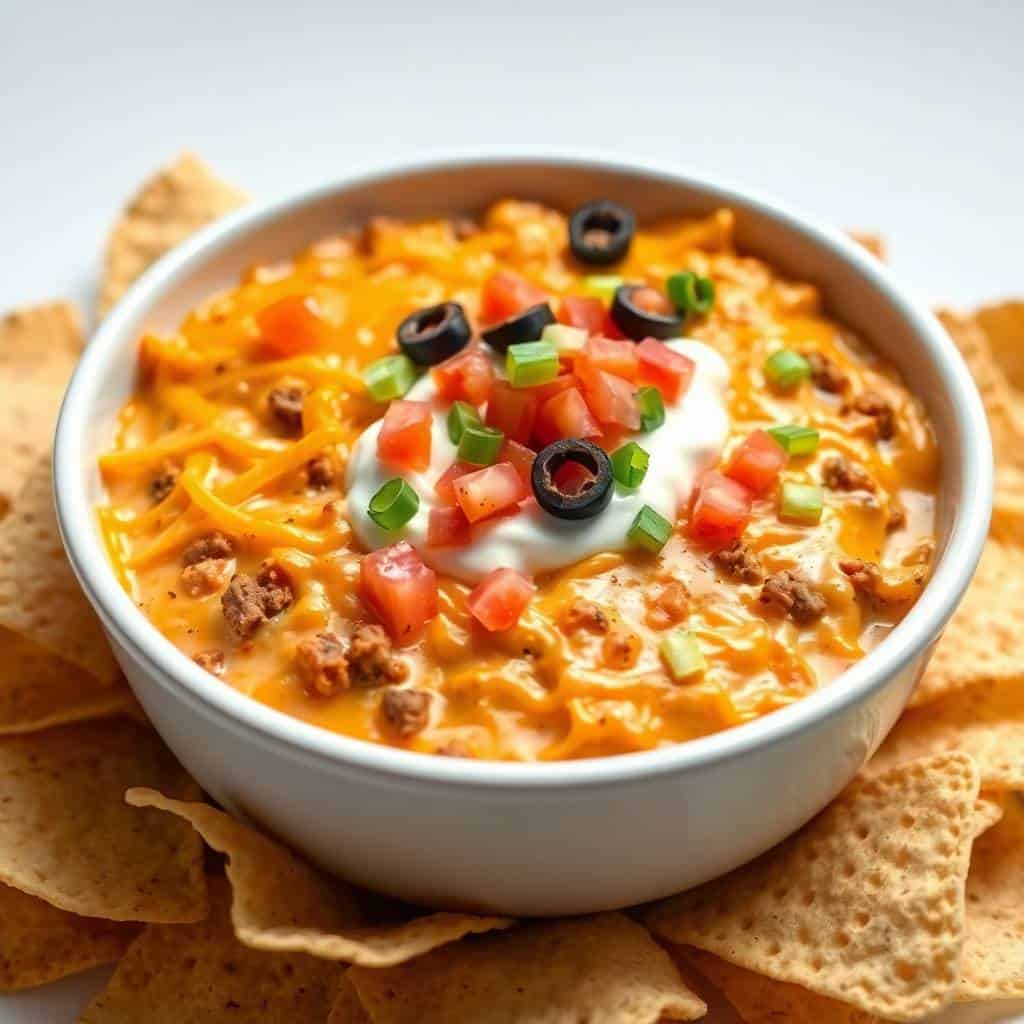
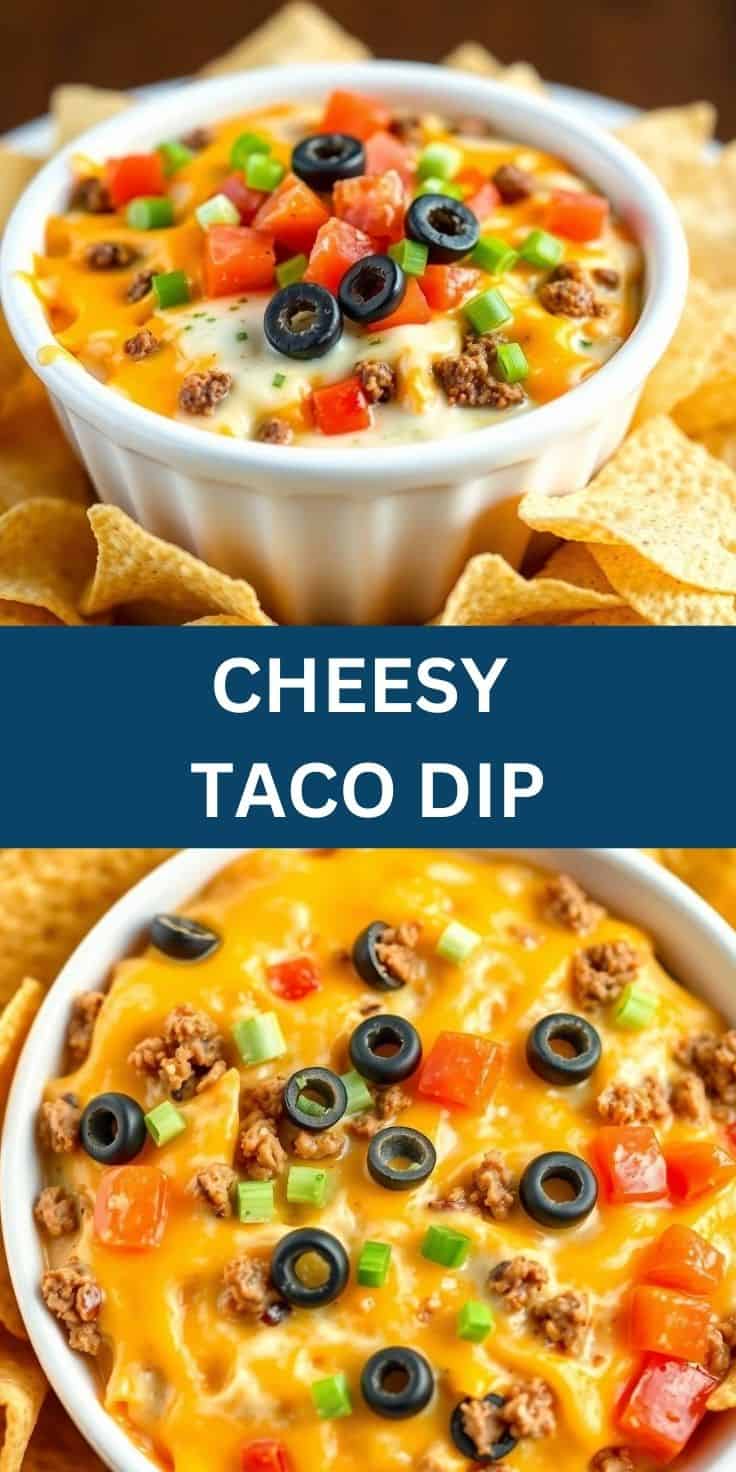
The party appetizer that clears the table faster than anything else I have ever served — the one that guests hover around from the moment it comes out of the oven and that requires me to make a second batch for every gathering where I have made the mistake of making just one — is this cheesy taco dip: a spectacular layered masterpiece of refried beans, smooth cream cheese and sour cream, seasoned taco-spiced ground beef, salsa, and a double layer of melted Mexican blend cheese, baked until everything is bubbling and golden and served immediately with tortilla chips for the most irresistible dip experience in all of party cooking.
What makes cheesy taco dip so compulsively edible is the combination of textures and temperatures in every single scoop — the creamy, tangy sour cream and cream cheese layer against the savory, spiced taco meat, the slight crunch of the chip breaking through the melted cheese into the warm layers beneath, the cool freshness of the green onion topping against the hot, rich base. Every element has been designed to work with every other element, and the result is a dip that delivers a different but equally satisfying experience in every chip-load.
This post covers the classic cheesy taco dip in full detail, plus four variations including a vegetarian black bean version, a buffalo taco version, a guacamole-layered version, and a chicken taco version. All are assembled in under 15 minutes and baked in 15. Find more crowd-pleasing dip inspiration in our buffalo chicken dip, our 7-layer dip, and our best game day recipes.
Let's make the most crowd-pleasing party dip your kitchen has ever produced!
WHY YOU WILL LOVE THIS RECIPE
- Every Layer Delivers a Different Flavor — No Two Scoops Are the Same: The layered architecture of cheesy taco dip is what makes it so endlessly interesting to eat — a scoop that hits the top of the dip delivers mostly melted cheese and fresh green onion; a deep scoop that goes all the way through delivers all five layers simultaneously for the complete experience; a scoop from the edge of the dish where the cheese has crisped against the baking dish delivers a different textural element entirely. This variety within a single dip means guests stay engaged and keep coming back to find a different combination each time. This is genuinely the most interesting dip in terms of eating experience that I know how to make.
- Warm or Cold — Delicious Either Way: Baked cheesy taco dip is extraordinary — the melted cheese forms a golden, bubbling surface that is visually spectacular and the warm layers beneath are deeply satisfying on a cool day. But the same assembled dip served cold (without baking) is also genuinely excellent — the flavors are bright and distinct rather than melted together, and the cream cheese layer is firmer and more cleanly separated from the meat layer. I serve it warm for game days and cold dinner parties; both versions are crowd-pleasers. This two-serving-temperature flexibility makes it one of the most versatile party appetizers available.
- Make-Ahead Friendly — Assemble the Night Before: Assemble the entire dip — refried beans, cream cheese layer, taco meat, salsa, cheese — cover tightly with plastic wrap, and refrigerate overnight. In the day of serving, remove the plastic wrap and bake as directed (adding 5 extra minutes to account for the cold start). The assembled unbaked dip keeps refrigerated for up to 24 hours before baking with no quality loss. This make-ahead approach is ideal for any party or gathering where the day-of preparation time is limited — all the actual work happens the evening before. See our easy meal prep ideas for more advance planning inspiration.
- Universally Appealing — the Safest Party Dip Available: Cheesy taco dip occupies the same universal appeal territory as buffalo wings and guacamole — there is essentially no guest at any party who will not eat this dip enthusiastically. Children love the mild, cheesy, familiar flavors; adults love the depth of the seasoned meat and the rich layering. It is simultaneously approachable and satisfying in a way that more sophisticated dips are not, and its Tex-Mex flavor profile is the most universally beloved food category in American party food. See our best game day recipes for more universally appealing party food ideas.
- Scales Effortlessly for Any Party Size: Making a double batch requires nothing more than a second identical baking dish and double ingredients — the technique and the bake time are completely unchanged. For a party of 20 or more, two baking dishes assembled simultaneously and baked side by side in the oven handles the entire crowd from a single preparation session. I regularly make three baking dishes for large Super Bowl parties and all three are gone before halftime. The per-serving cost is genuinely very low, making this one of the most budget-friendly impressive party appetizers available.
INGREDIENTS
- 1 lb ground beef (or ground turkey for a lighter version)
- 1 packet taco seasoning
- 1 can (8 oz) refried beans
- 8 oz cream cheese, softened to room temperature
- 1 cup sour cream
- 1 cup salsa (mild, medium, or hot — your preference)
- 2 cups shredded Mexican blend cheese (or a combination of cheddar and Monterey Jack)
- ½ cup diced tomatoes
- ¼ cup sliced black olives
- ¼ cup green onions, chopped
- Tortilla chips, crackers, or sliced vegetables for serving
DIRECTIONS
- Step No.1: Cook and season the taco meat
In a large skillet over medium heat, cook the ground beef, breaking it apart with a wooden spoon or spatula as it cooks, until no pink remains — approximately 8–10 minutes. Tilt the skillet and use a spoon to remove as much excess fat as possible, or drain the cooked beef in a colander lined with paper towels. Return the drained meat to the skillet and stir in the taco seasoning packet along with the water specified on the packet instructions. Simmer for 3–4 minutes, stirring occasionally, until the liquid absorbs and the meat is evenly coated in the fragrant, deep-orange seasoning. Remove from heat and allow to cool for 5–10 minutes before layering into the dip.
- Step No.2: Make the cream cheese base
In a medium bowl, combine the softened cream cheese and sour cream. Beat together with a hand mixer on medium speed, or mix vigorously with a fork or wooden spoon, until the mixture is completely smooth, uniform, and free of any cream cheese lumps. Room-temperature cream cheese is essential here — cold cream cheese will not mix smoothly with the sour cream and will leave visible chunks in the layer. If your cream cheese is still cold, microwave it in 15-second intervals until it is soft and pliable before mixing. Taste the mixture and add a small pinch of salt if it seems flat.
- Step No.3: Build the layers
Preheat the oven to 350°F (175°C) if baking. In a 9x13-inch baking dish or a large round serving dish, spread the refried beans in an even layer across the entire bottom — the beans provide a savory, protein-rich base that anchors the entire dip and prevents the layers above from shifting. Spread the cream cheese and sour cream mixture evenly over the refried beans in a smooth layer. Spoon the seasoned taco meat evenly over the cream cheese layer, spreading it with a spoon to cover completely. Spread the salsa evenly over the taco meat layer — use a flavorful salsa since its heat level determines the heat level of the finished dip. Finally, scatter the shredded Mexican blend cheese evenly and generously over the entire top surface — this cheese layer will melt during baking into the golden, bubbly blanket that makes the finished dip look spectacular.
- Step No.4: Bake (optional)
For the warm baked version, place the assembled dip in the preheated 350°F oven and bake uncovered for 15–20 minutes until the cheese is completely melted, actively bubbling around the edges, and developing light golden patches in the center. The baked version is significantly more spectacular visually than the cold version and the melted cheese integrates with the layers beneath for a more cohesive eating experience. For the cold version, skip the baking step entirely — the assembled dip is ready to serve immediately with toppings added, which makes it even faster to prepare and slightly lighter in richness.
- Step No.5: Add toppings and serve
Remove the baked dip from the oven and immediately scatter the diced tomatoes, sliced black olives, and chopped green onions across the top — add the fresh toppings after baking rather than before to preserve their freshness and color. The contrast of the cool, bright fresh toppings against the hot, melted cheese creates both a visual and textural appeal that is one of the most attractive presentations in party appetizer cooking. Serve immediately with a large pile of tortilla chips alongside for dipping. Provide a serving spoon for guests to ensure they get all the layers with each serving.
TIPS FOR SUCCESS
- Soften the Cream Cheese Completely Before Mixing: Cold cream cheese does not mix smoothly with sour cream — it remains in small, dense clumps throughout the layer that feel unpleasant on the chip and look unattractive in the dish. Room-temperature cream cheese mixes into the sour cream in under 2 minutes and produces a completely smooth, spreadable layer. Remove the cream cheese from the refrigerator at least 30 minutes before making the dip, or microwave briefly (15 seconds at a time) until soft. This is the single preparation step most home cooks skip and the one that most affects the quality of the cream cheese layer.
- Drain the Taco Meat Thoroughly Before Layering: Excess grease in the taco meat seeps down through the layers during baking and pools in the cream cheese and refried bean layers, making the base of the dip greasy and unpleasant. Draining the cooked beef completely — either in a colander with paper towels or by tilting the pan and removing the fat with a spoon — produces a clean, non-greasy taco meat layer that stays in place during baking and serves as a distinct, savory layer rather than merging messily with the layer beneath.
- Use Quality Salsa — It Sets the Heat Level of the Entire Dip: The salsa layer is the primary heat source of the entire dip, and its quality and heat level directly determine the finished dip's character. A flavorful, chunky restaurant-style salsa produces a much more interesting dip than a thin, processed jarred salsa. Choose mild salsa for a crowd with mixed heat tolerances; medium for most game day crowds; hot for heat enthusiasts. For the most flavor, use a fresh or refrigerated salsa rather than shelf-stable jarred salsa — the fresh versions are noticeably better in this application where the salsa flavor is prominently featured.
- Add Fresh Toppings After Baking — Never Before: Diced tomatoes, green onions, and black olives added before baking will cook down, become soft, and lose all their color and textural contrast during the oven time. They should always be added immediately after the dip comes out of the oven — the heat of the dip warms them slightly so they do not feel coldly out of place, but they retain their fresh color, crunch, and distinct flavor. The visual contrast between the bubbling golden cheese and the bright fresh toppings is half the appeal of this dish.
VARIATIONS
- Vegetarian Taco Dip: Skip the ground beef entirely and use an additional can of refried beans or a can of drained and seasoned black beans as the "meat" layer — season the beans with the taco seasoning mixed with 2 tablespoons of water and cook in a skillet for 3–4 minutes to develop the spice flavors. Add sautéed bell pepper, corn kernels, and diced onion to the bean layer for extra texture and color. The vegetarian version is genuinely satisfying and substantially indistinguishable from the meat version in terms of flavor depth when the beans are well-seasoned. See our vegetarian dinner recipes for more meatless ideas.
- Buffalo Taco Dip: Stir ½ cup of buffalo sauce directly into the cooked and seasoned taco meat before layering — the buffalo sauce adds a sharp, vinegary heat to the taco seasoning that creates a completely different but equally addictive flavor profile. Use Monterey Jack or pepper jack cheese instead of Mexican blend for better complementarity with the buffalo flavors, and top with a drizzle of ranch dressing alongside the green onions after baking. This is the variation to make for guests who specifically love buffalo flavor and want something more complex than standard buffalo dip.
- Guacamole Taco Dip: Add a layer of freshly made guacamole on top of the cream cheese layer before adding the taco meat — the creamy, cool guacamole provides an additional texture and a fresh avocado note that makes every scoop more complex and more satisfying. This is the most impressive and most restaurant-quality variation and the one that produces the most "this is incredible" reactions from guests. Make the guacamole immediately before serving and add it cold on top of the cream cheese layer — do not bake with the guacamole in place or it will brown and lose its freshness. See our classic guacamole for the best guacamole recipe to use.
- Chicken Taco Dip: Replace the ground beef with 2 cups of shredded cooked chicken — rotisserie chicken is the most convenient option and produces an excellent result — tossed with the taco seasoning in a dry pan over medium heat for 2–3 minutes to toast the spices and coat the chicken evenly. The chicken version is lighter and slightly milder than the beef version and is an excellent choice for guests who prefer chicken. It is also faster to prepare since the chicken is pre-cooked and only needs seasoning rather than cooking from raw. See our slow cooker chicken tacos for the chicken taco flavor inspiration.
SERVING AND STORAGE
Serving
Serve cheesy taco dip hot from the oven with a large basket of tortilla chips alongside — the chip-to-dip ratio matters, so err on the side of too many chips rather than too few. Provide serving spoons or spatulas so guests can scoop through all the layers rather than just the top. Pair with our buffalo chicken wings, our classic guacamole, and our best game day recipes for the complete party appetizer spread. For a more formal presentation, transfer to a decorative baking dish before baking and bring the dish directly to the table.
Storage
Store leftover taco dip in an airtight container in the refrigerator for up to 3–4 days. Reheat in a 350°F oven covered with foil for 15 minutes (for a large portion) or in the microwave for 60–90 seconds per serving. The baked dip can be frozen (without the fresh toppings) for up to 2 months — cool completely, wrap the baking dish tightly in plastic wrap and foil, and freeze. Reheat from frozen covered in a 350°F oven for 25–30 minutes. The assembled but unbaked dip can be refrigerated for up to 24 hours before baking.

FAQ
Yes — assemble the entire dip (through the cheese layer, without the fresh toppings), cover tightly with plastic wrap, and refrigerate for up to 24 hours before baking. When ready to serve, remove the plastic wrap, bring the dish to room temperature for 10–15 minutes while the oven preheats, and bake as directed adding 5 extra minutes for the cold start. Add the fresh toppings immediately after baking. This make-ahead approach is ideal for parties where you want the dip to be fresh-baked and hot without any day-of assembly stress.
Yes — any good melting cheese works in this recipe. Monterey Jack melts smoothly and has a mild flavor that lets the taco seasoning come forward. Pepper jack adds heat and is excellent for spice lovers. Sharp cheddar adds a more pronounced cheese flavor. A combination of sharp cheddar and Monterey Jack is the most classic Tex-Mex cheese blend and the one that produces the most satisfying flavor and melt. Avoid pre-shredded bagged cheese when possible — the anti-caking powder coating prevents it from melting as smoothly as freshly shredded cheese does.
Several approaches increase the heat: use hot salsa instead of mild or medium; use spicy taco seasoning instead of the standard variety; add ¼–½ cup of diced pickled or fresh jalapeños to the taco meat layer; use pepper jack cheese instead of Mexican blend; or add ½ teaspoon of cayenne pepper to the taco meat along with the seasoning packet. For the most controlled heat adjustment, use hot salsa (which affects every scoop equally) rather than jalapeño pieces which some guests may avoid.
Yes — freeze the baked dip (without the fresh toppings) for up to 2 months. Cool completely, then wrap the baking dish tightly in plastic wrap followed by foil. When ready to serve, thaw overnight in the refrigerator and reheat covered in a 350°F oven for 20–25 minutes until completely heated through and the cheese is bubbling again. Add fresh toppings after reheating. Note that the cream cheese and sour cream layer may become slightly more watery after freezing and reheating; this does not affect the flavor but slightly changes the texture of that layer.
Tortilla chips are the classic pairing and the best vehicle for scooping all the layers simultaneously, but the dip works well with several other dippers: thick corn tortilla strips, pita chips (slightly thicker than tortilla chips and very sturdy), crackers, and fresh vegetables including celery sticks, bell pepper strips, carrot sticks, and cucumber slices. For a lower-carb serving option, the fresh vegetables are an excellent alternative — the creamy, cheesy dip against cool, crunchy raw vegetables is genuinely good and provides a textural contrast that even chip-focused guests often find appealing.
Cheesy taco dip is the appetizer that makes every party better — it fills the kitchen with the most inviting smell as it bakes, it arrives at the table looking gorgeous with its golden cheese and bright fresh toppings, and it disappears so fast that you will wish you had made two. Make the guacamole version at least once for your most discerning guests and watch their reactions.
Try the buffalo version for heat lovers, the guacamole version for maximum indulgence, and the vegetarian version when you need to serve a mixed crowd. Pair with our buffalo chicken wings, our 7-layer dip, our classic guacamole, and our best game day recipes for the complete party spread. 🧀🌮✨

CHEESY TACO DIP
Ingredients
- 1 lb ground beef
- 1 packet taco seasoning
- 1 can 8 oz refried beans
- 1 cup sour cream
- 1 cup cream cheese softened
- 2 cups shredded Mexican blend cheese
- 1 cup salsa
- ½ cup green onions chopped (optional)
- Tortilla chips or sliced veggies for dipping
Instructions
- Prepare the taco meat: In a large skillet, cook the ground beef over medium heat until browned, breaking it apart with a spoon. Drain any excess fat.
- Stir in the taco seasoning and follow the packet instructions to add water, or simply season with a bit of salt, pepper, and chili powder. Simmer for 3-4 minutes and set aside.
- Assemble the dip: Spread the refried beans evenly on the bottom of a baking dish or large serving platter.
- In a medium bowl, mix together the softened cream cheese and sour cream until smooth. Spread this mixture on top of the refried beans.
- Top with the seasoned taco meat and salsa, spreading it evenly over the surface.
- Sprinkle the shredded Mexican blend cheese over the top and bake at 350°F (175°C) for 15 minutes, or until the cheese is melted and bubbly.
- Remove from the oven and top with chopped green onions, if desired.
- Serve with tortilla chips, crackers, or sliced veggies for dipping.
Notes
- You can substitute ground turkey or chicken for a lighter version of this dip.
- For extra flavor, try adding diced jalapeños or green chilies to the meat mixture.
- This dip can be made ahead and stored in the refrigerator for up to 2 days. Just bake it when ready to serve!
- For a spicier version, use spicy salsa or add hot sauce to the layers.
- Leftovers can be stored in an airtight container in the fridge for 3-4 days and reheated in the oven or microwave.





Comments
No Comments